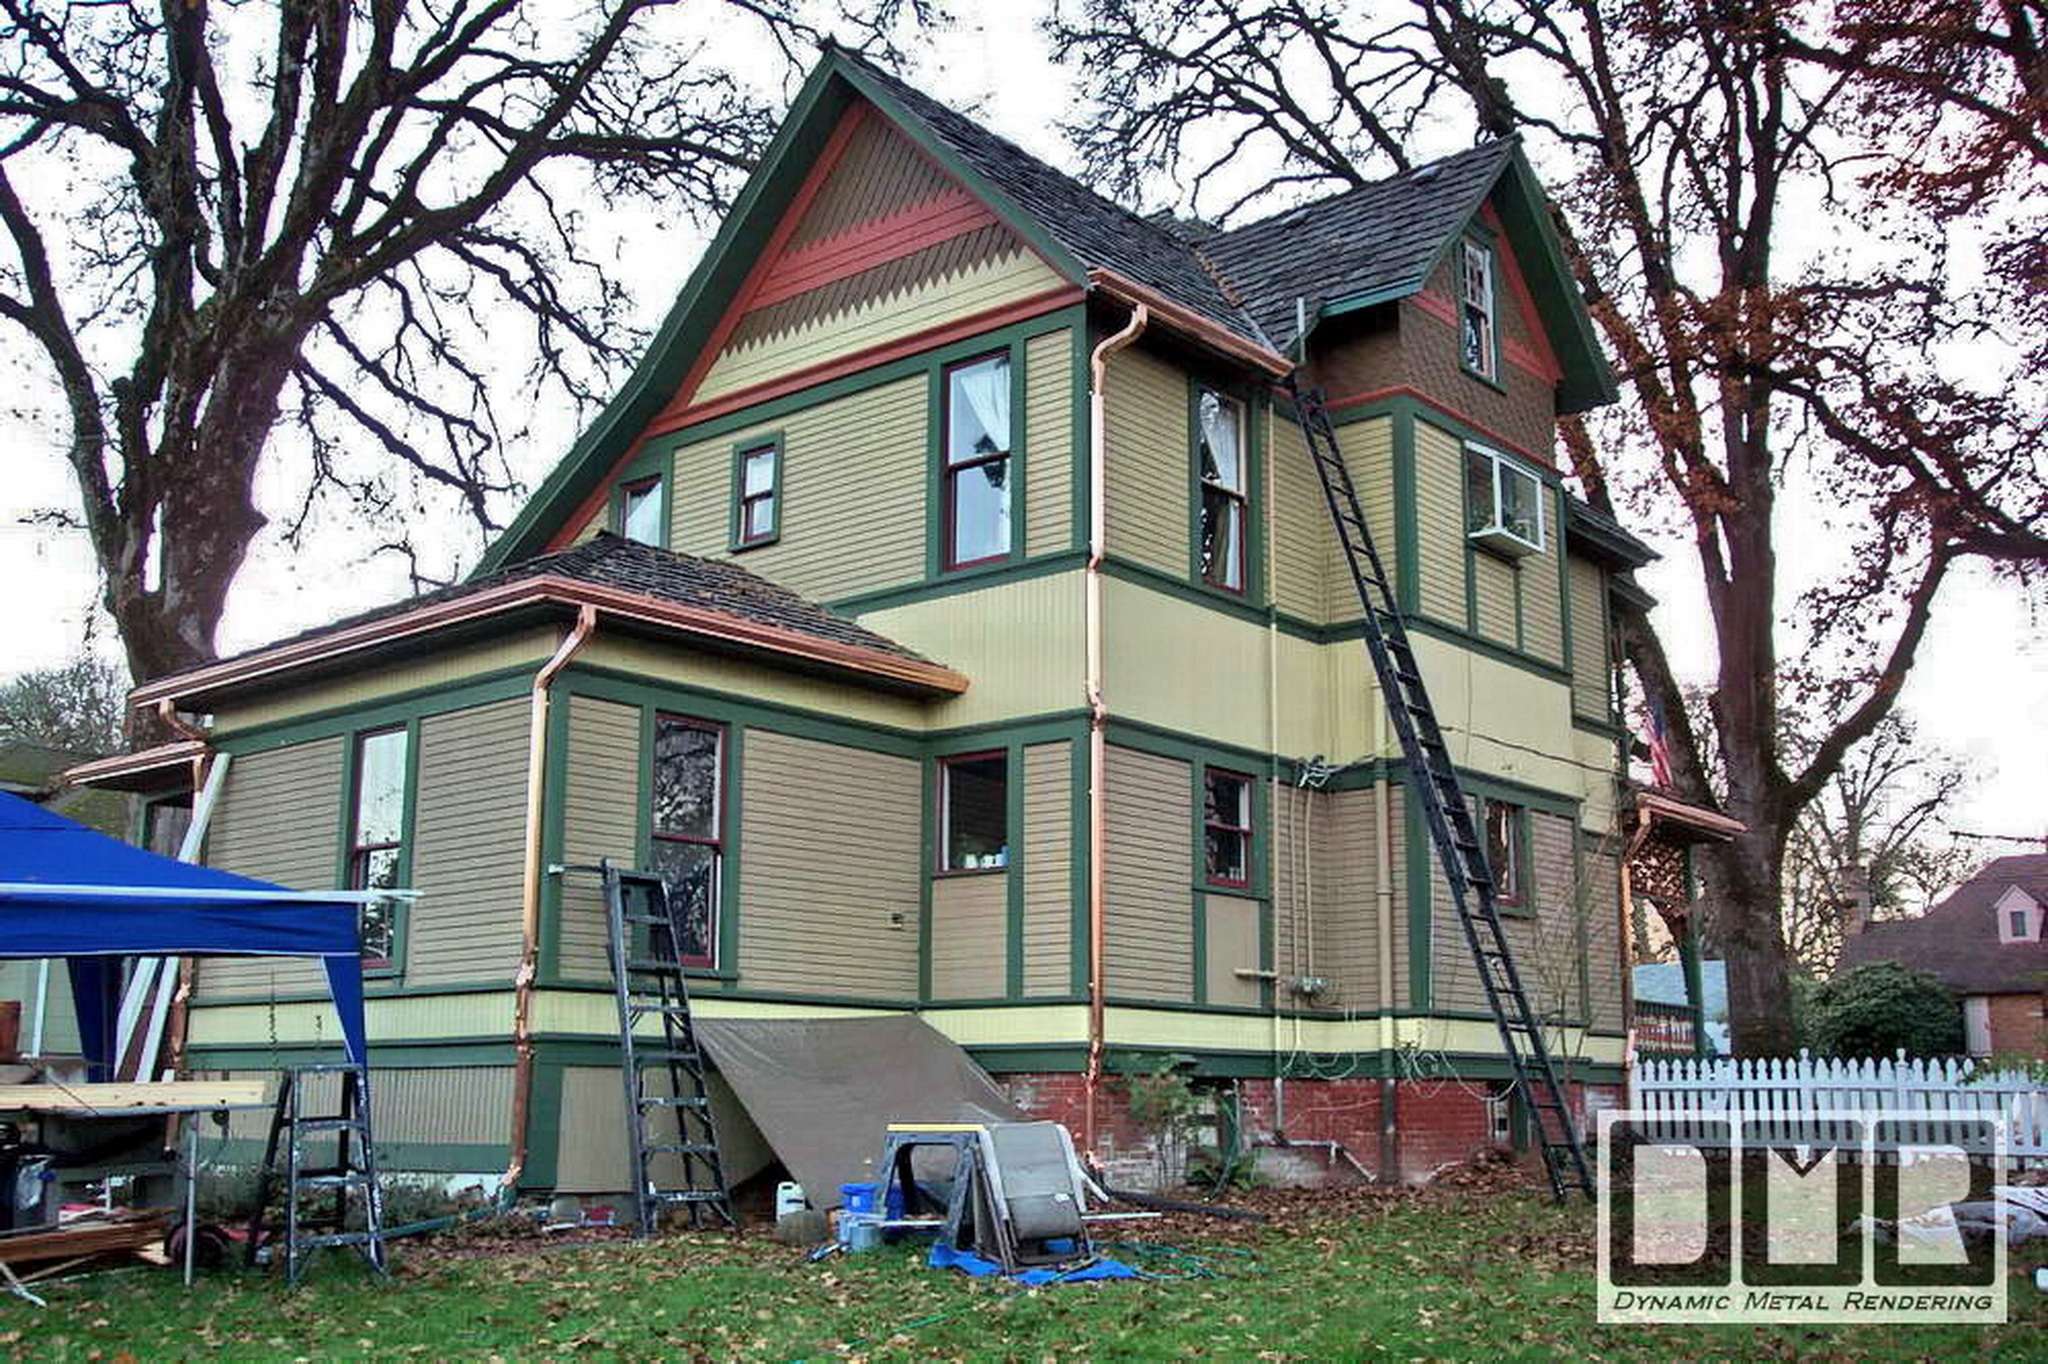
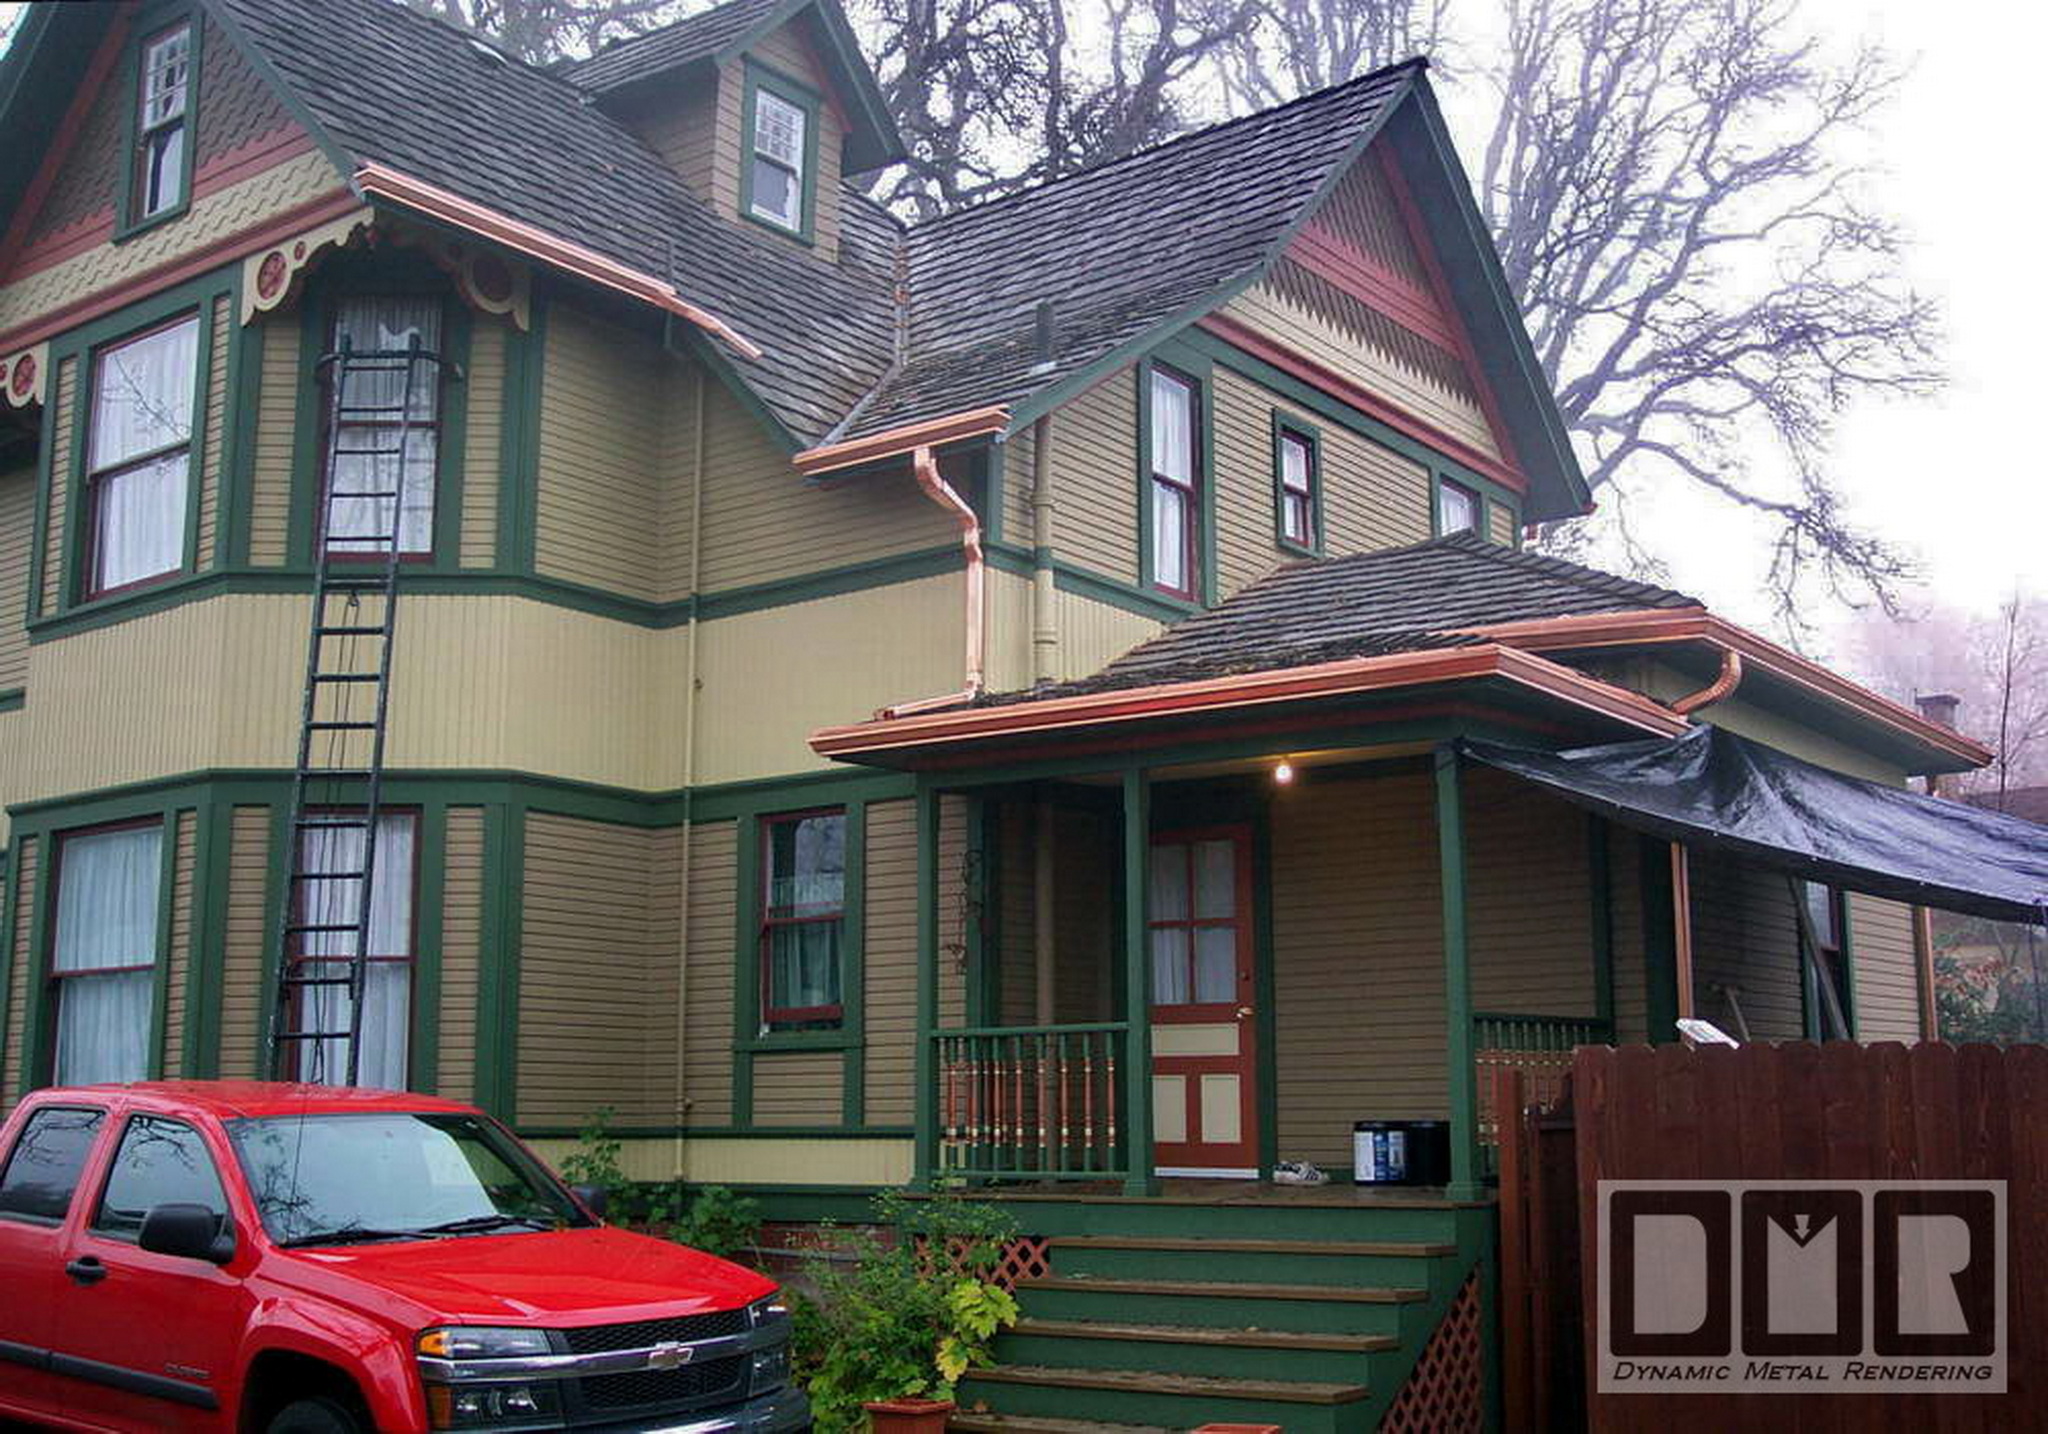
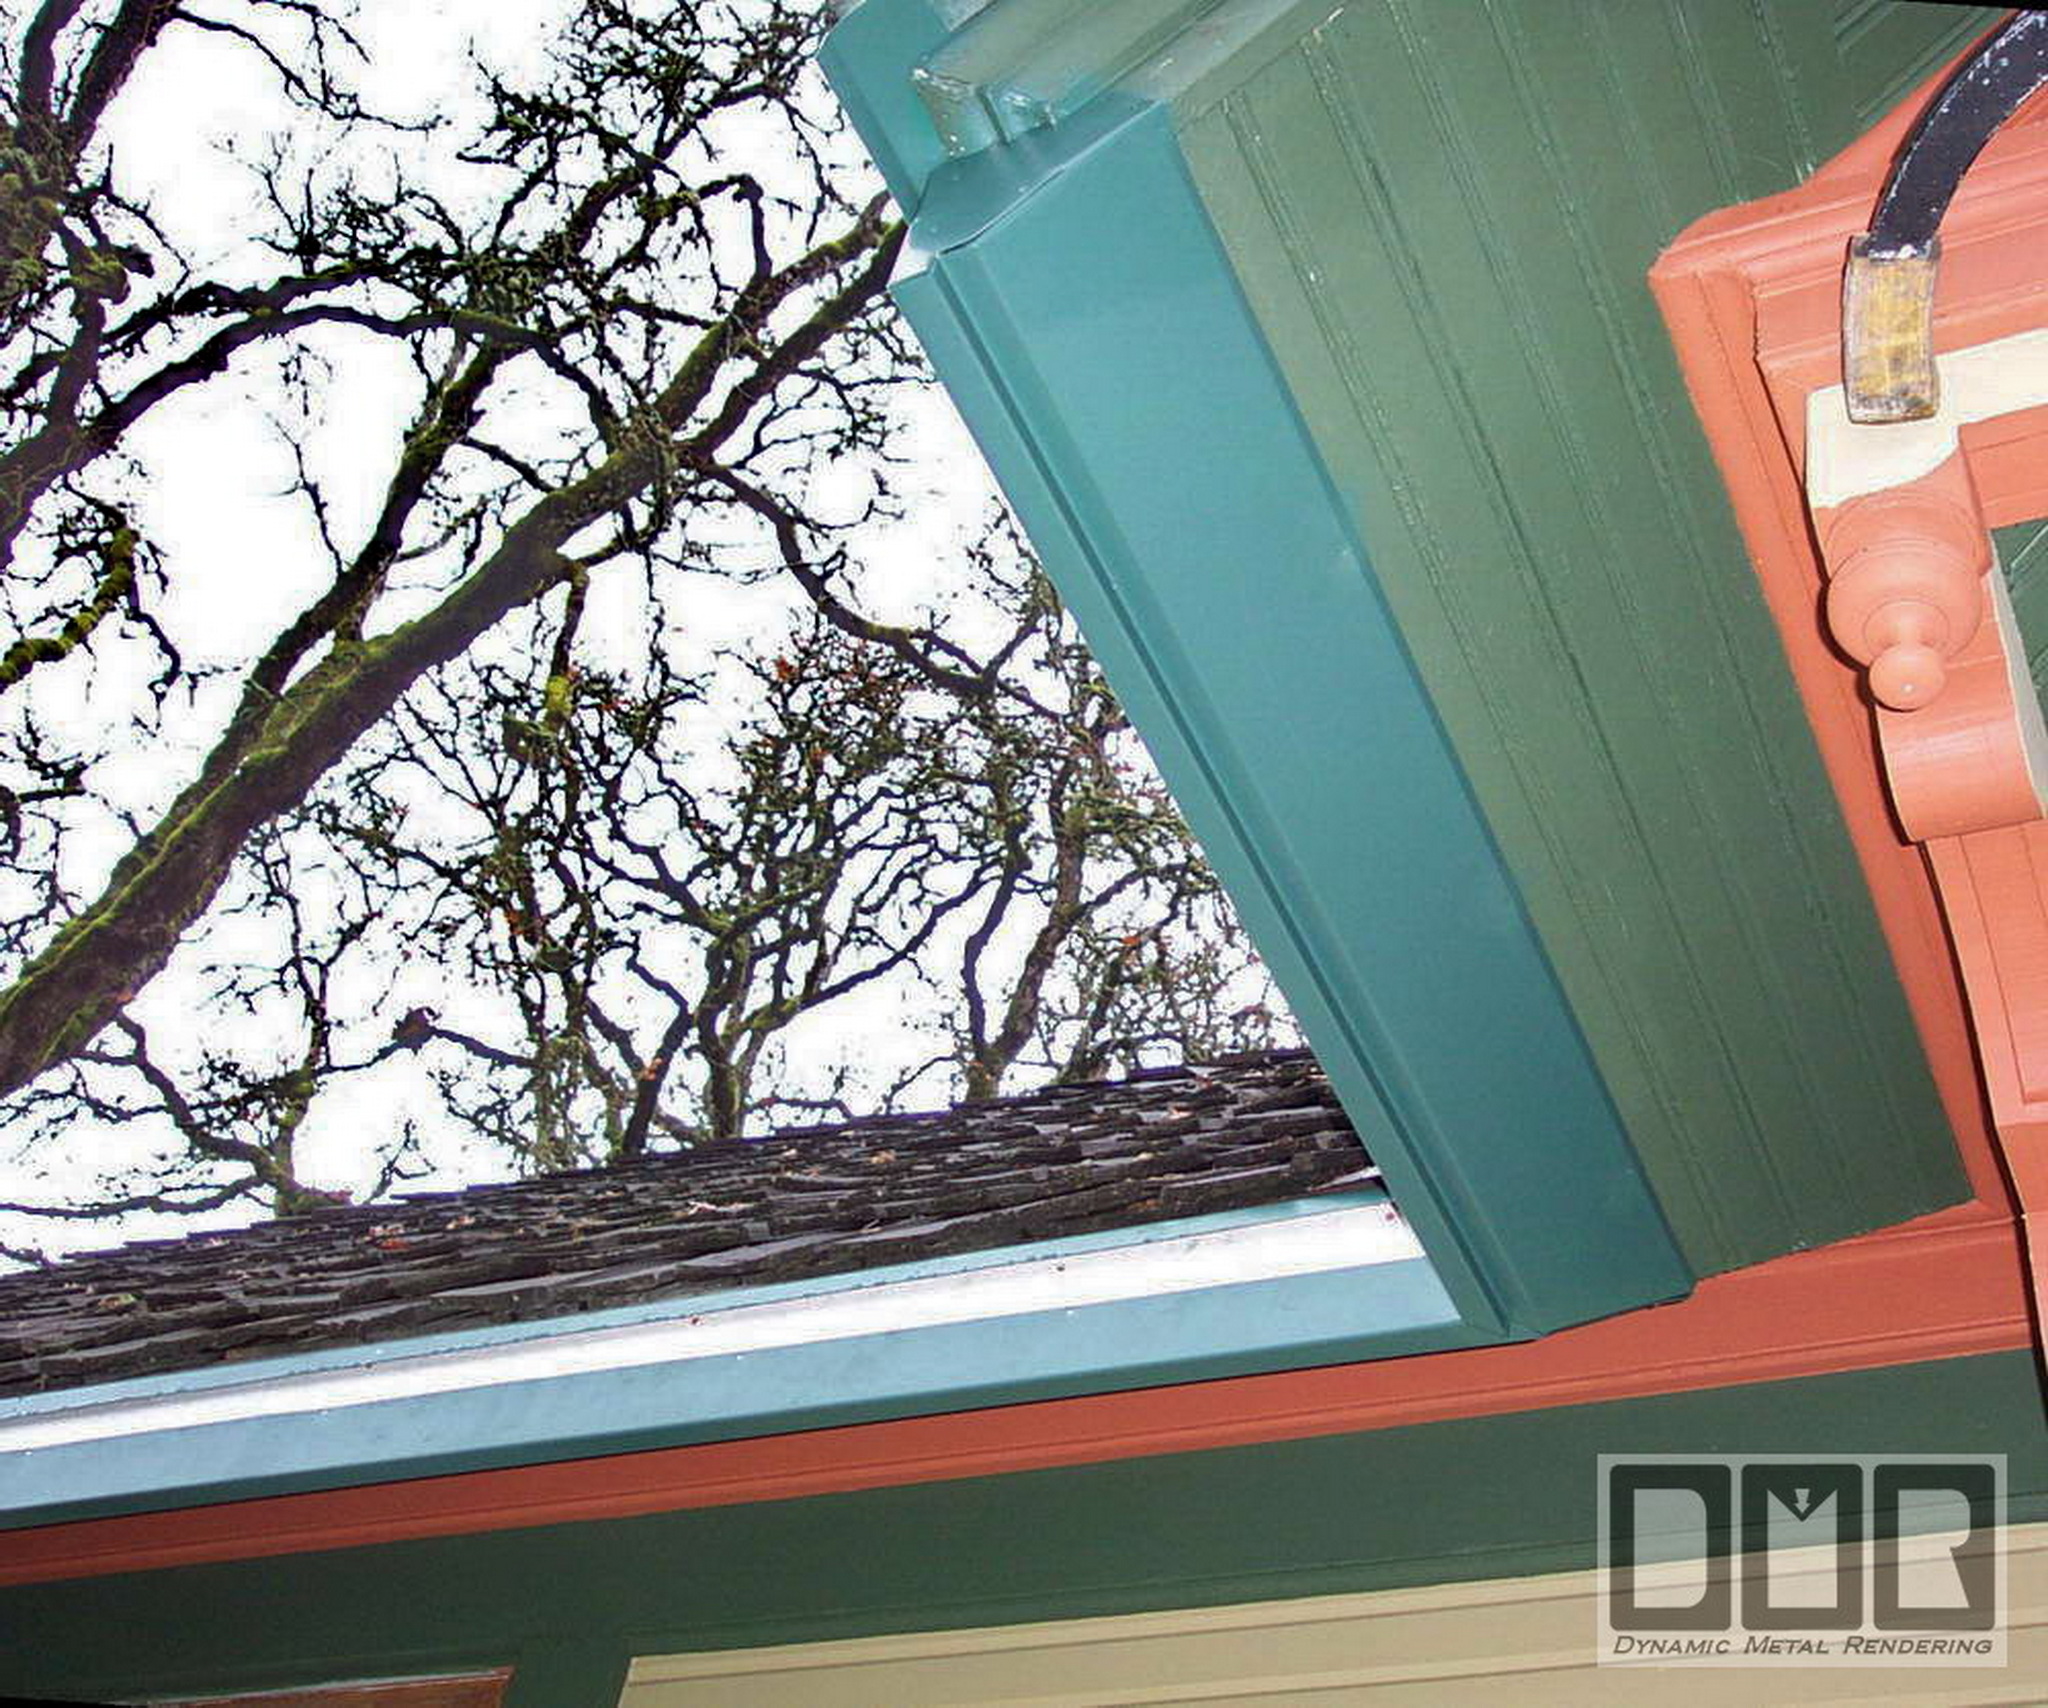
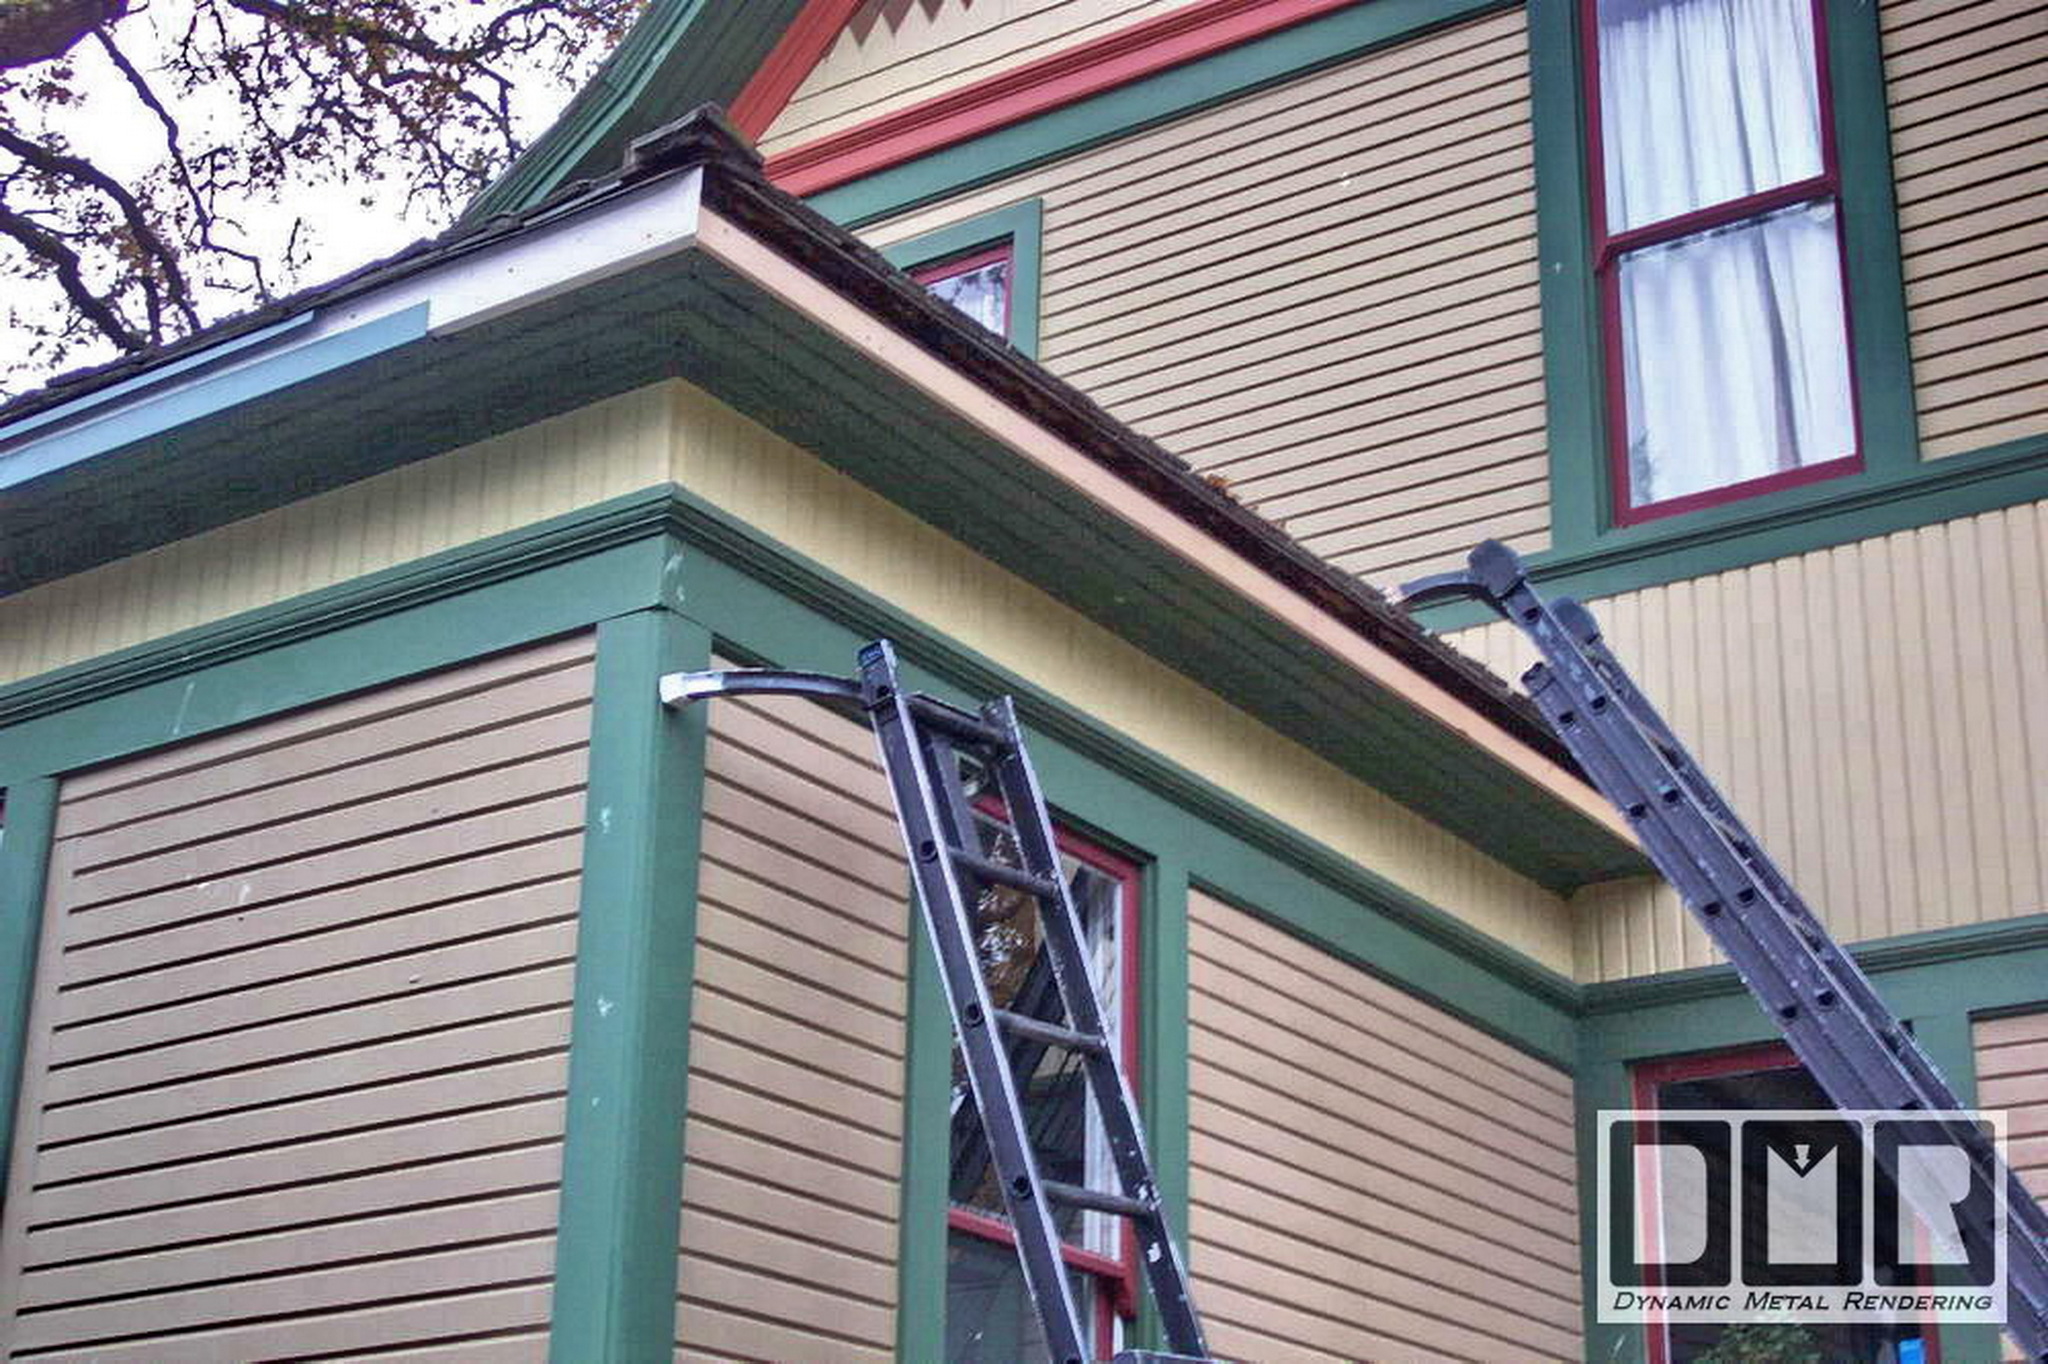
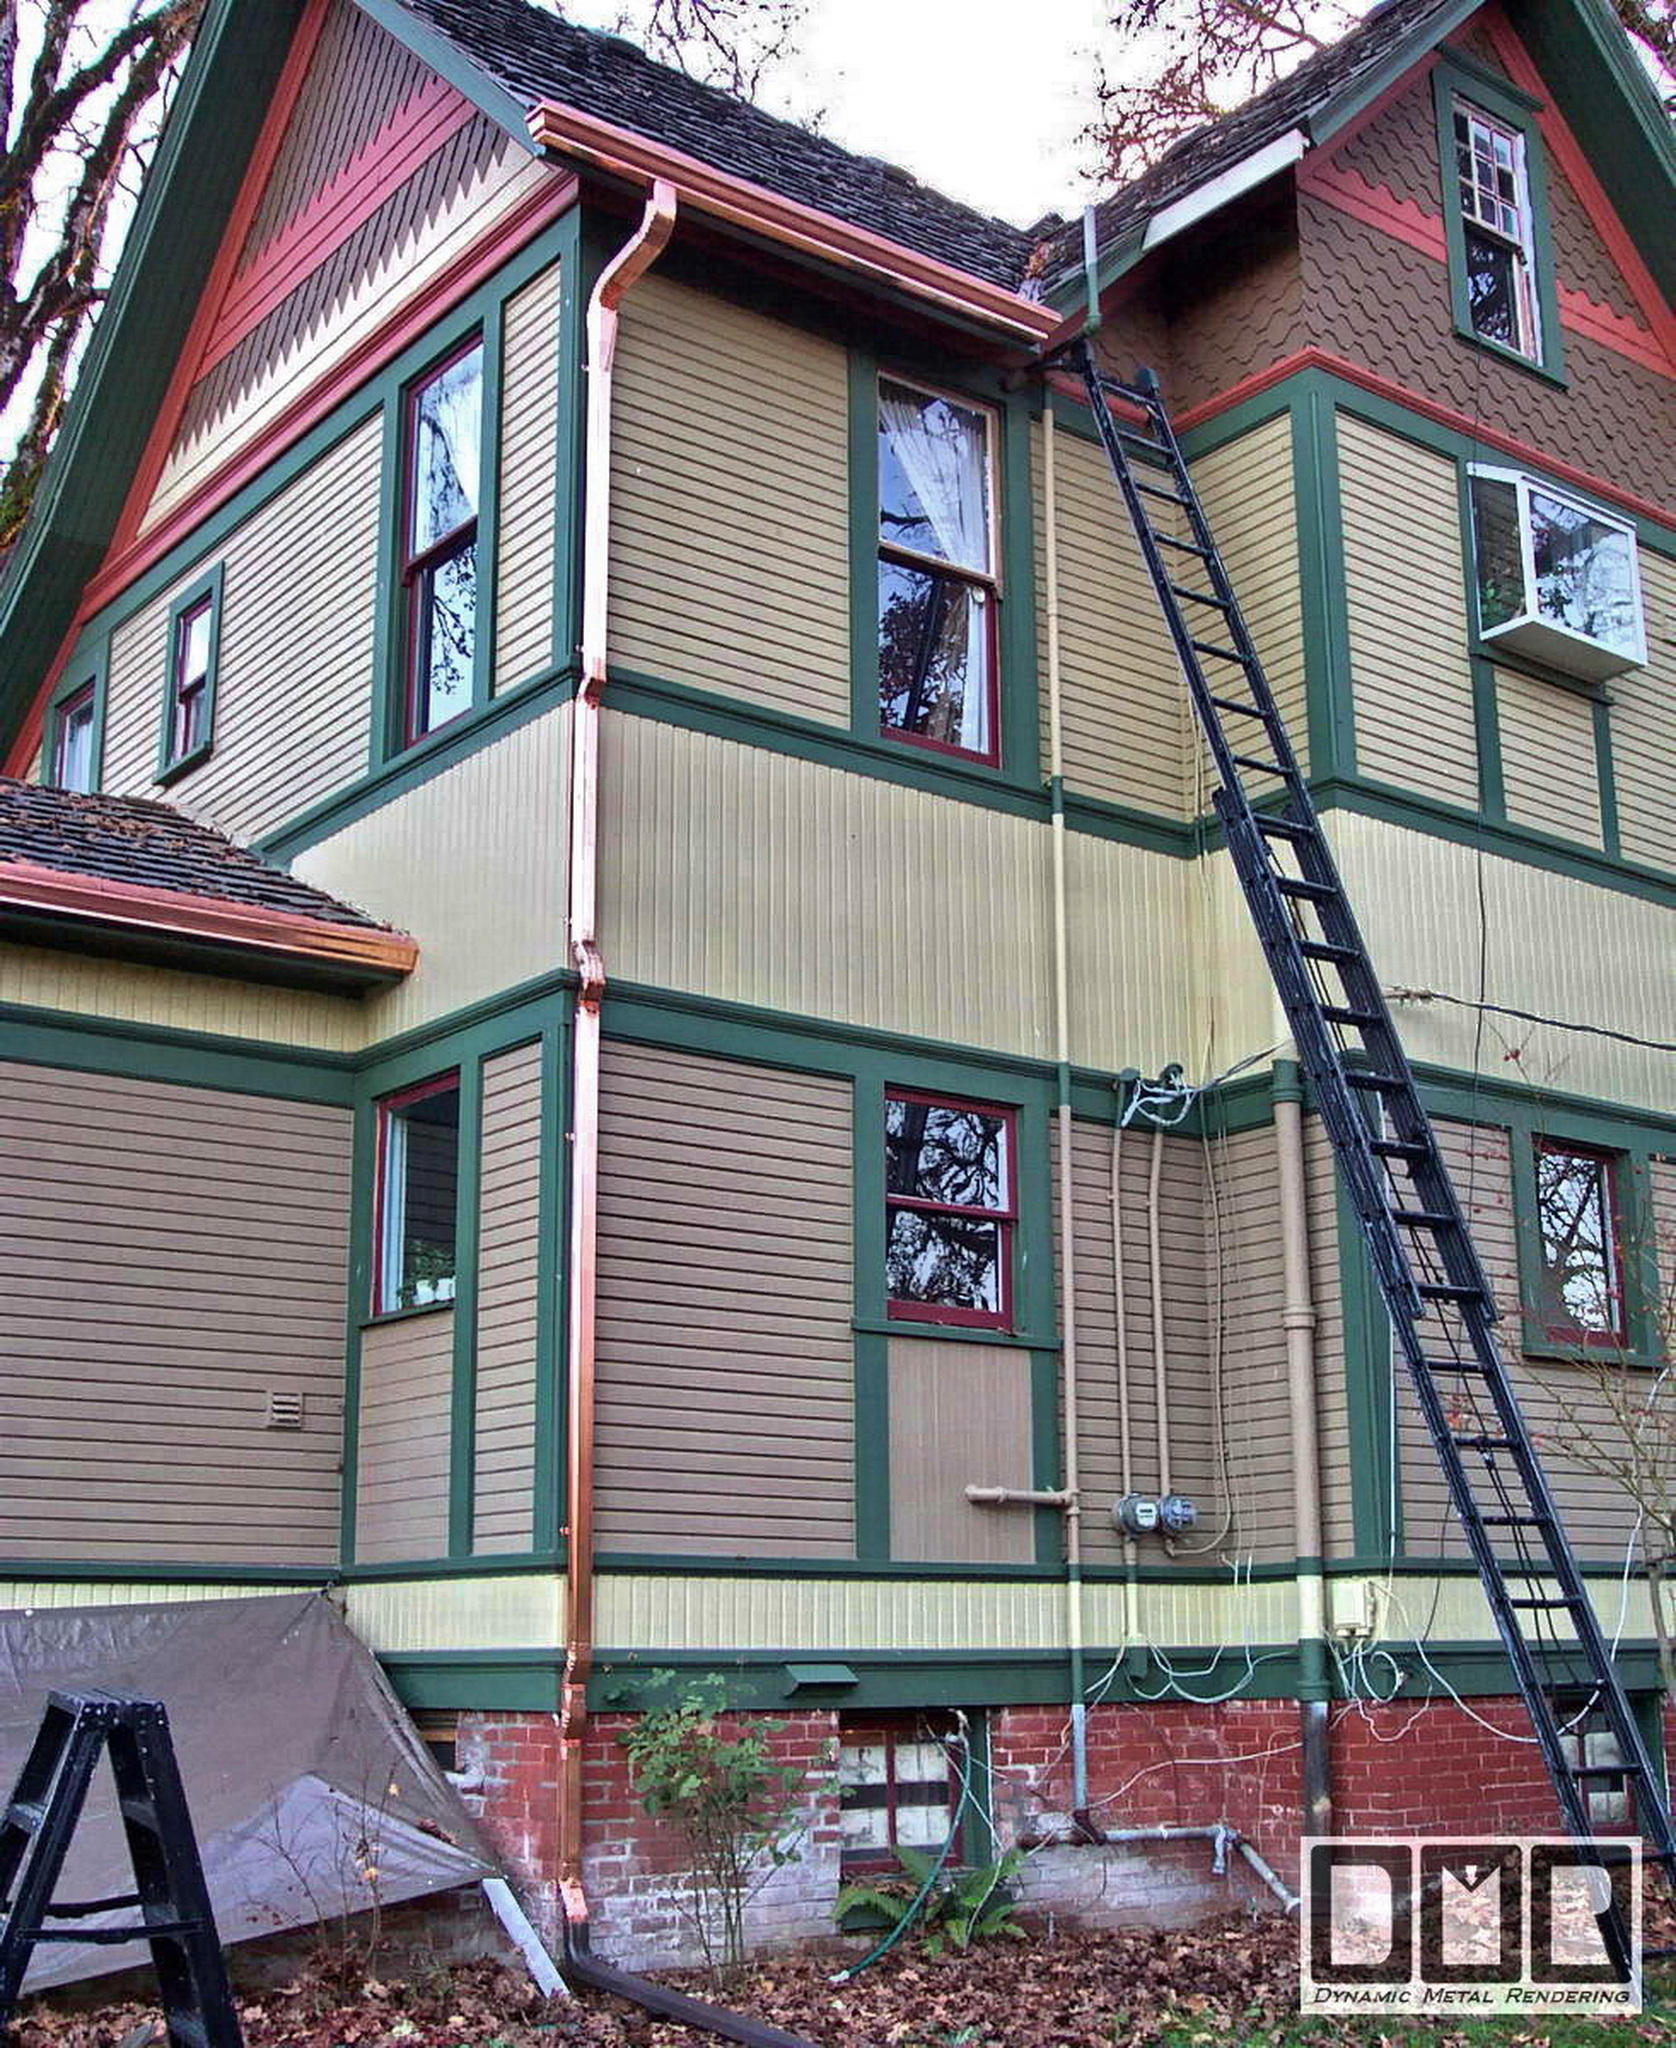
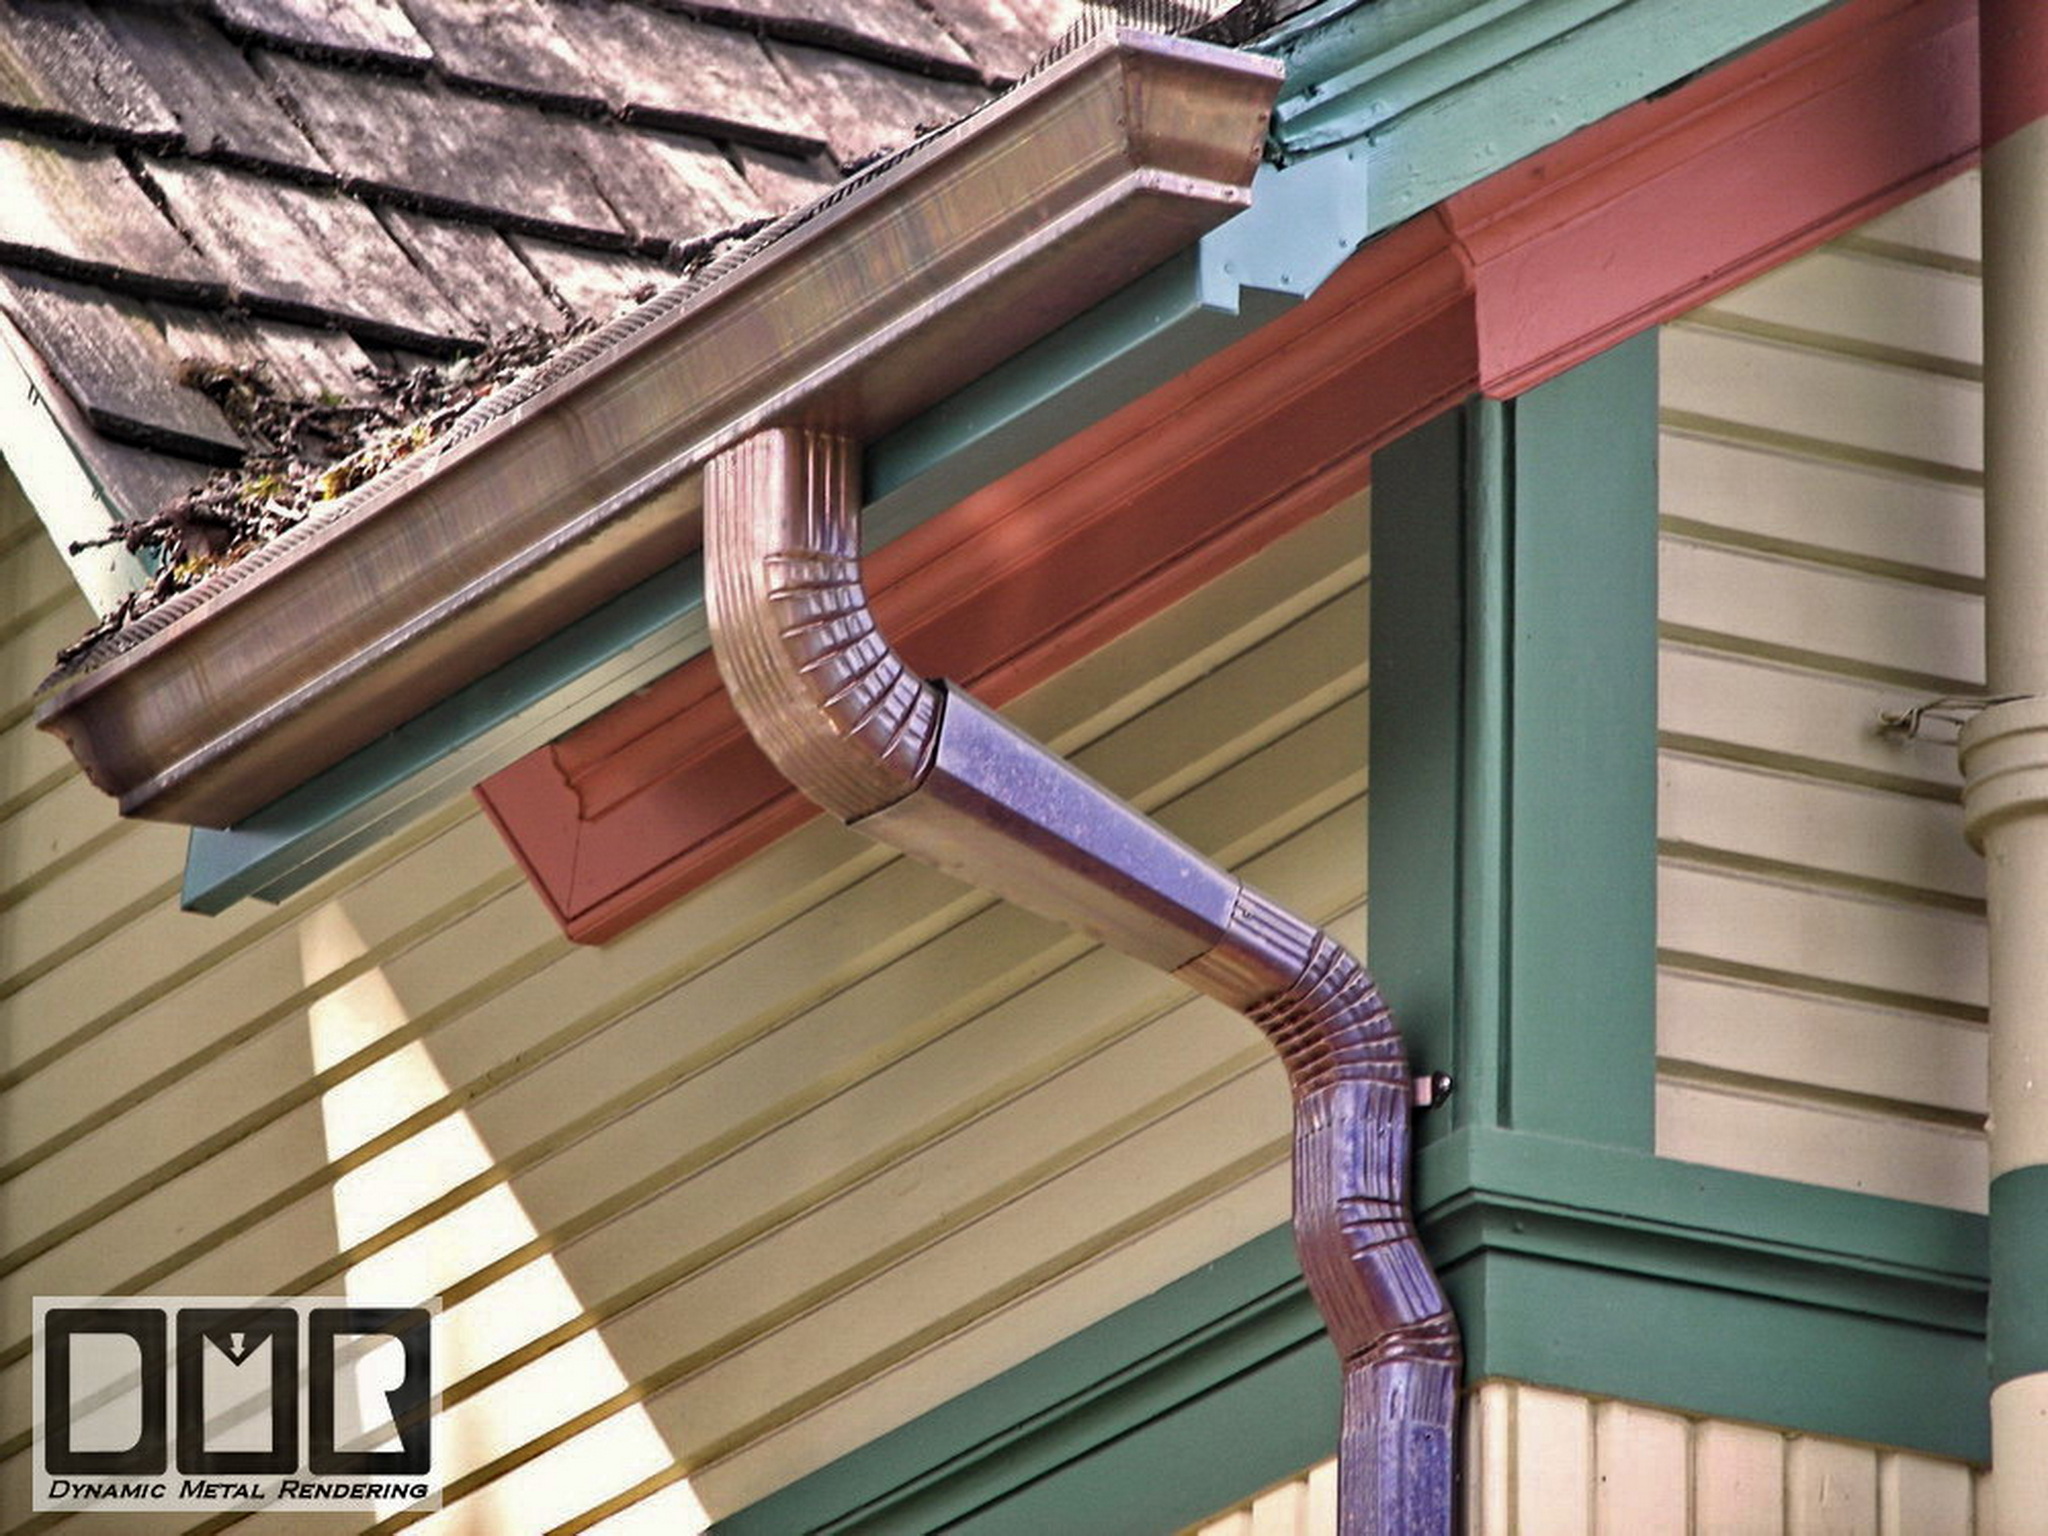
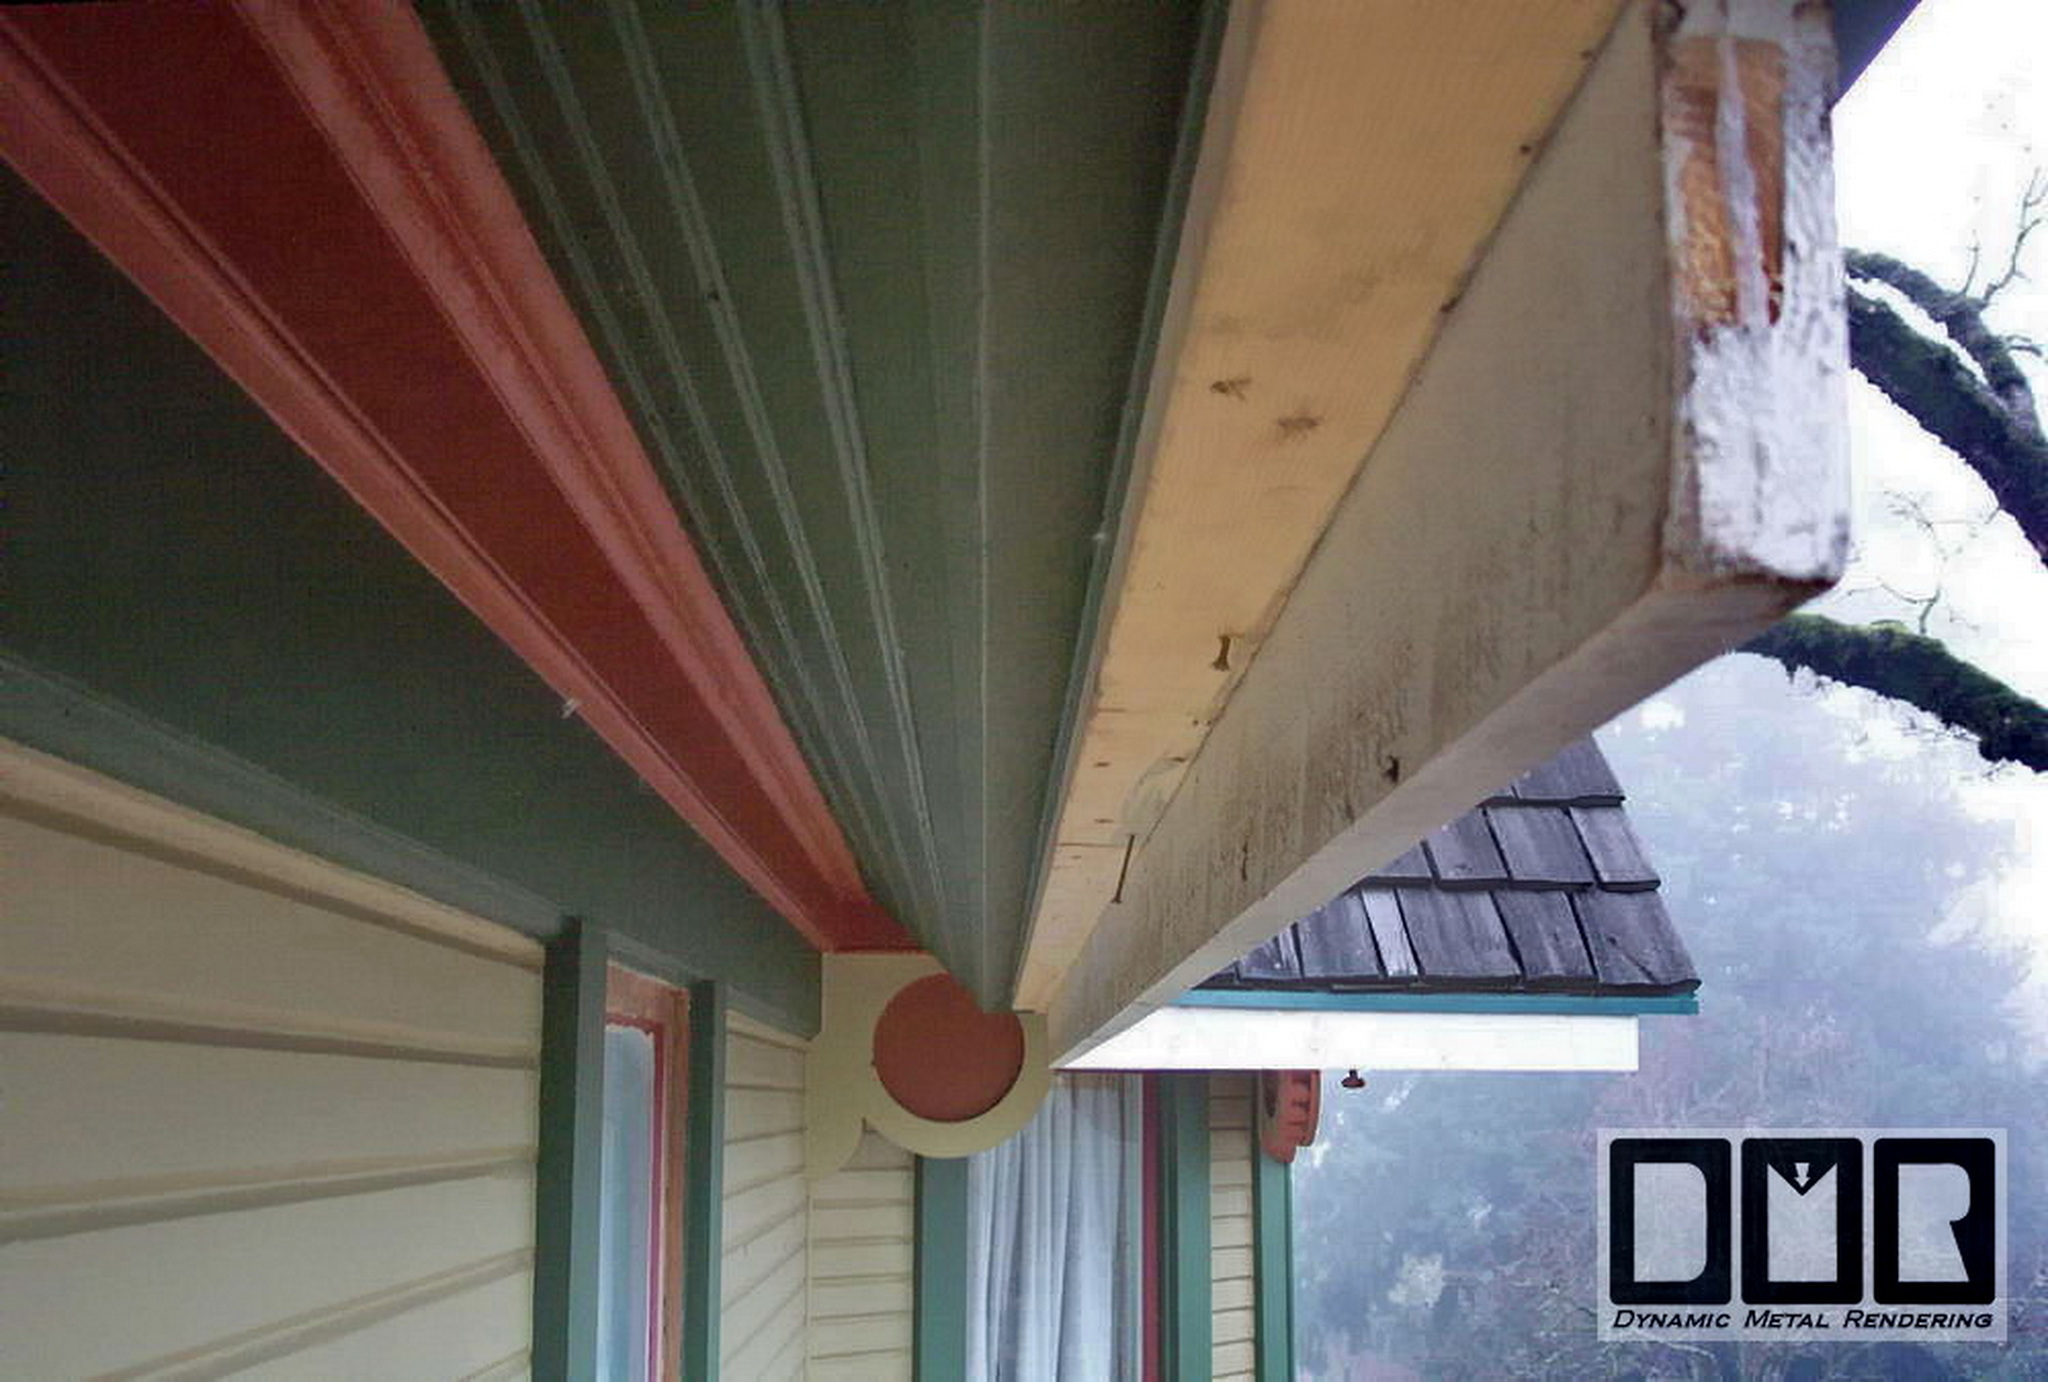
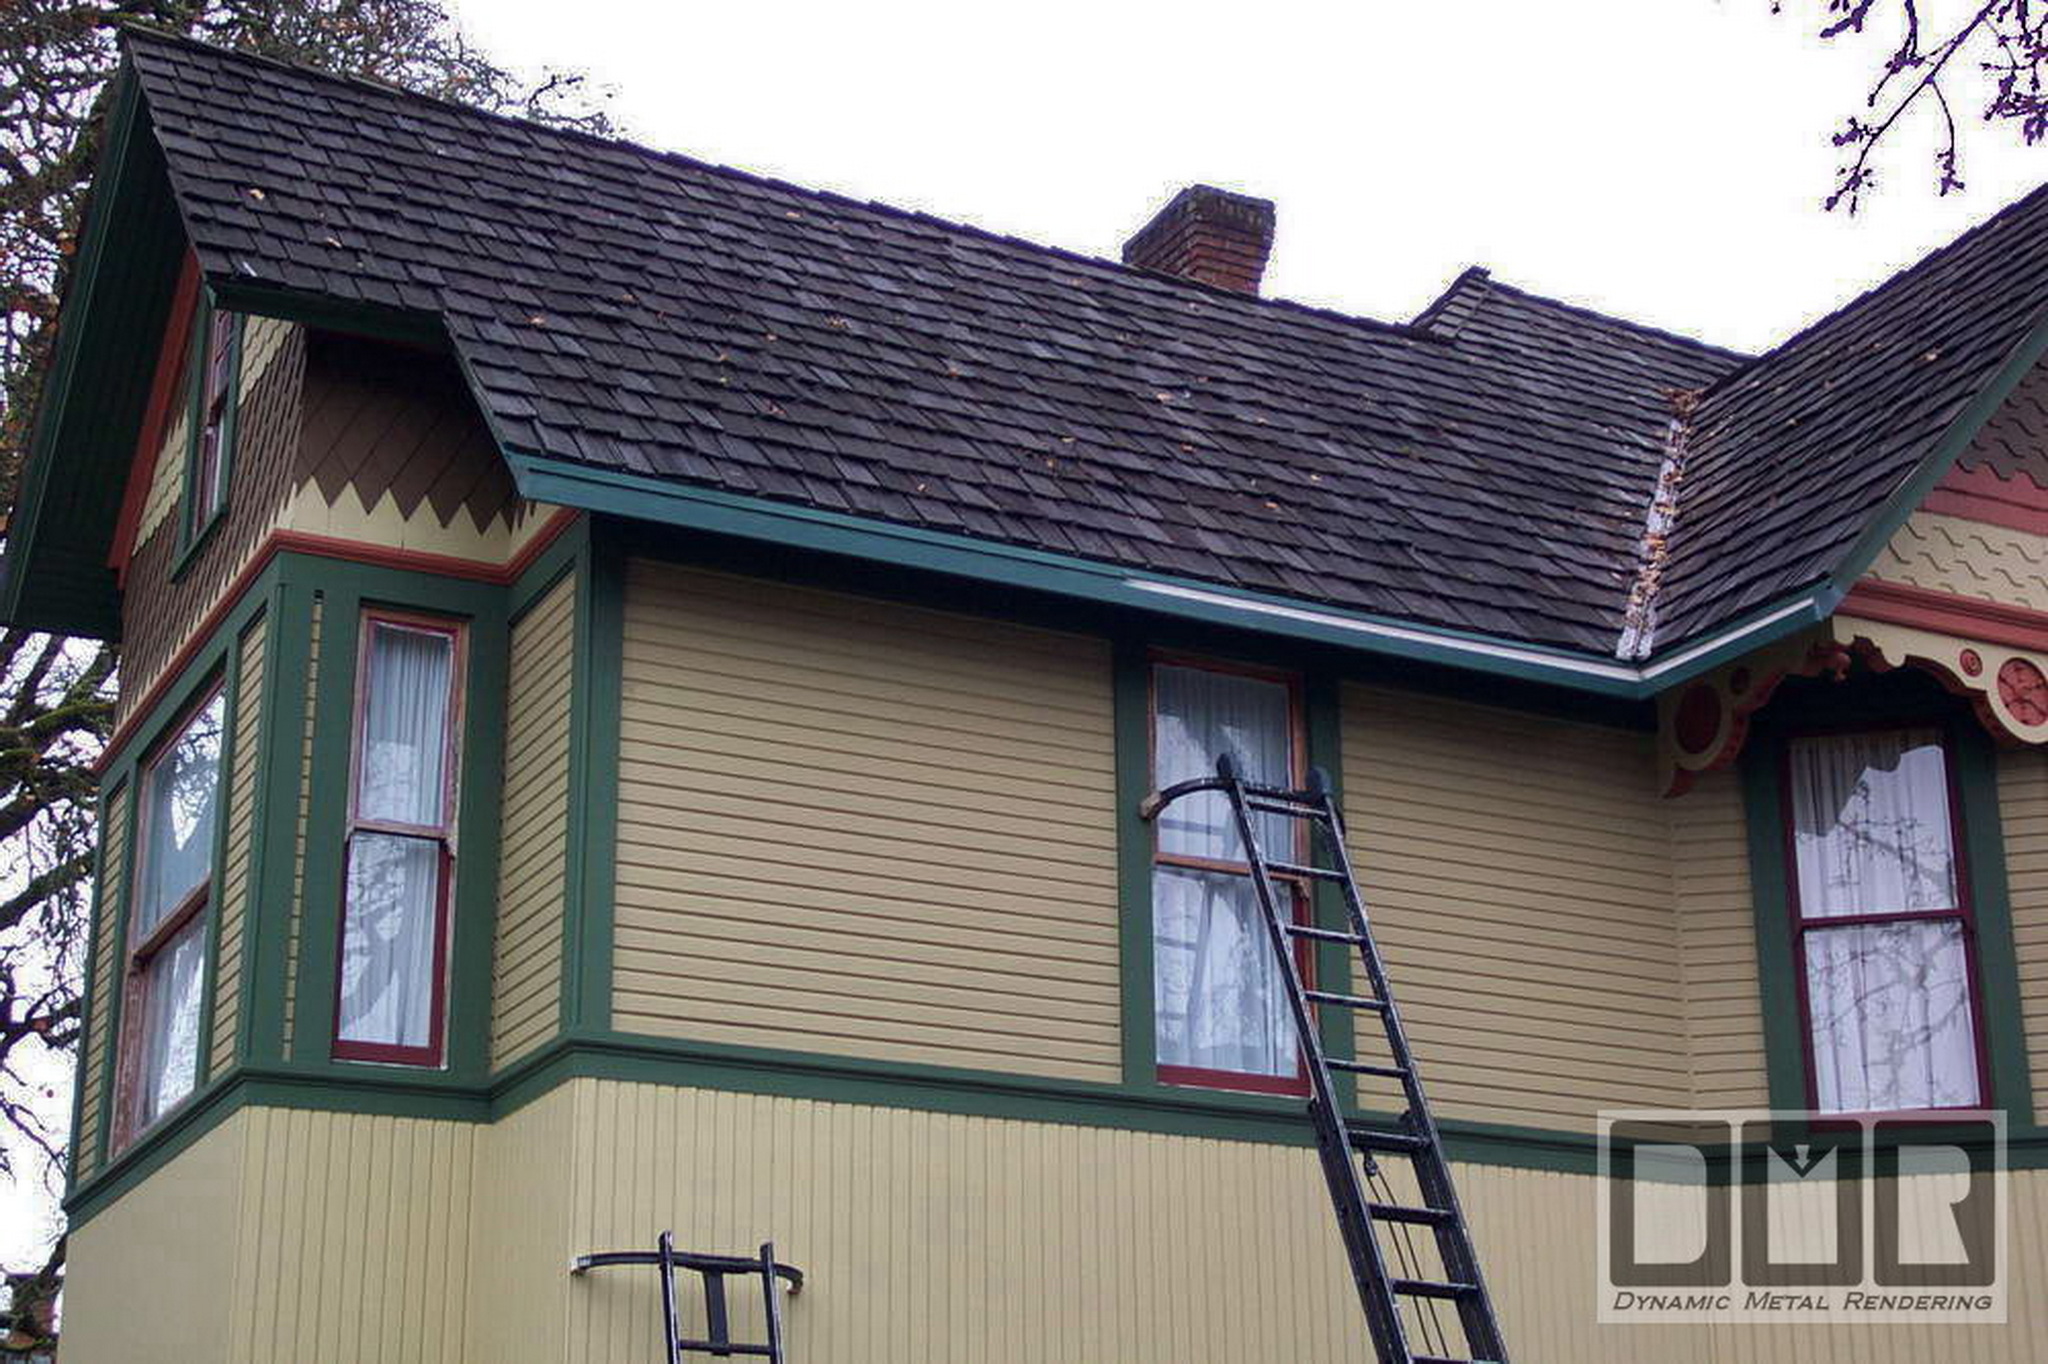
Fascia Preparation Work
The Kistler Copper Gutter Project
Photo & Description Page #3

2325 A St., Forest Grove, Oregon
(12/04)

 Updated 11-23-2007

Company
Profile
Aluminum
Gutters
Copper
Gutters
Custom
Work
Award &
Referrals
Personal
Ethics

Our Contact
Information

Remember you can click on each pictures below for a better view

I worked on the back first. I knew this project would be taking a long time and this was the rainy season, so I decided to fix-up the lower gutters before the upper gutters, since they will catch a good deal of the rain from the upper gutters.

These photos show the build-out of the fascia boards, so the wood shake roof does not over shoot the gutters and a person can actually get their hand in the gutter to clean them out when needed.  I needed to build it out 1.75" on this lower rear gutter, and this was the easiest ones that needed the least build-out.

Here is the work on the back upper sides, where I cut a bevel off the 2x3s, cut to length, pre-drill holes for the 3" Deckmate screws, and install them on the roof edge. Then I cut a bevel off the top of the 5/4 x 6 primed fascia board, again pre-drill holes for the 2.5" Deckmate screws and install them over the 2x3s.  Then install the dripedge flashing under the wood roofing shakes that the roofers neglected to install.

Then there is the custom bent green pre-painted aluminum sheet metal to install to hold out the bottom of the fascia board and tacked in place with 1.5" stainless steel nails.

A couple years later after the copper tarnished


Here is the work on the front entry to measure for fit, cut a bevel off the 2x3s, cut to length, pre-drill holes for the Deckmate screws and install them. Then cut a bevel off the top of the 5/4 x 6 primed fascia board, again pre-drill holes for the Deckmate screws and install them over the 2x3s and miter the corner. Then install the dripedge flashing under the wood roofing shakes that the roofers neglected to install.

The first support board to make up for
the thickness of the wood molding above

Then the fascia board goes over it
attached with screws

Then take measurements for the custom Forest Green pre-painted aluminum sheet metal cover to be bent to shape and installed with small stainless steel nails.

Then of course to install the gutters and seal the corner. Clip on the hinged copper screens and figure out how the downspout needs to go and fabricate that part.

.

.

Here is the 
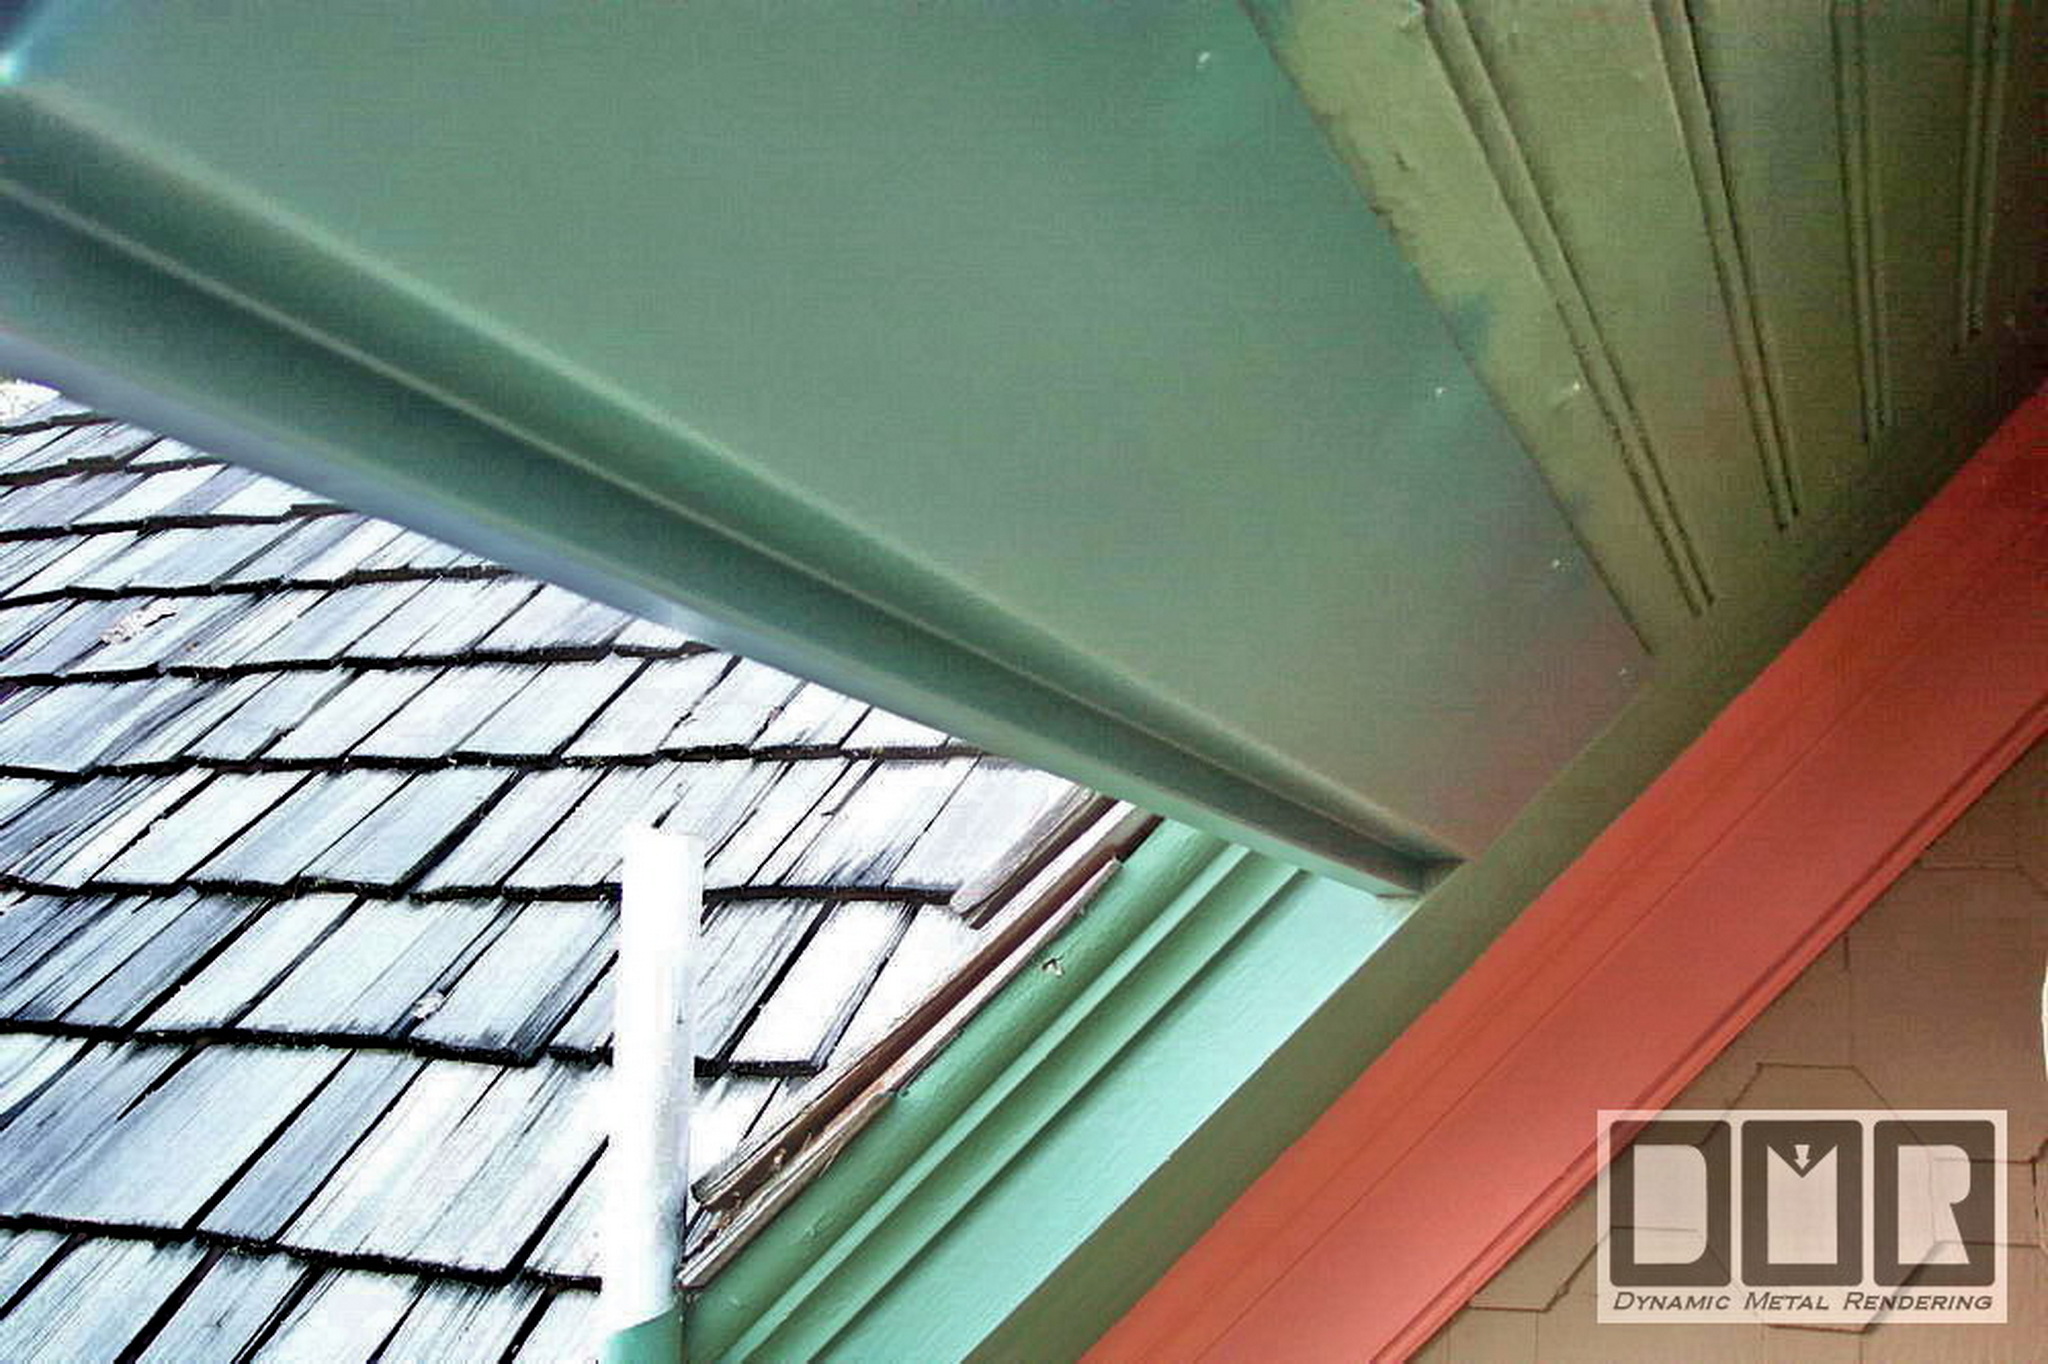
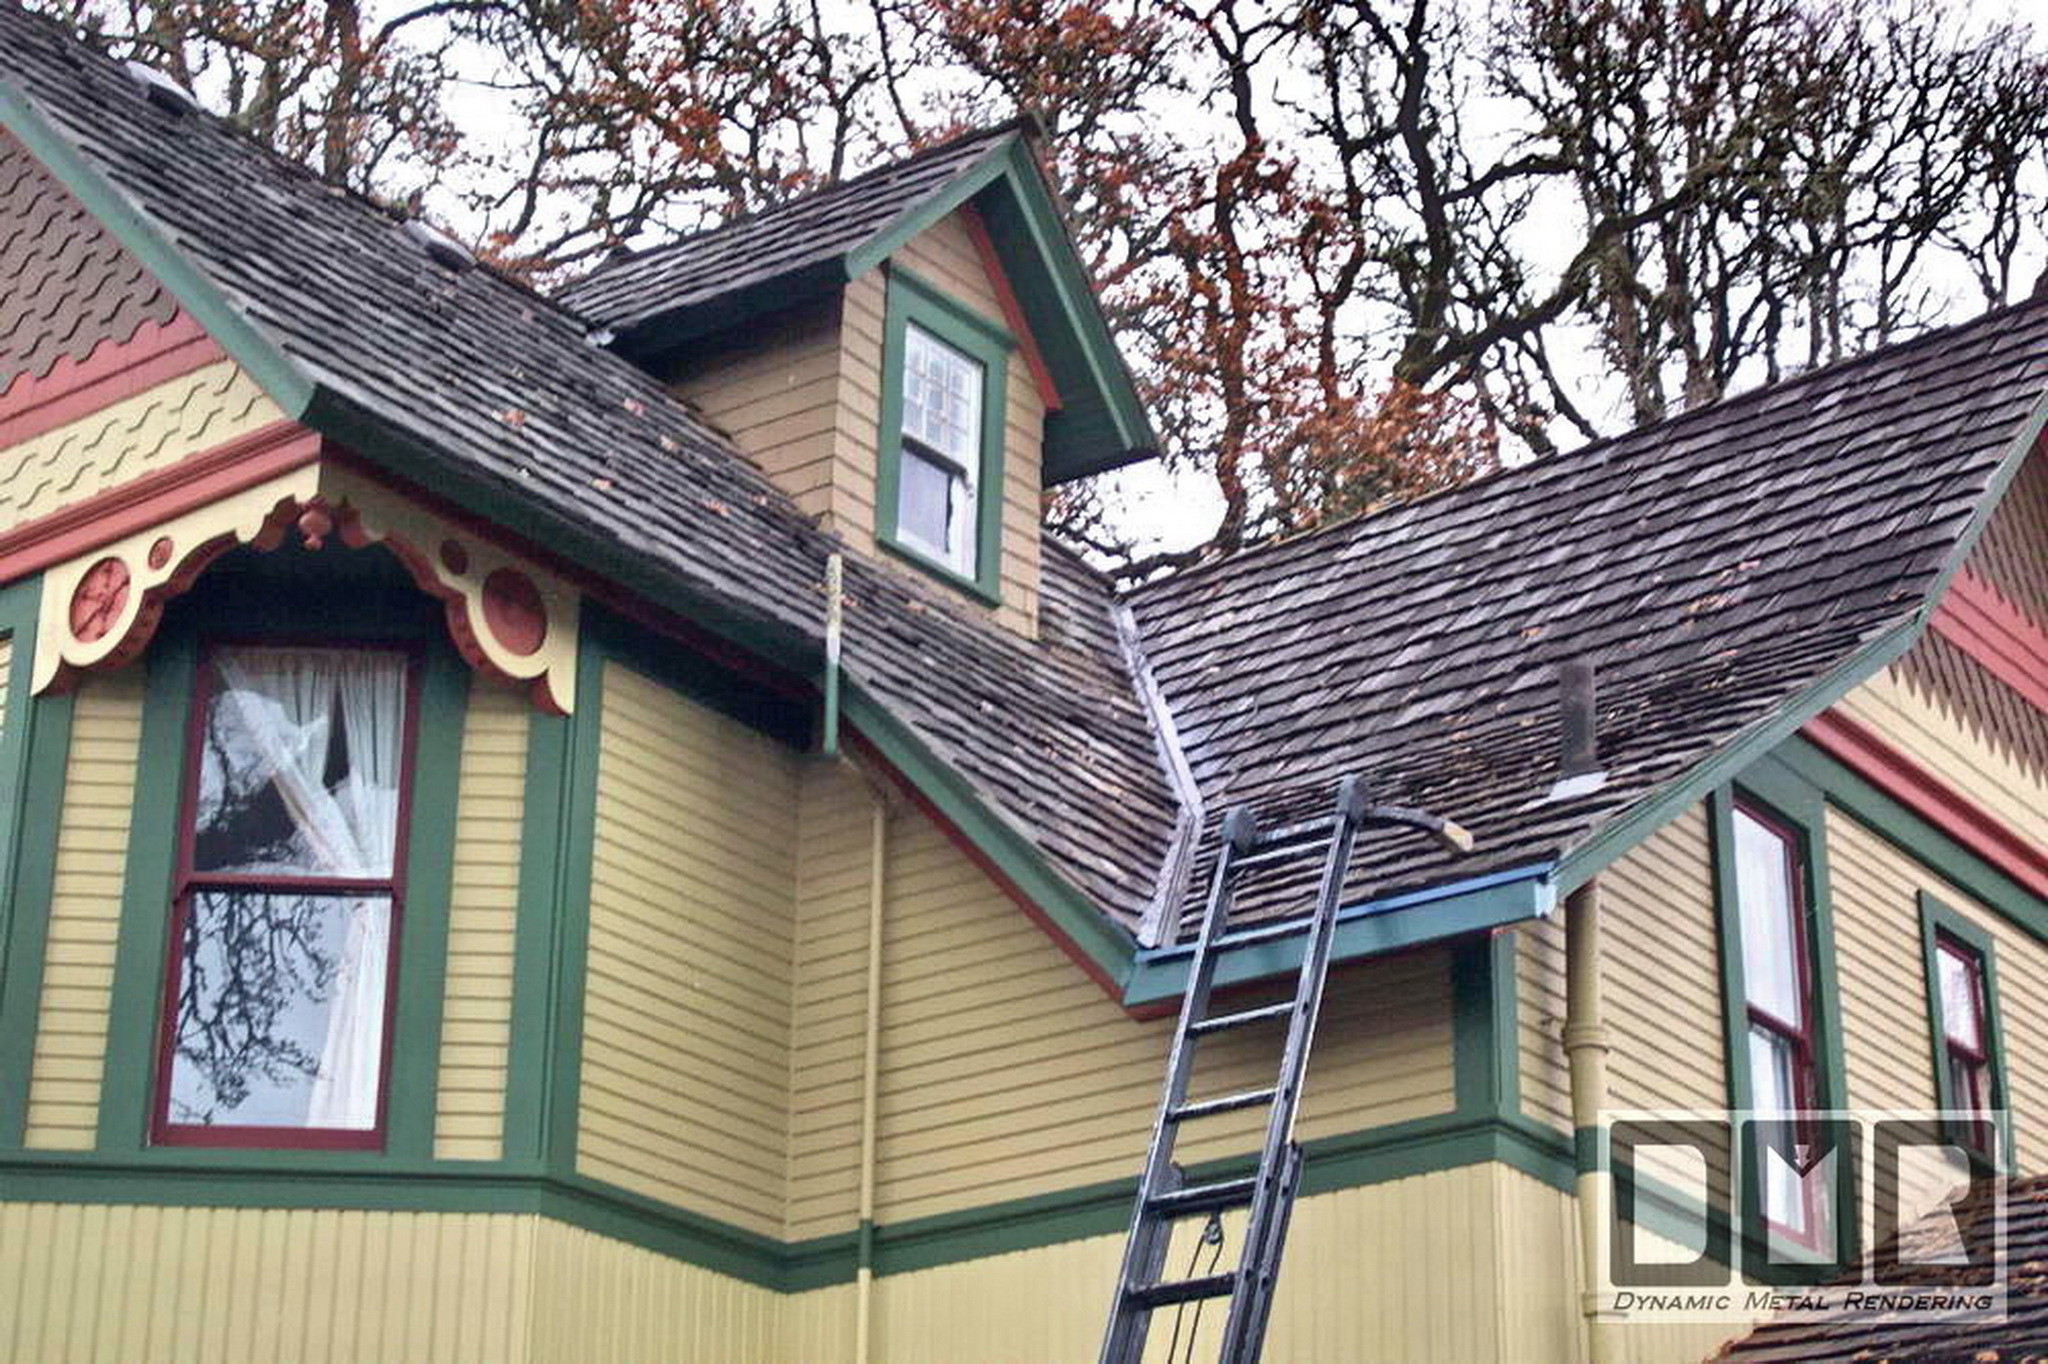
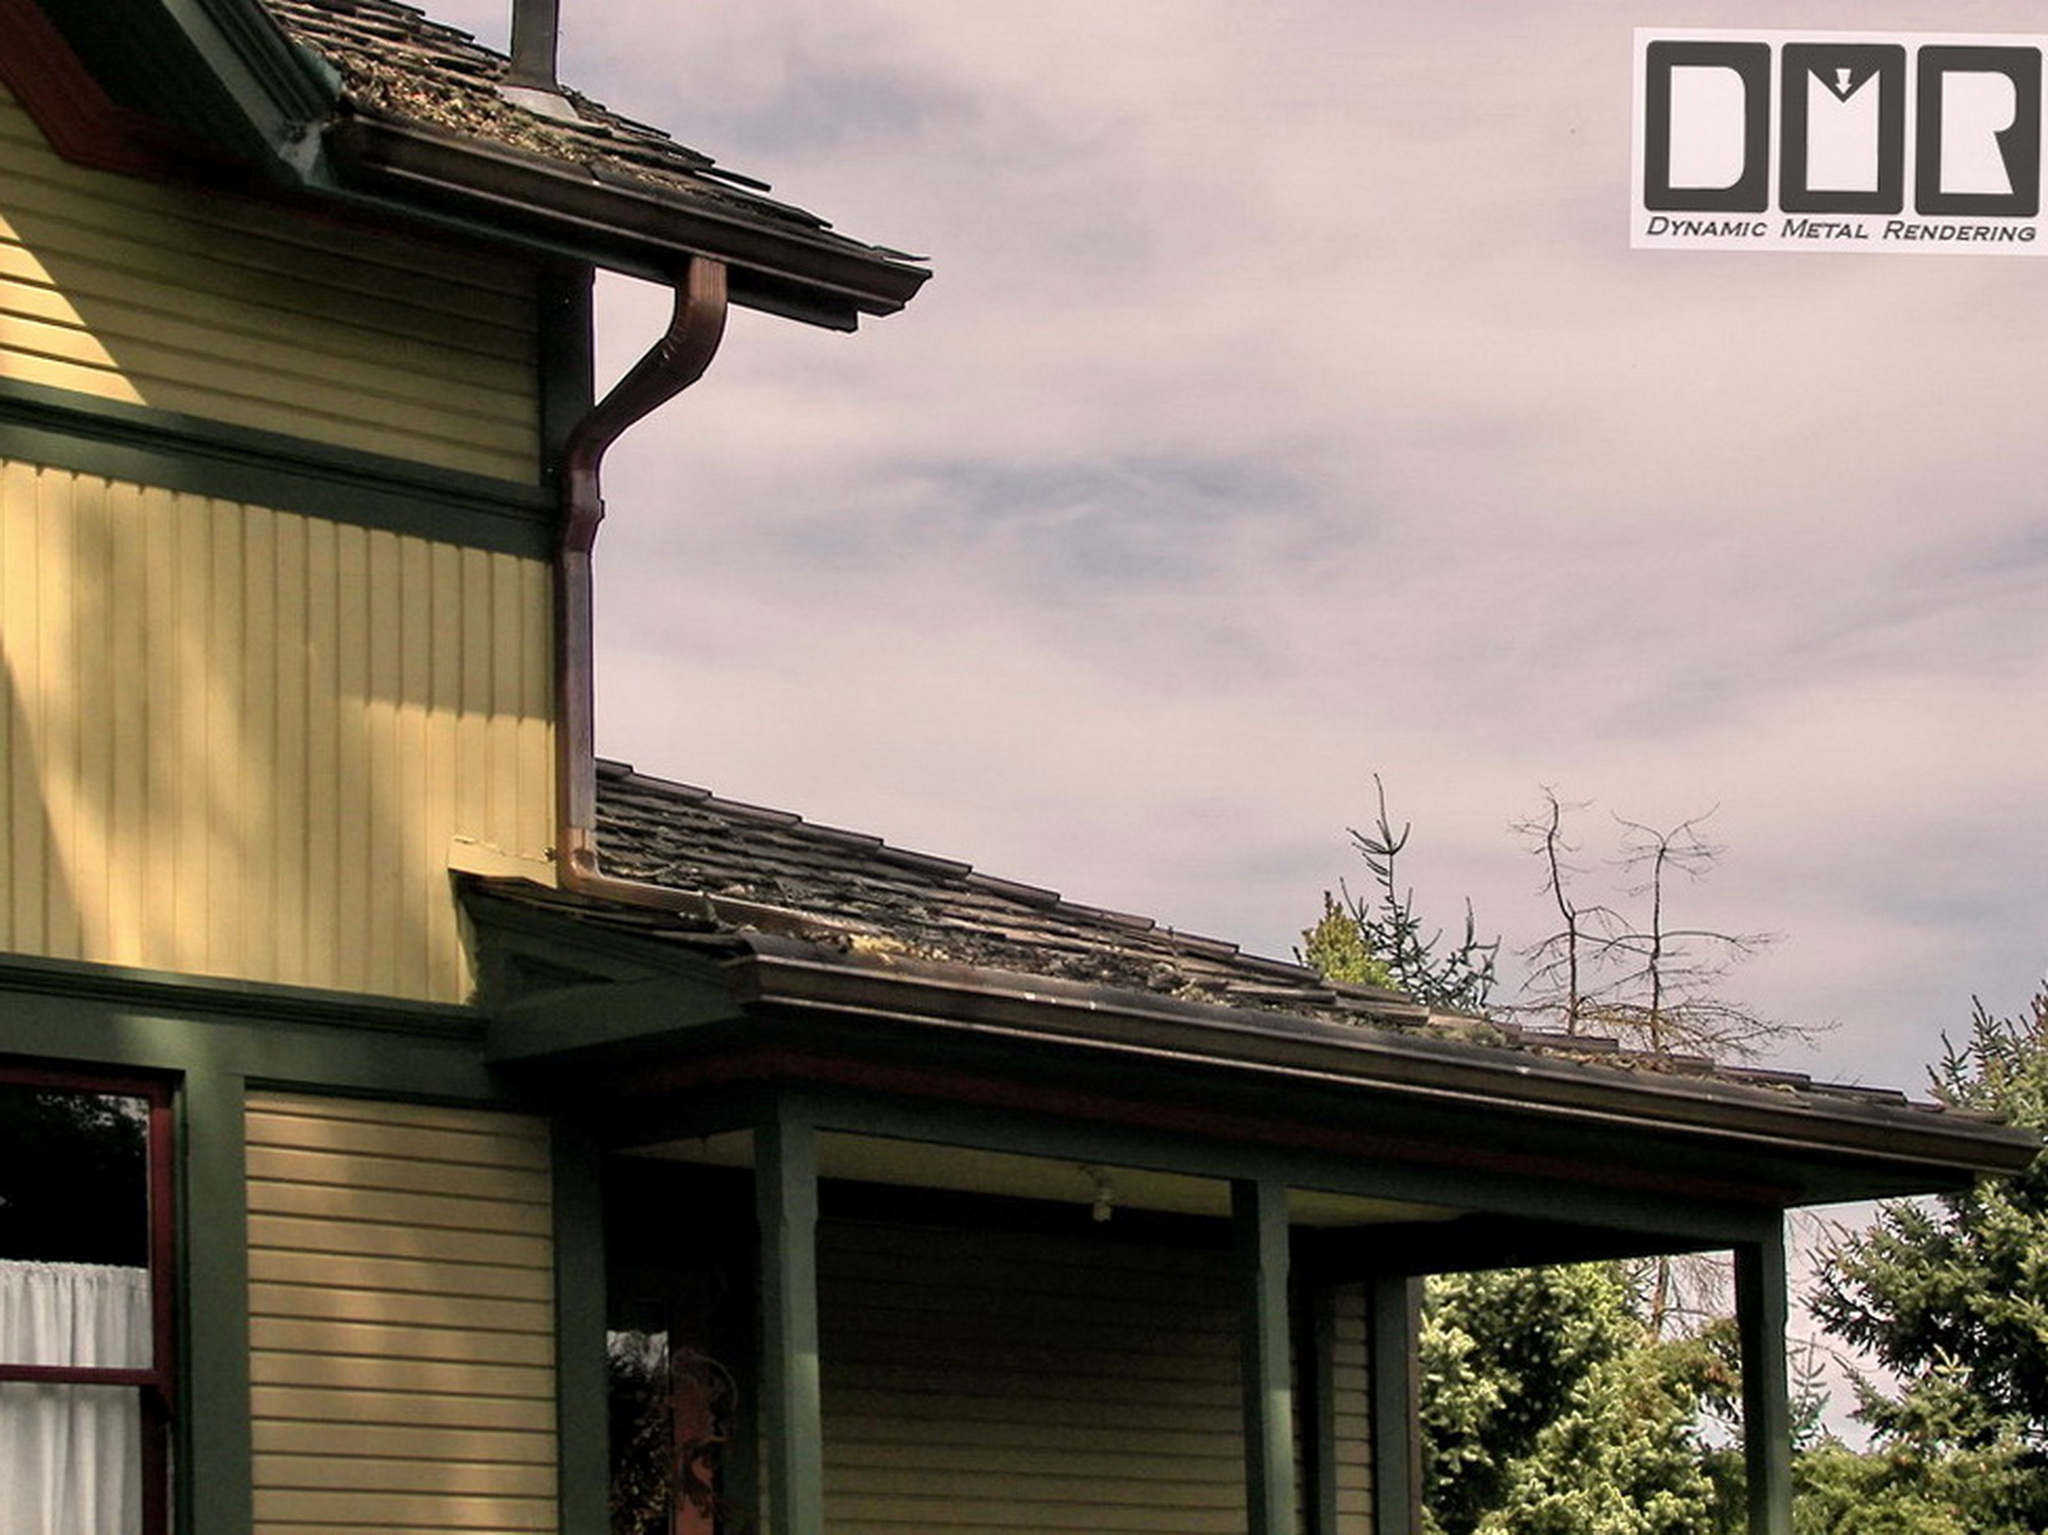
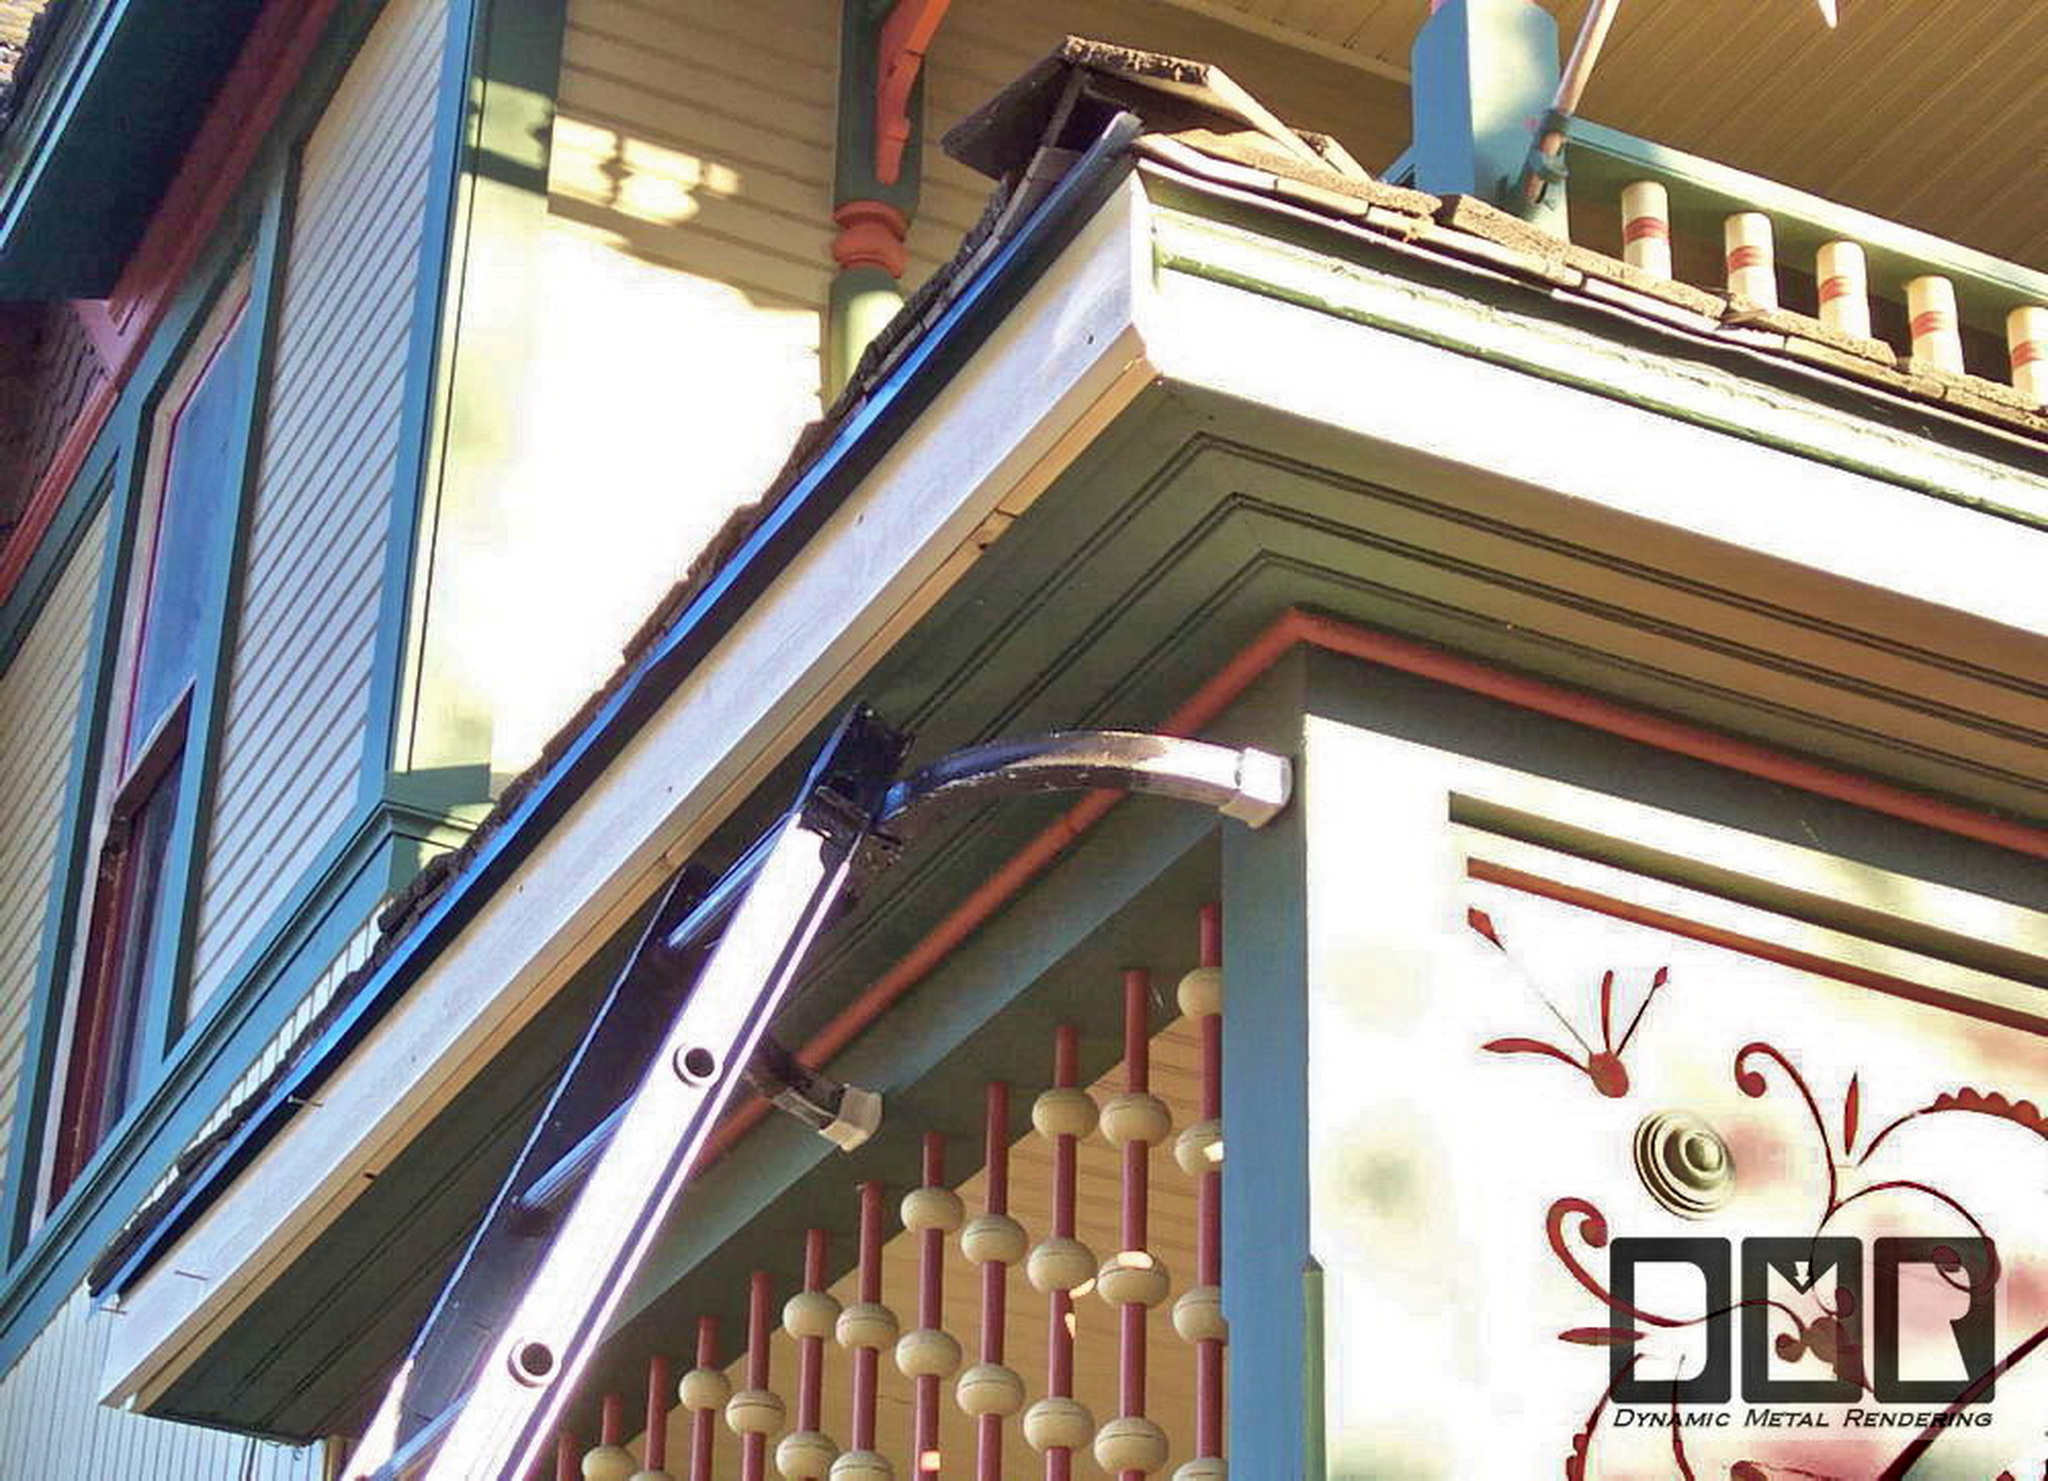
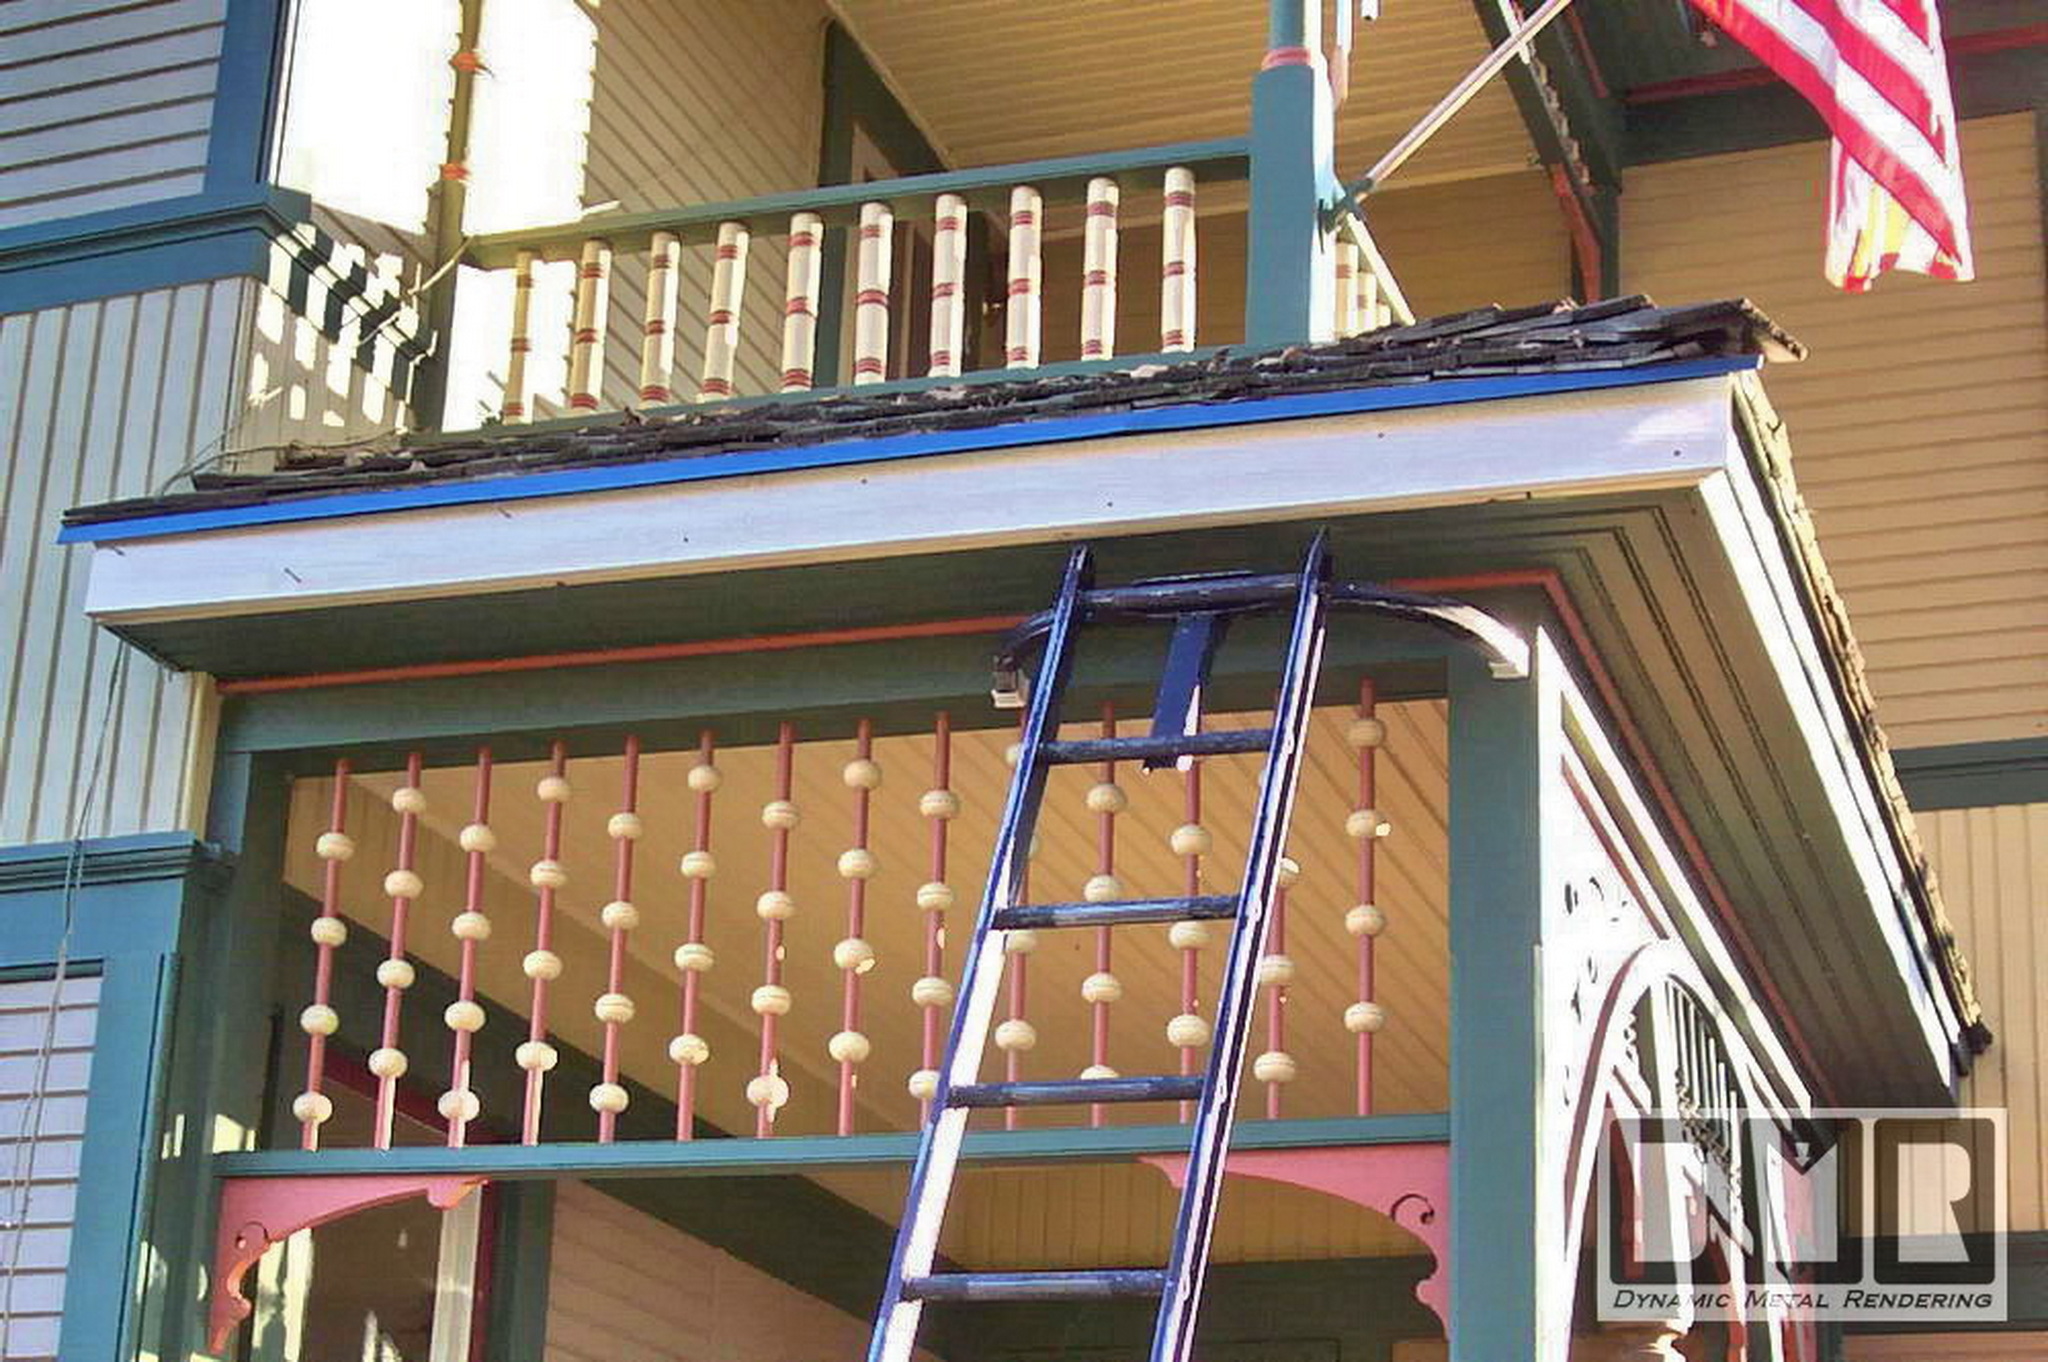
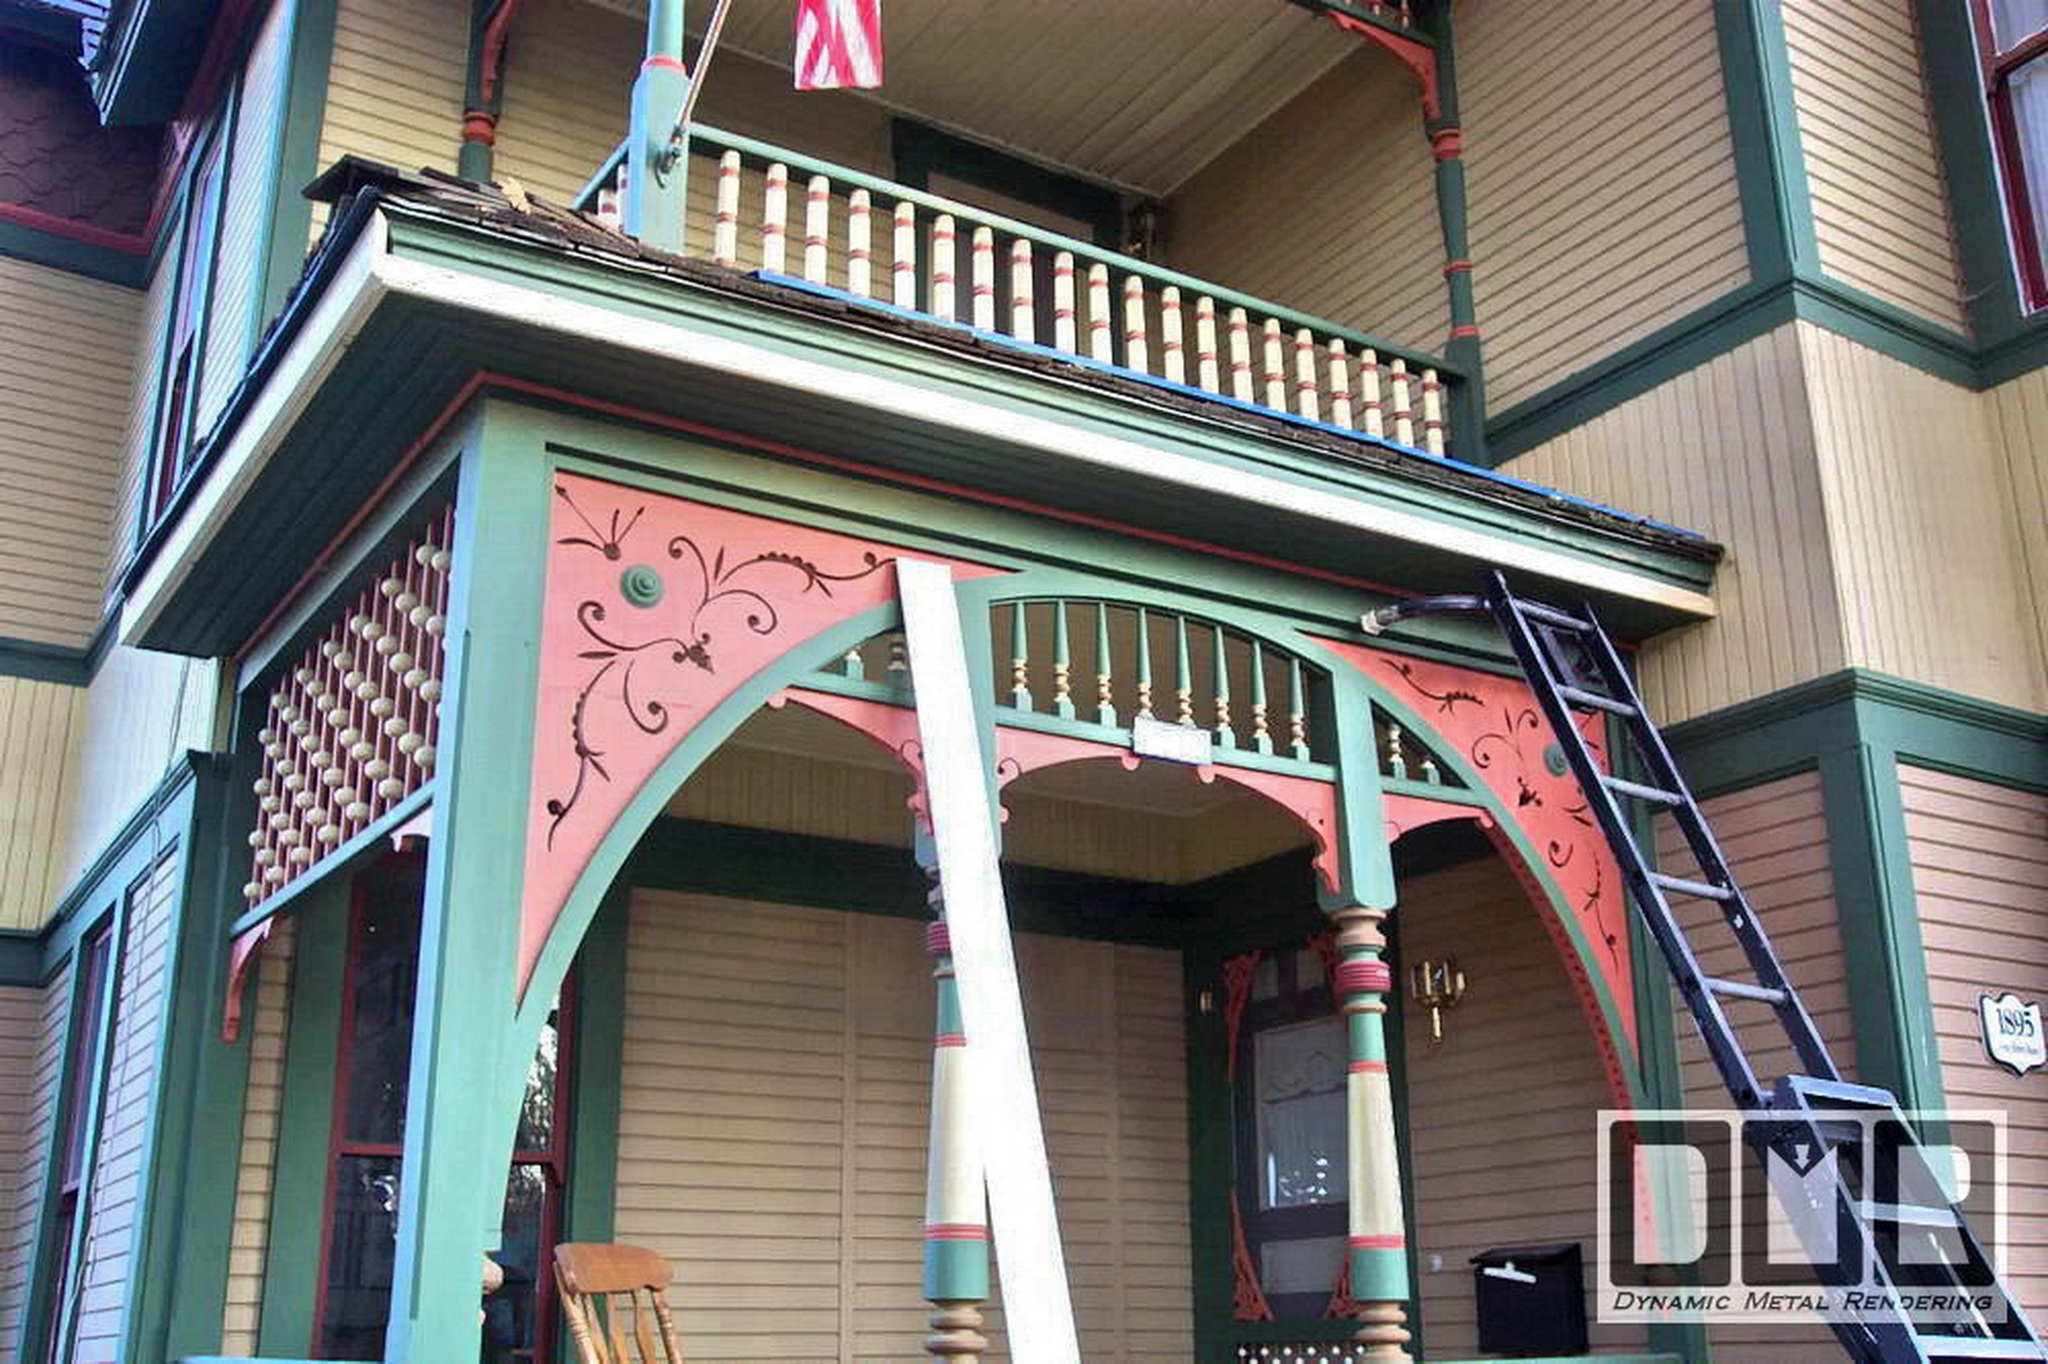
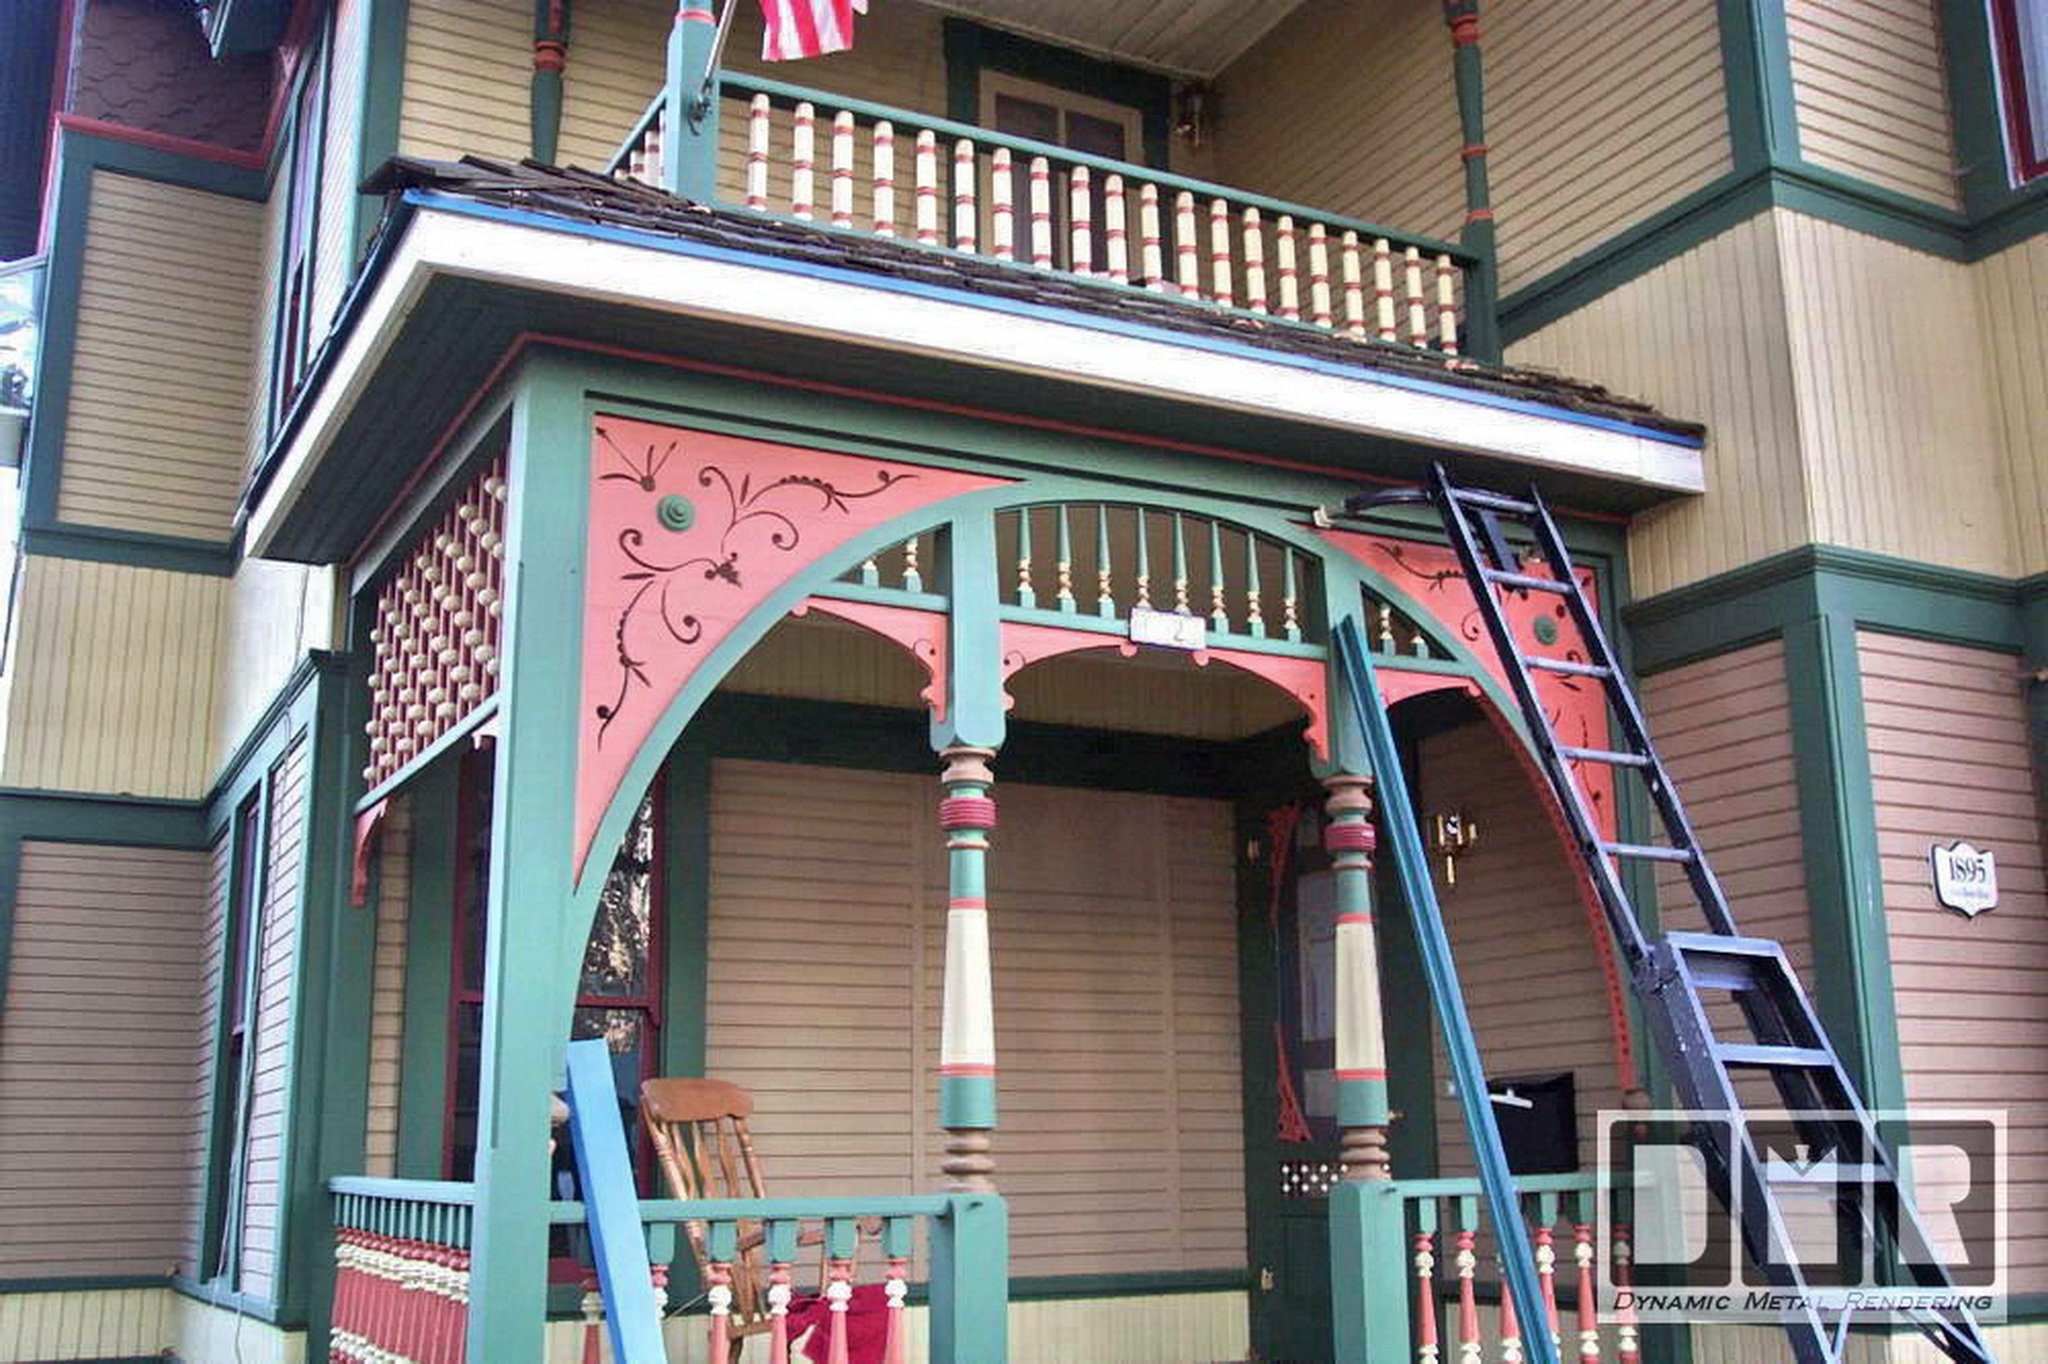
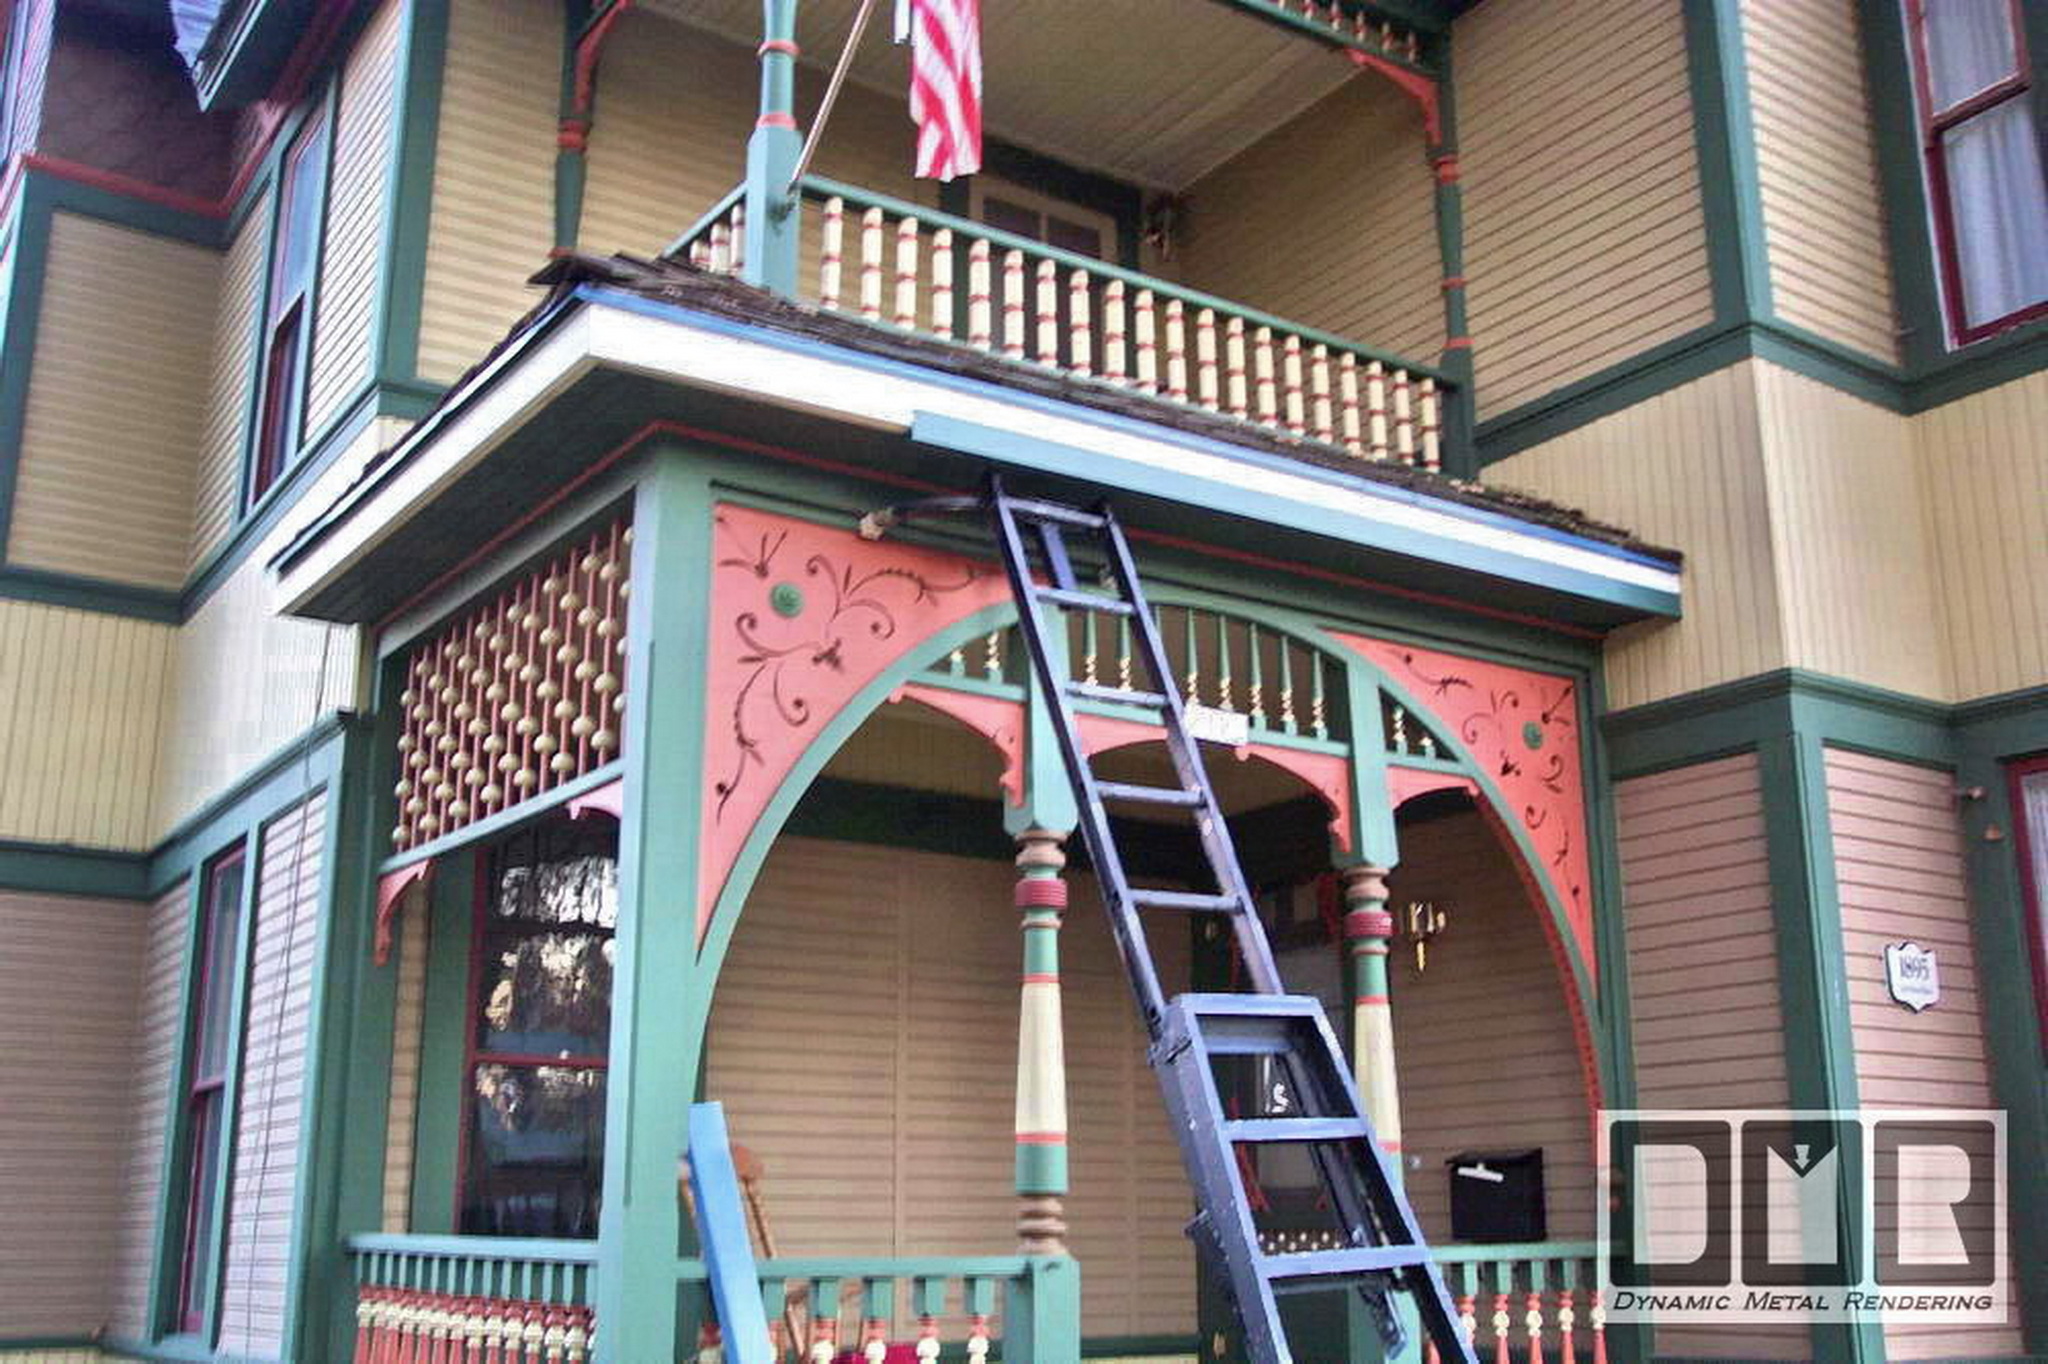
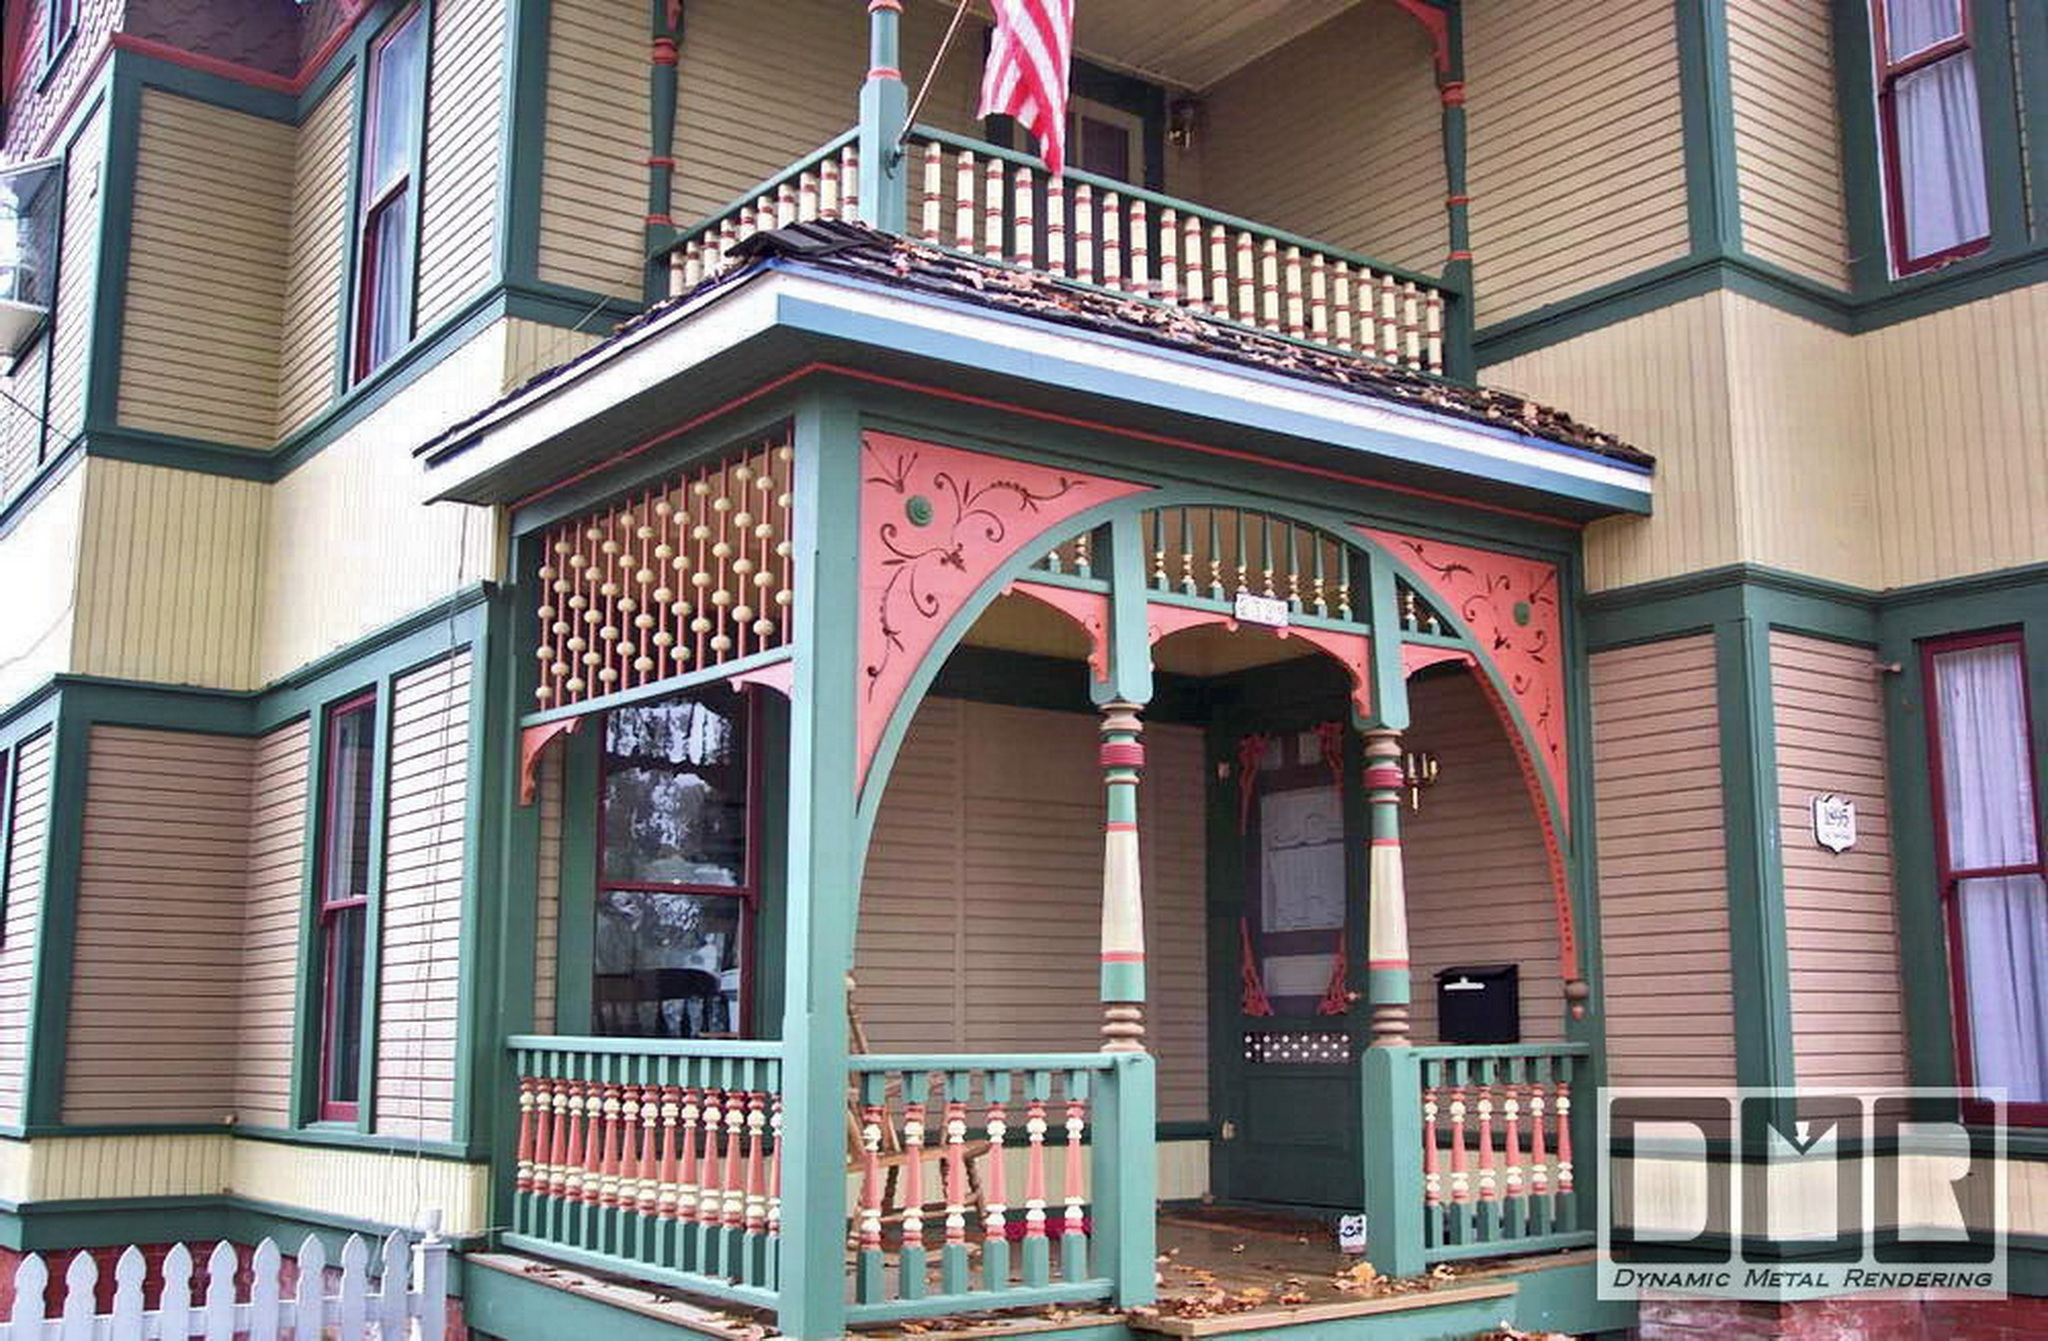
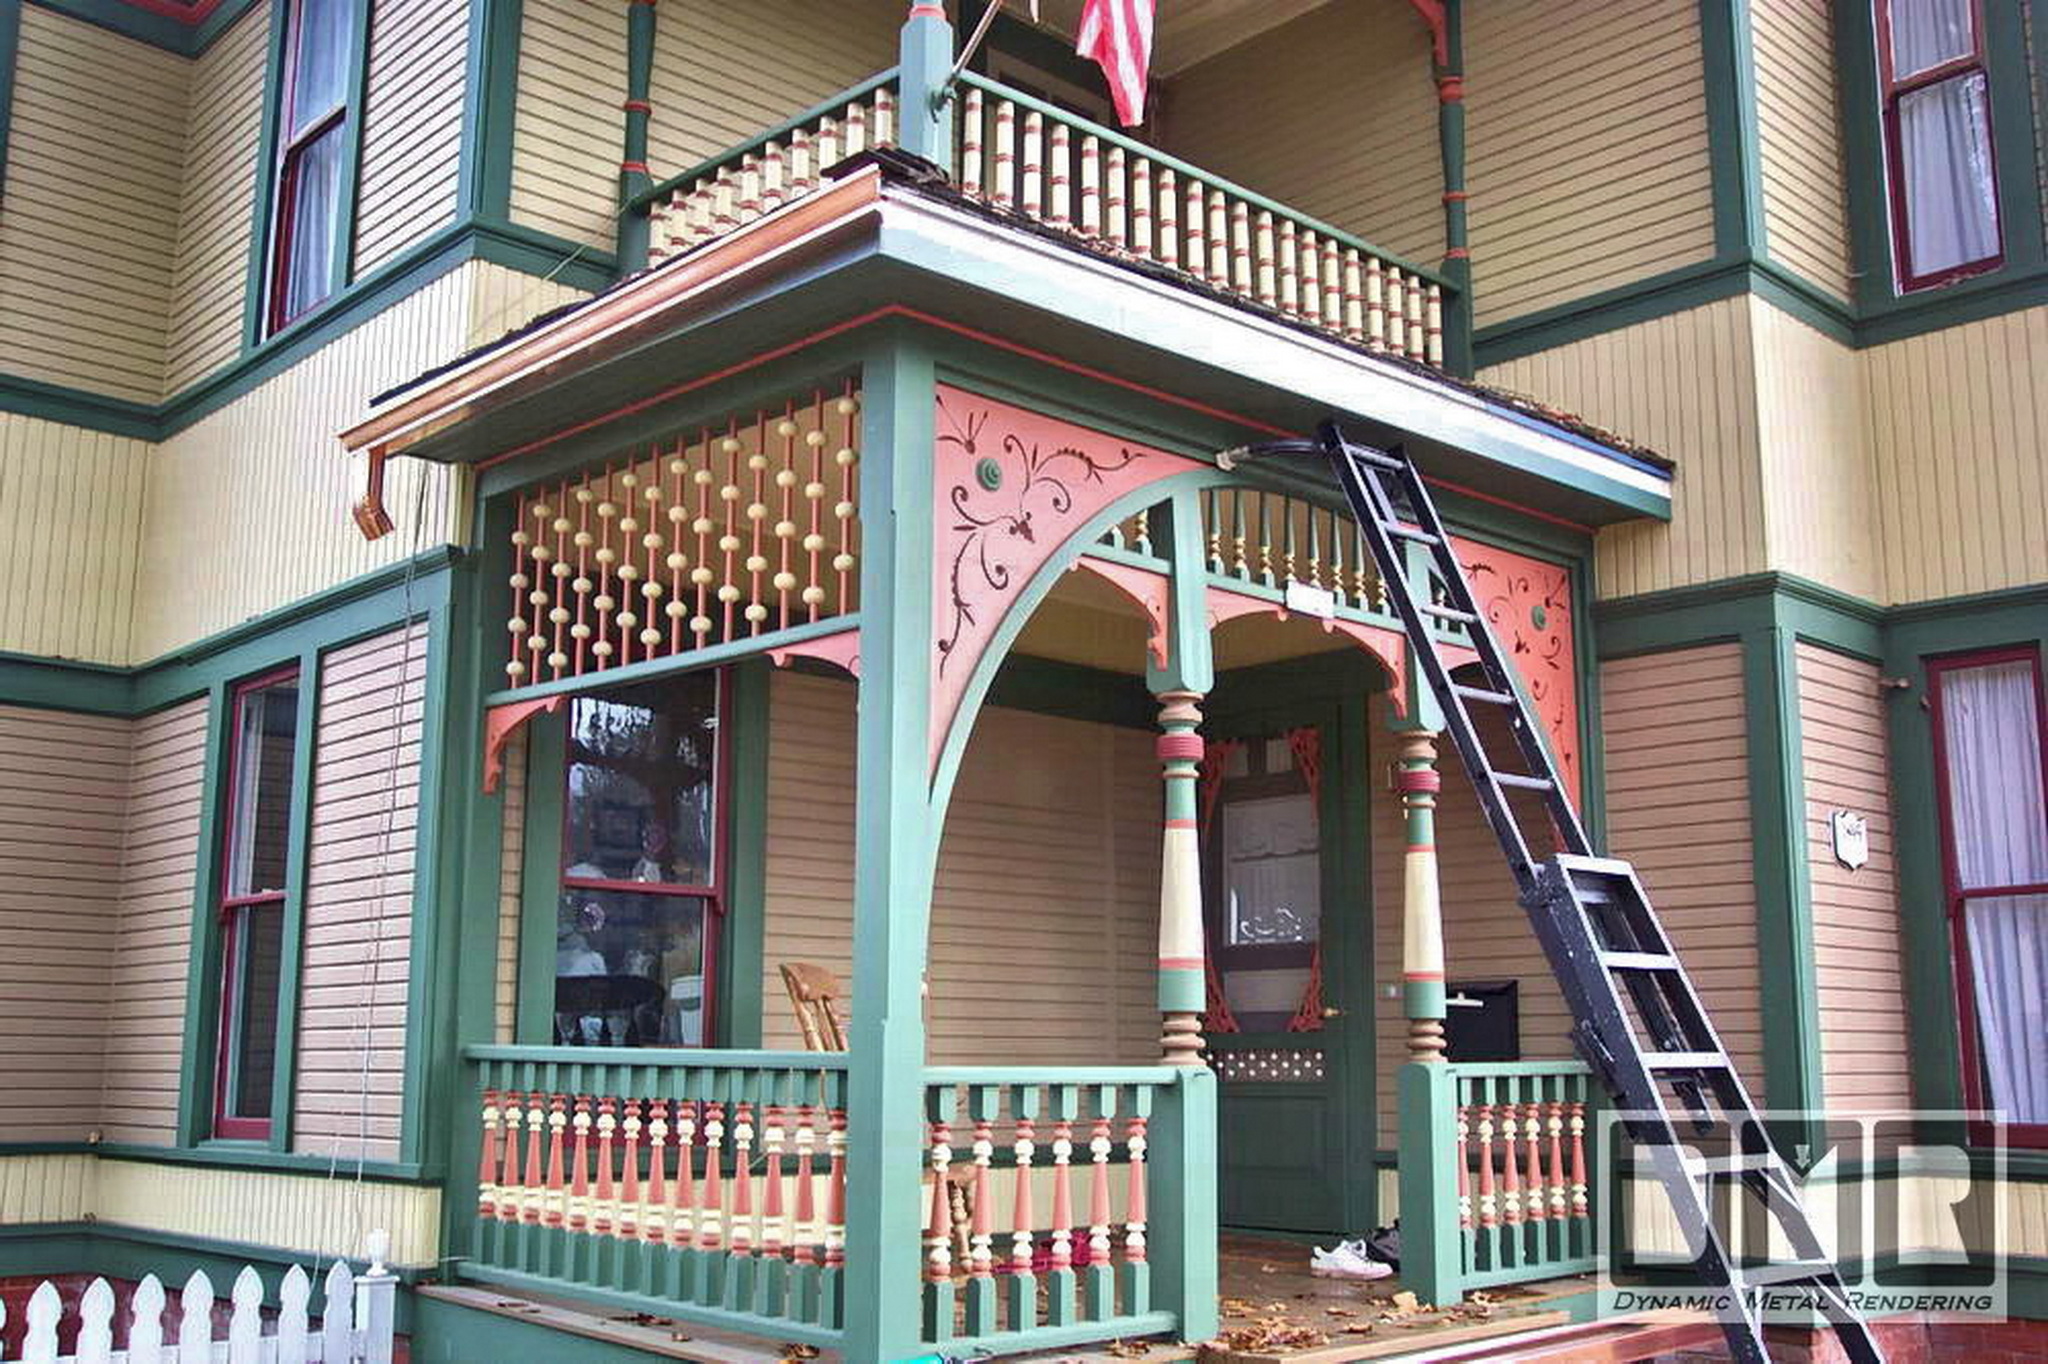
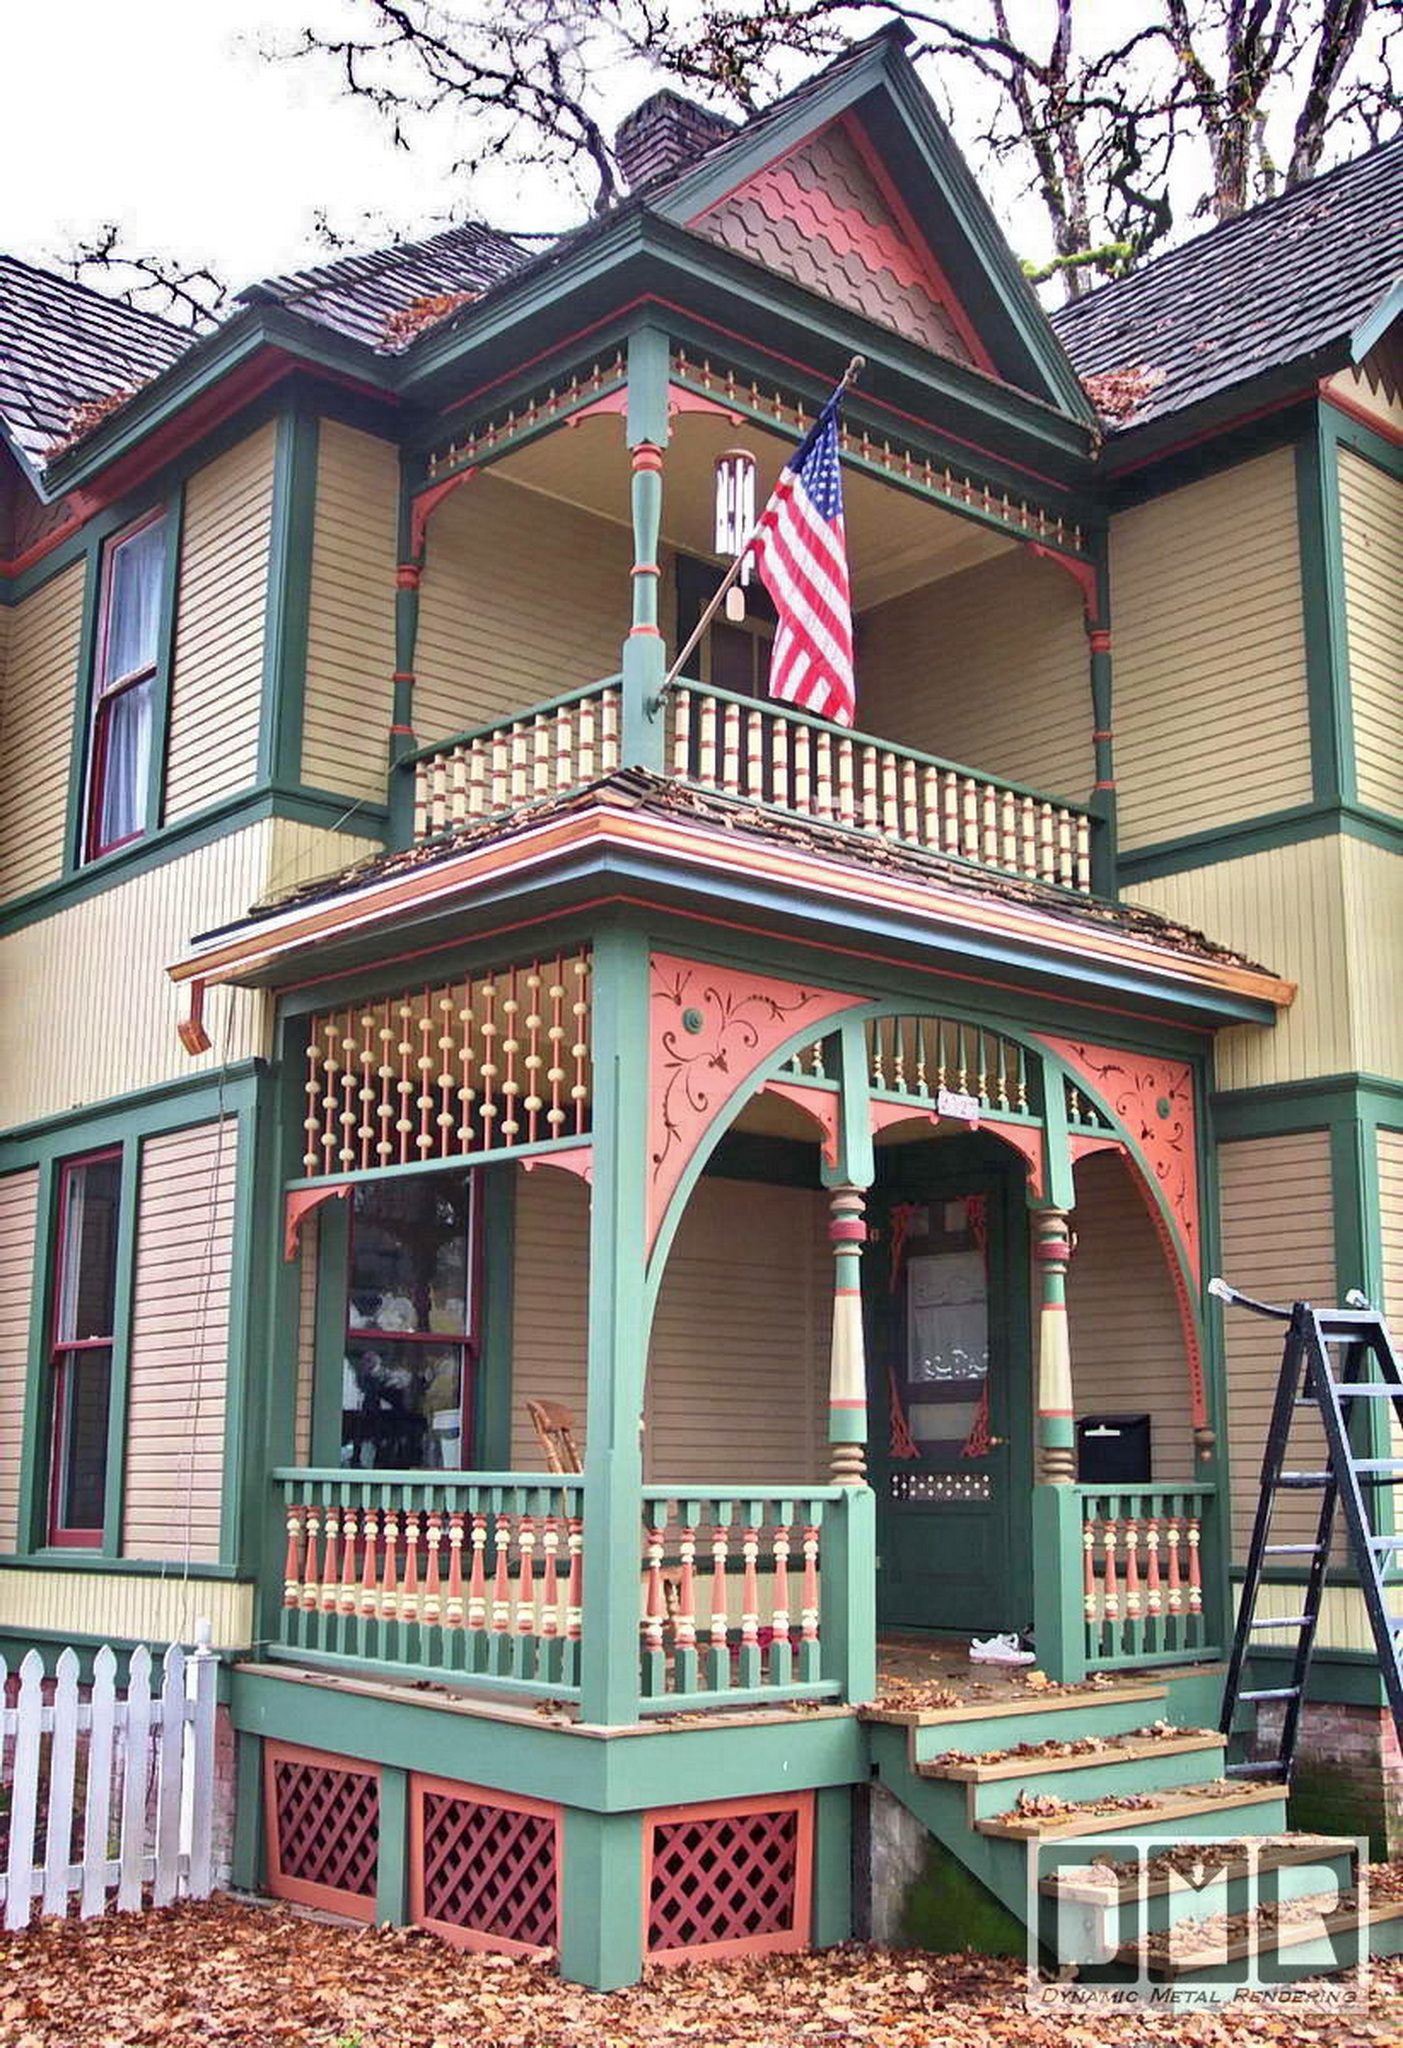
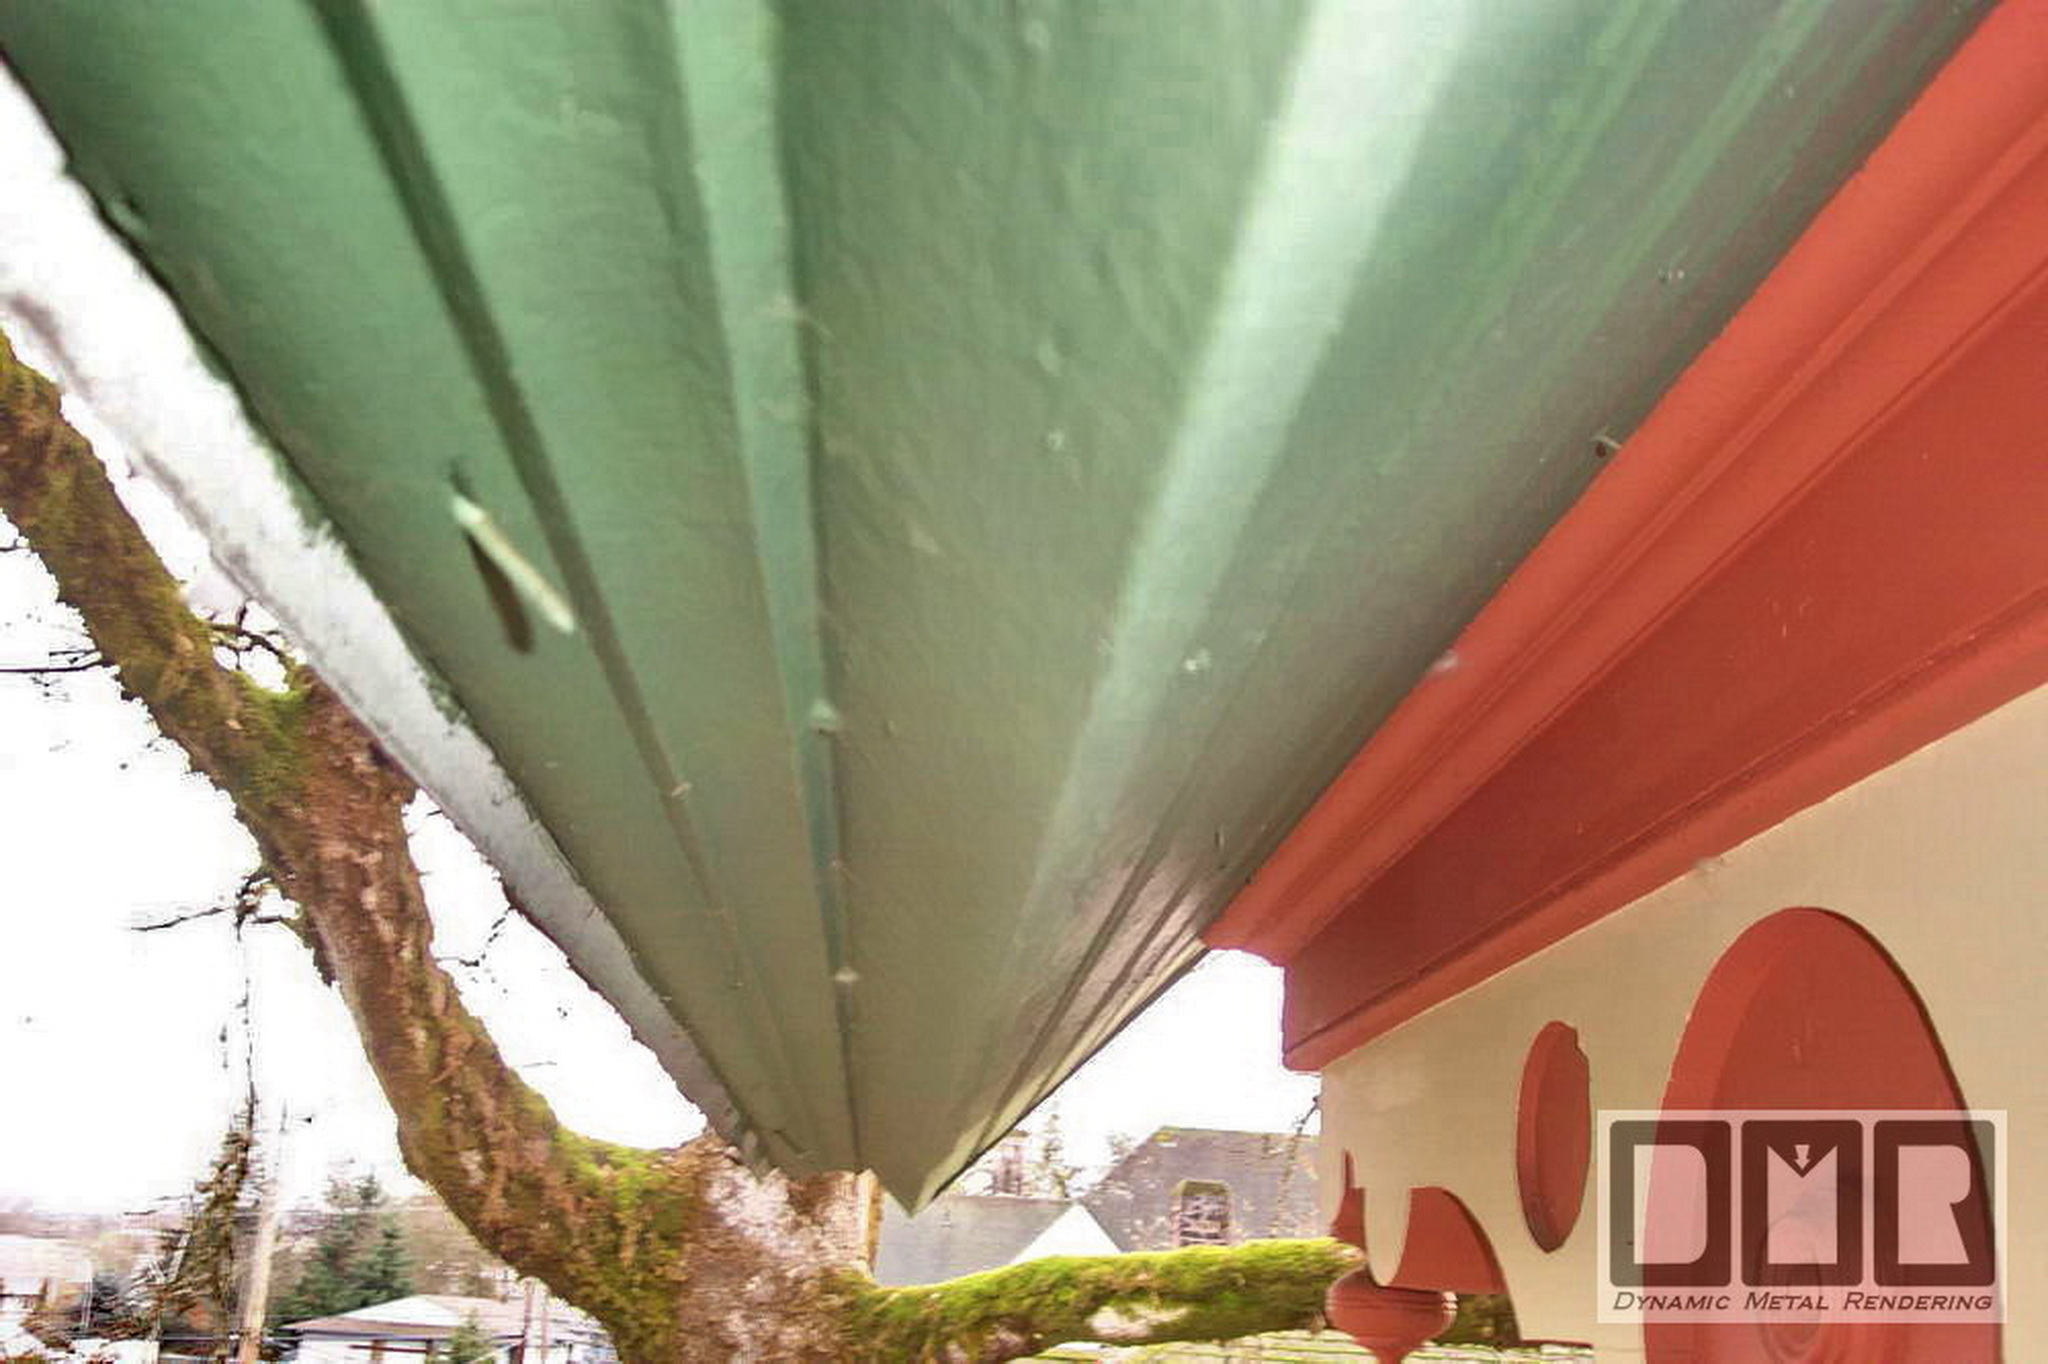
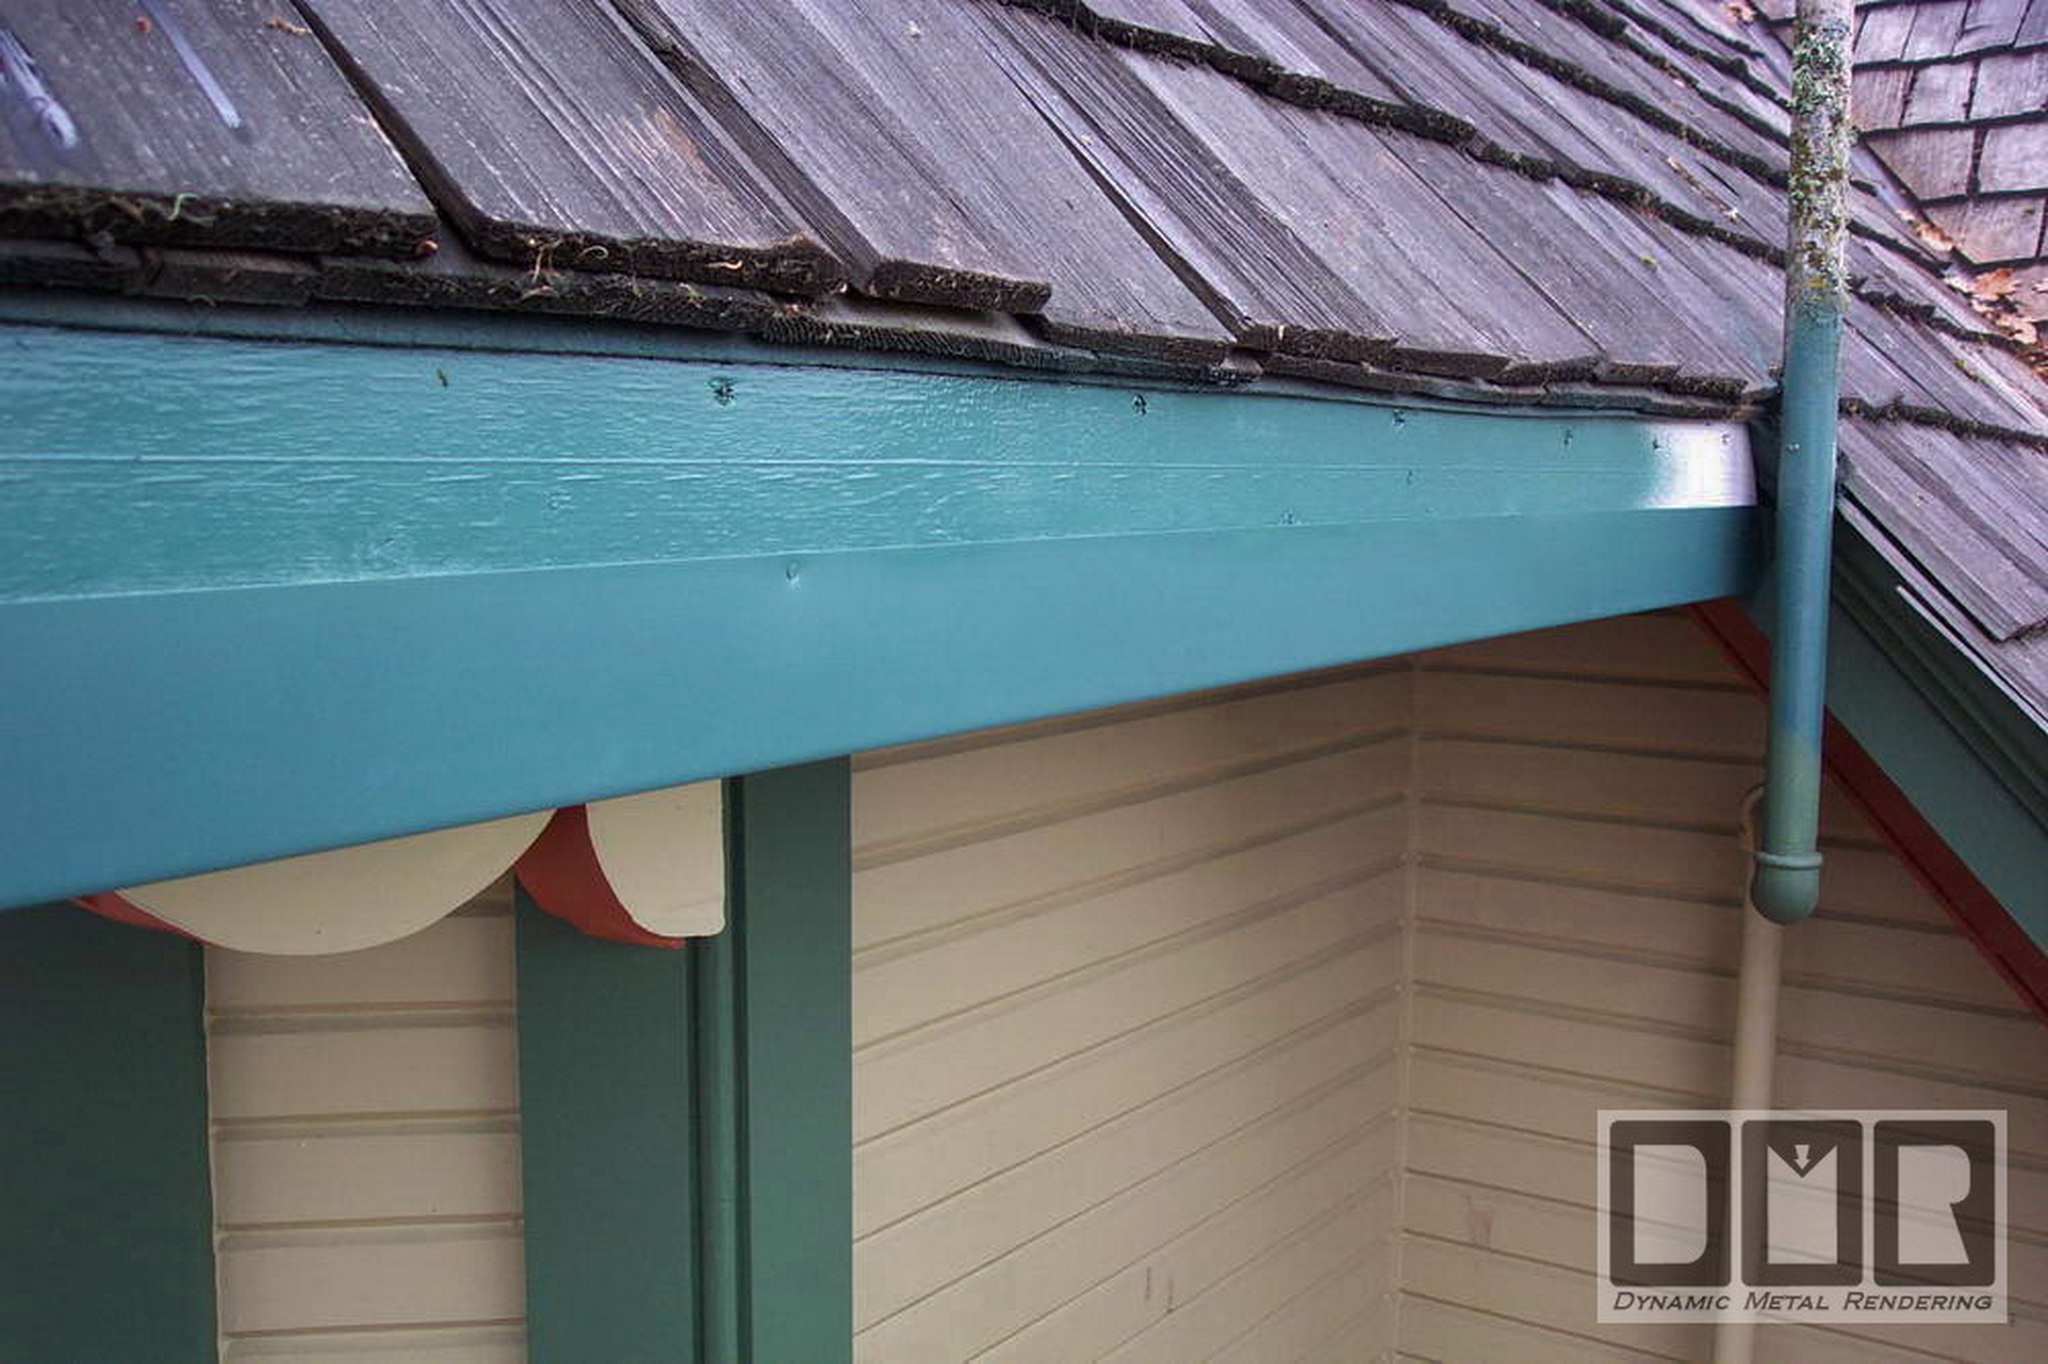
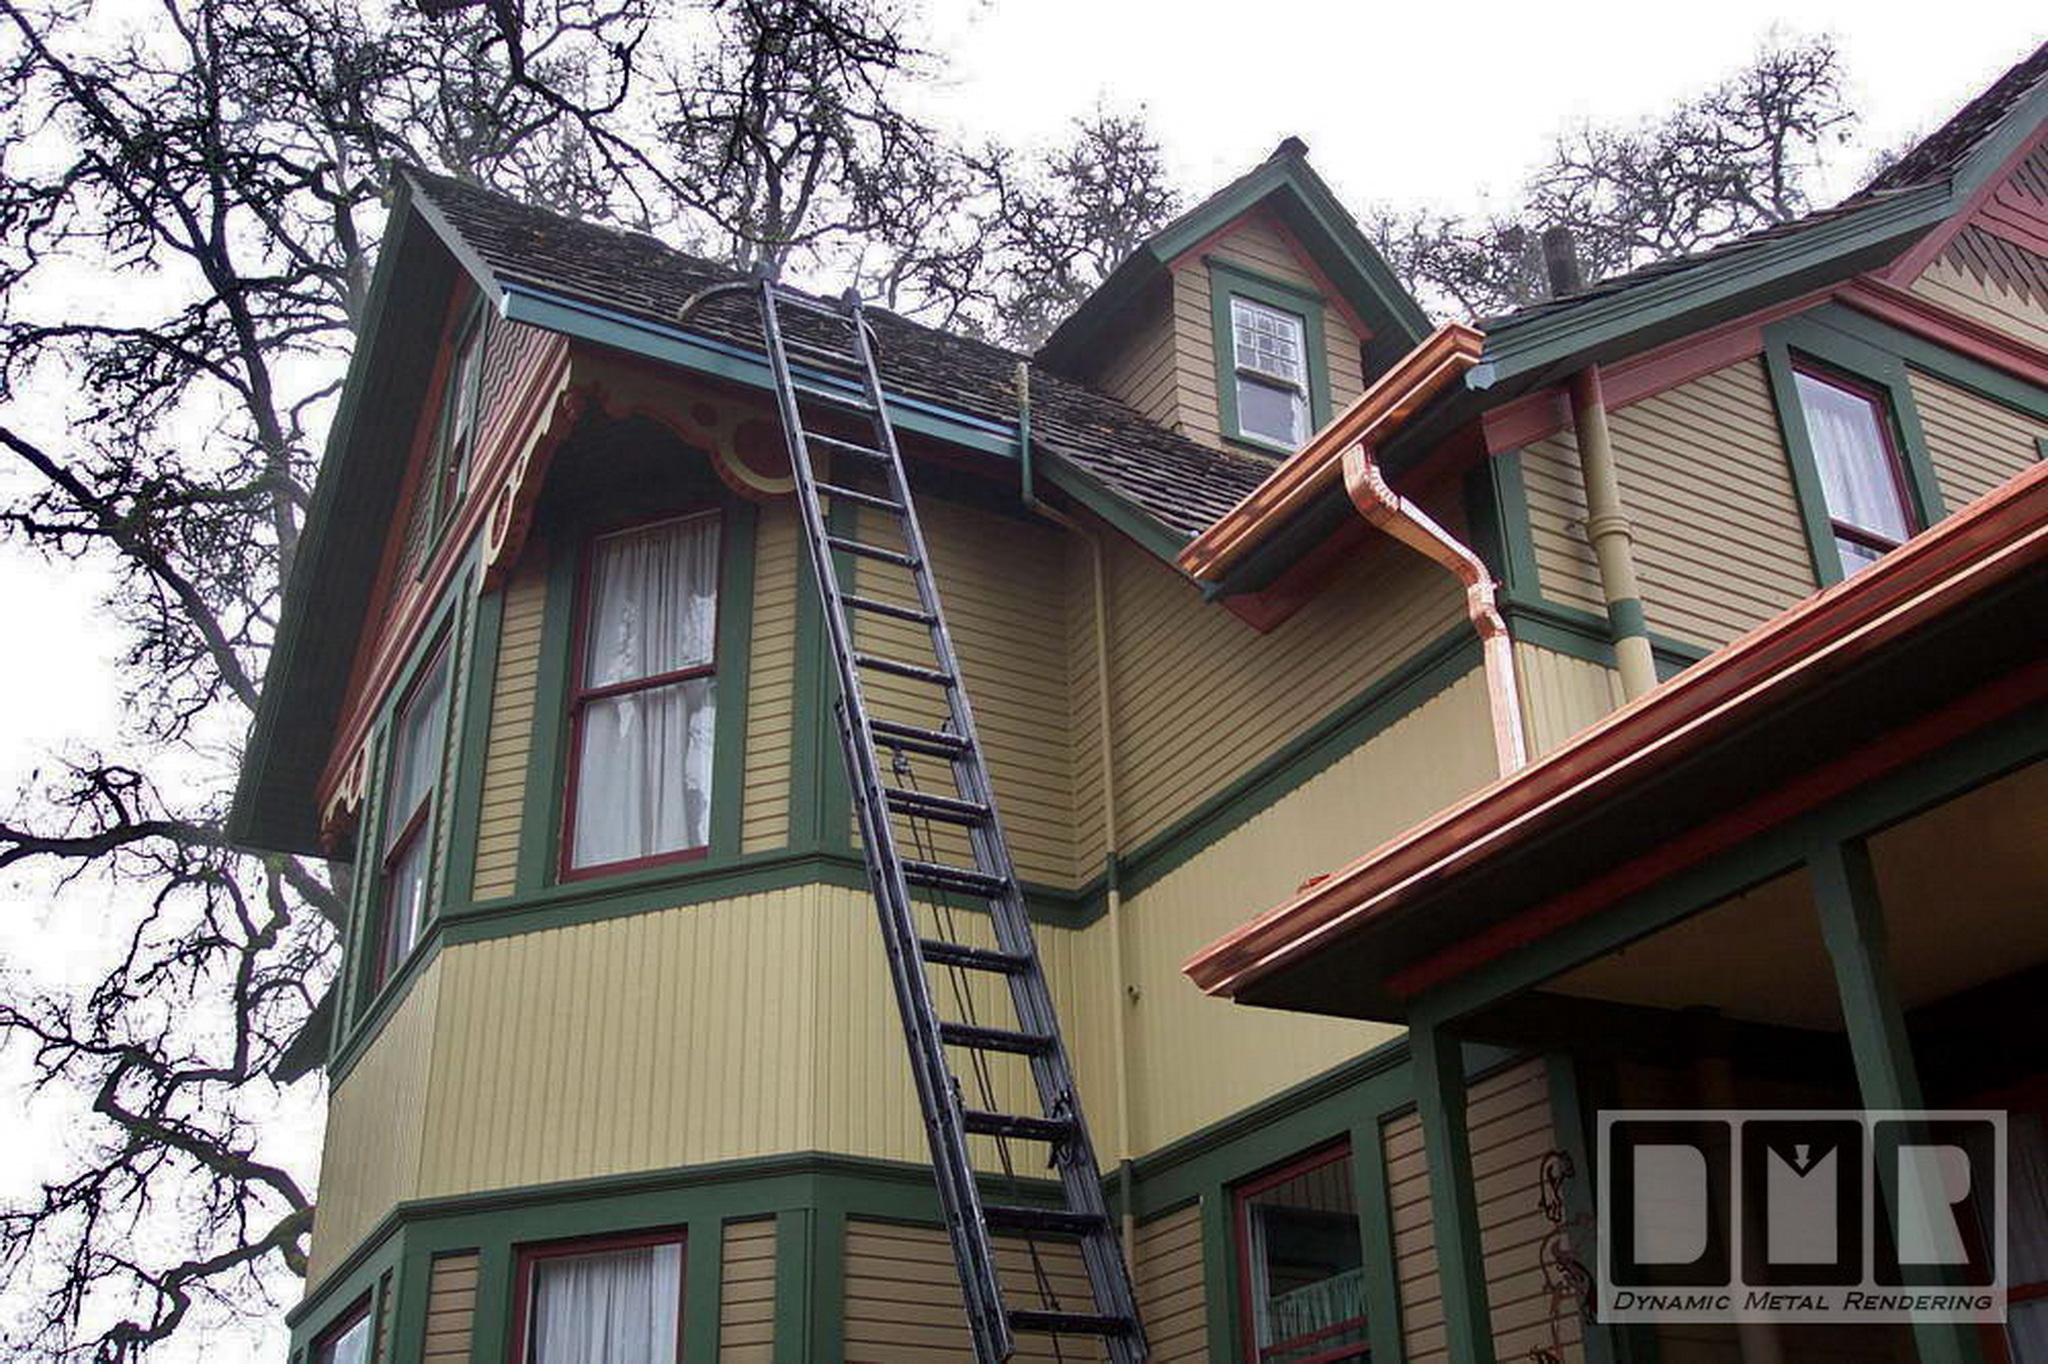
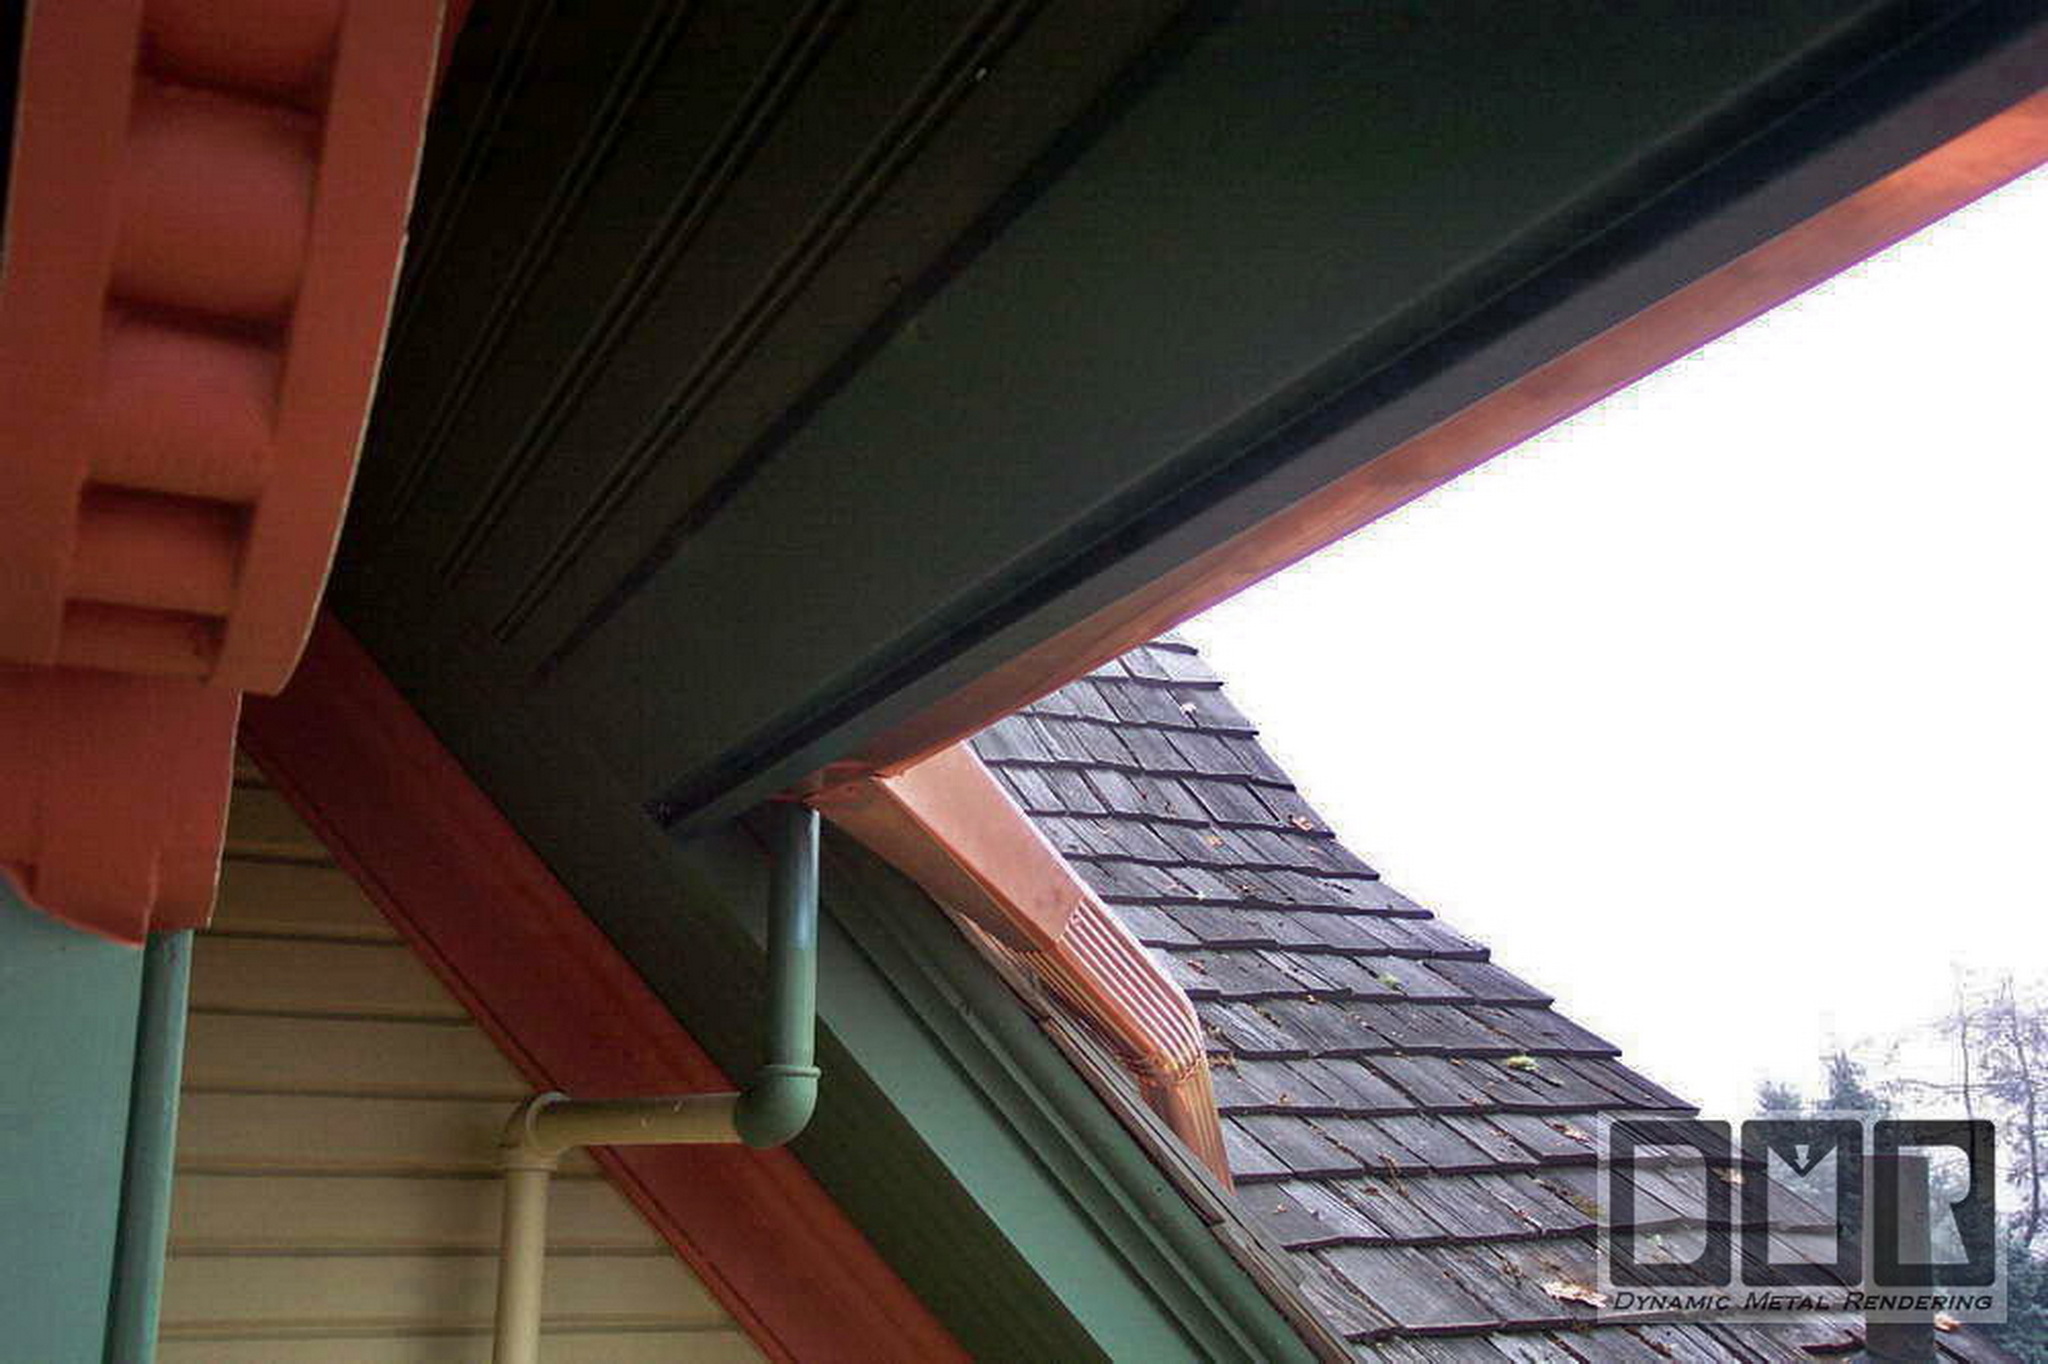
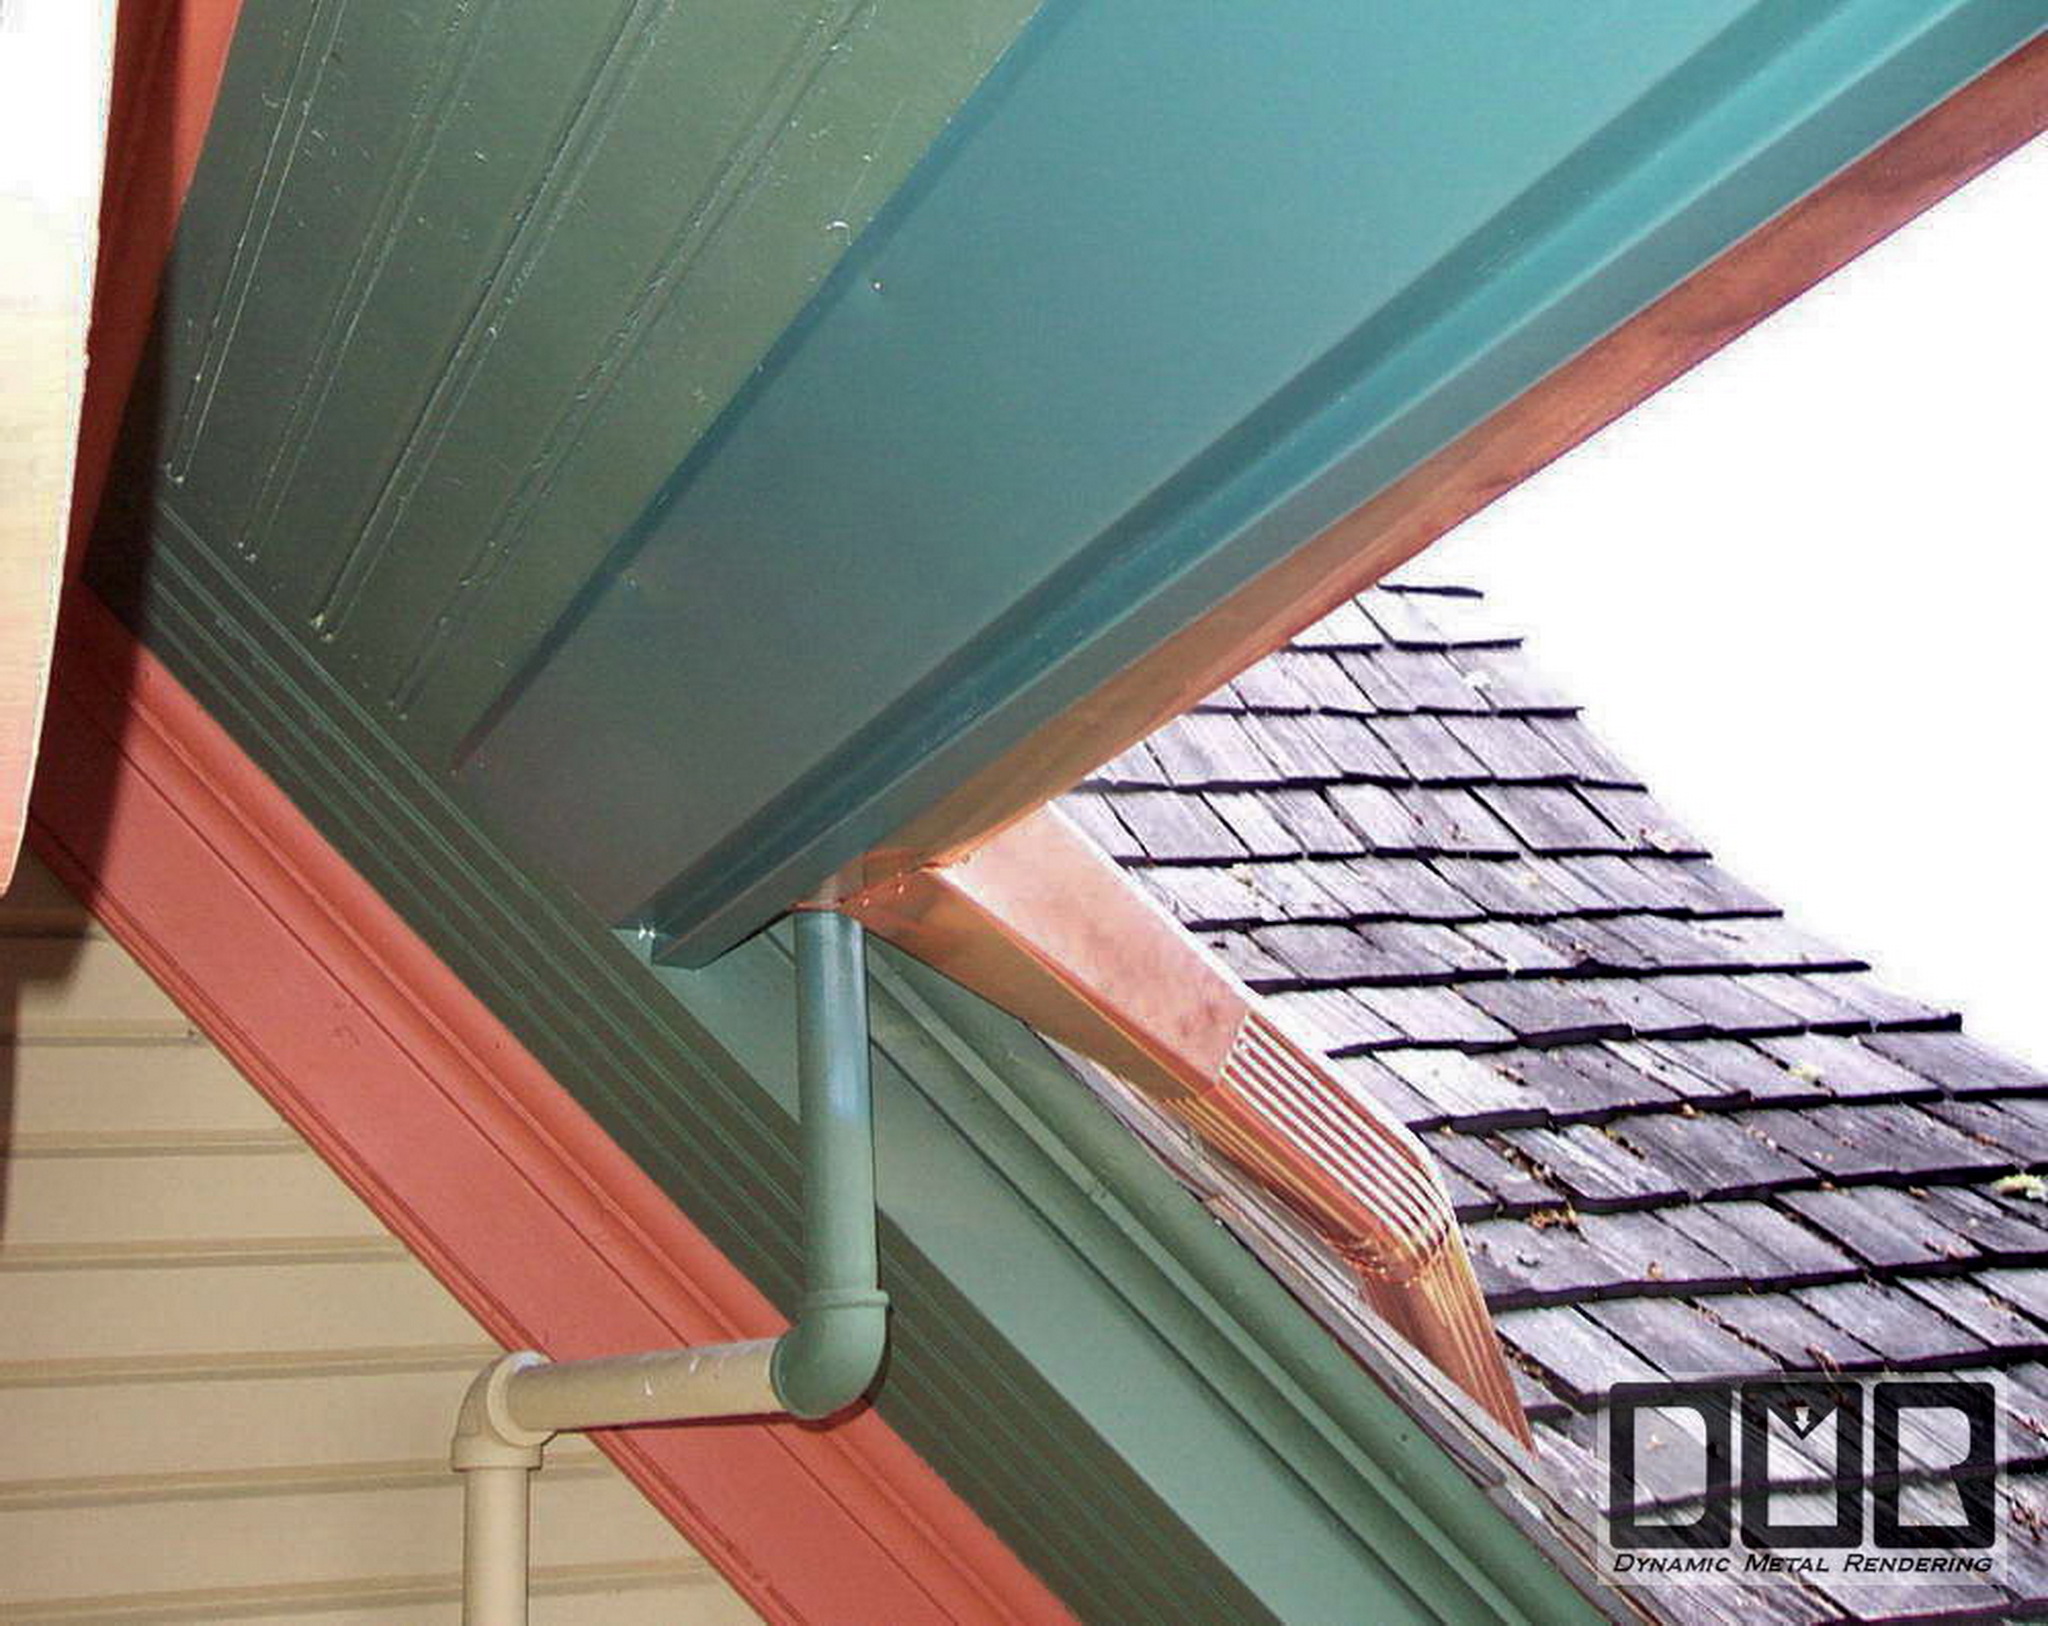
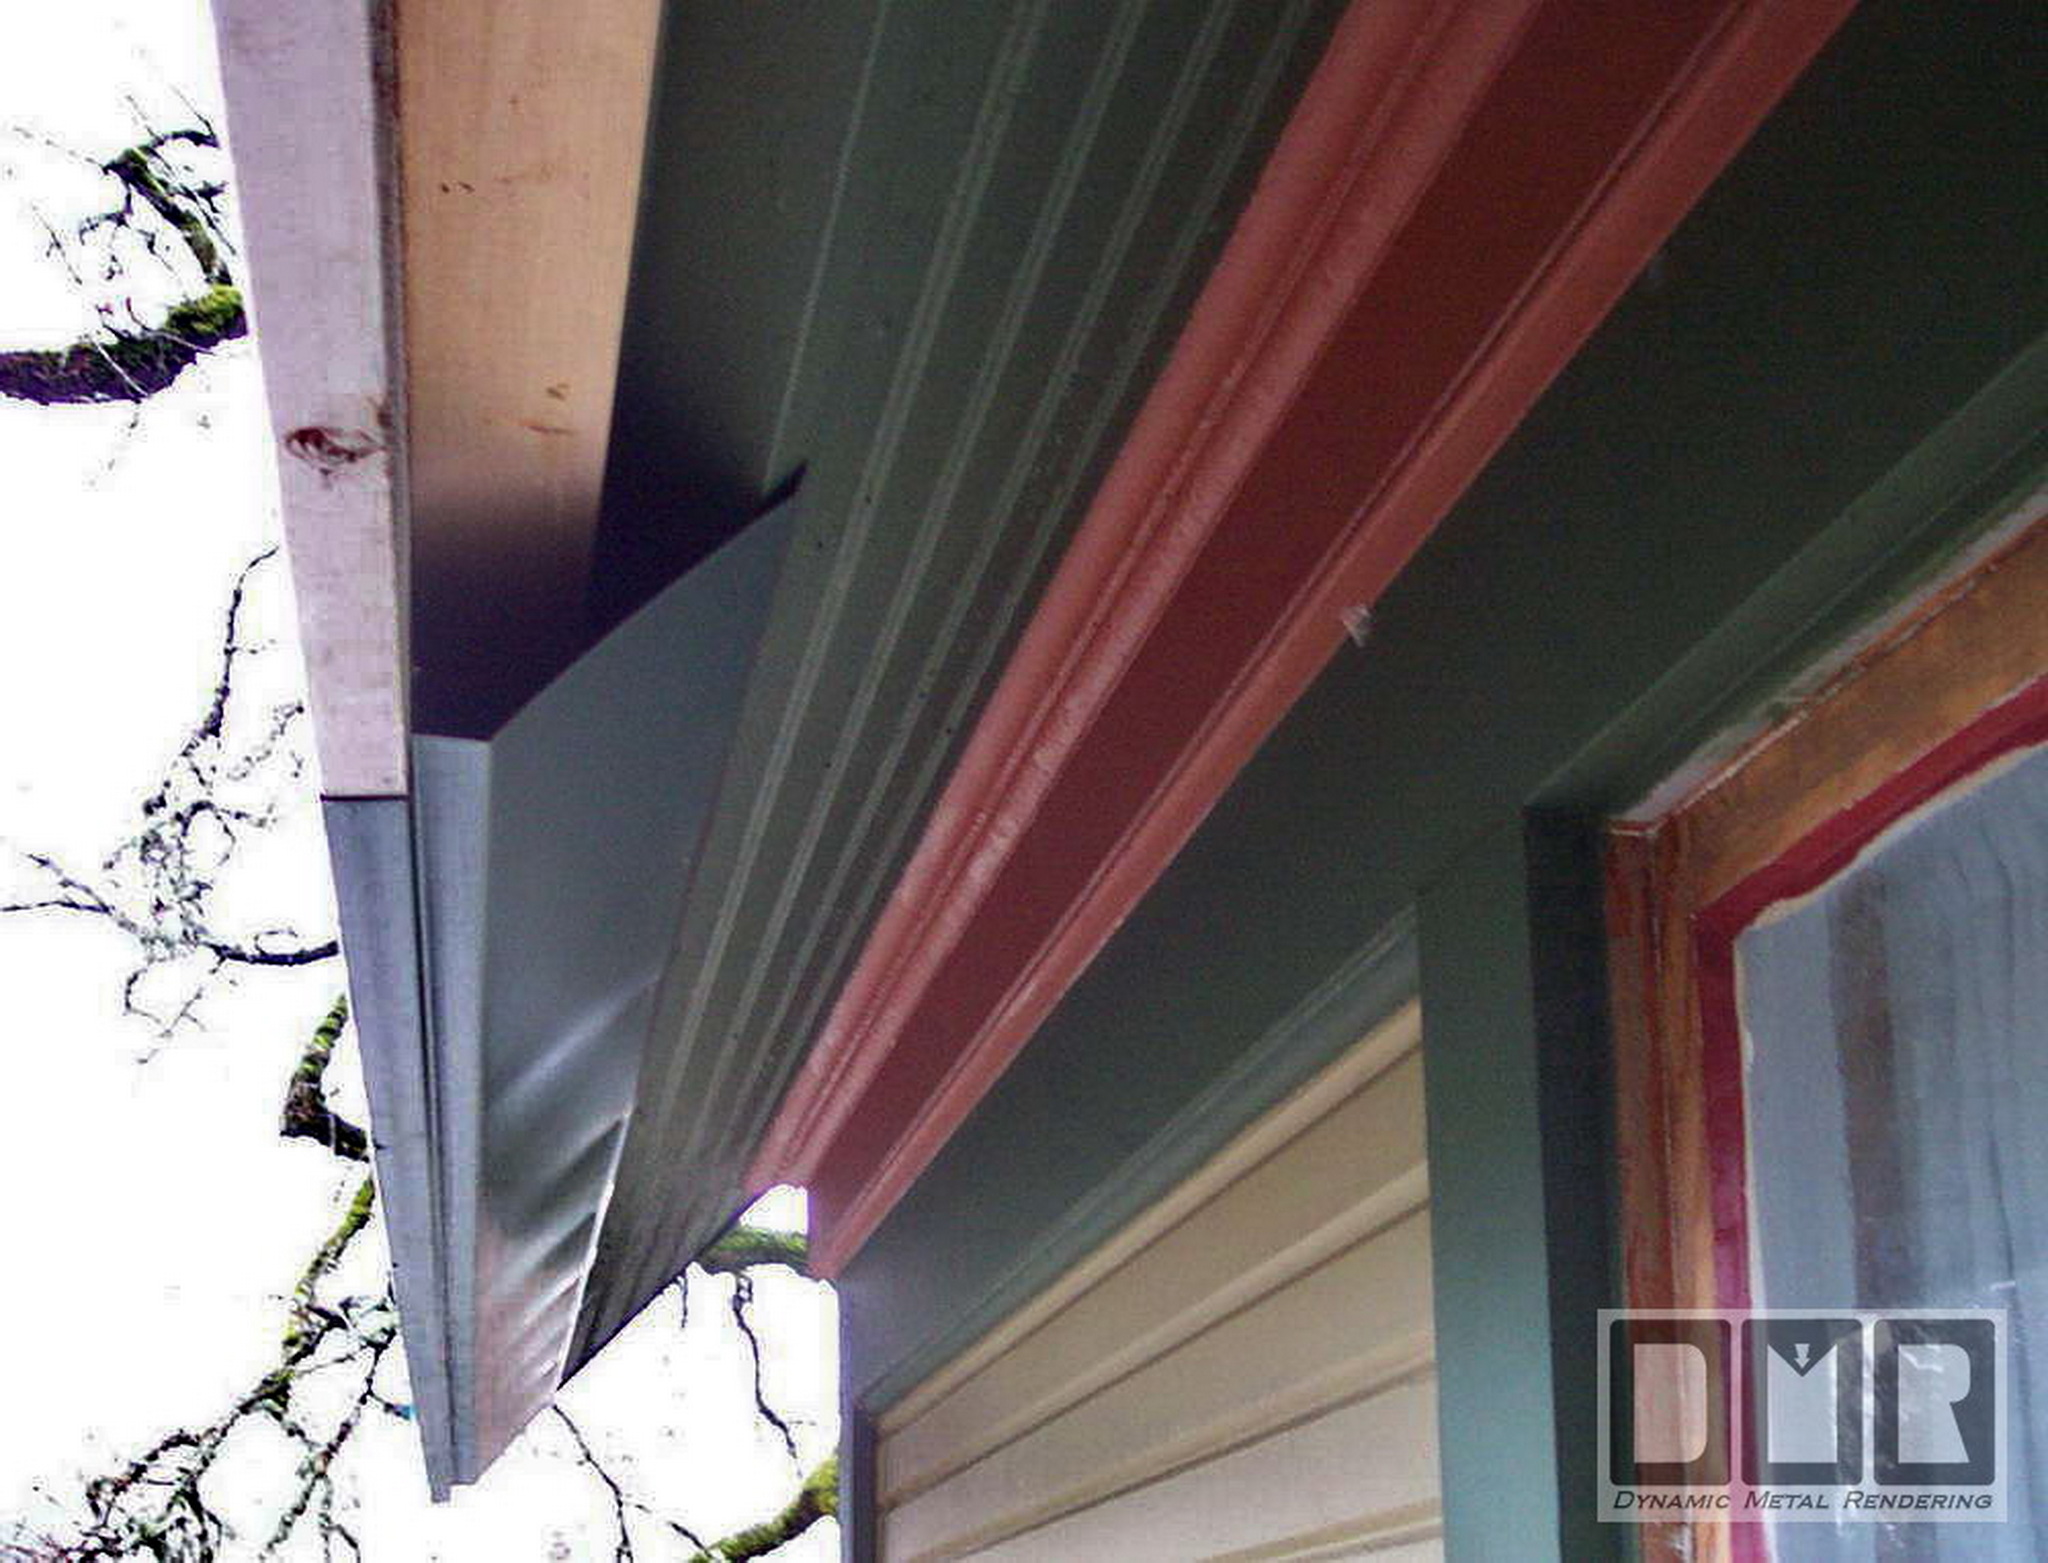
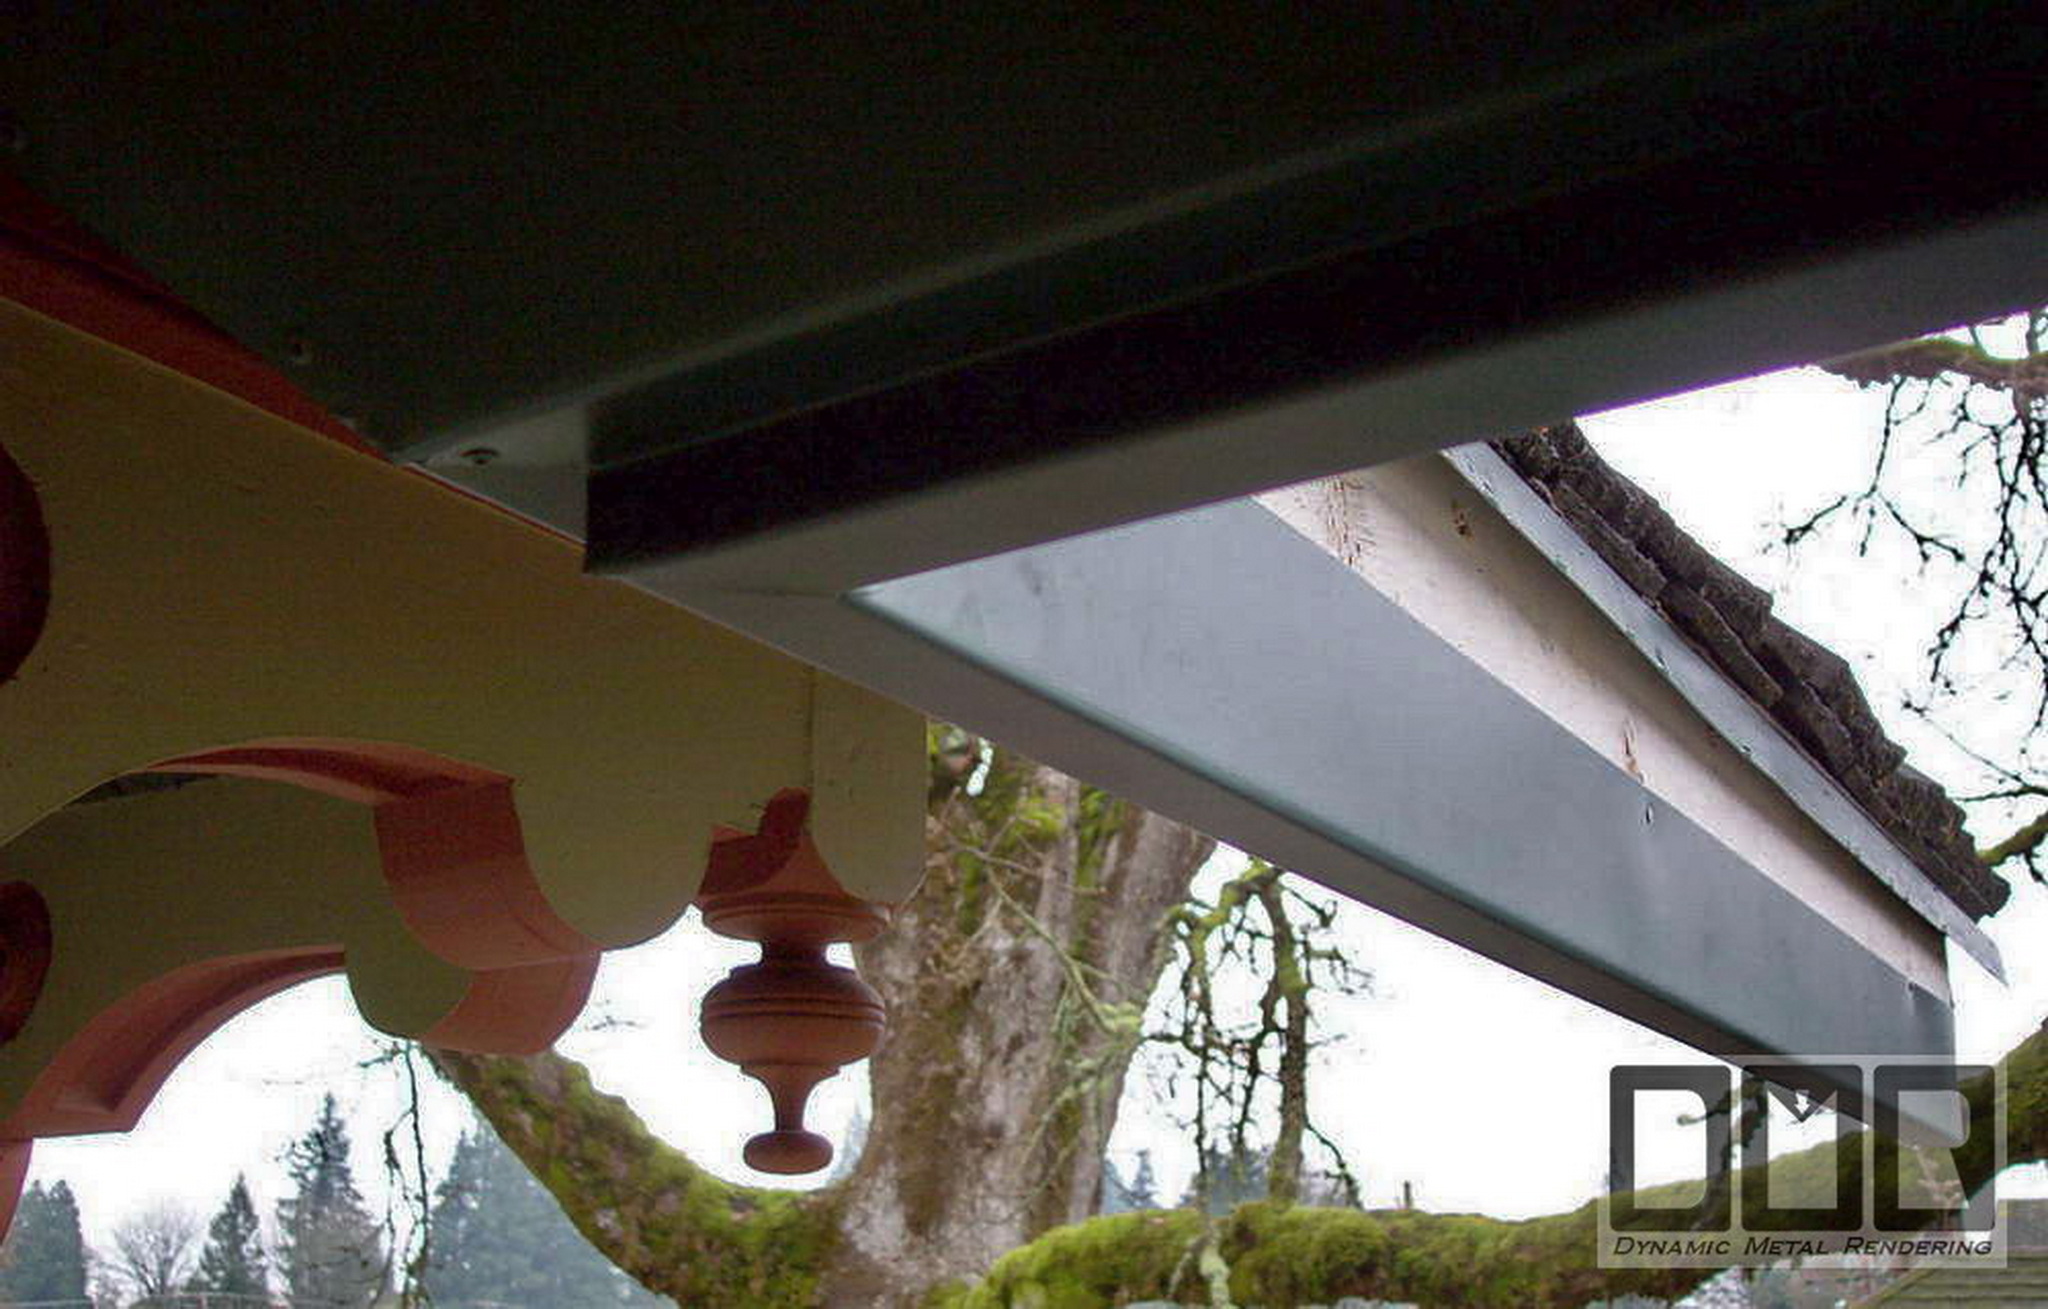
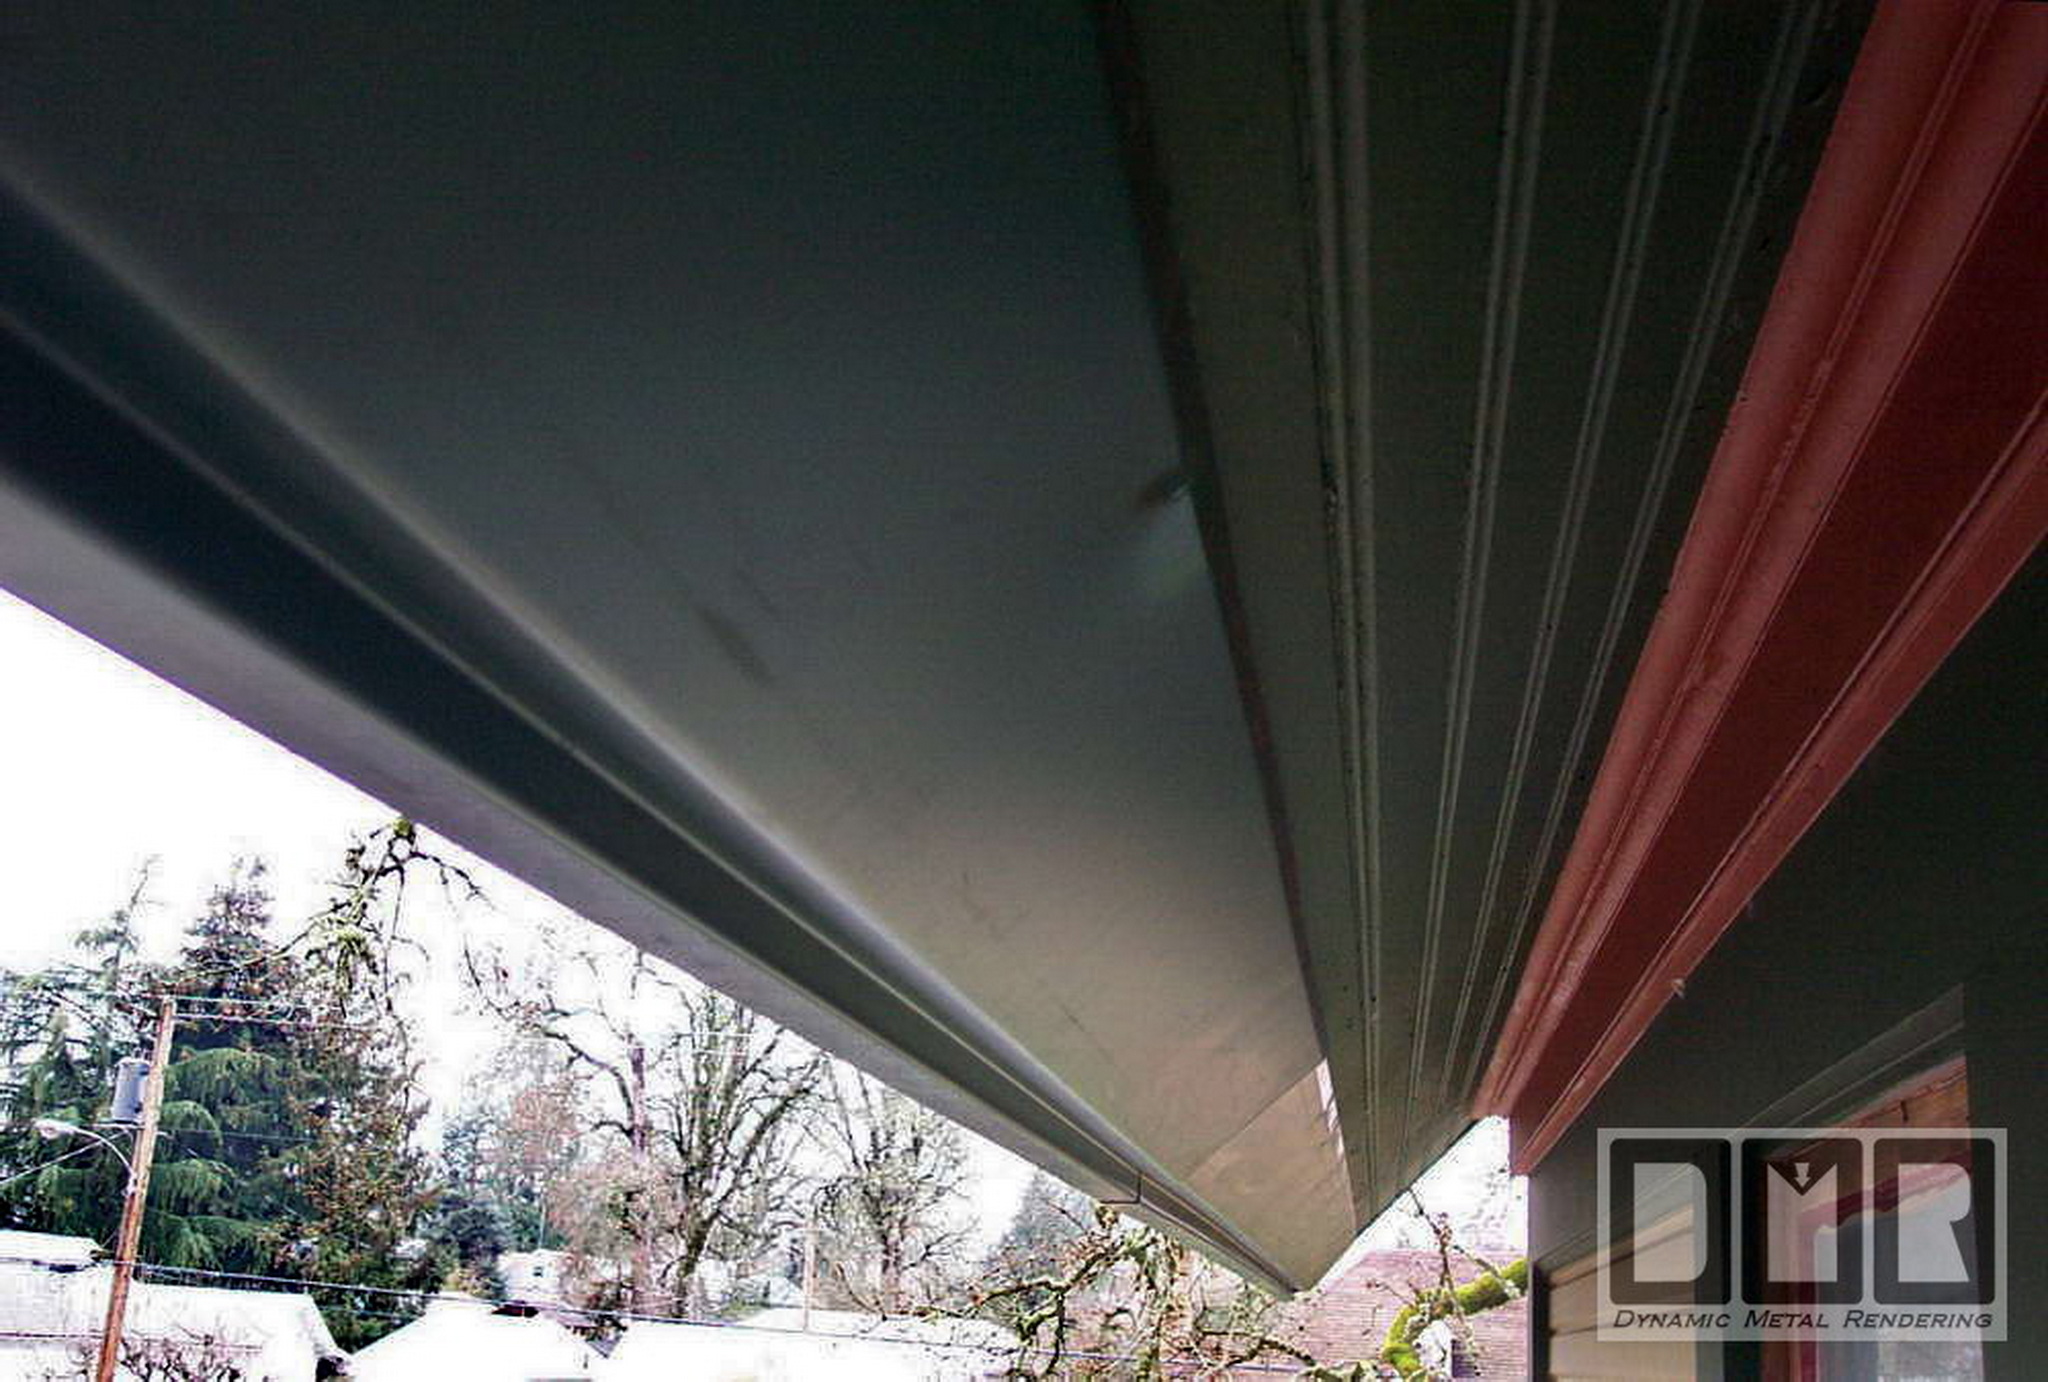
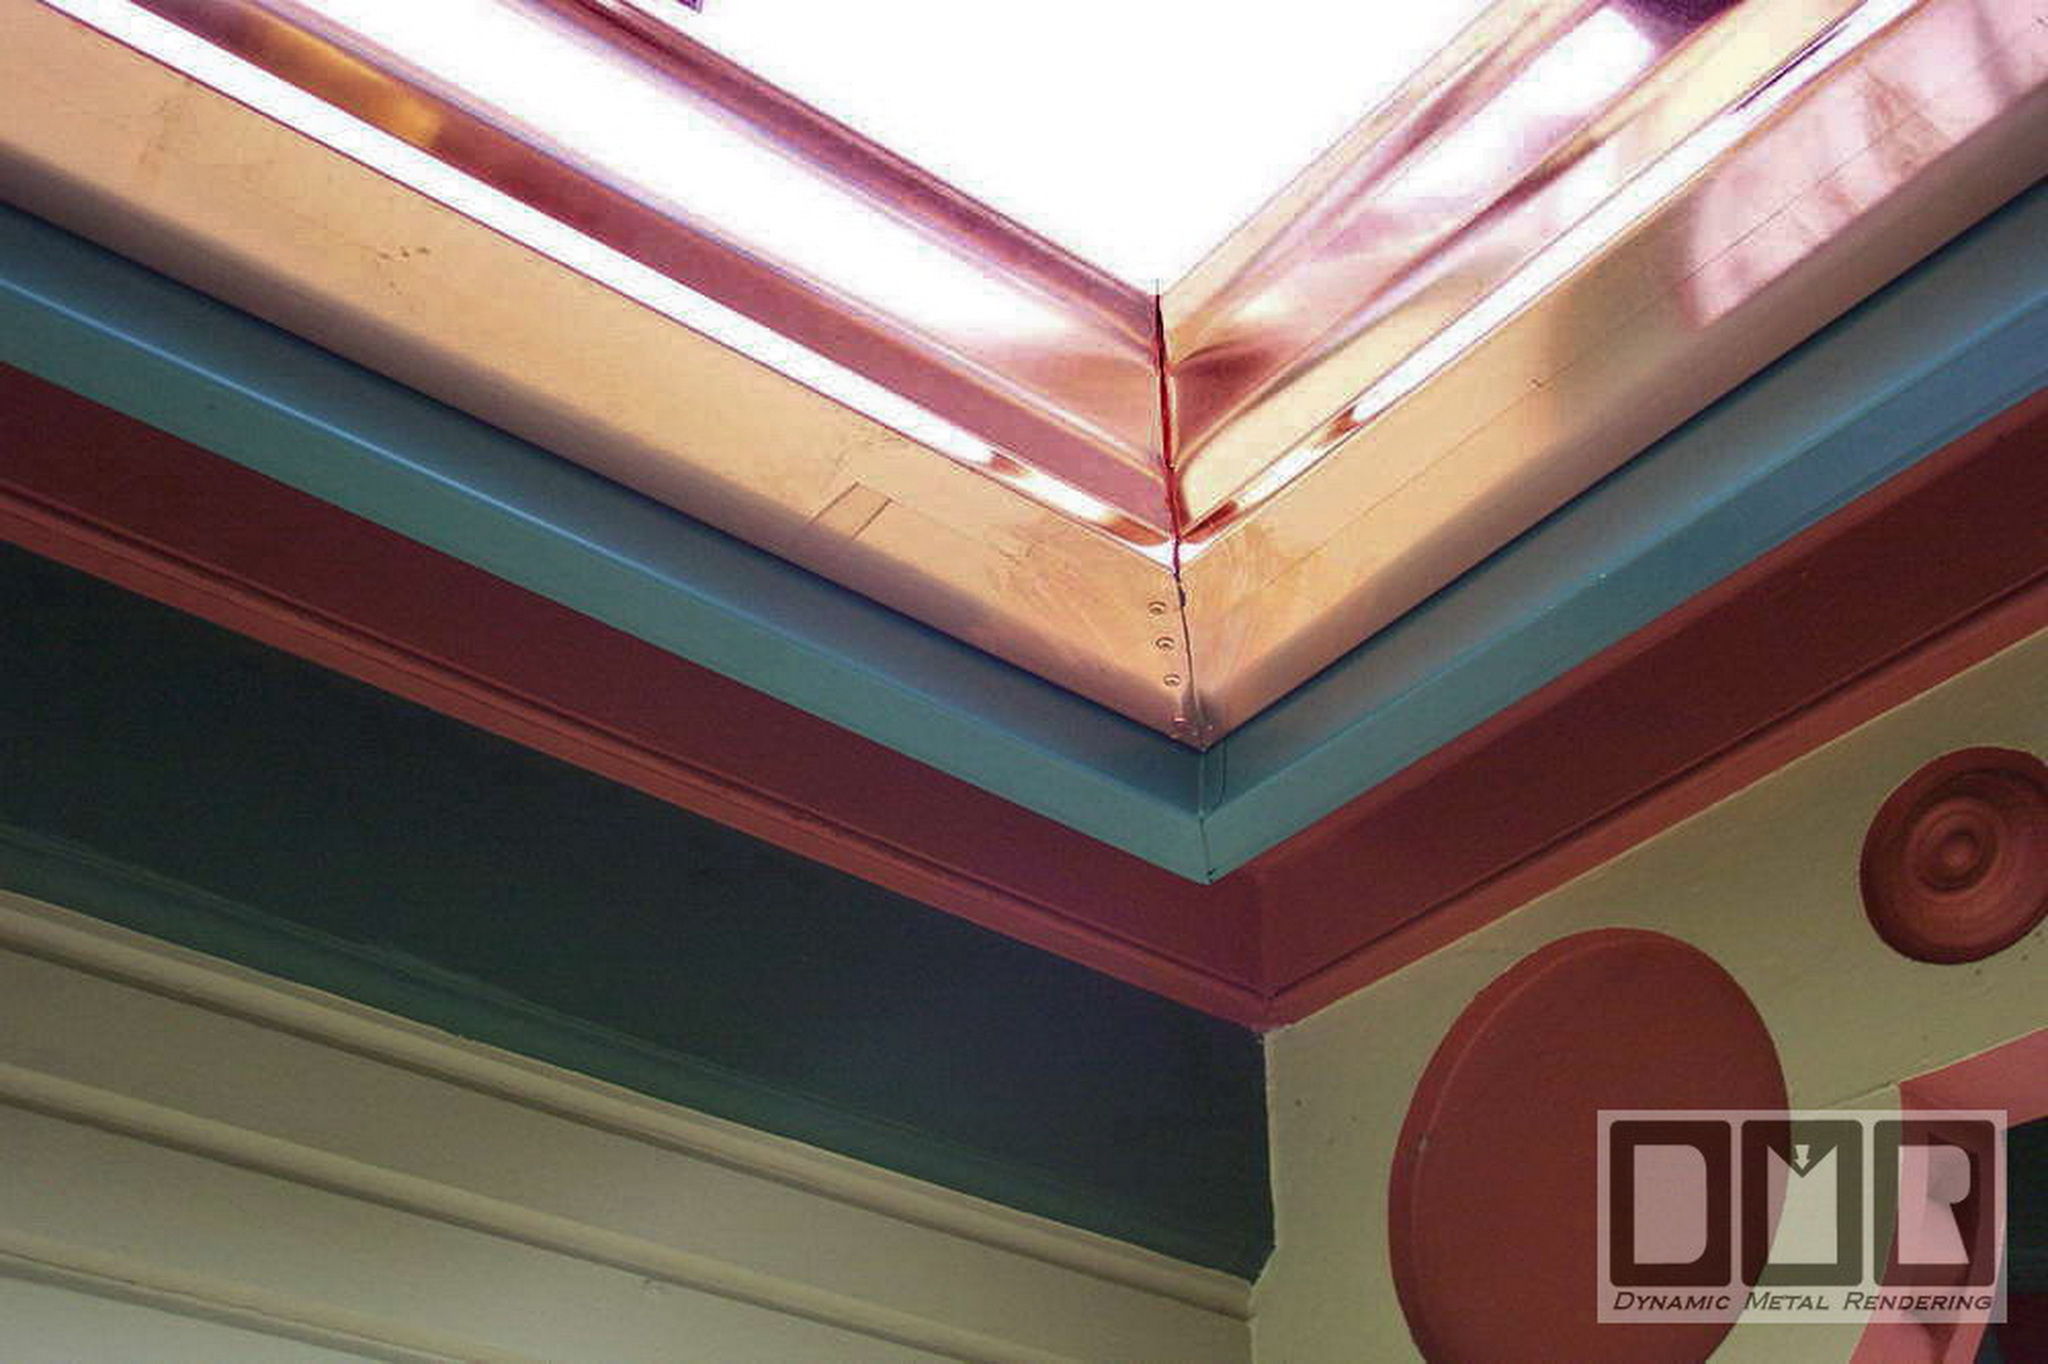
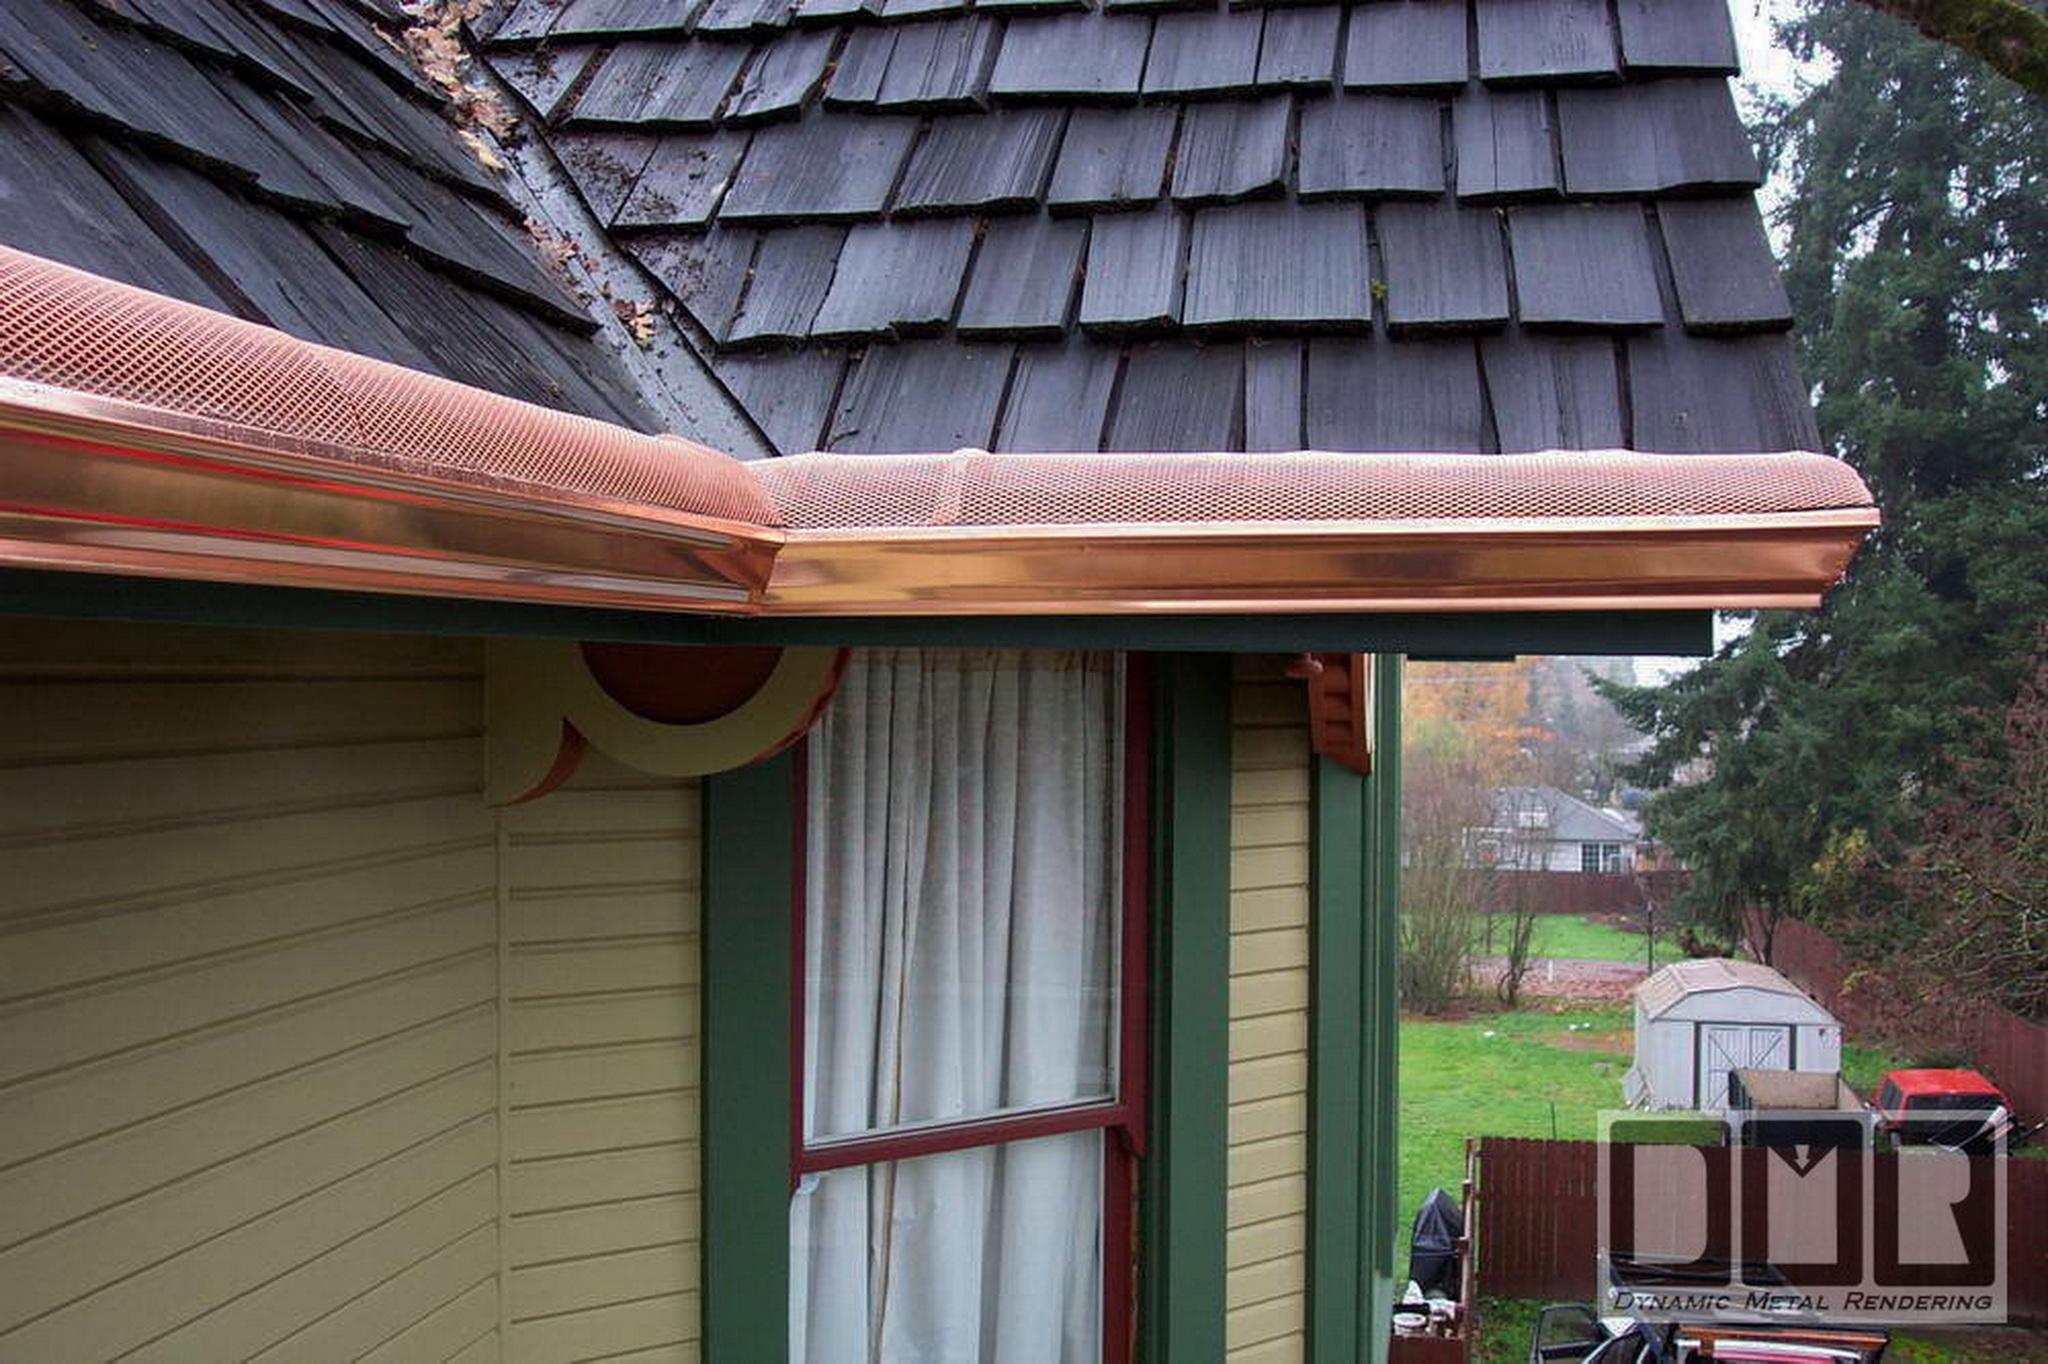
installed gutter on the lower entry roof. The gutter to the left looks like it was installed slanted way too much, but it only has a slight slope towards the outlet.  The porch had settled a great deal. This is a common issue, since the Builder rarely builds a firm foundation under porches, like they do under the house frame.
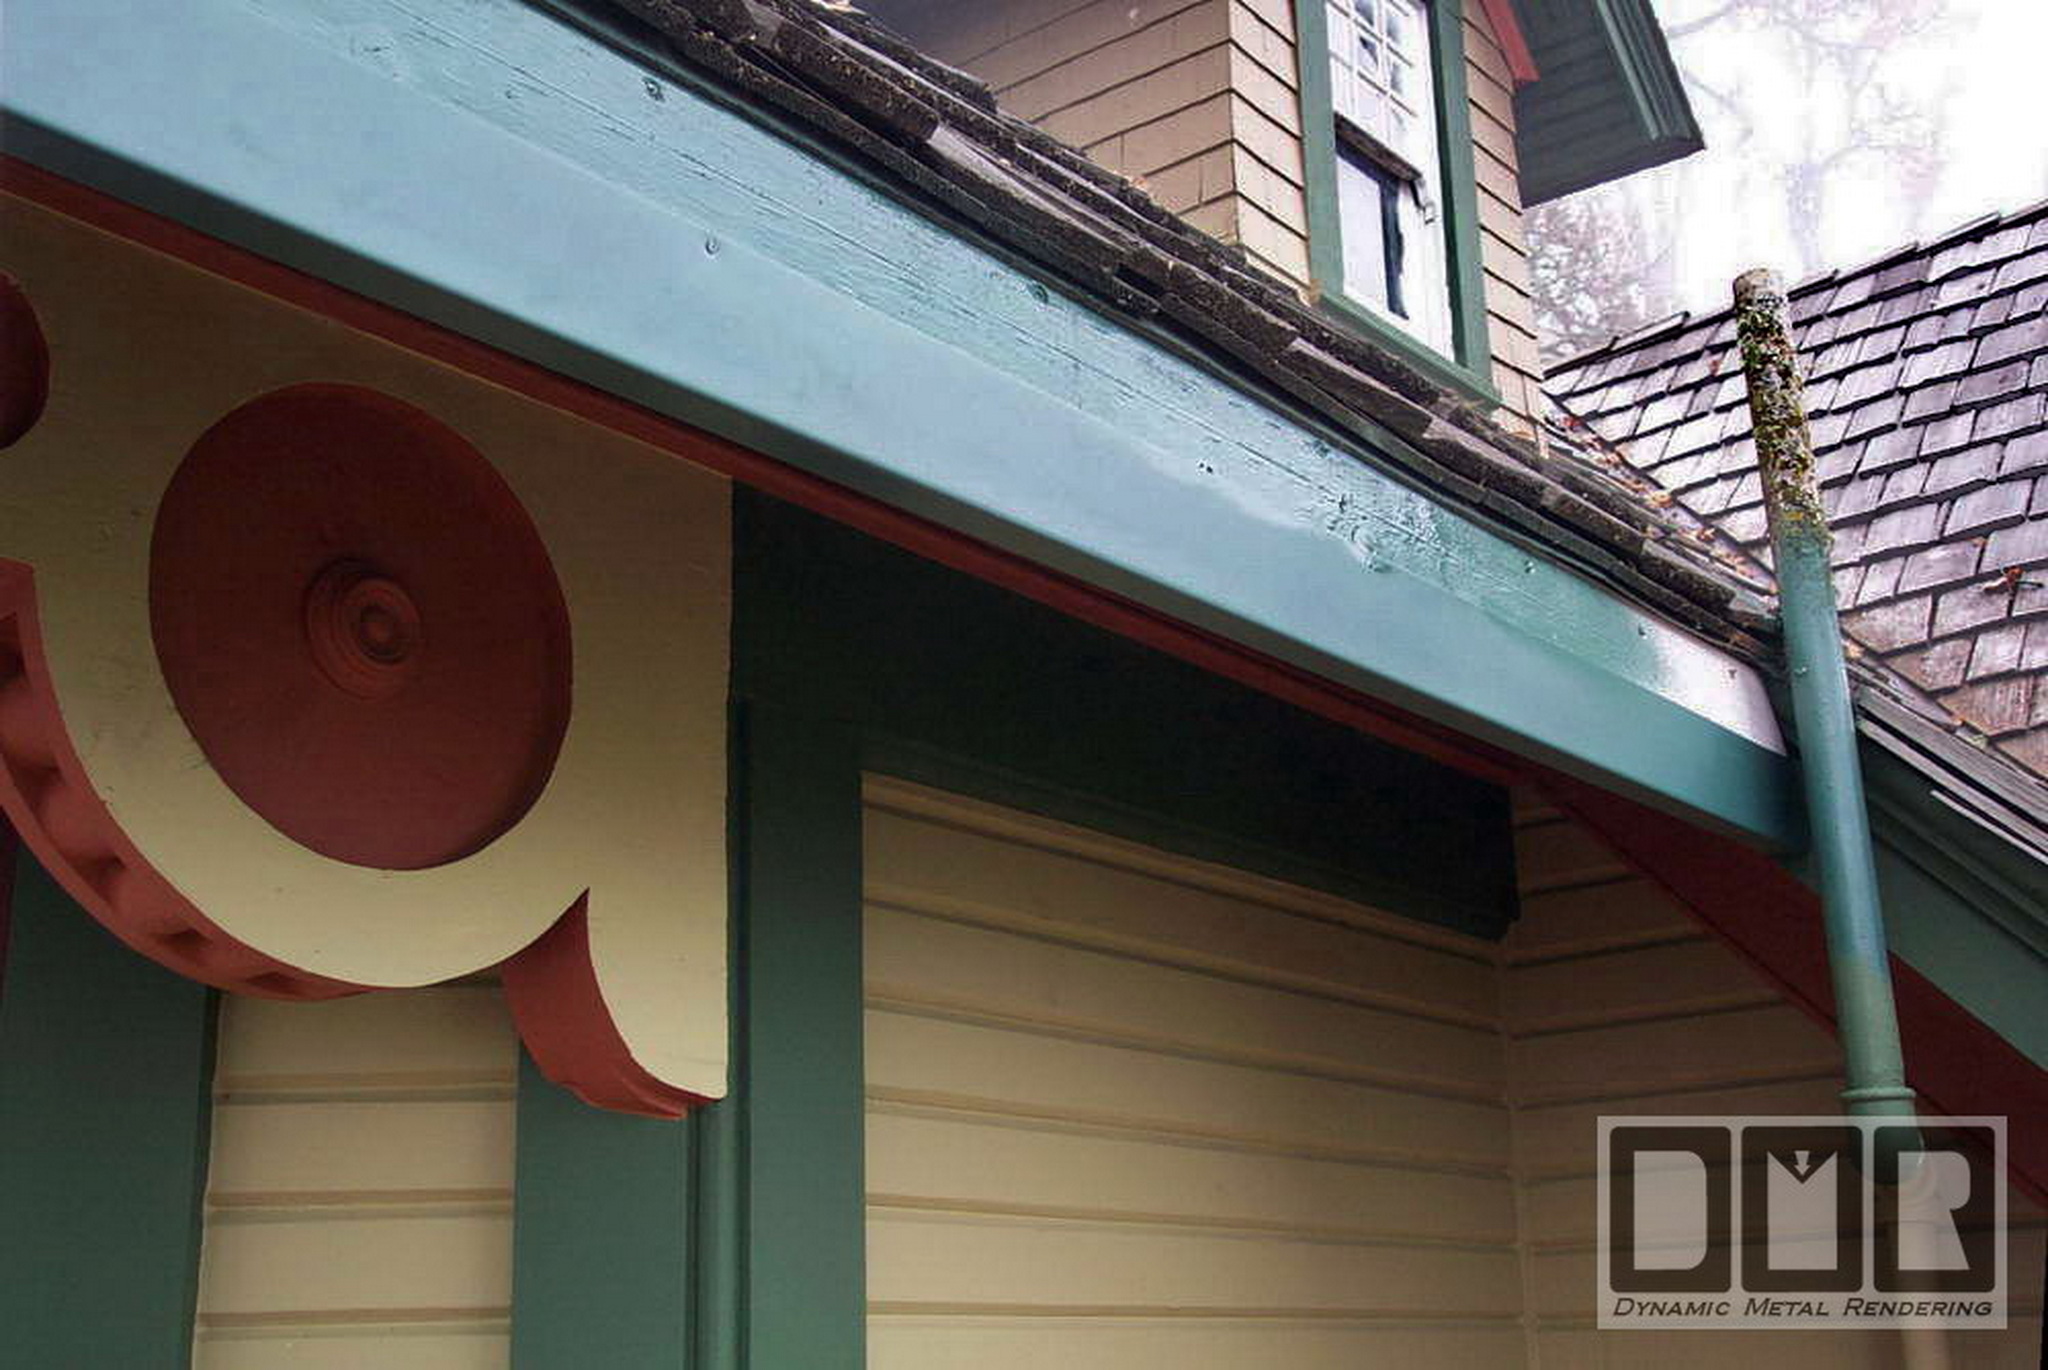
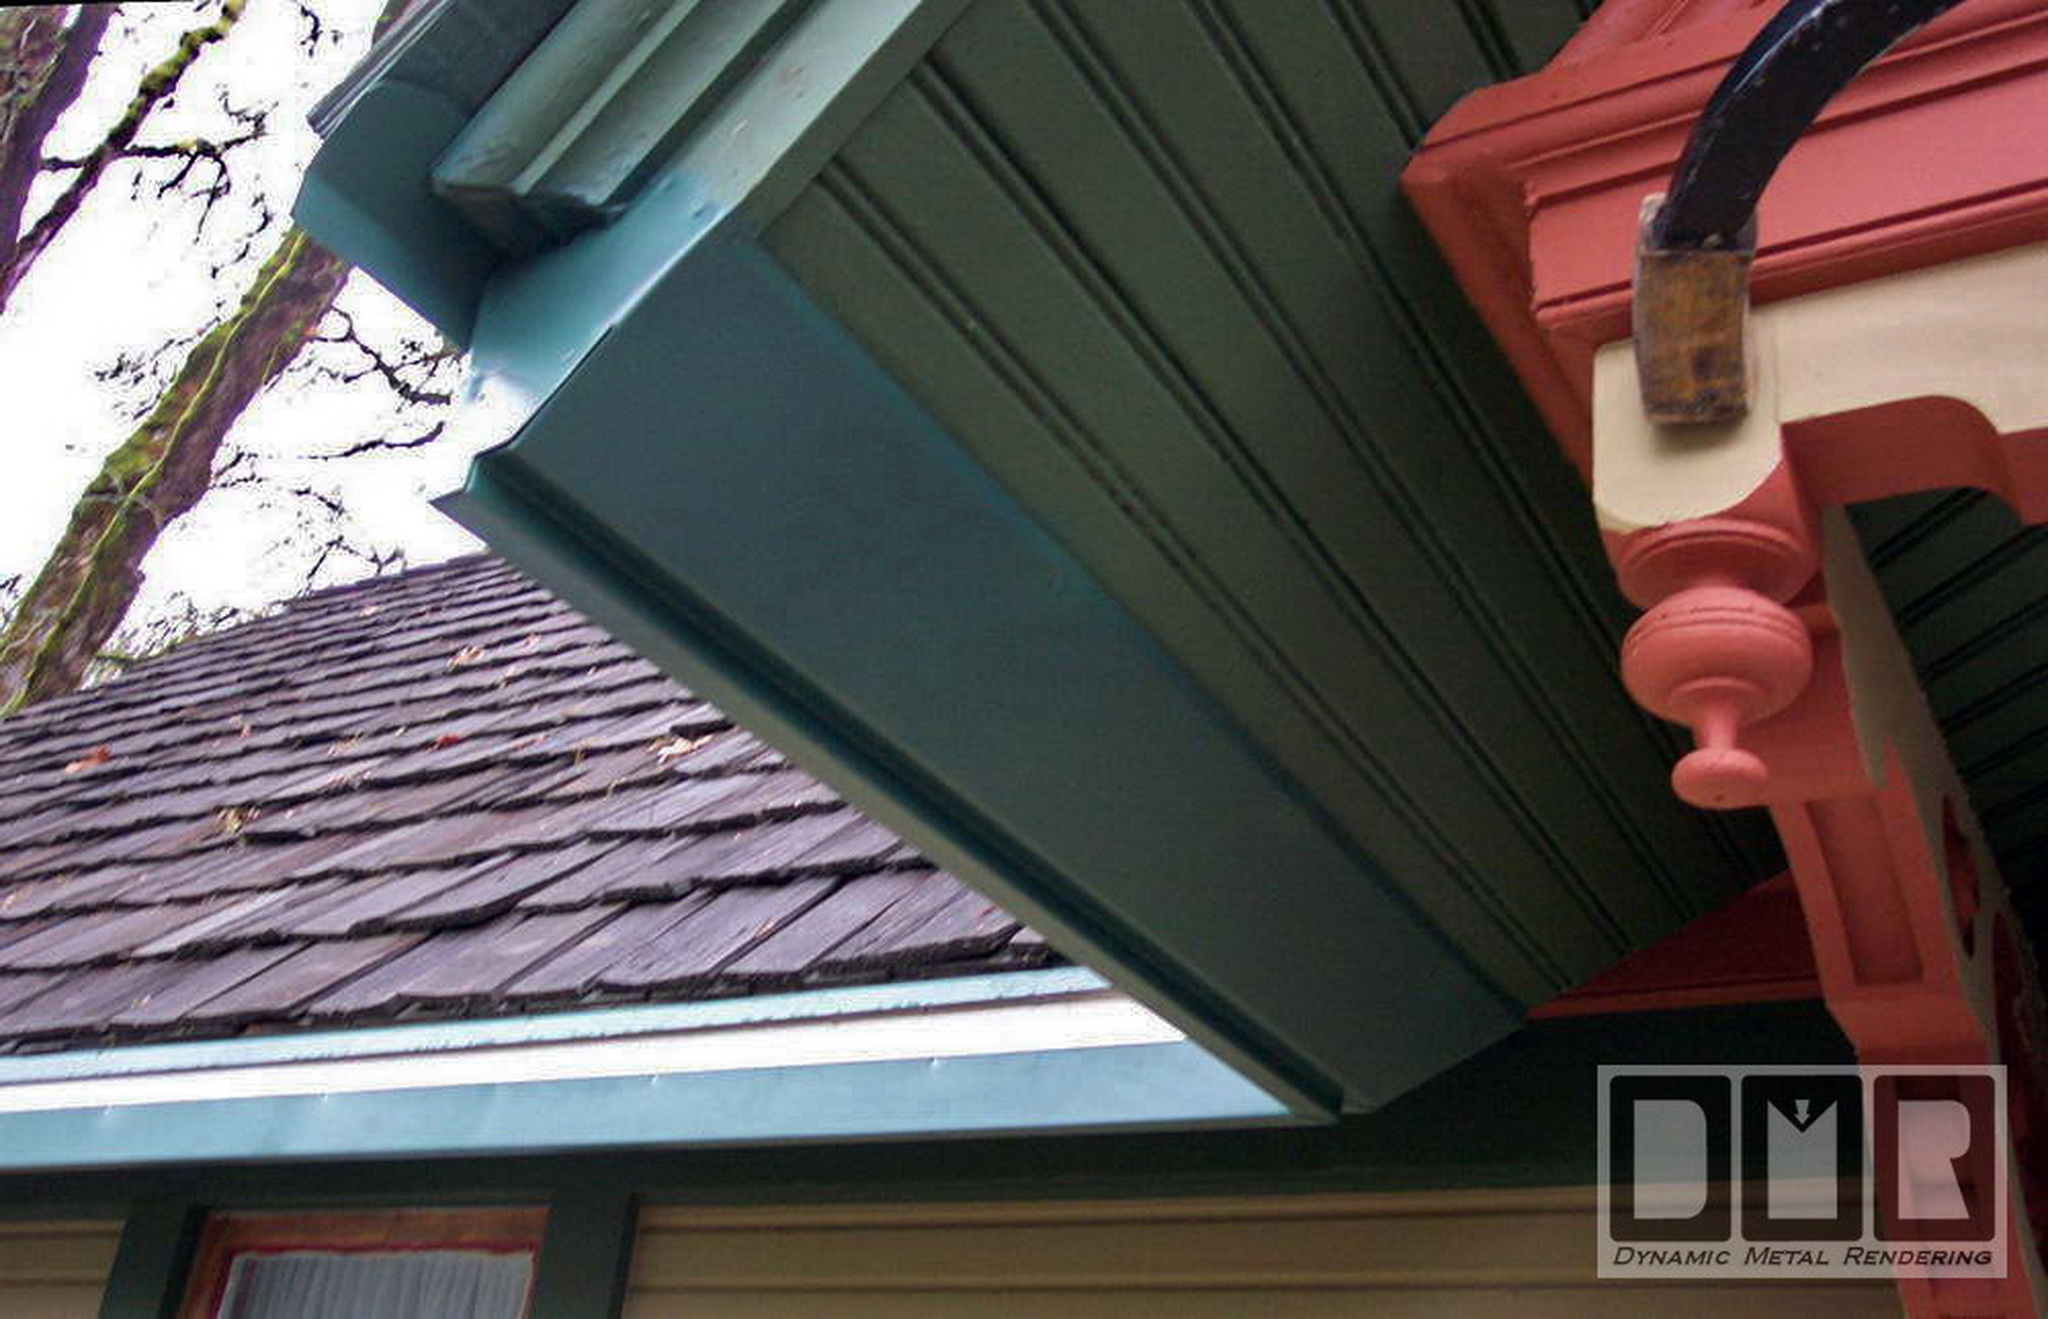
I discussed this in detail with the Homeowners about this, and they are OK with the gutter looking off kilter. They are not ready to invest in jacking up the porch and pouring a proper foundation at this time. At least 
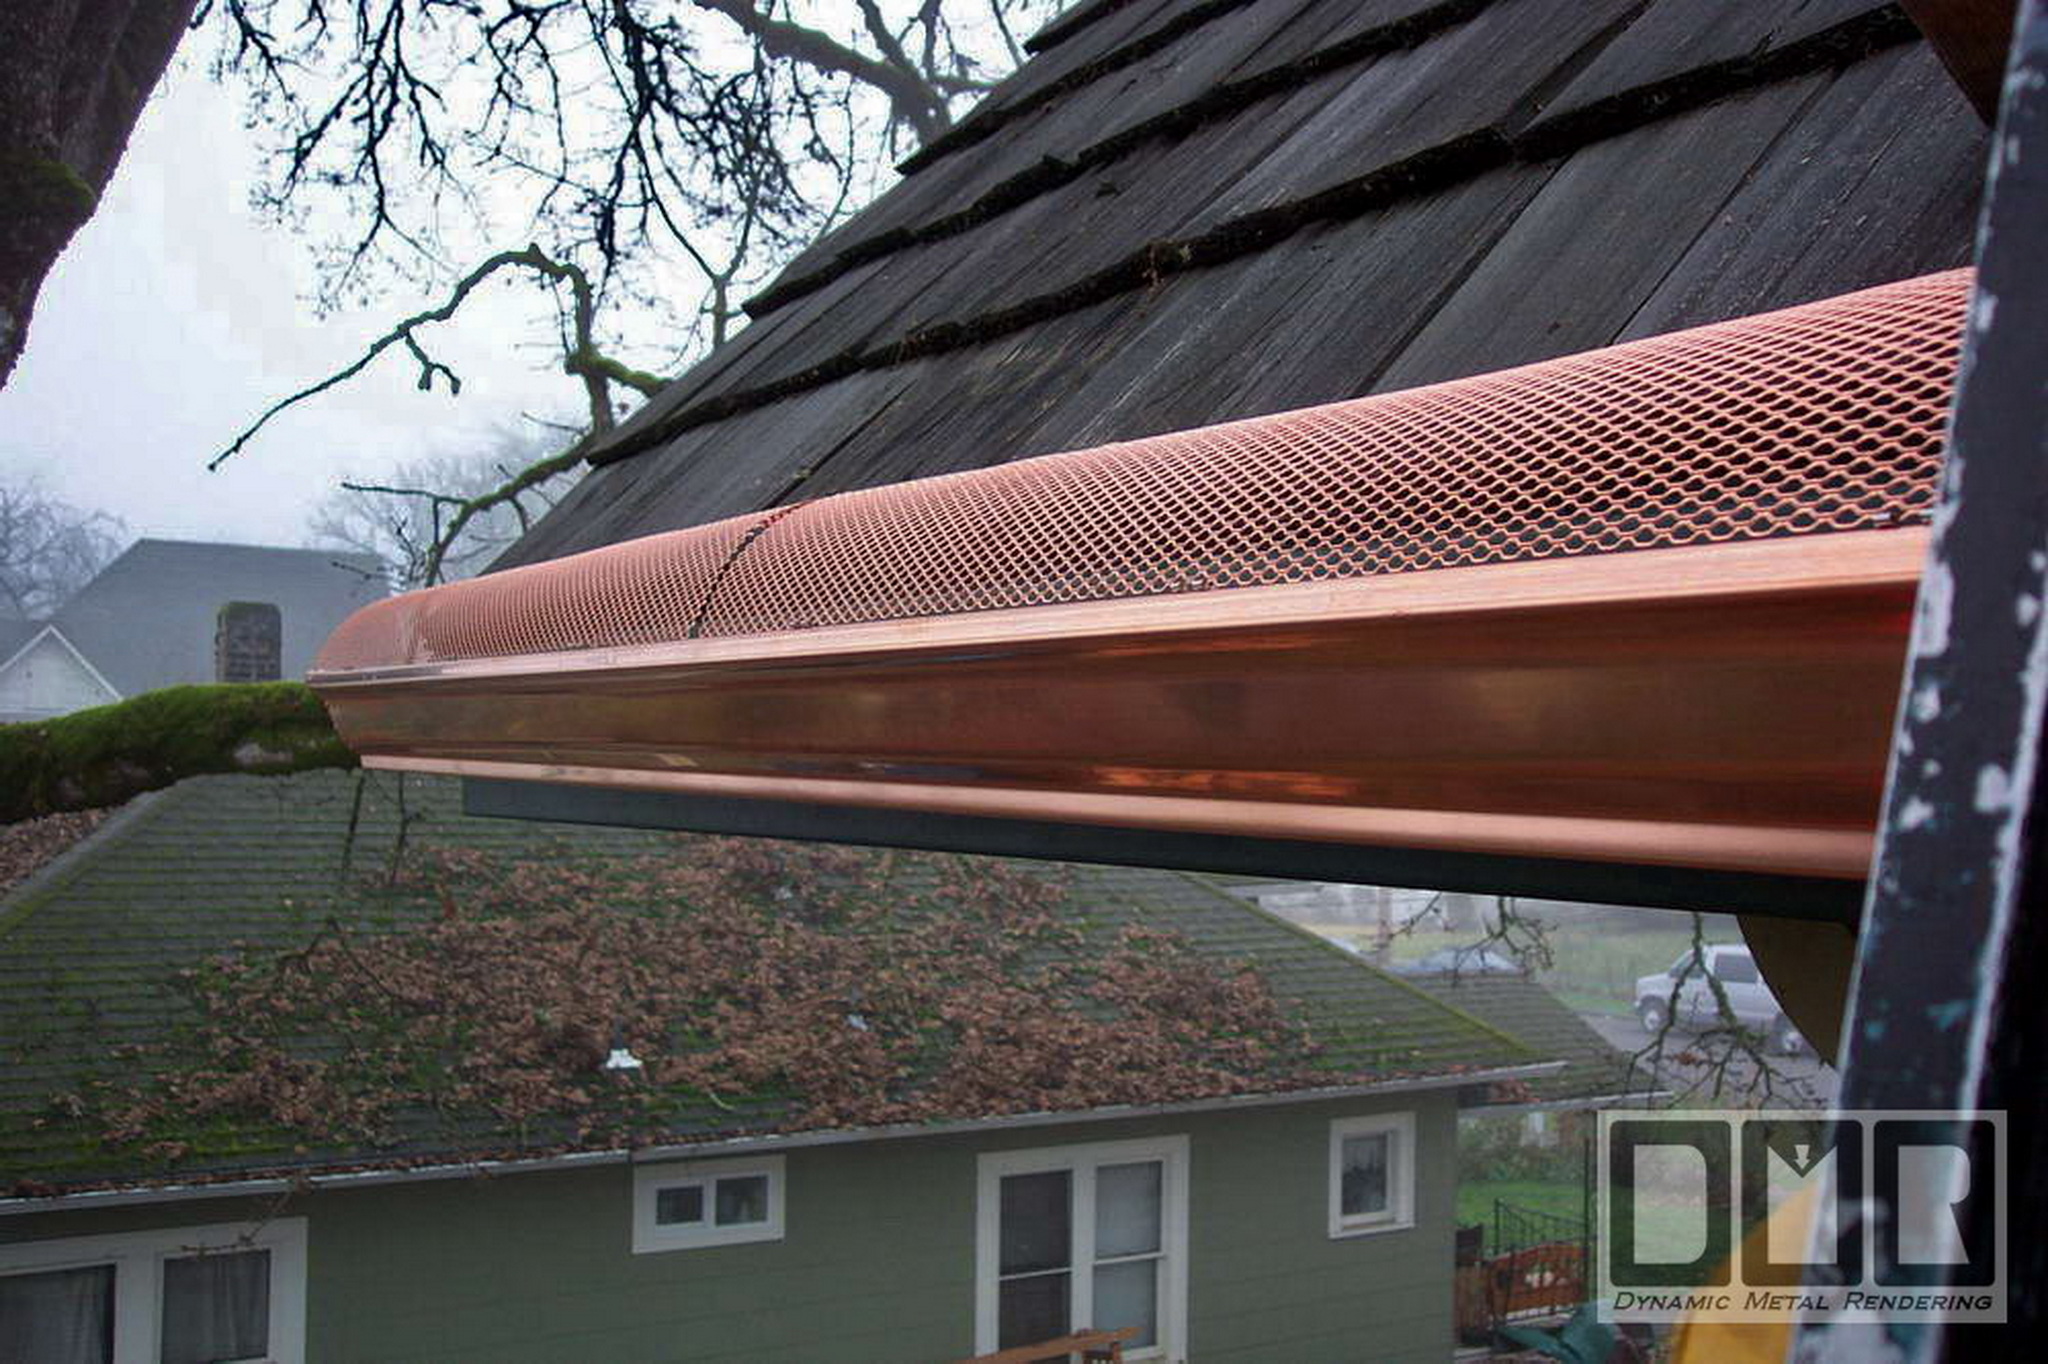
the way we install gutters with only stainless steel screws, they can still do this and then reposition the gutters to look better.
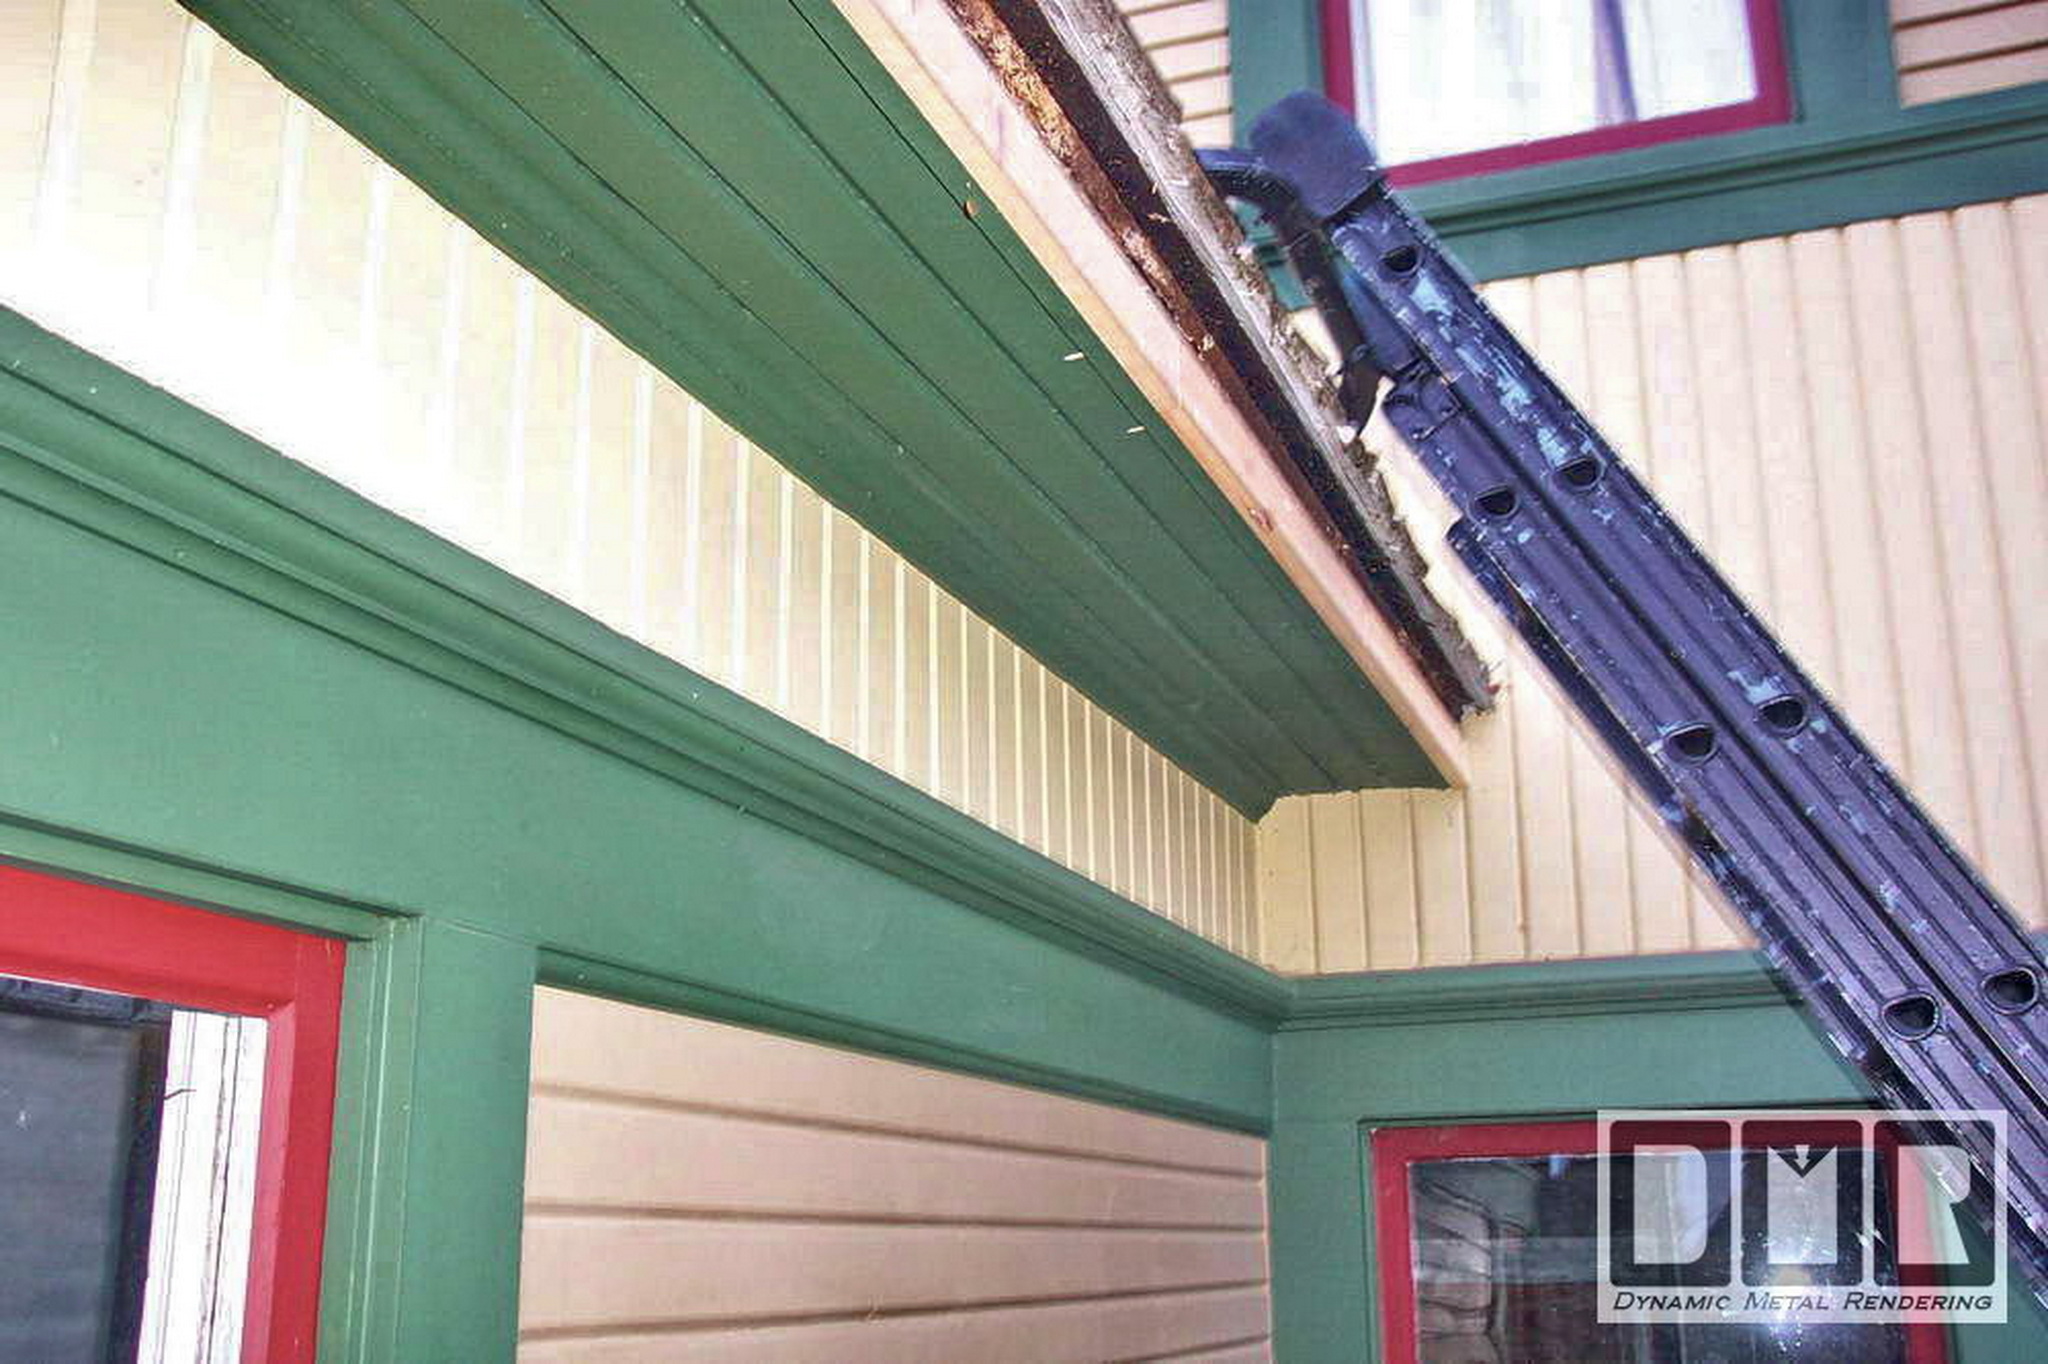
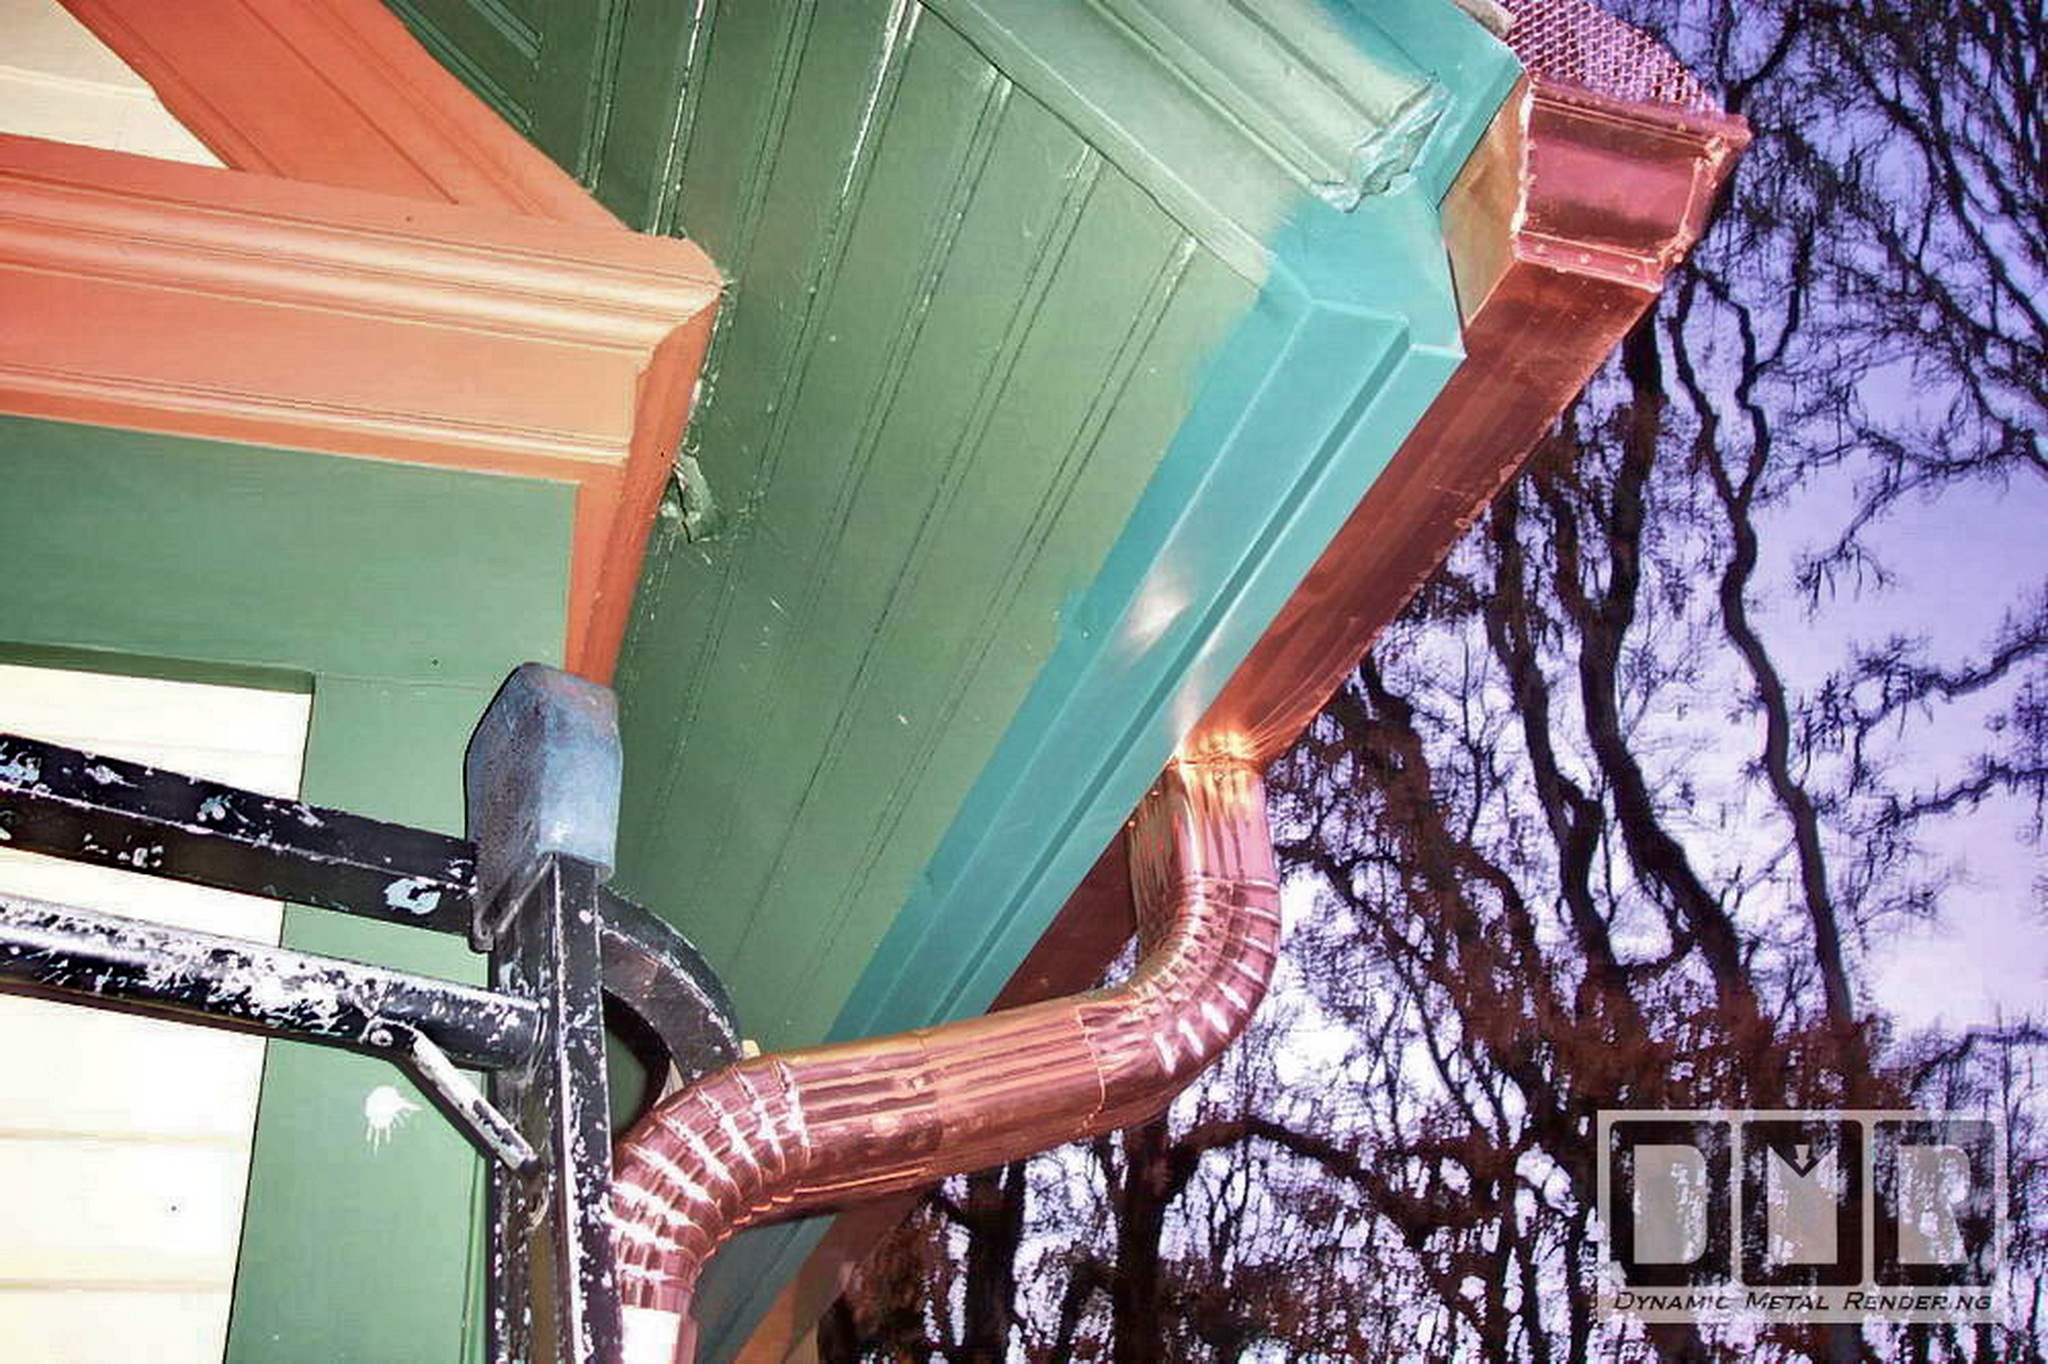
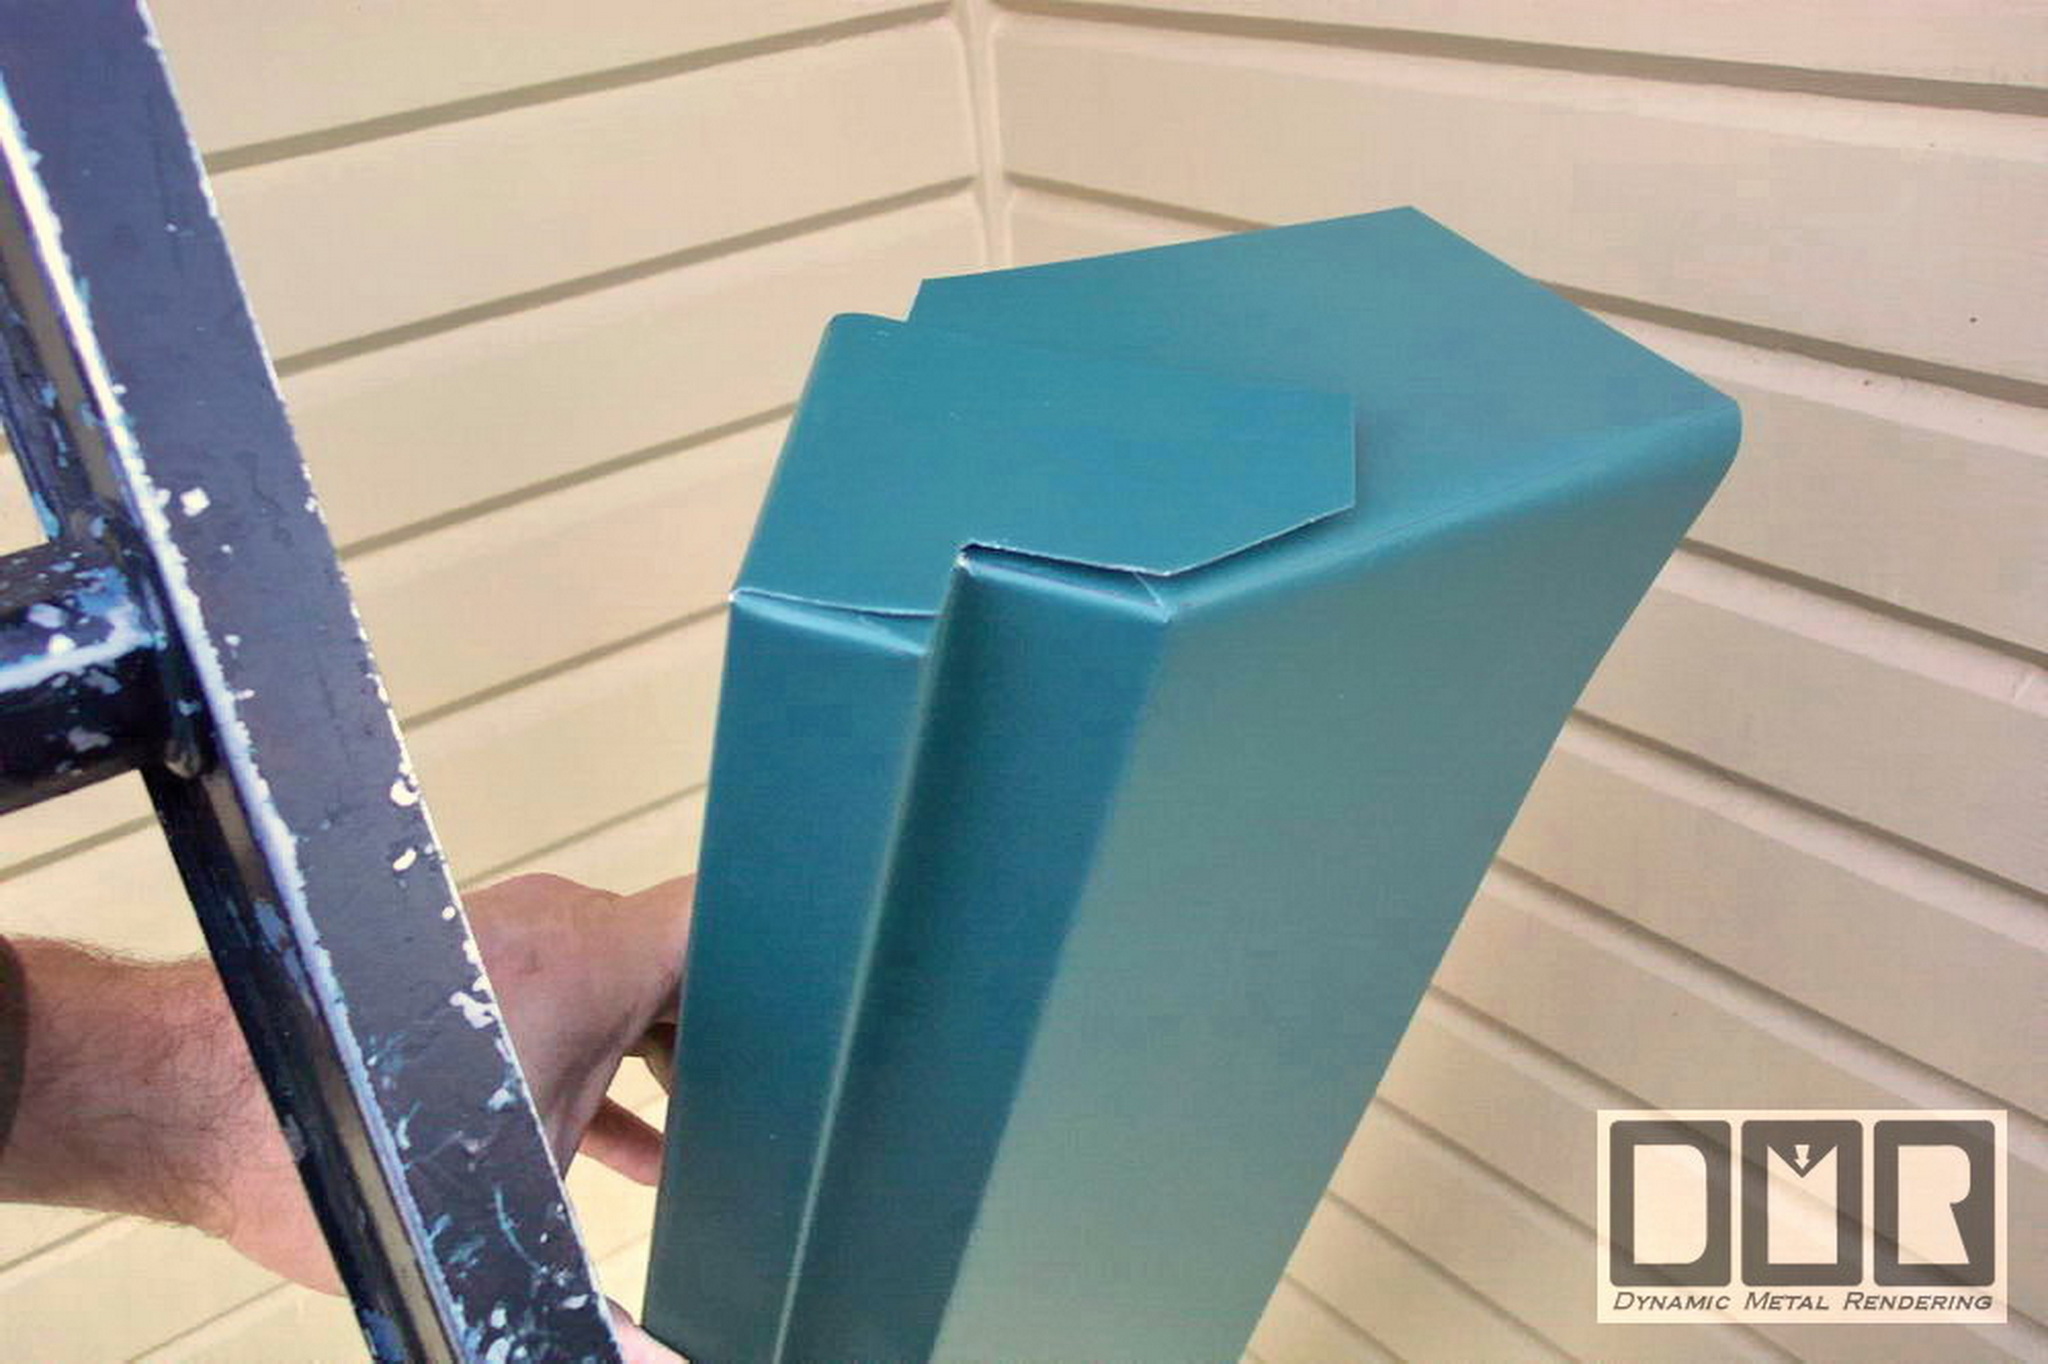
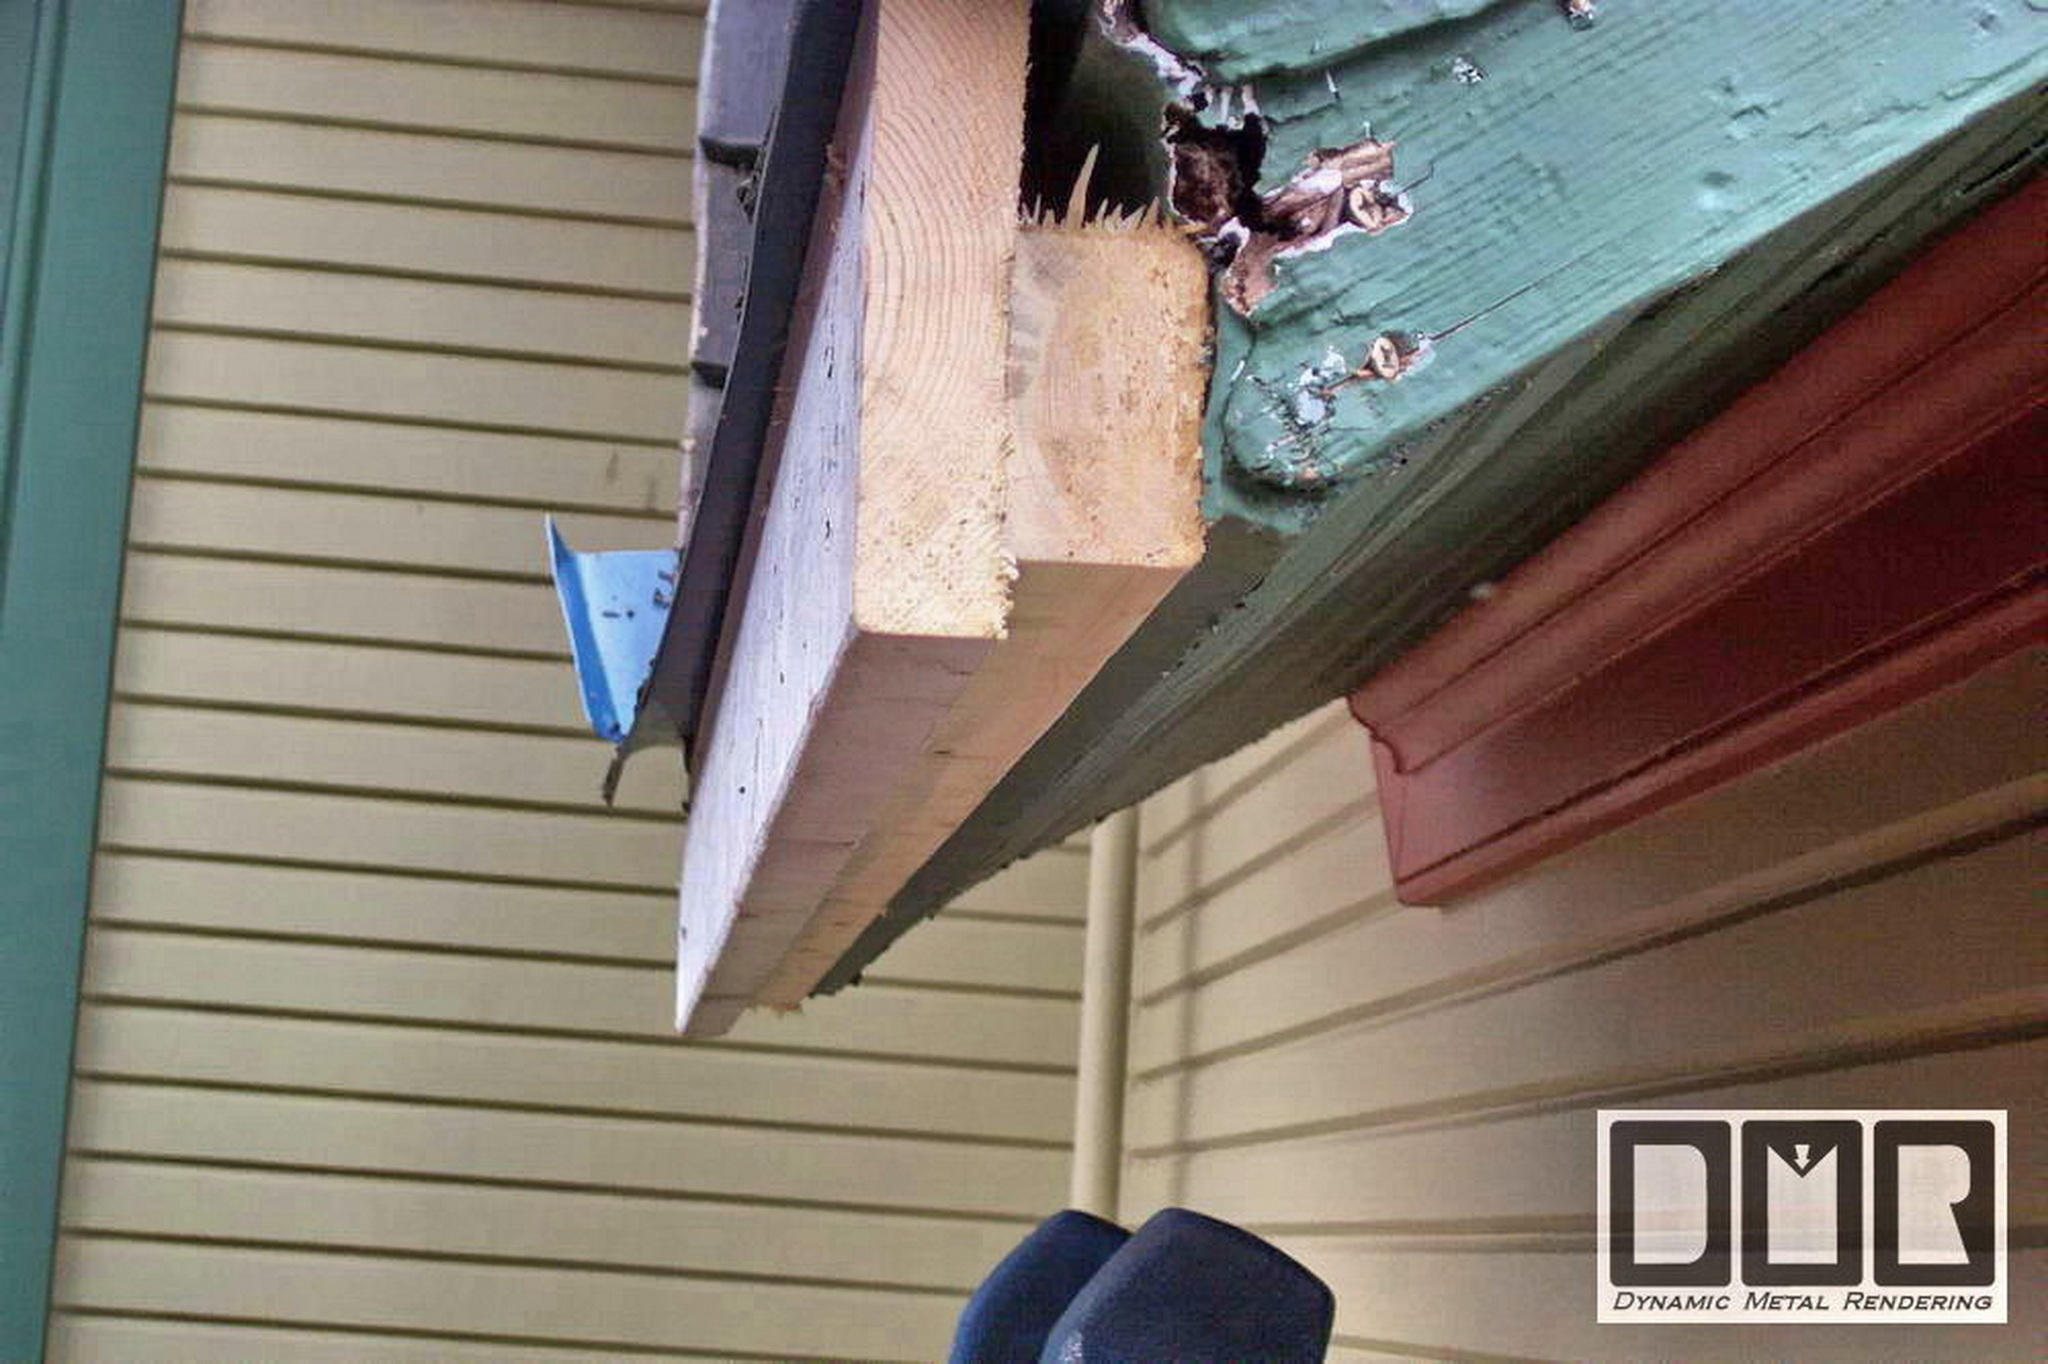
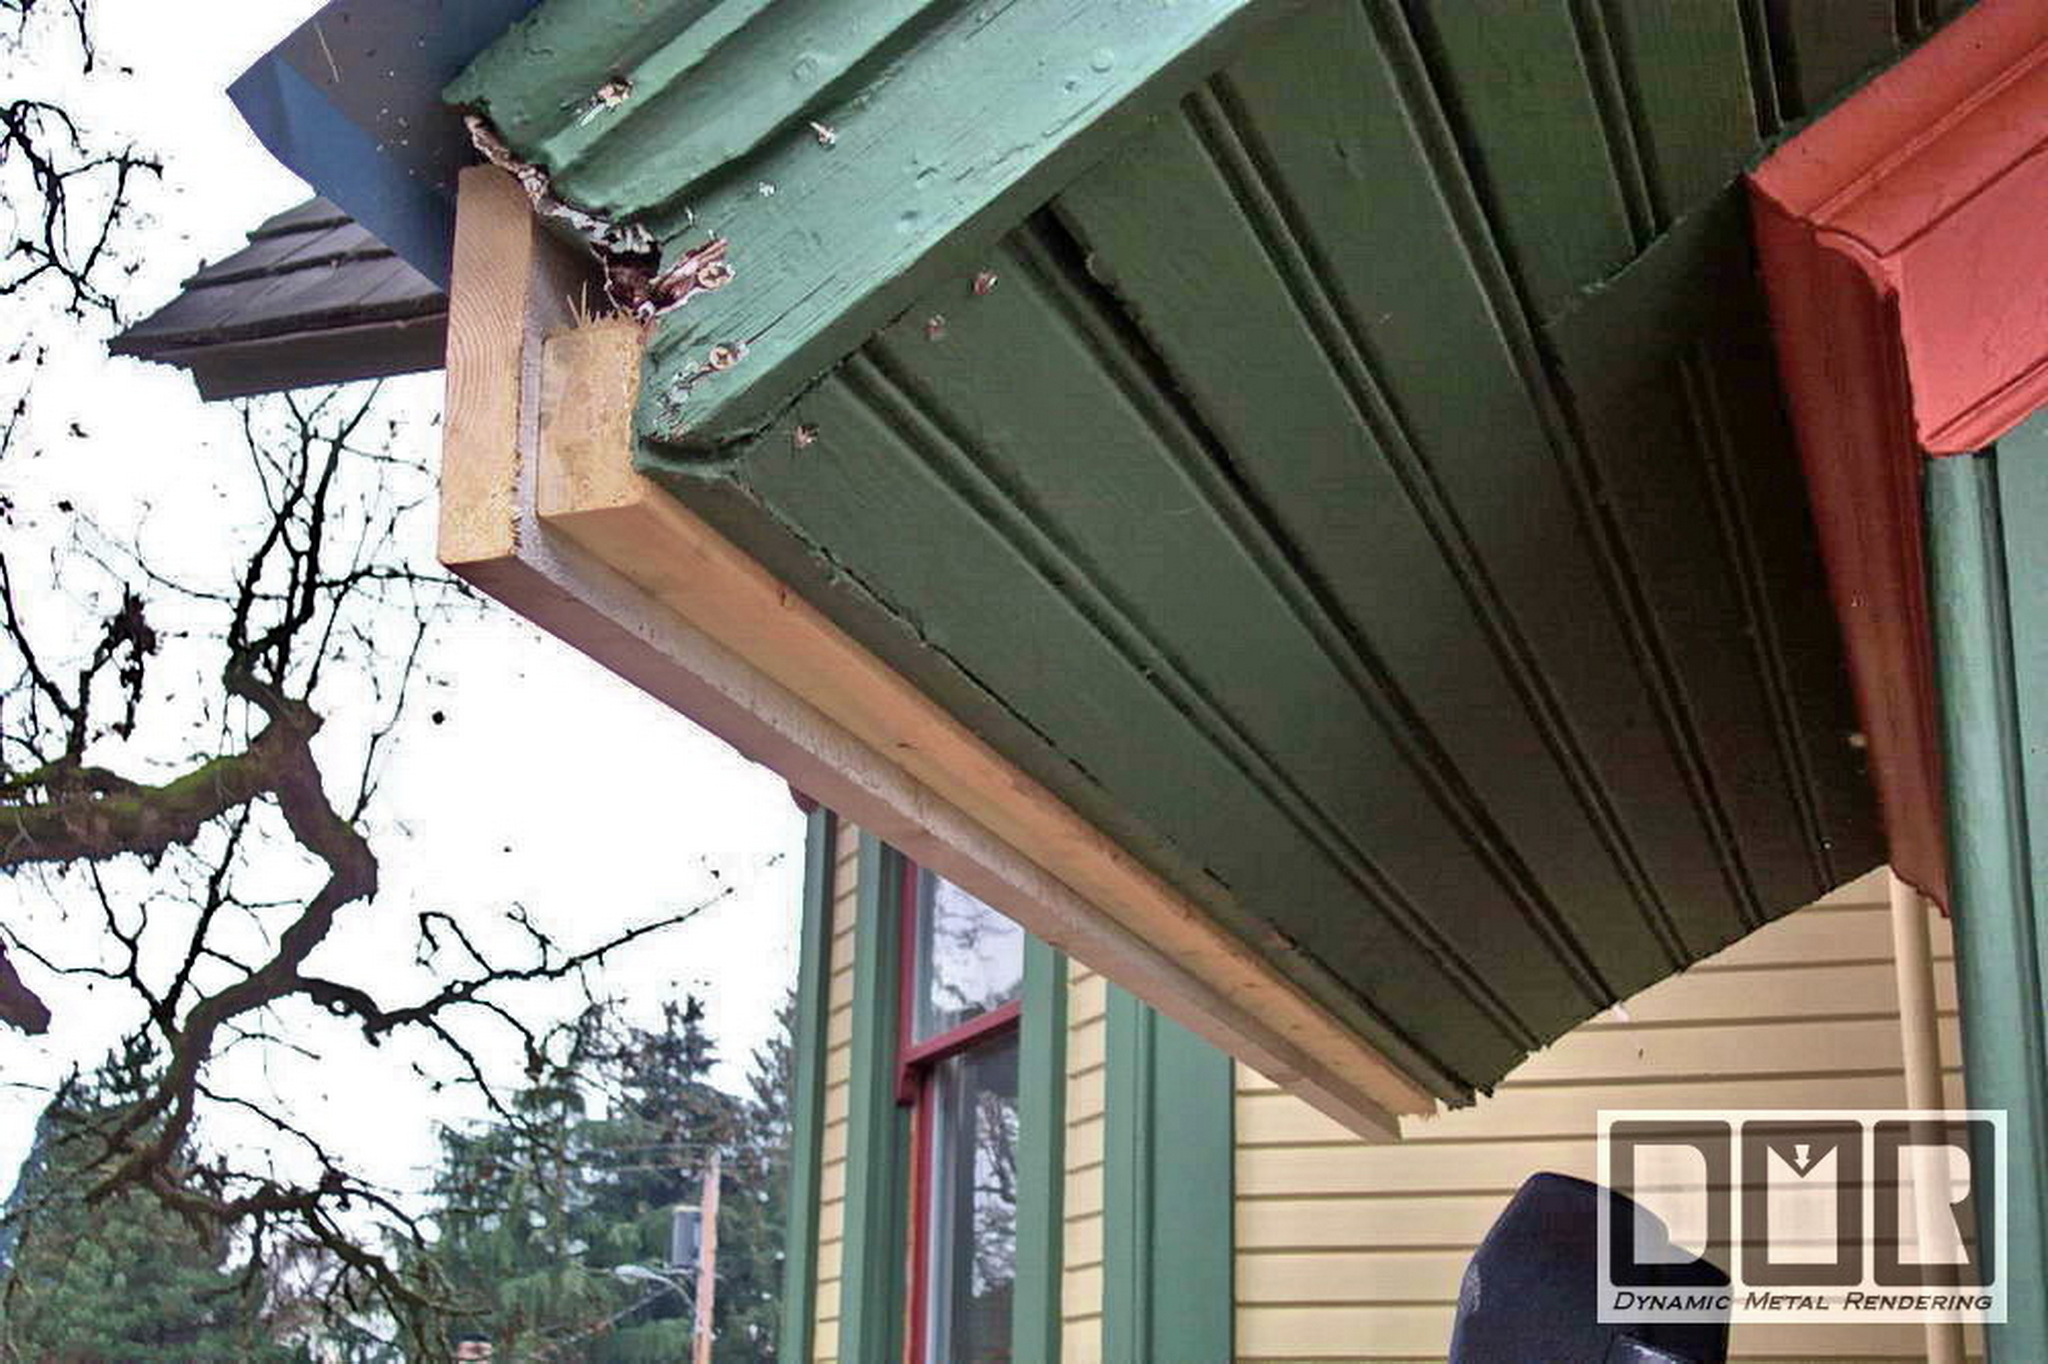
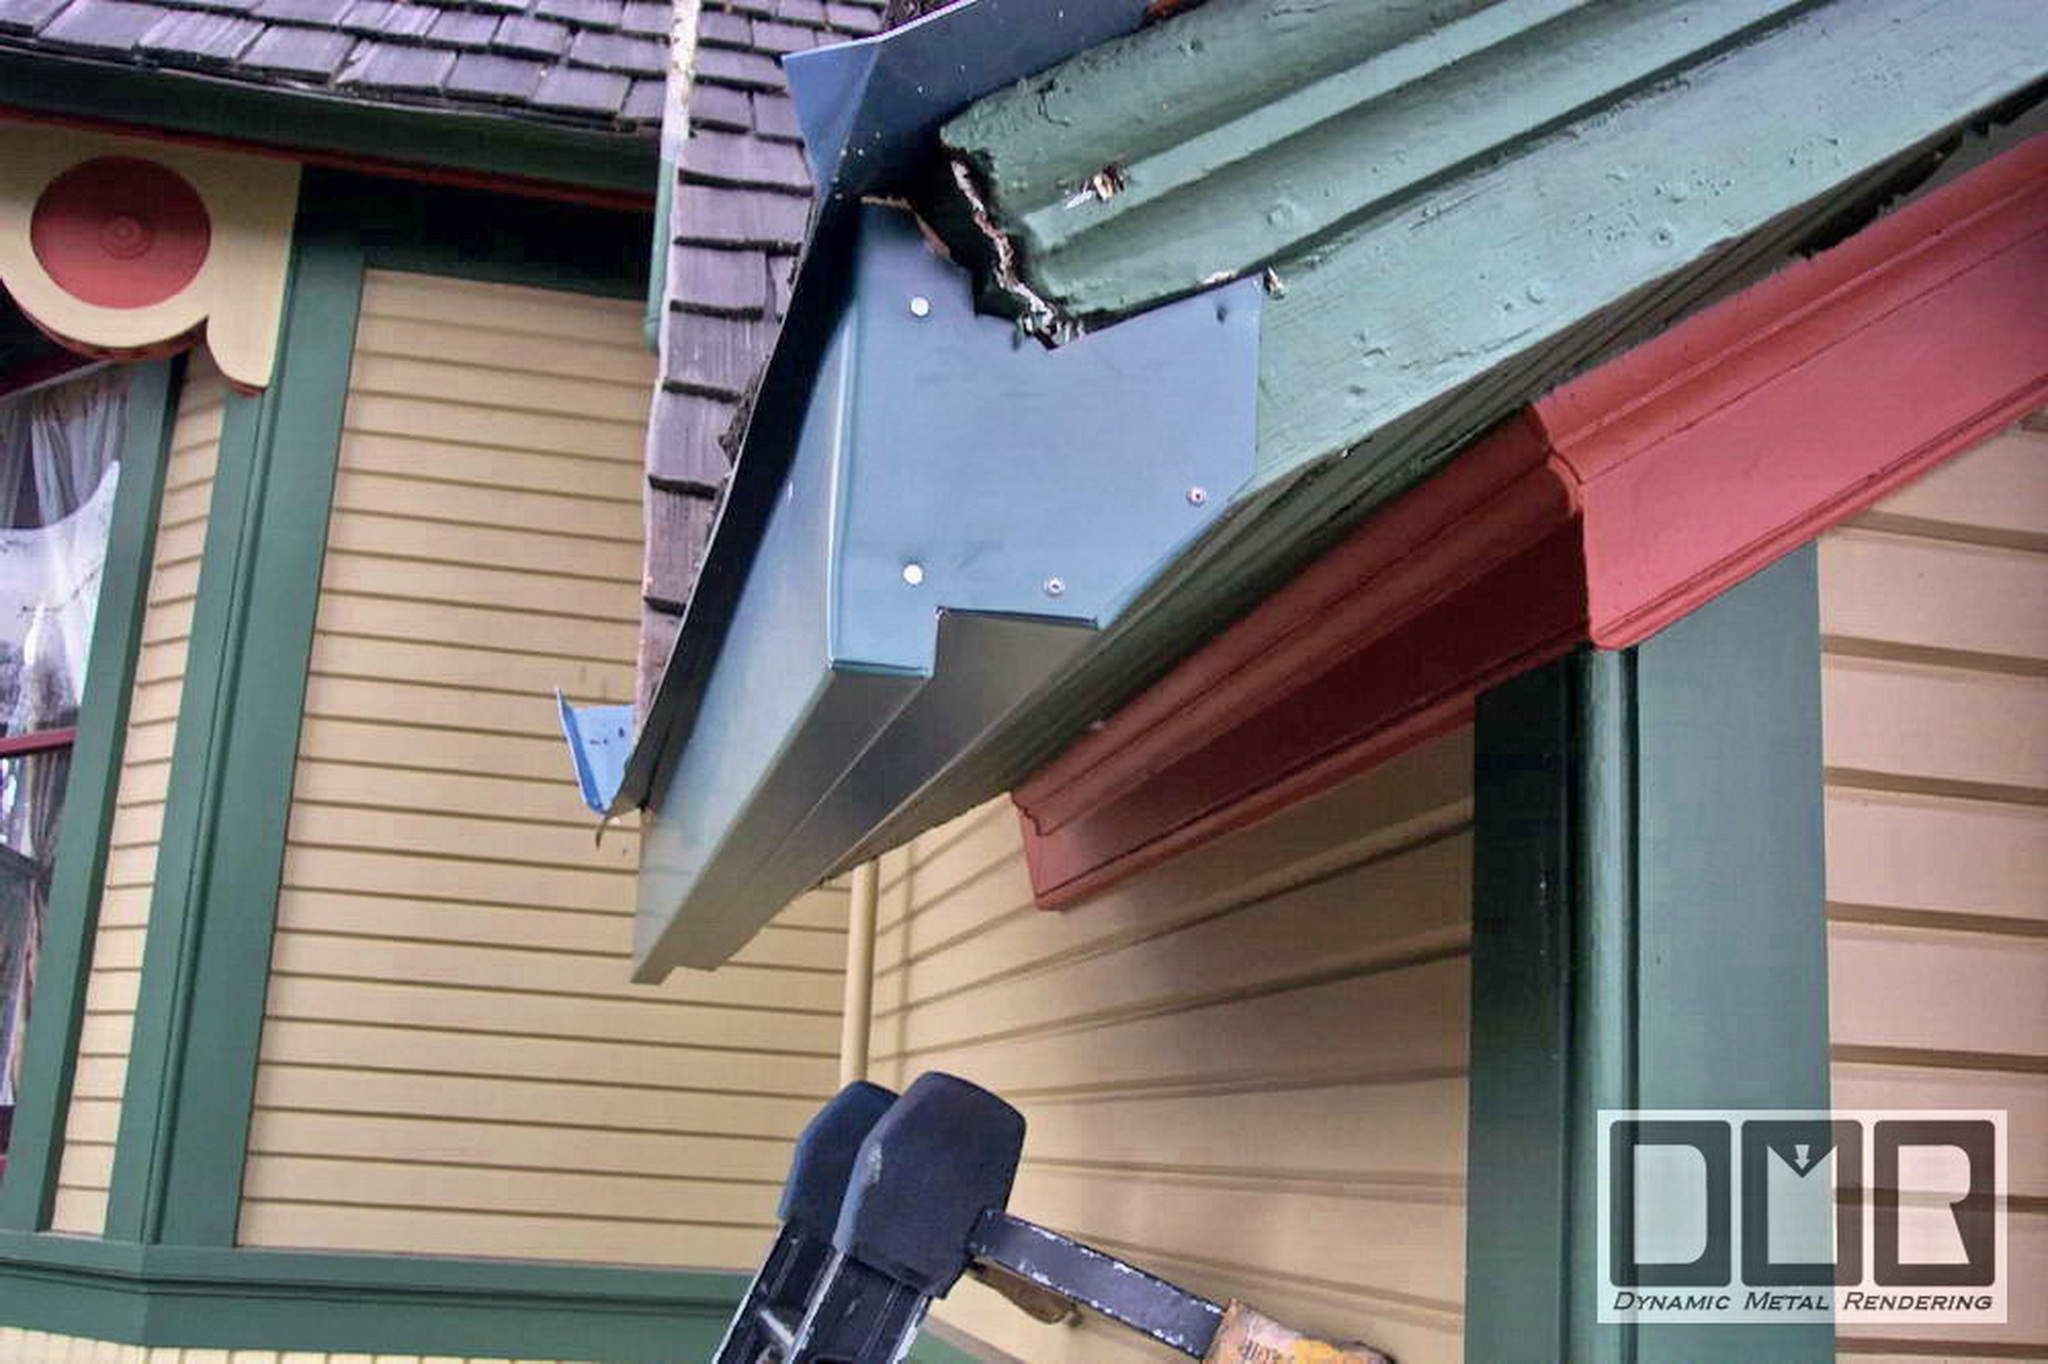
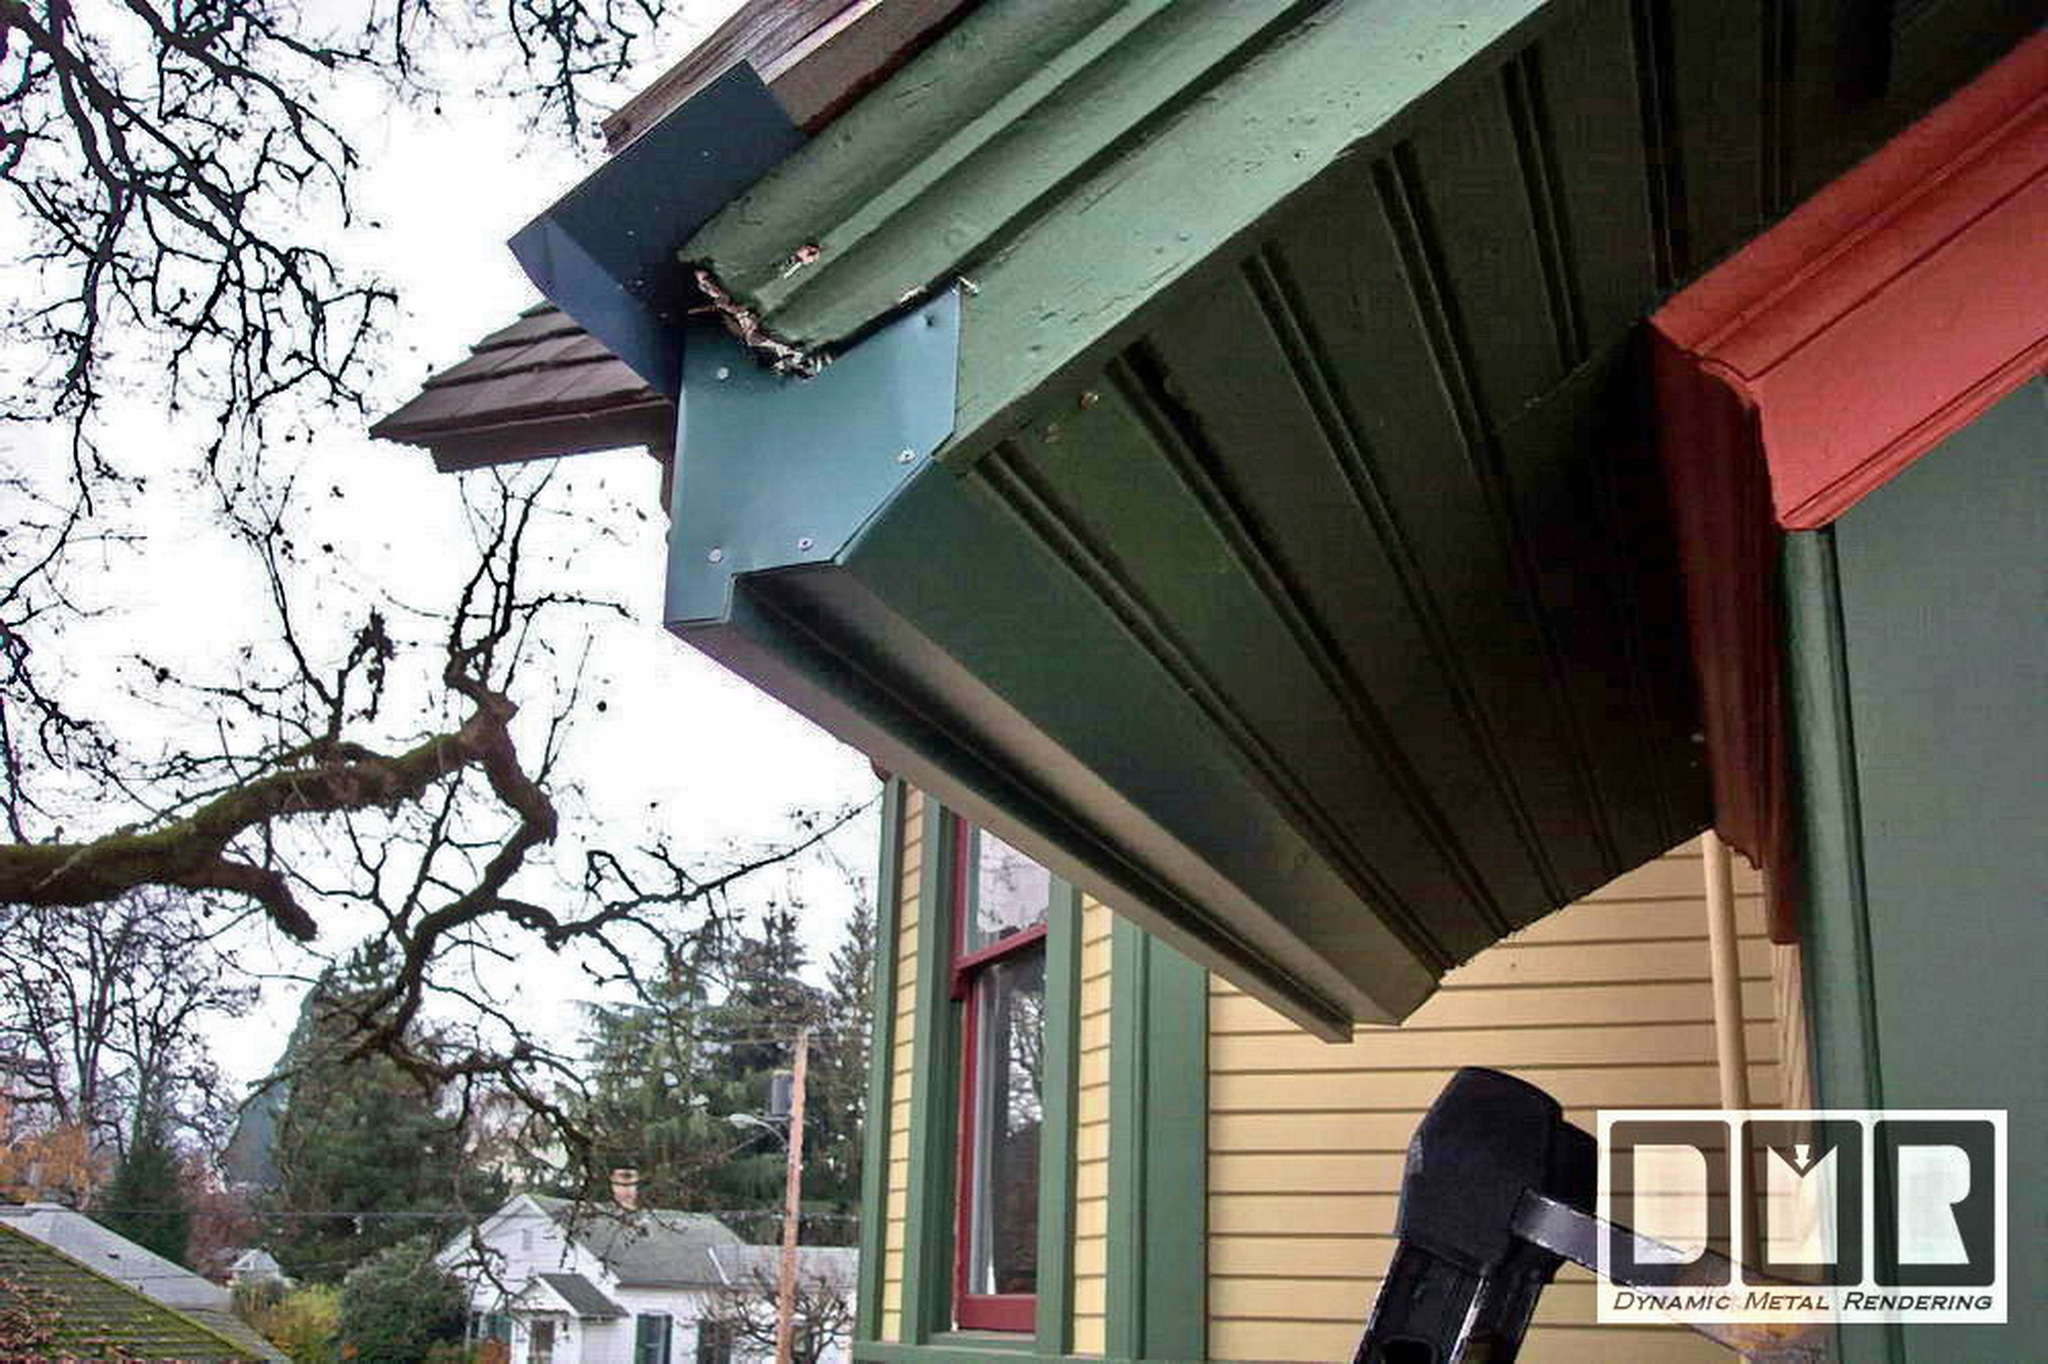
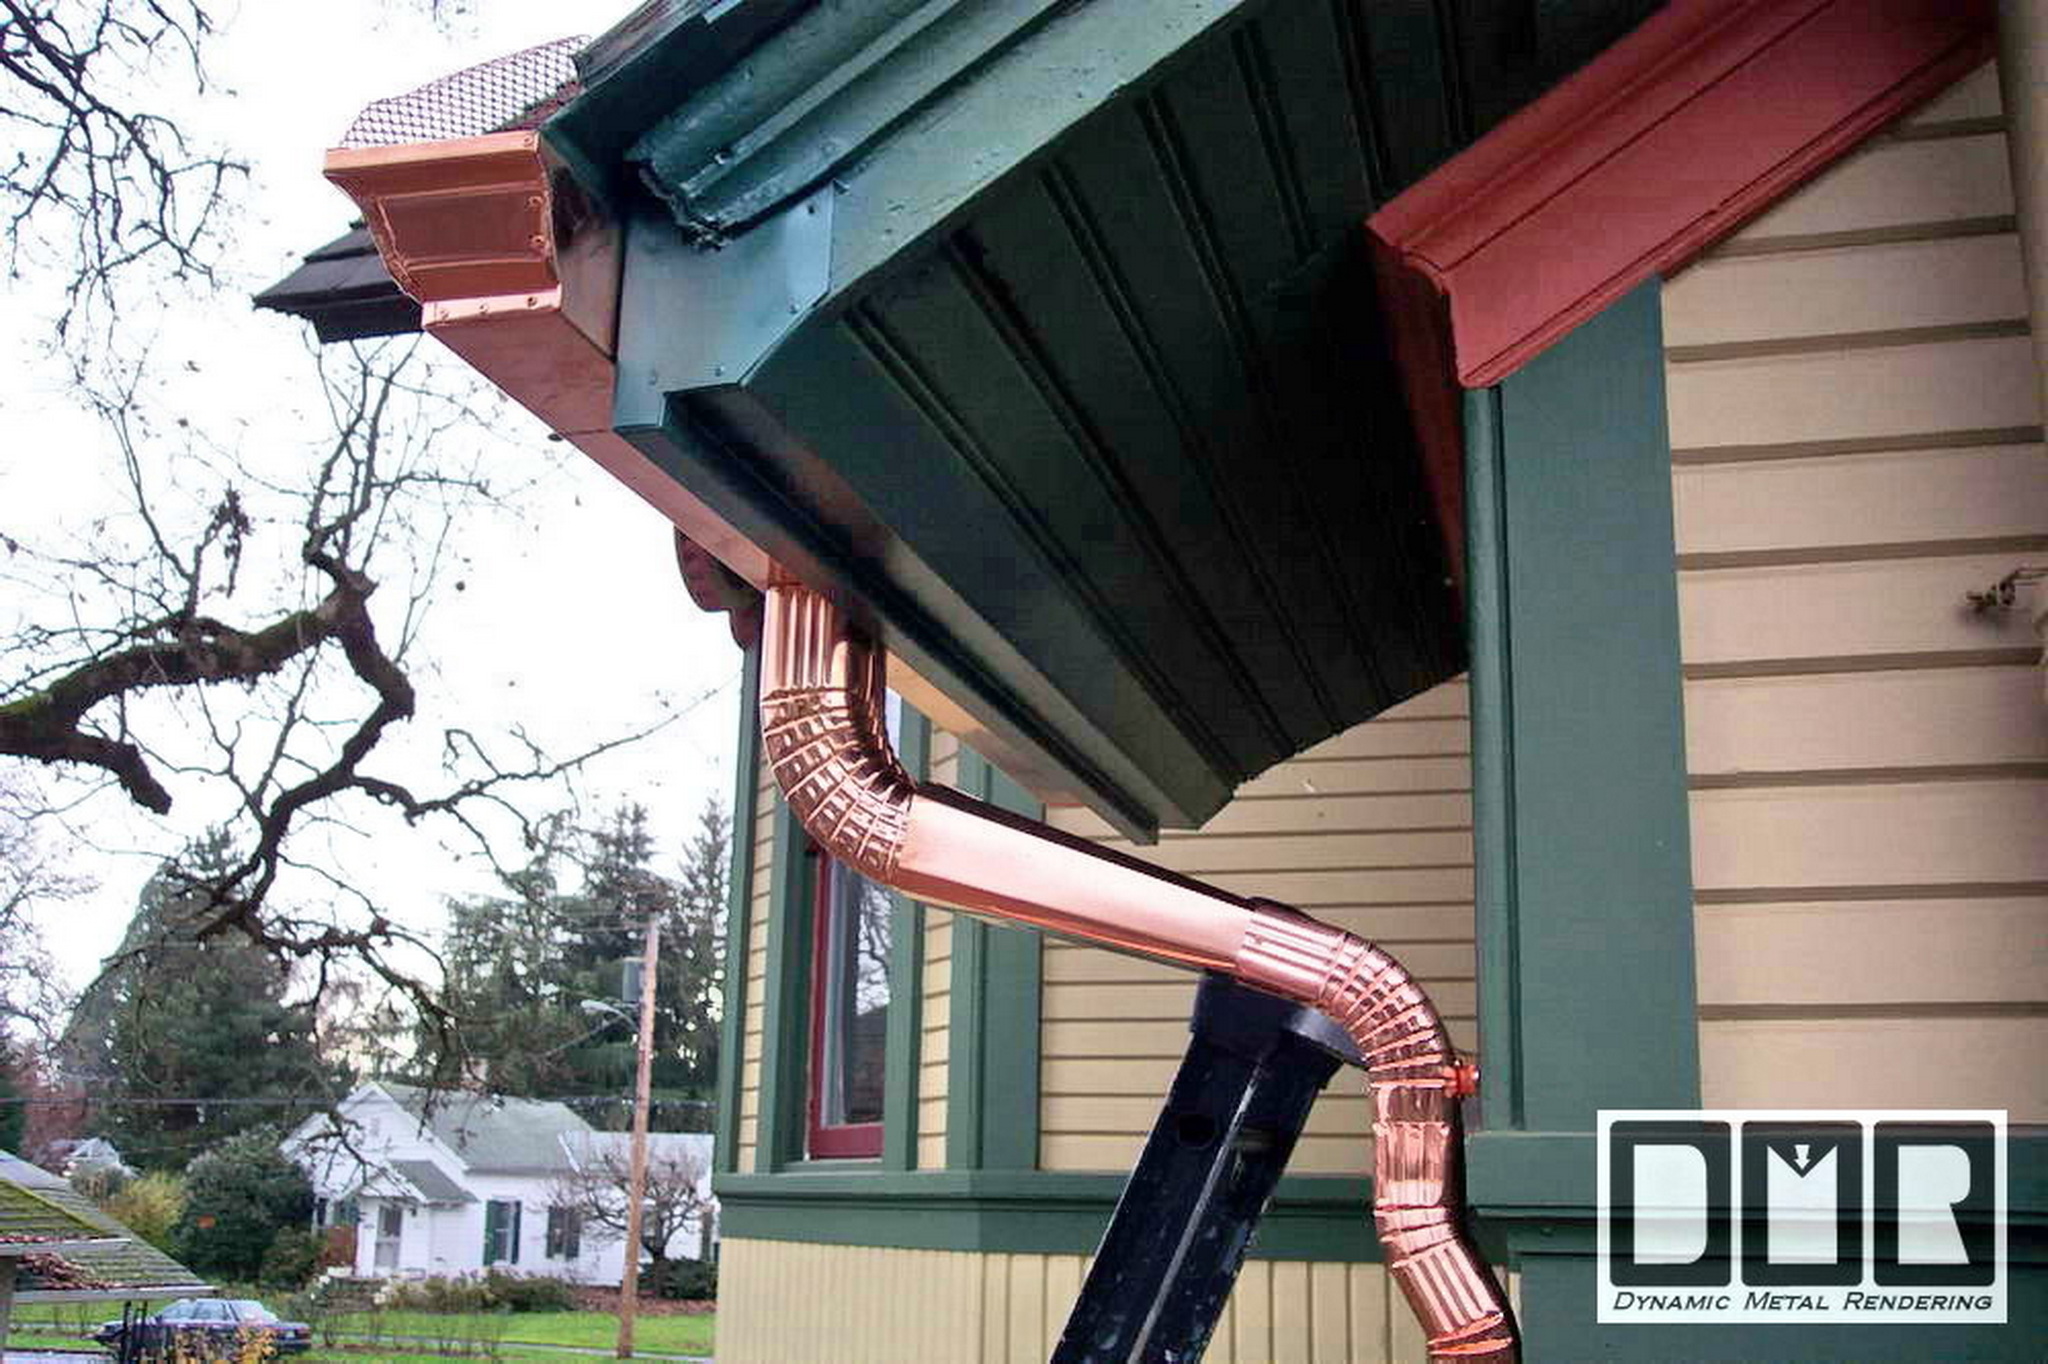
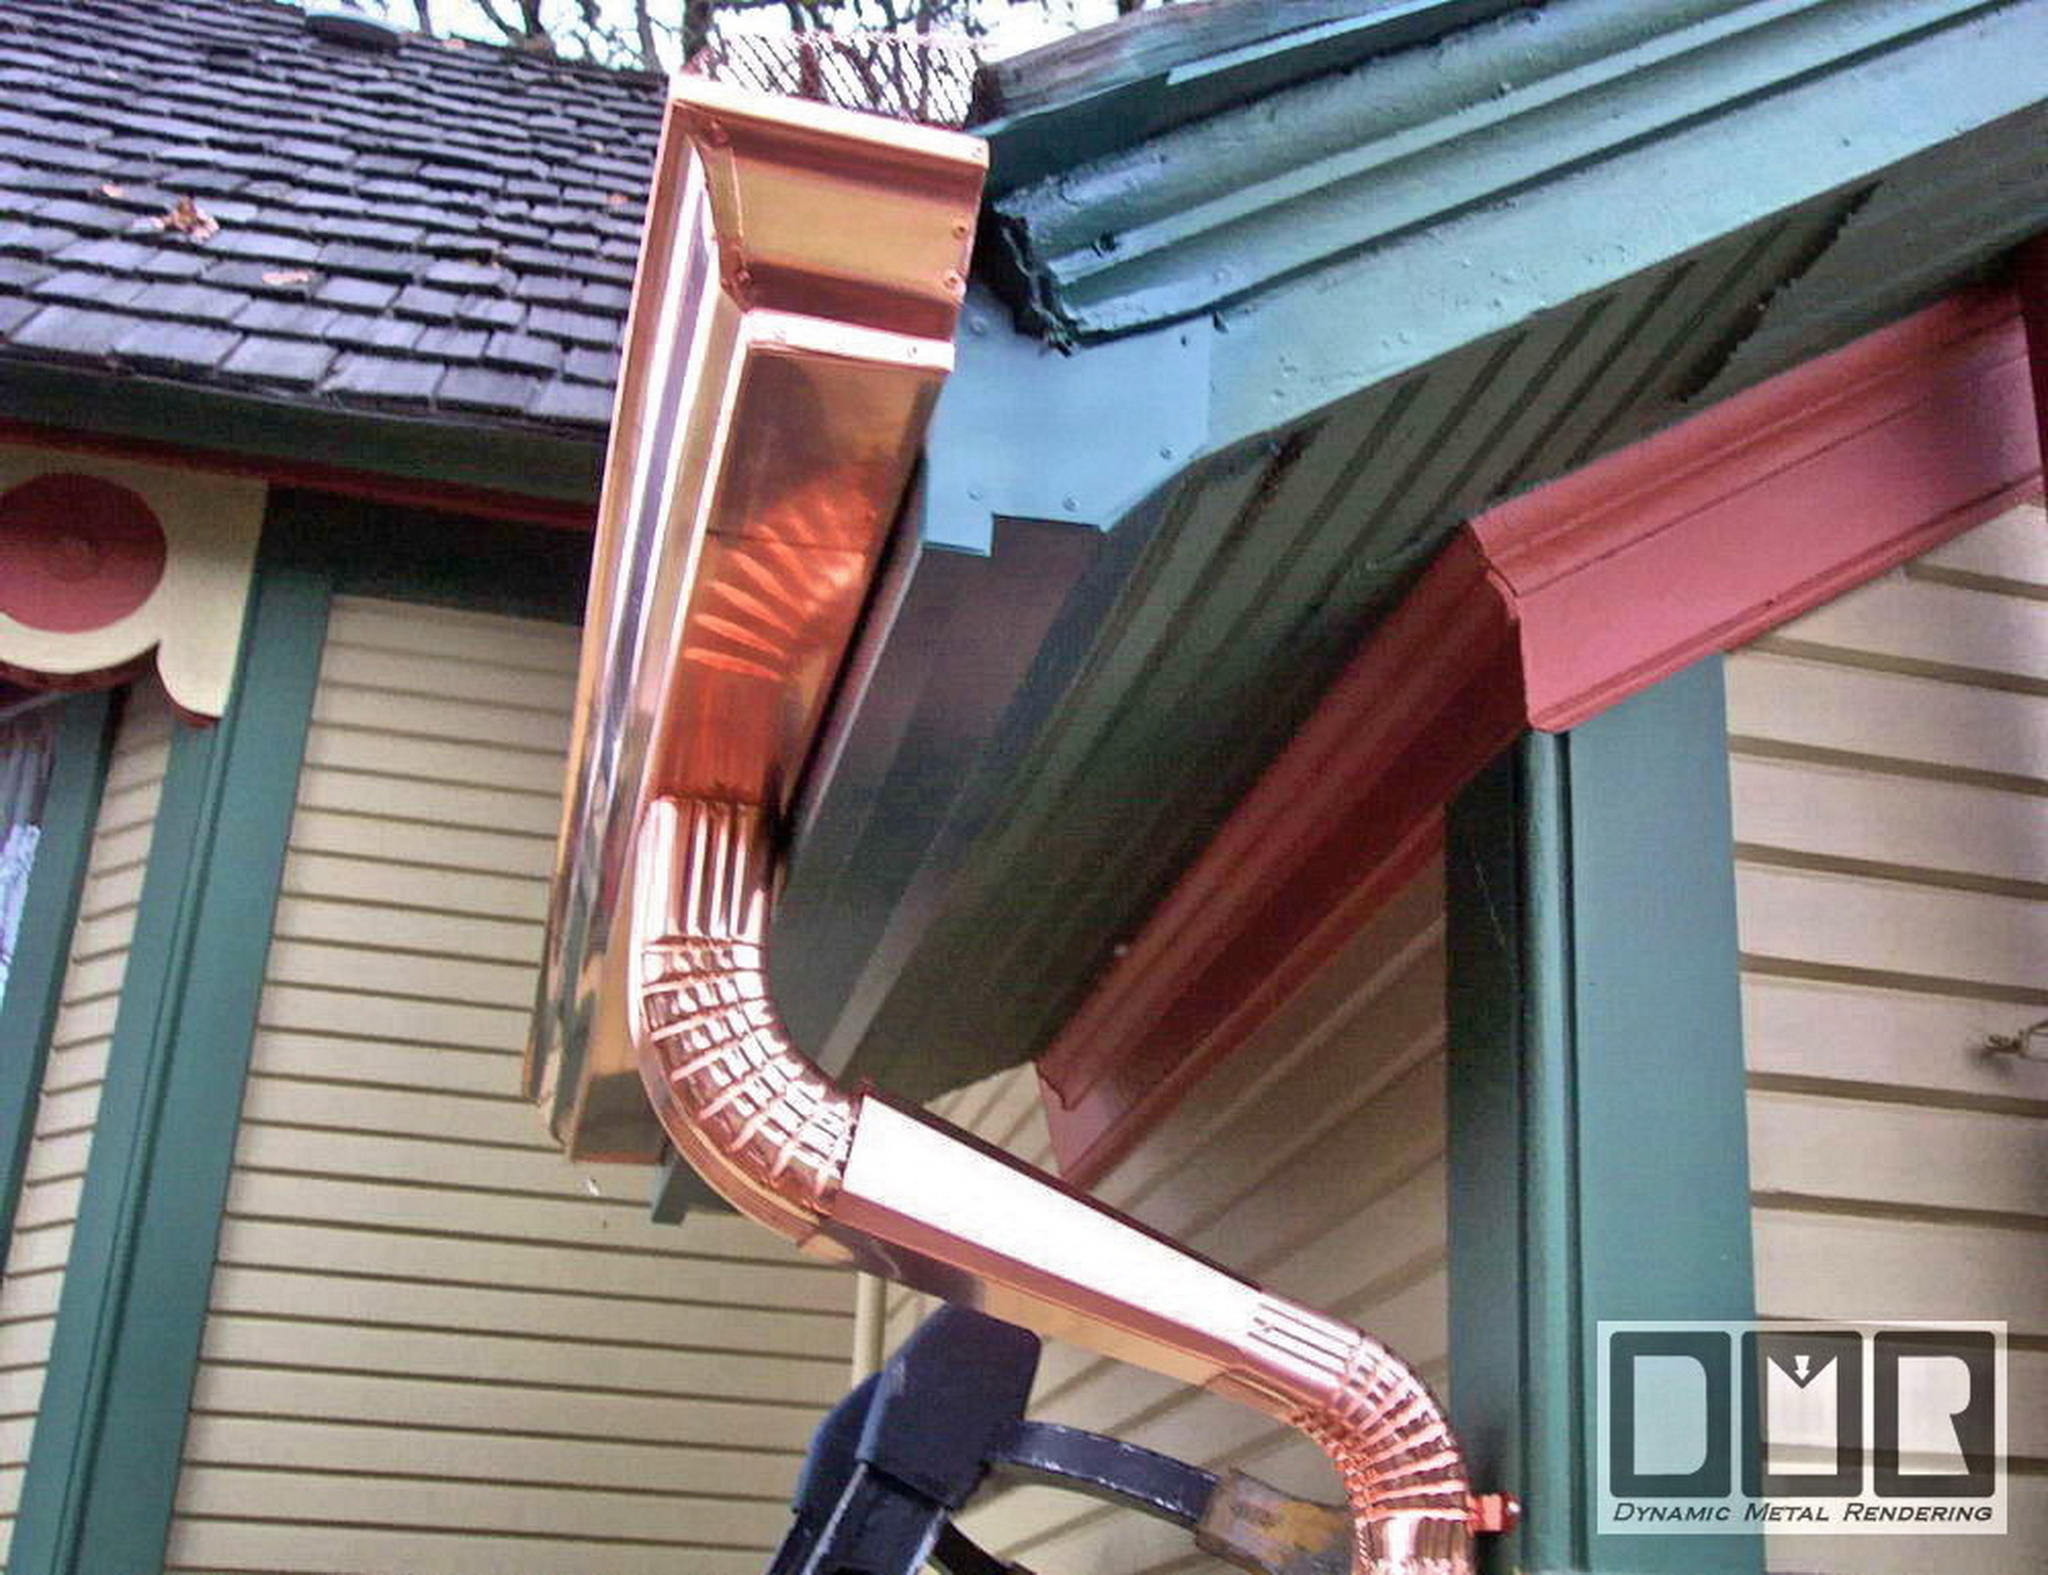
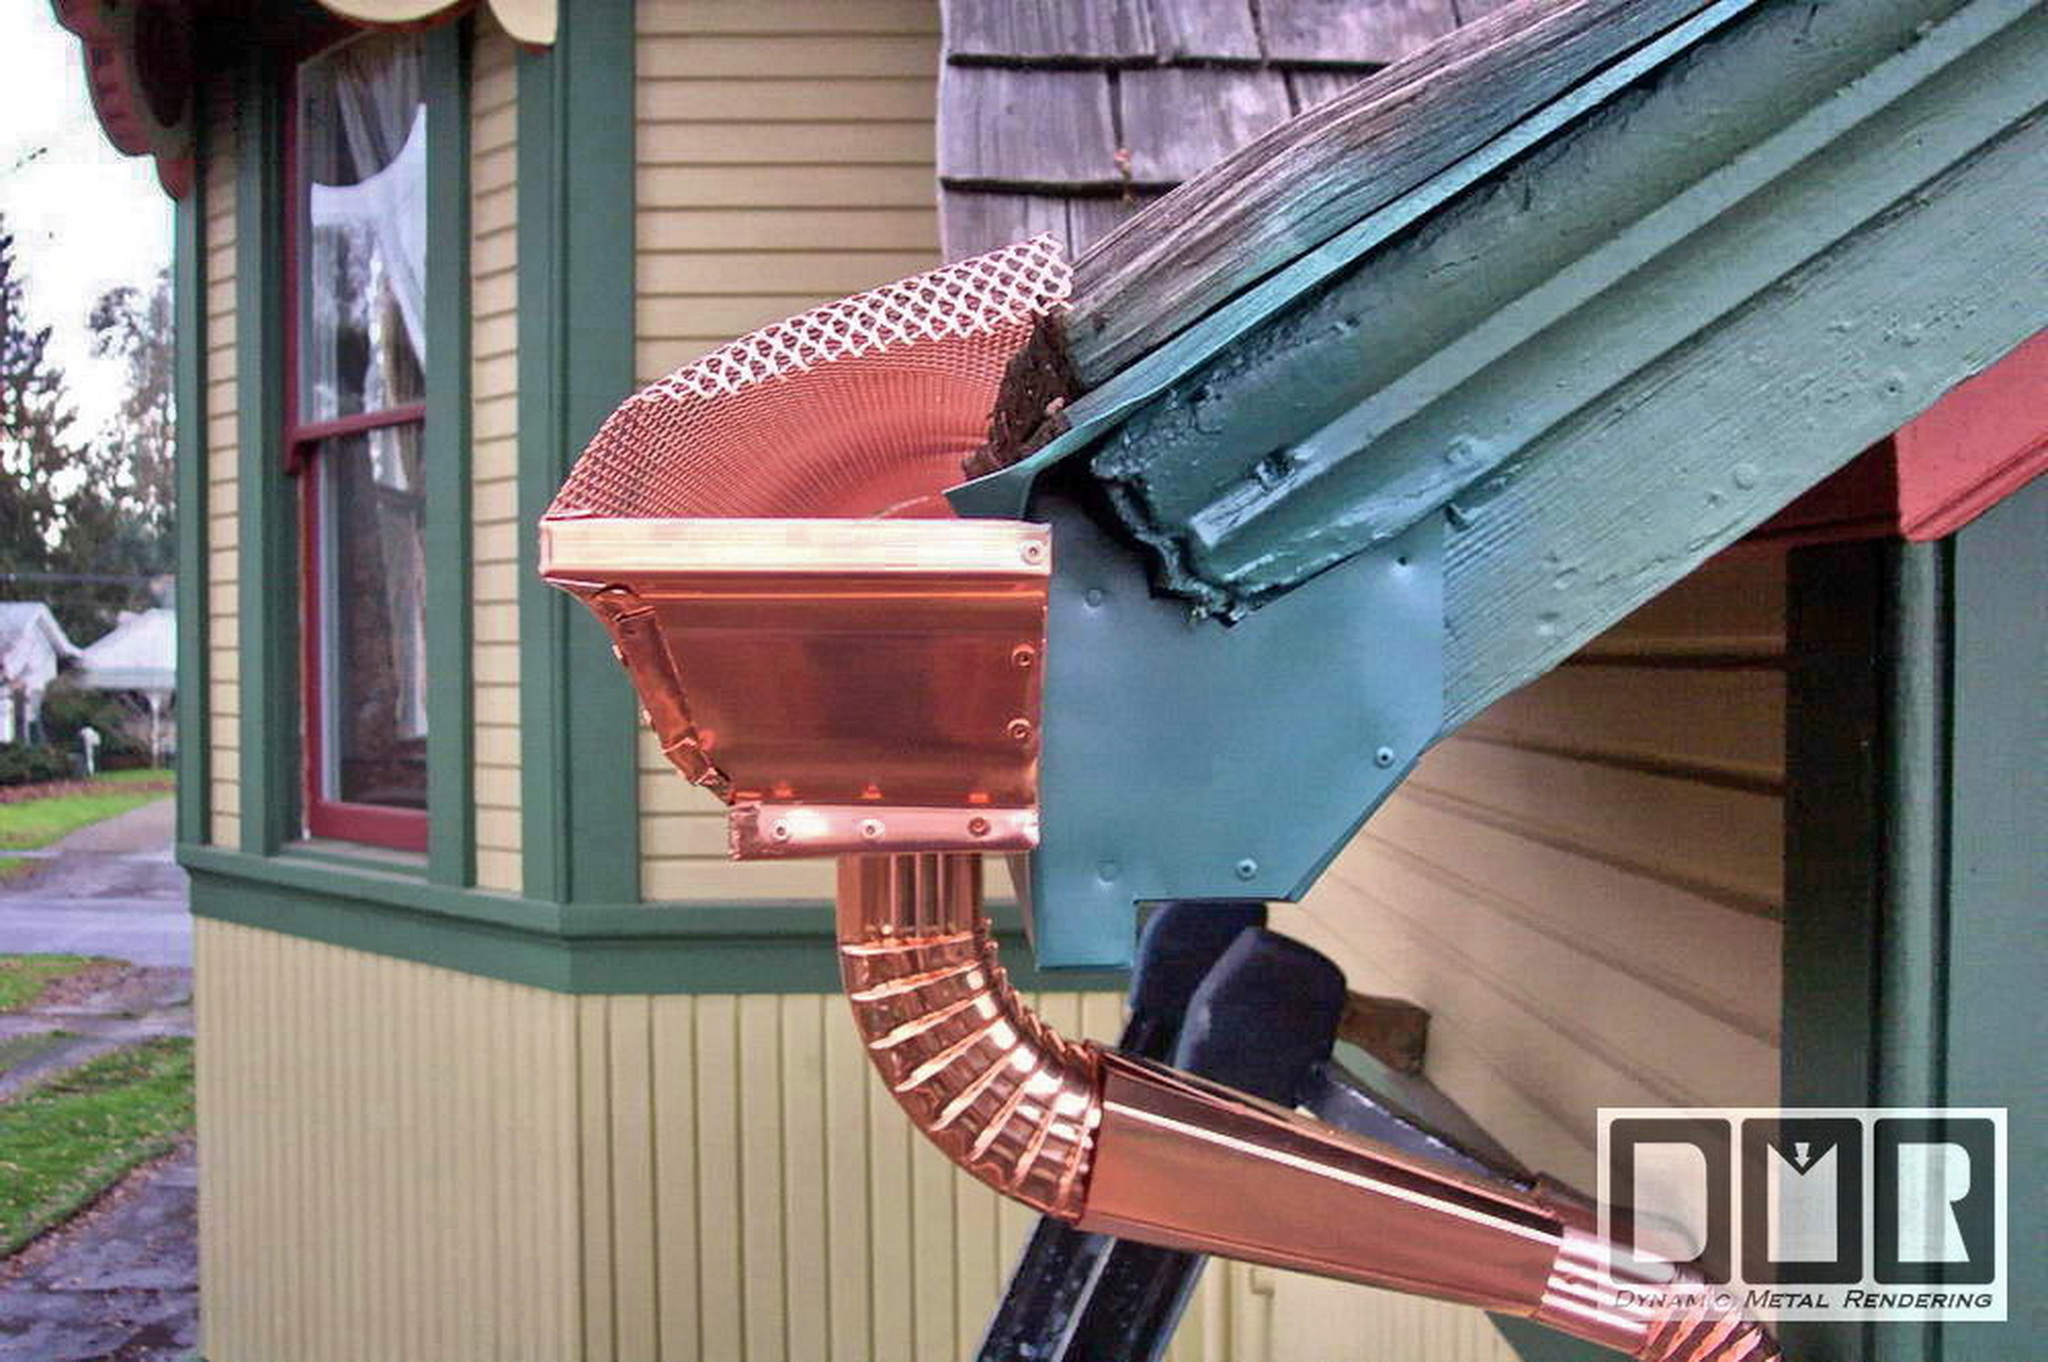
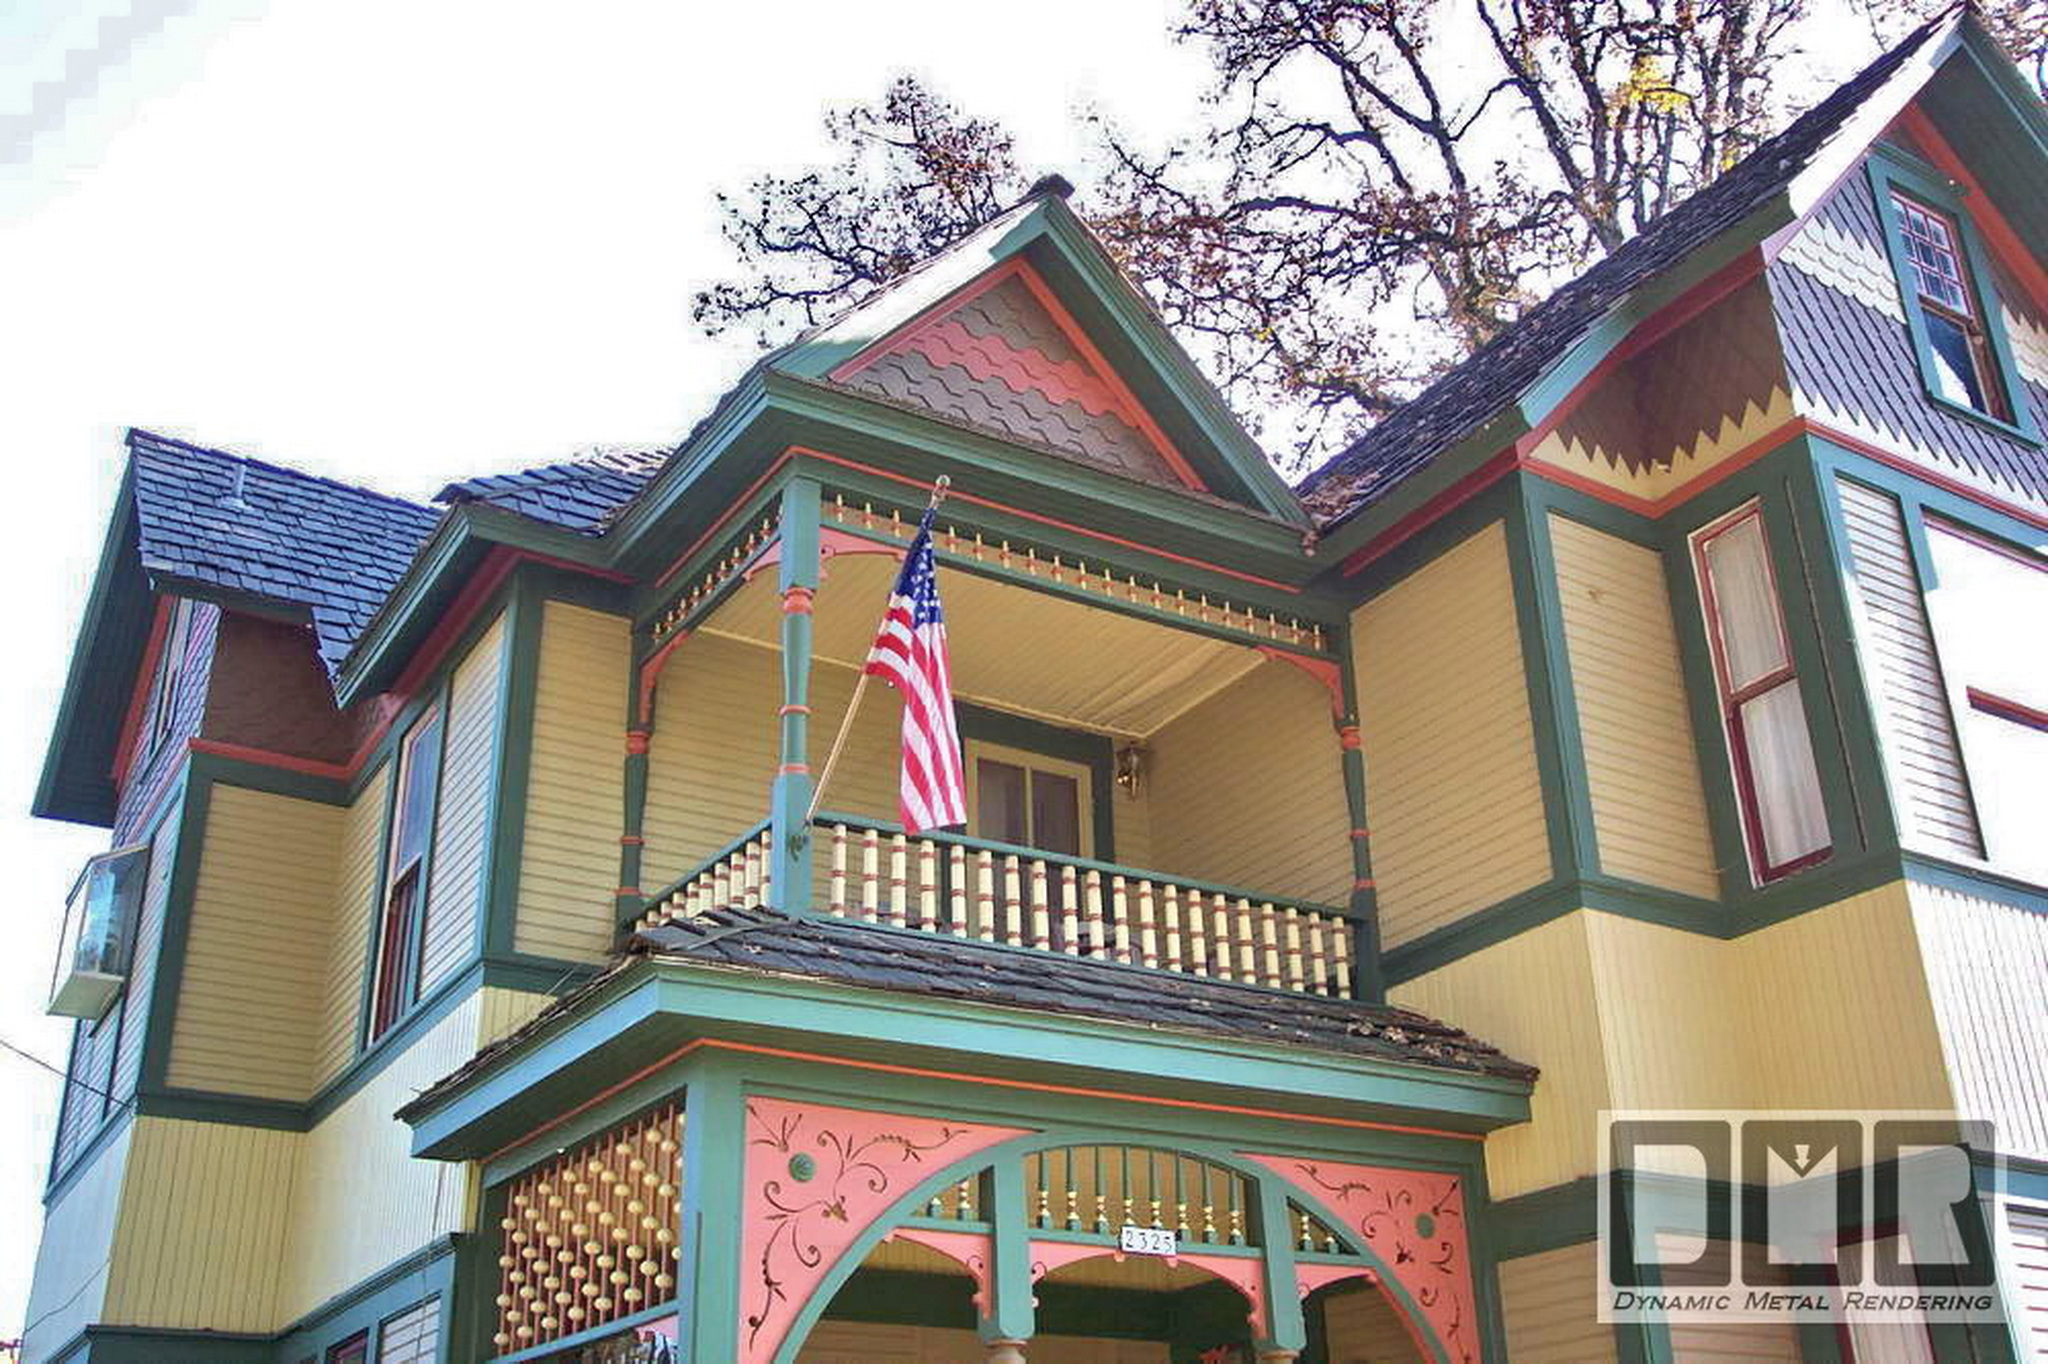
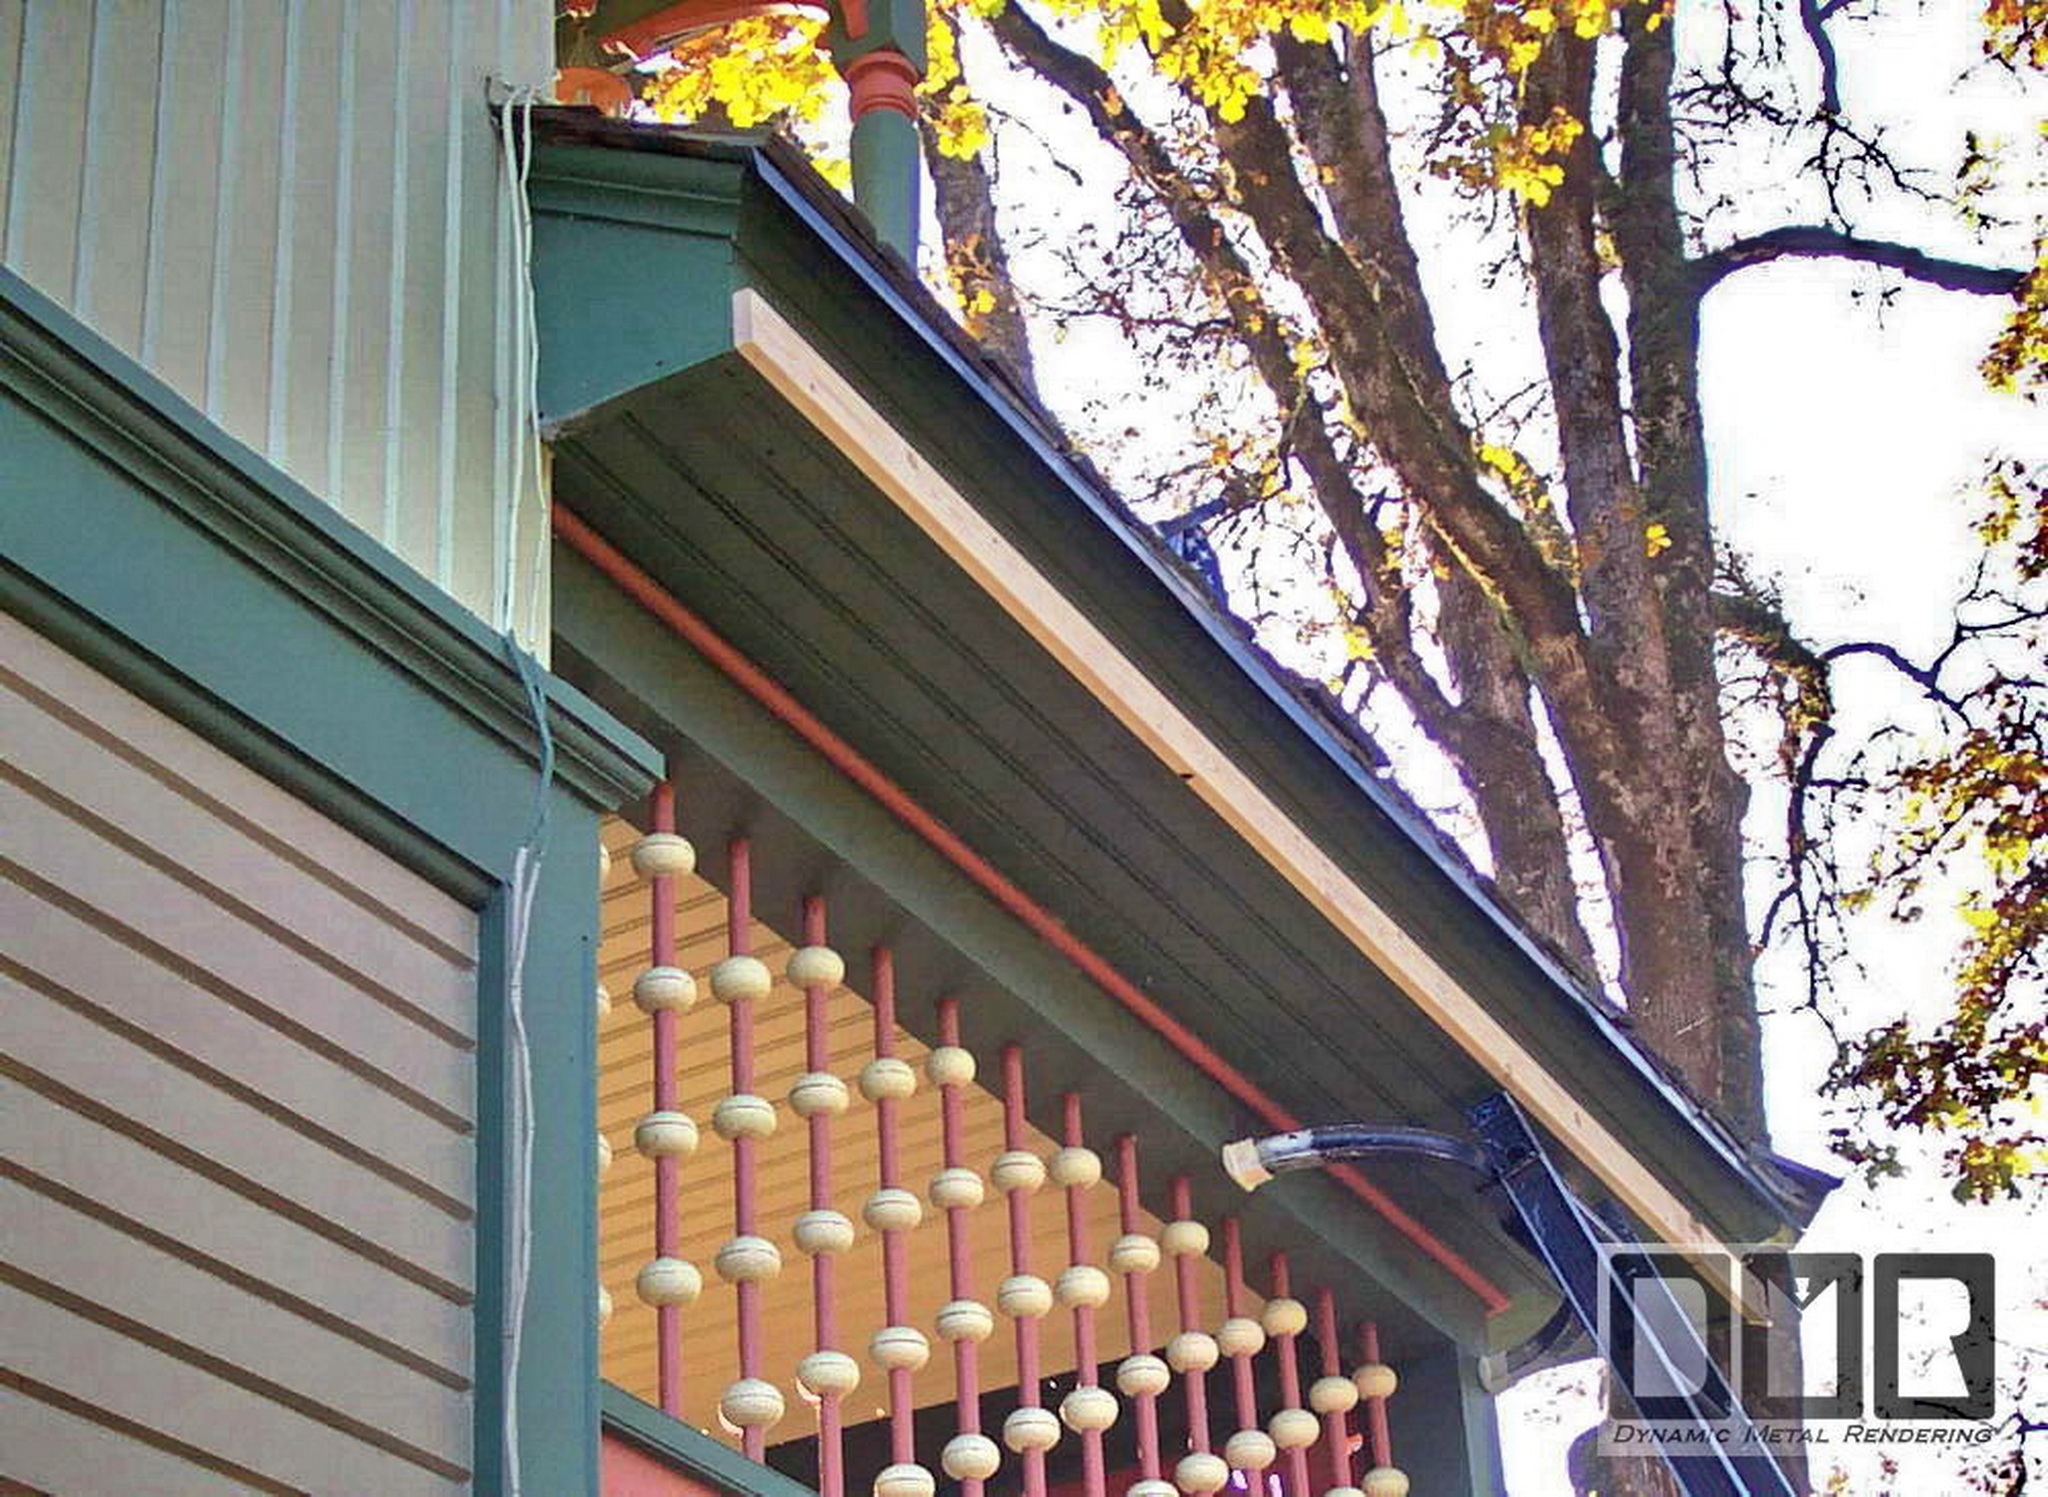
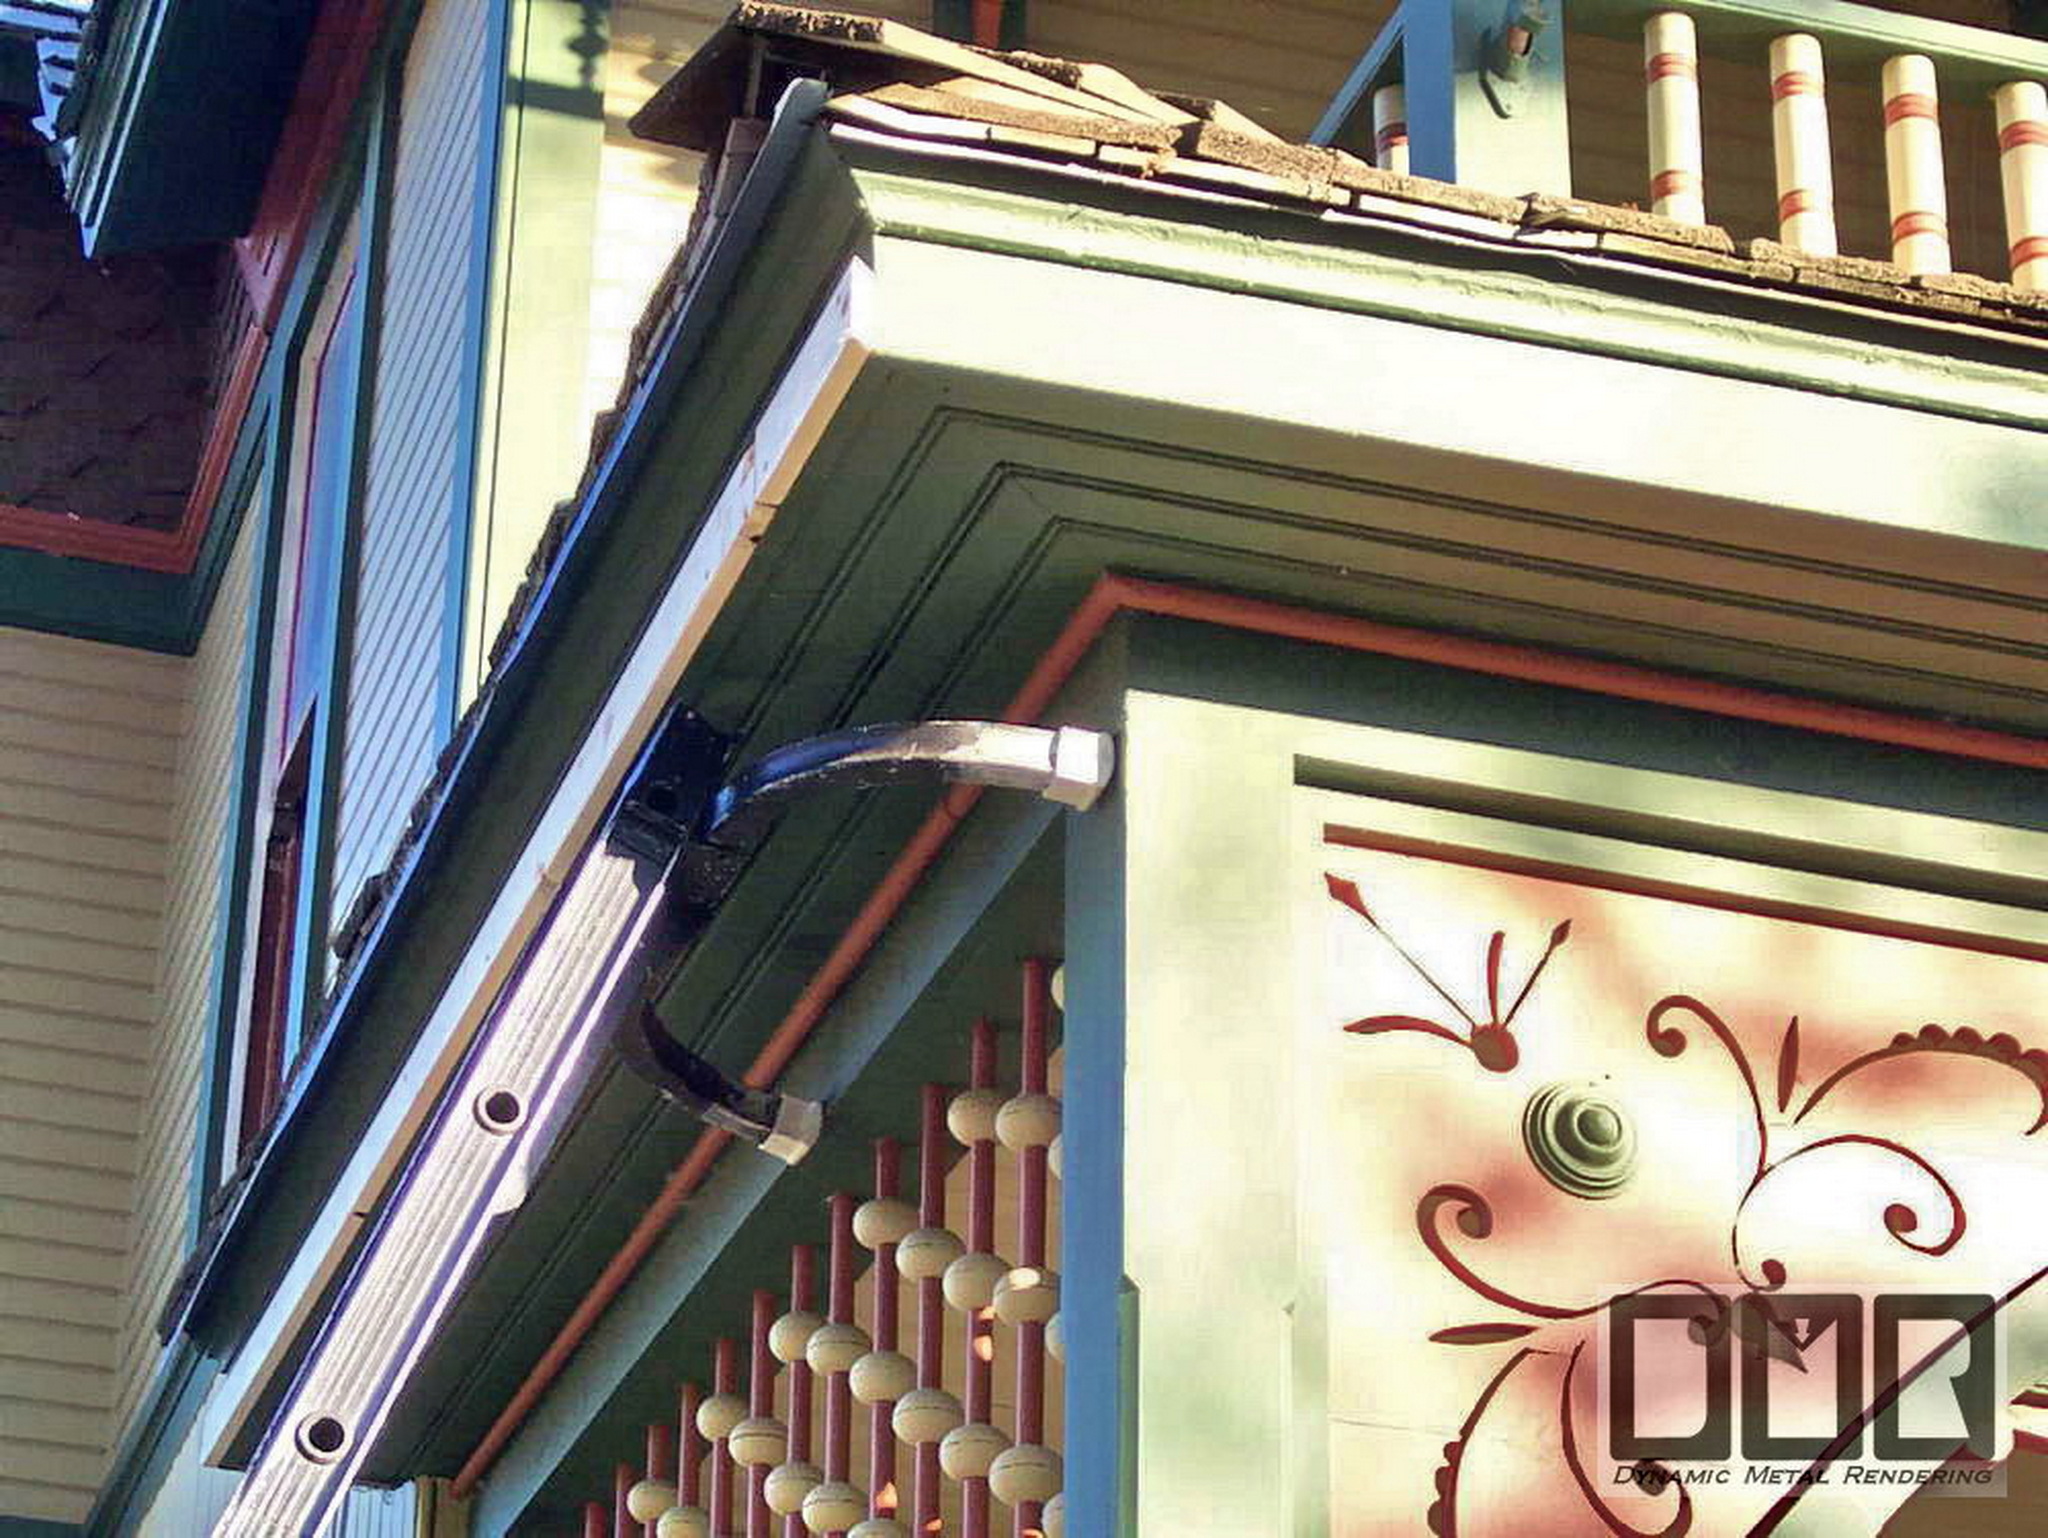
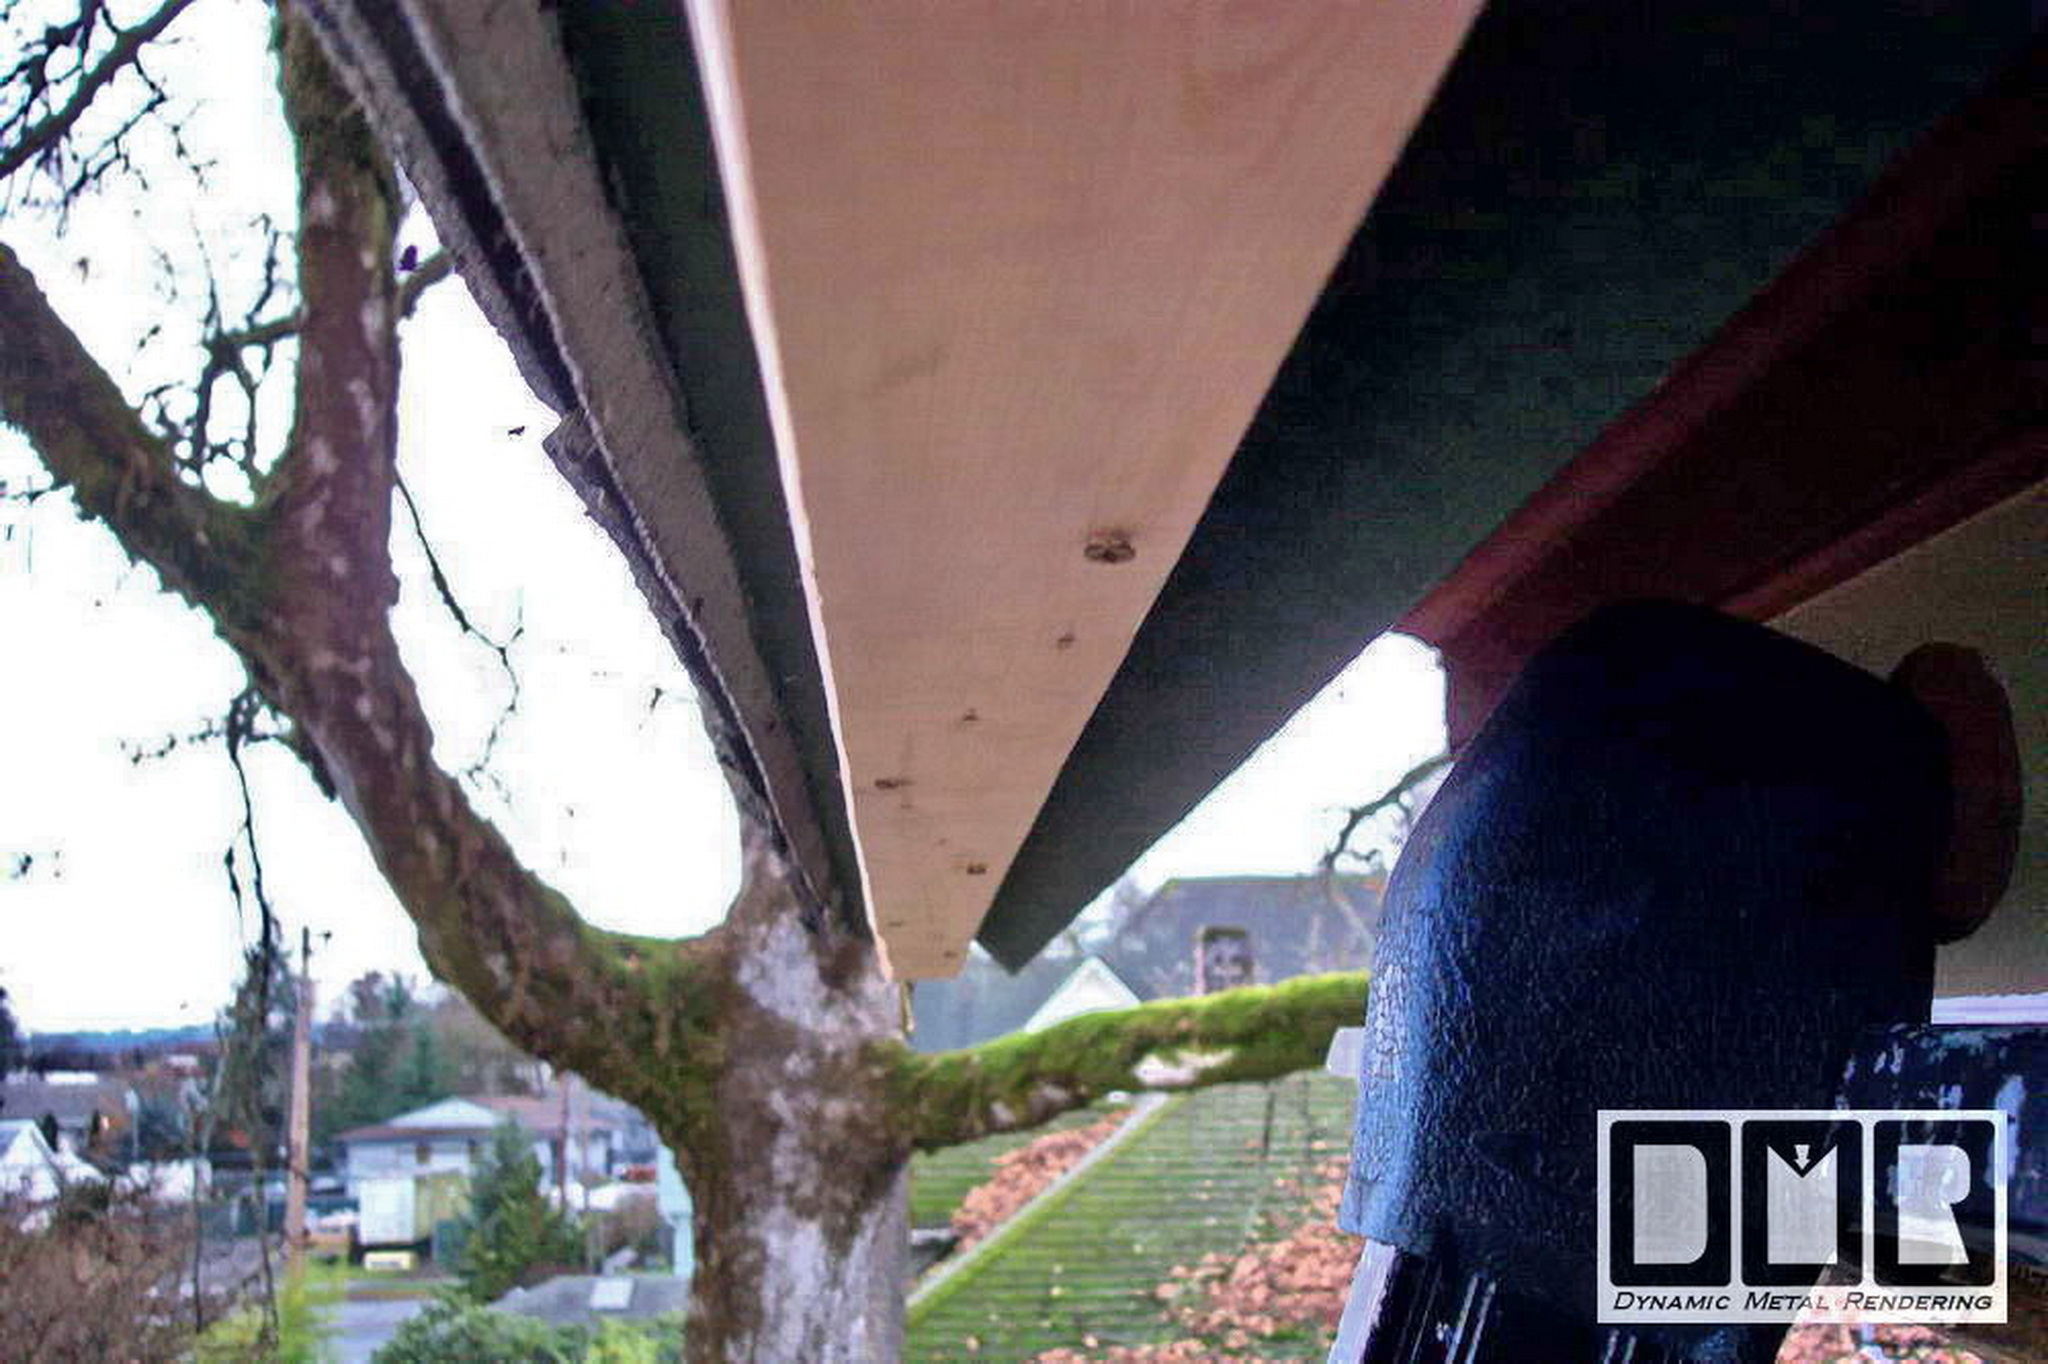
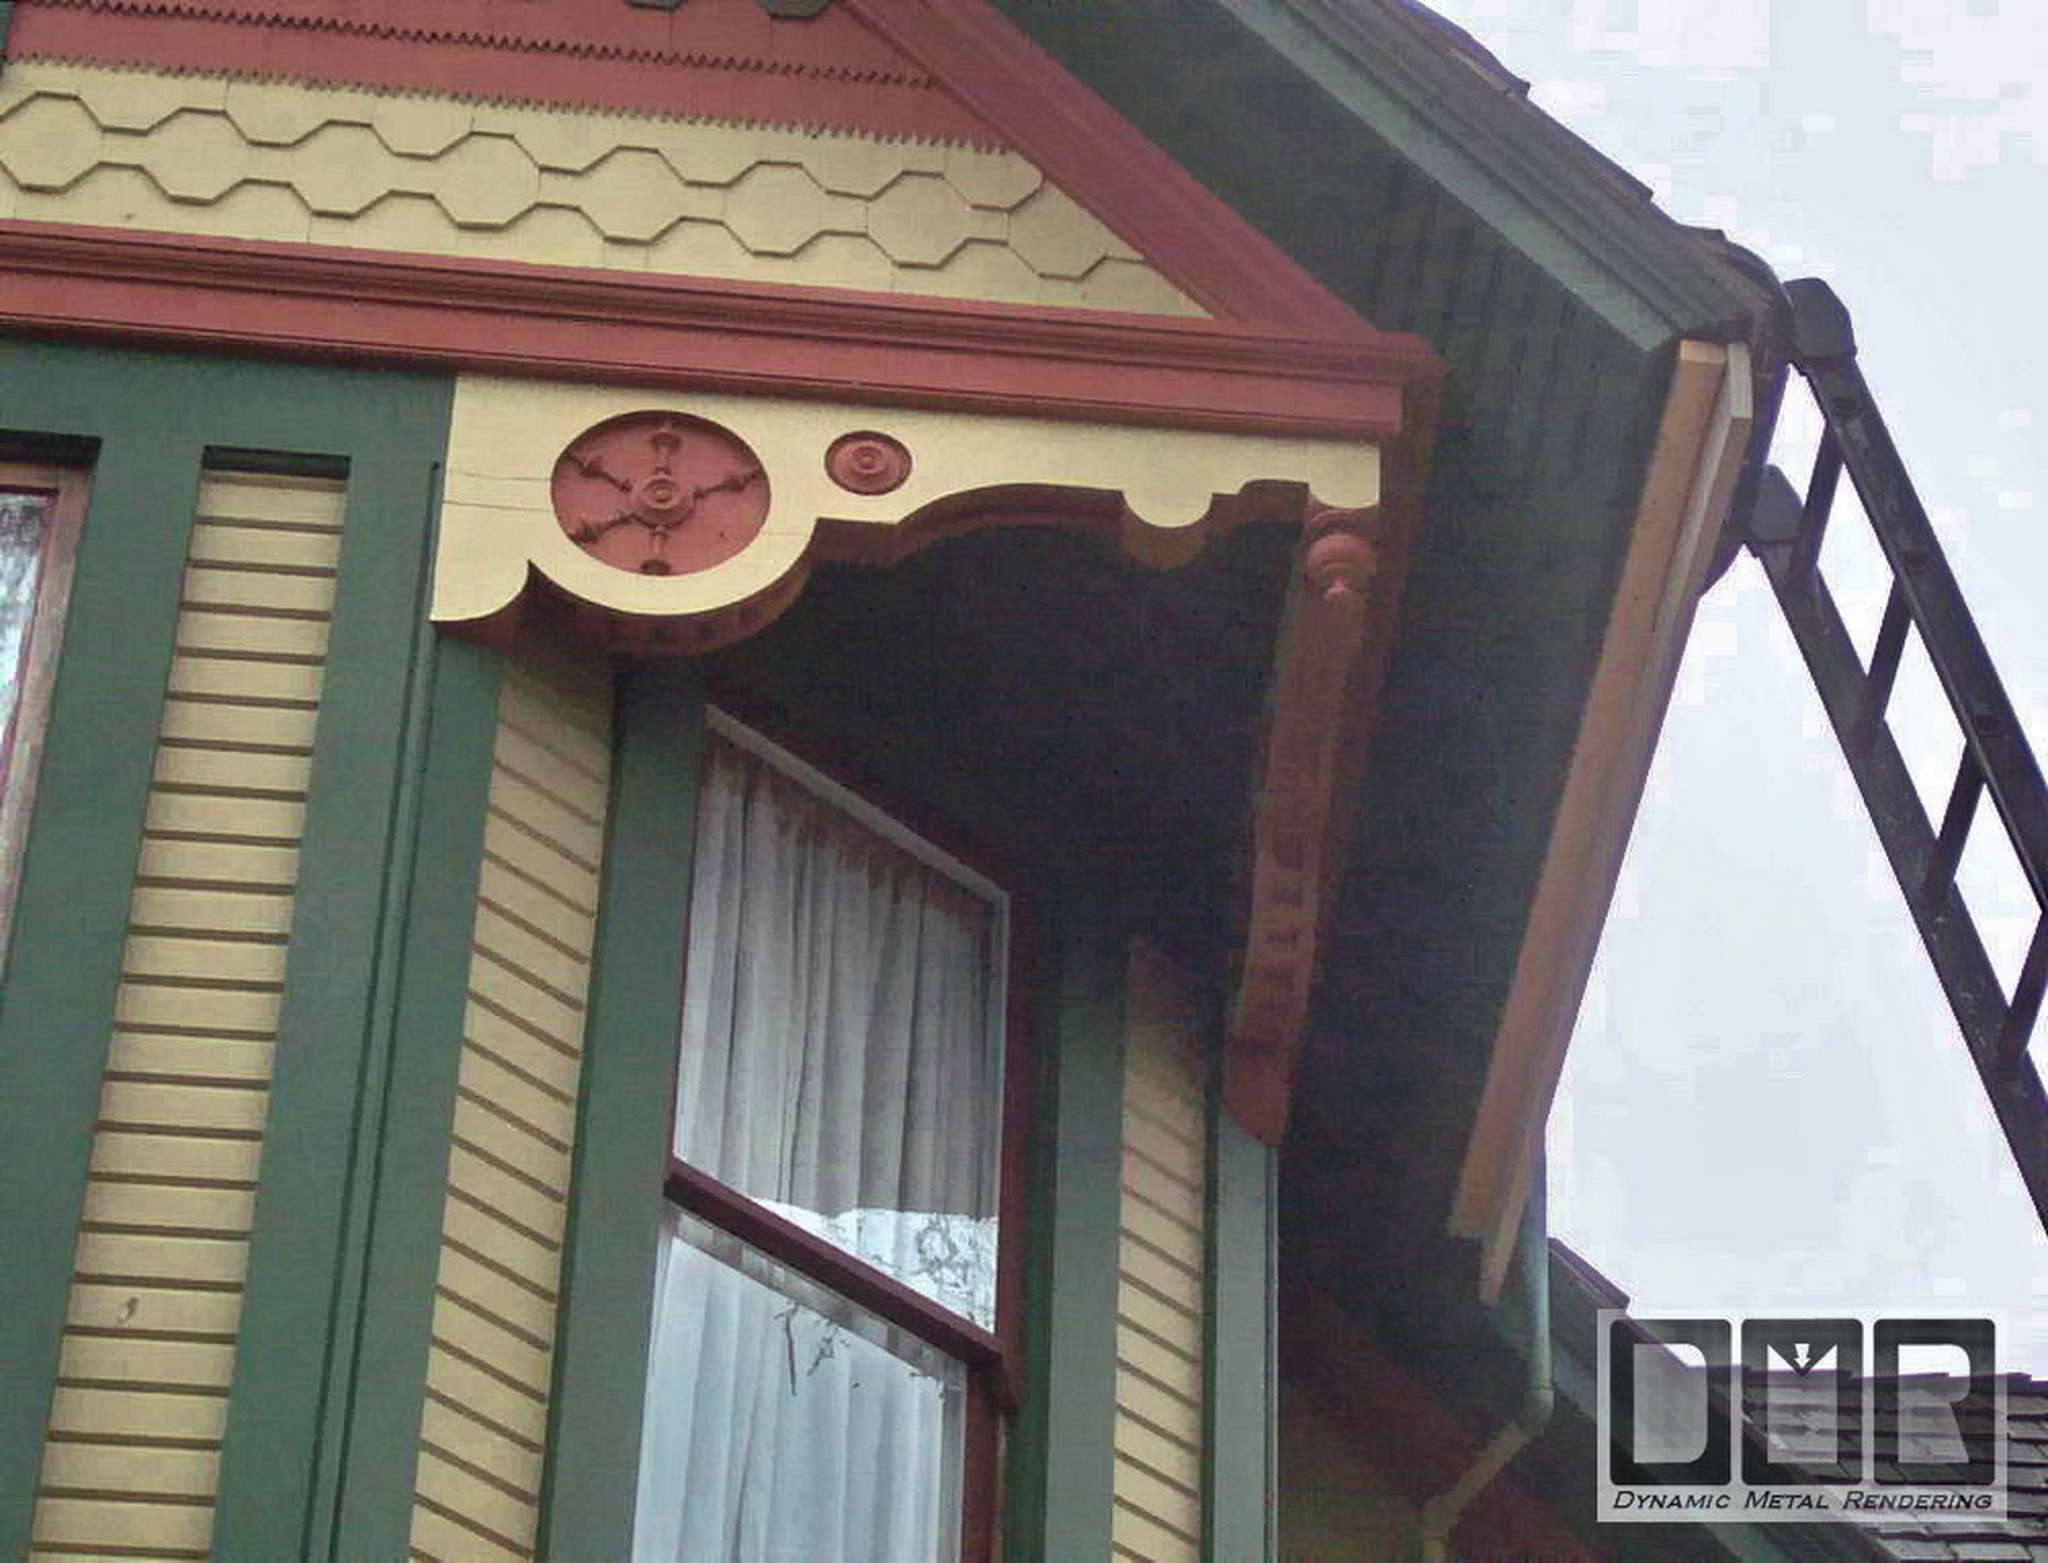
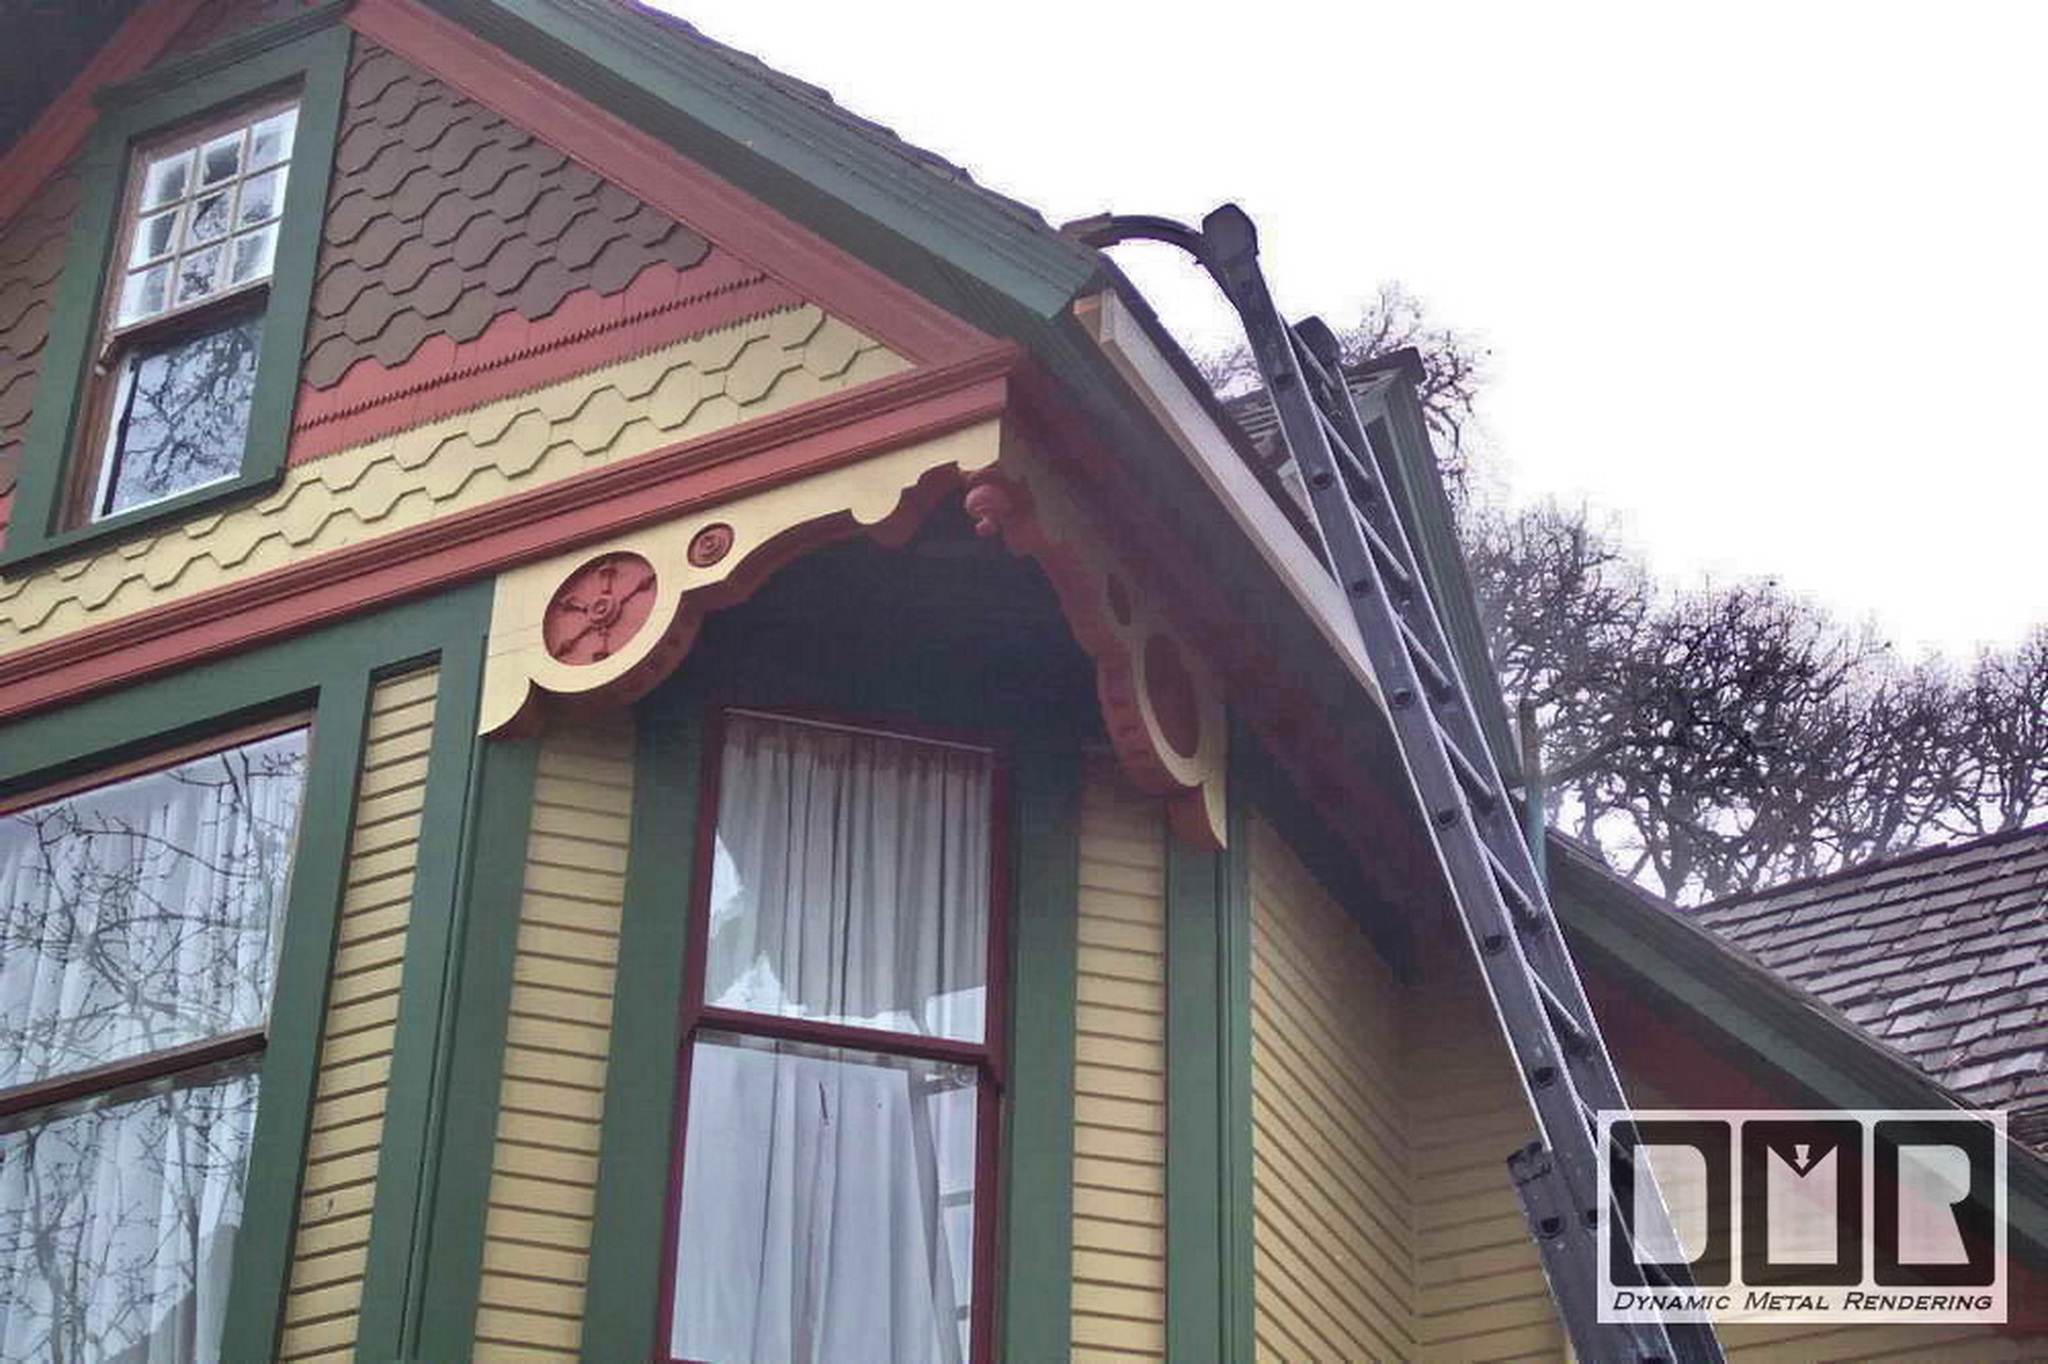
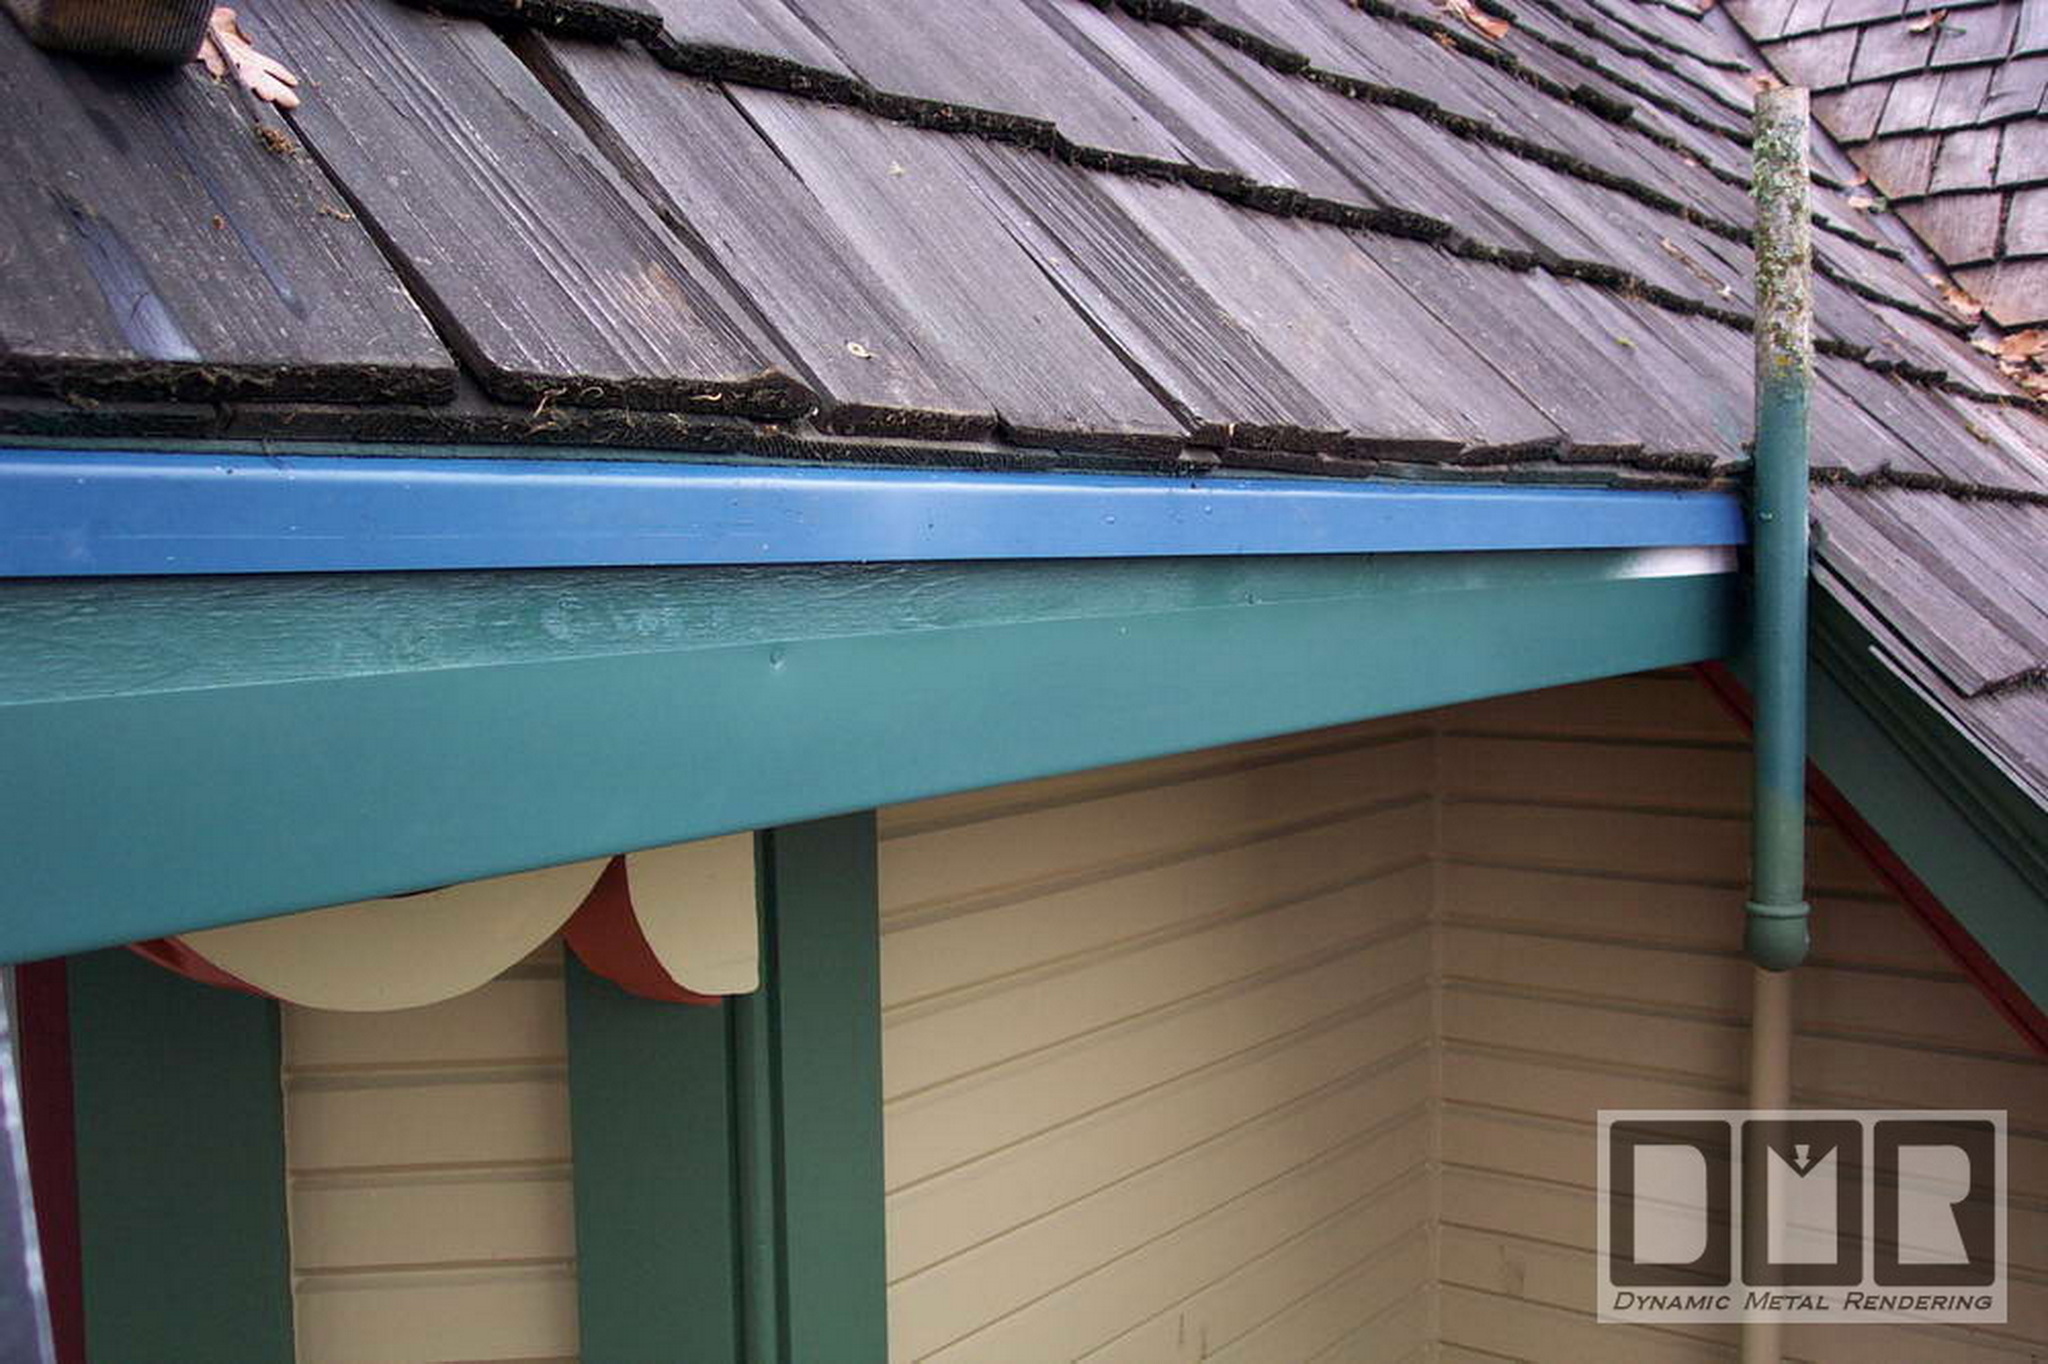
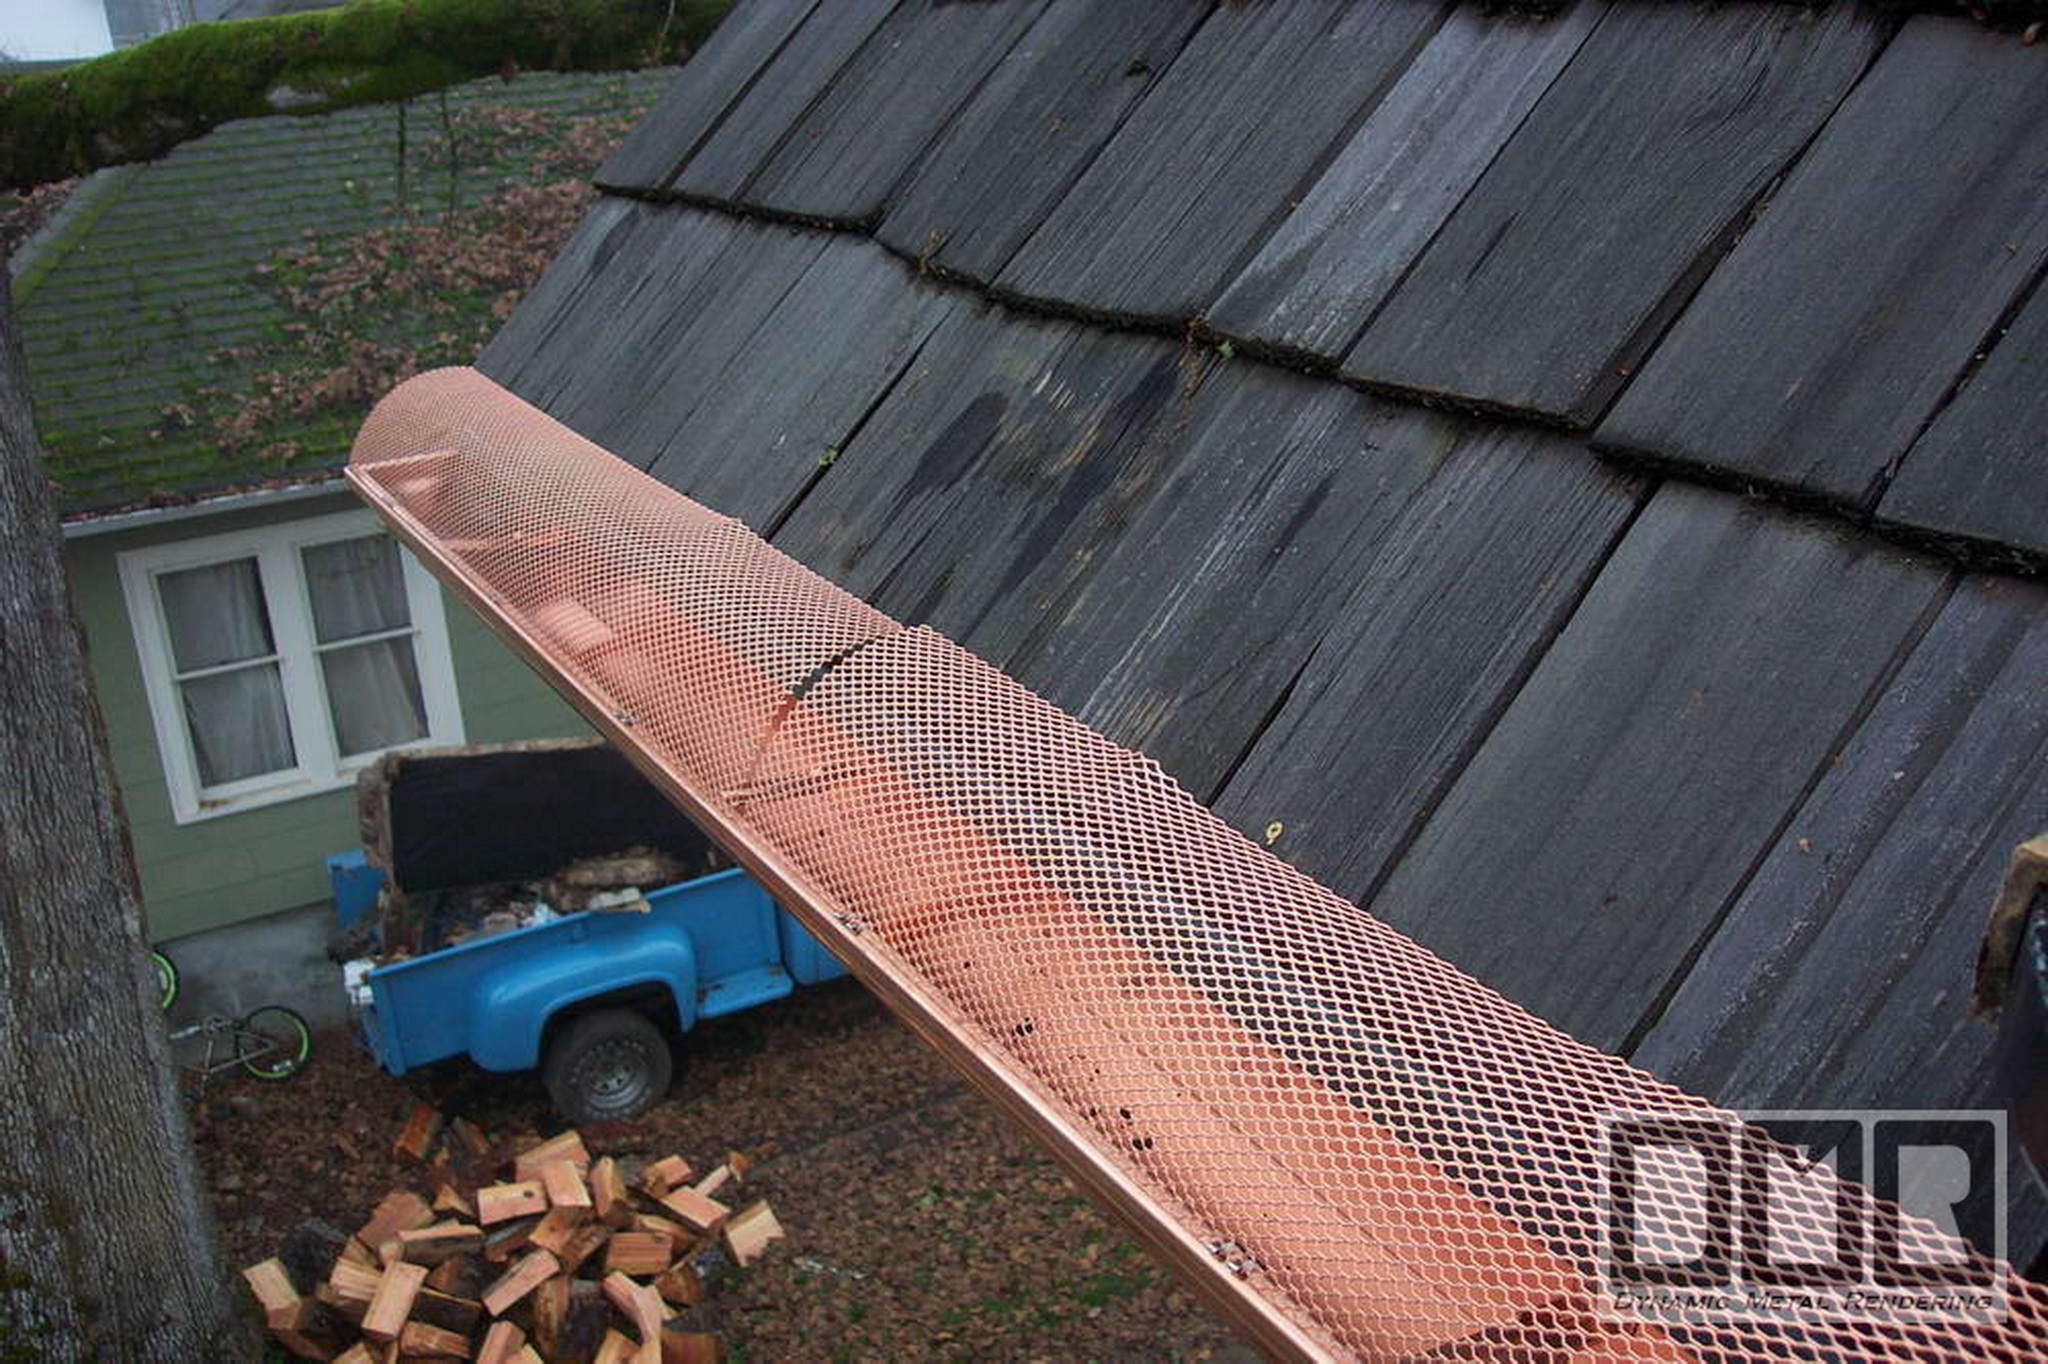
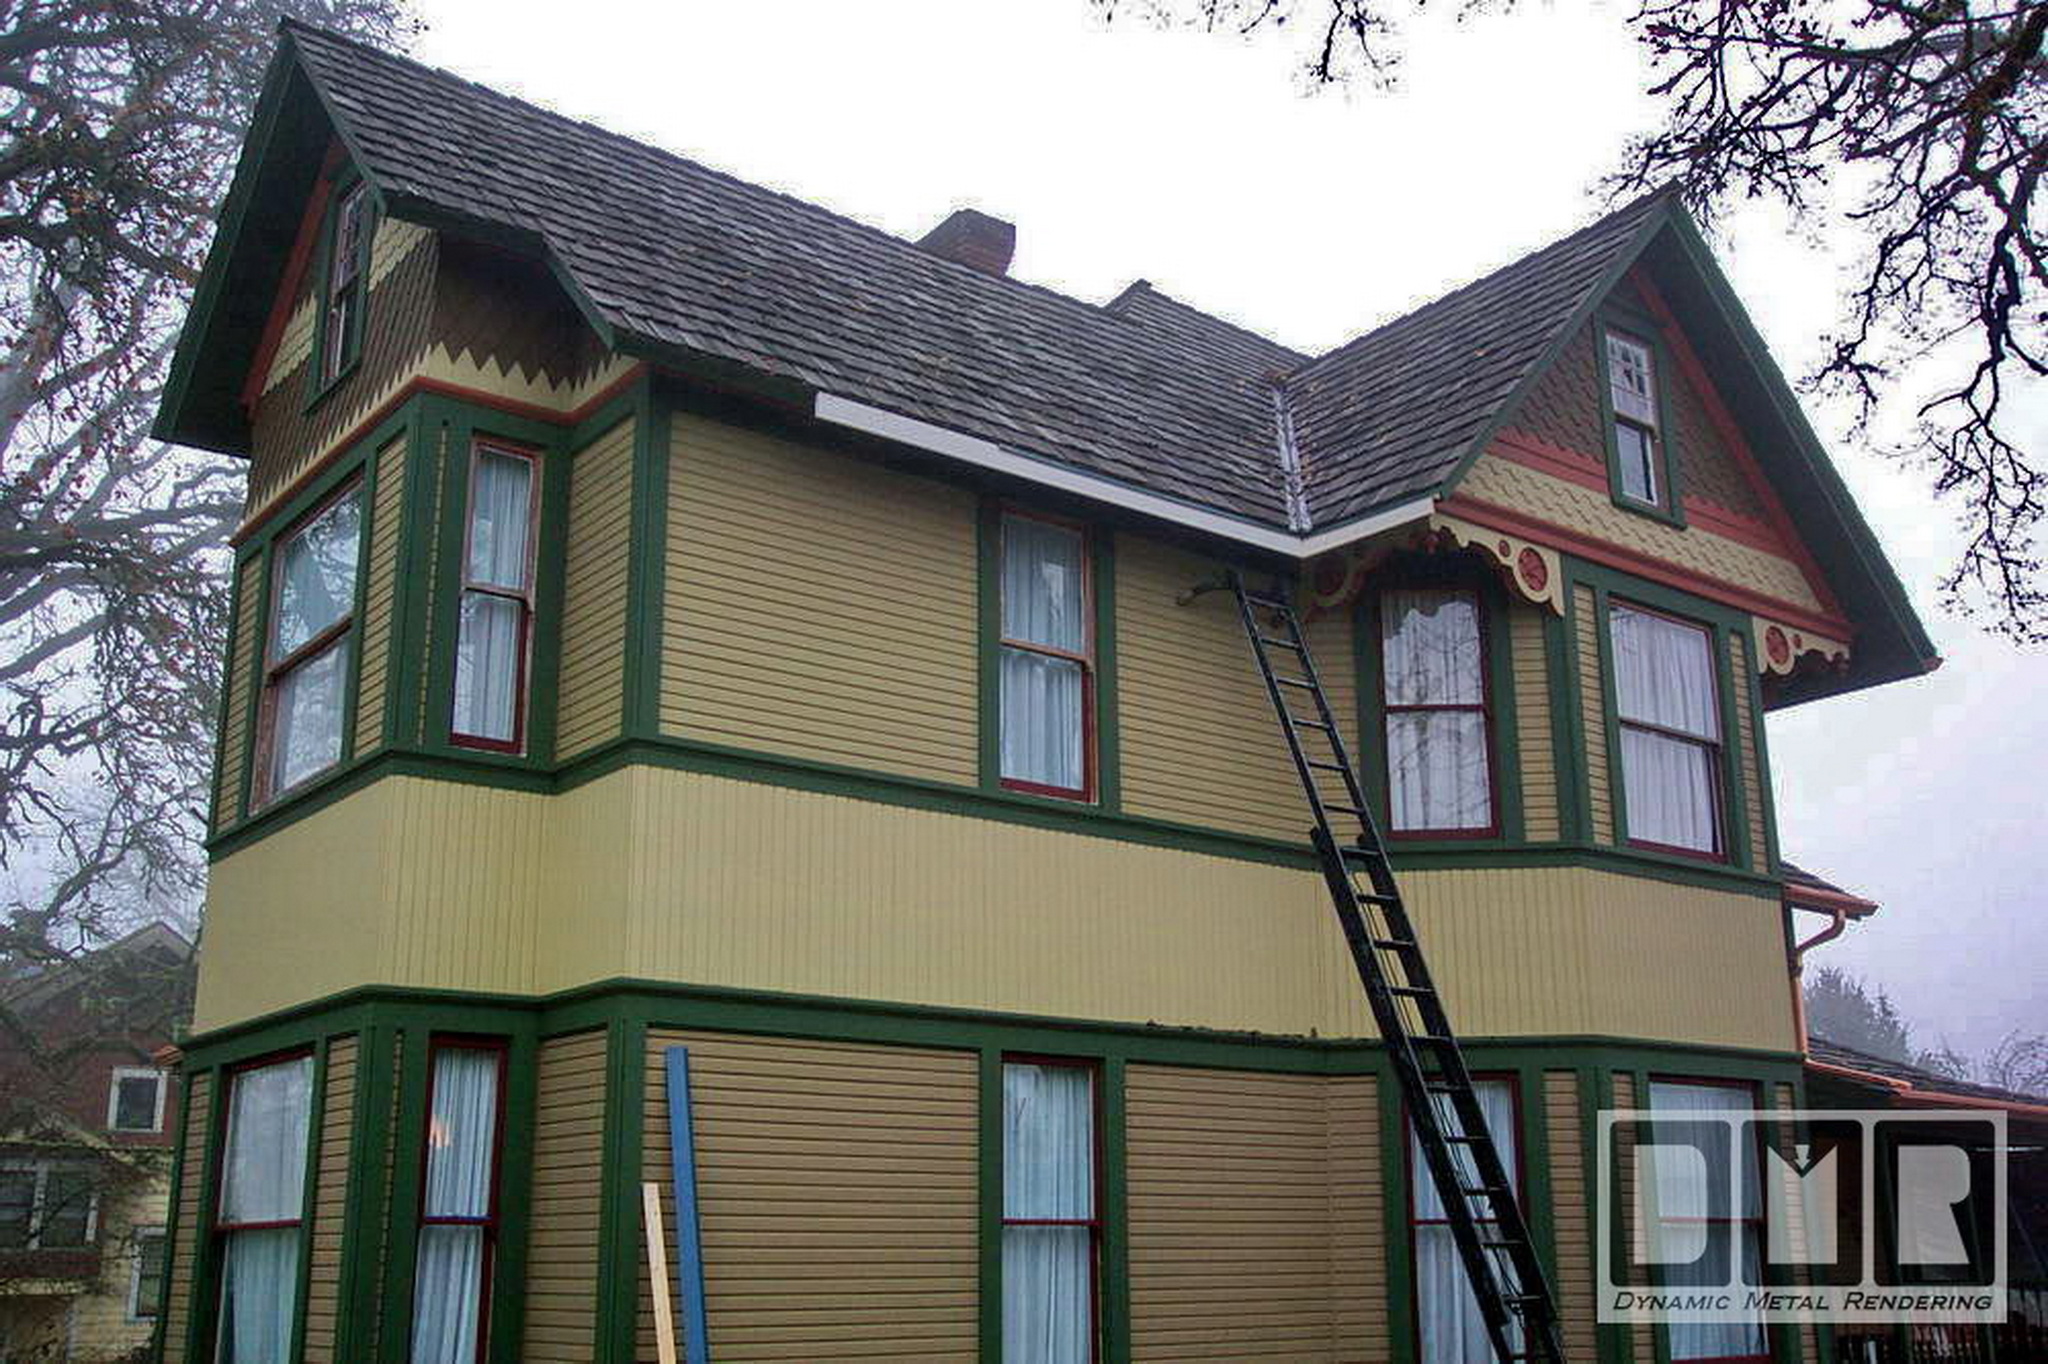
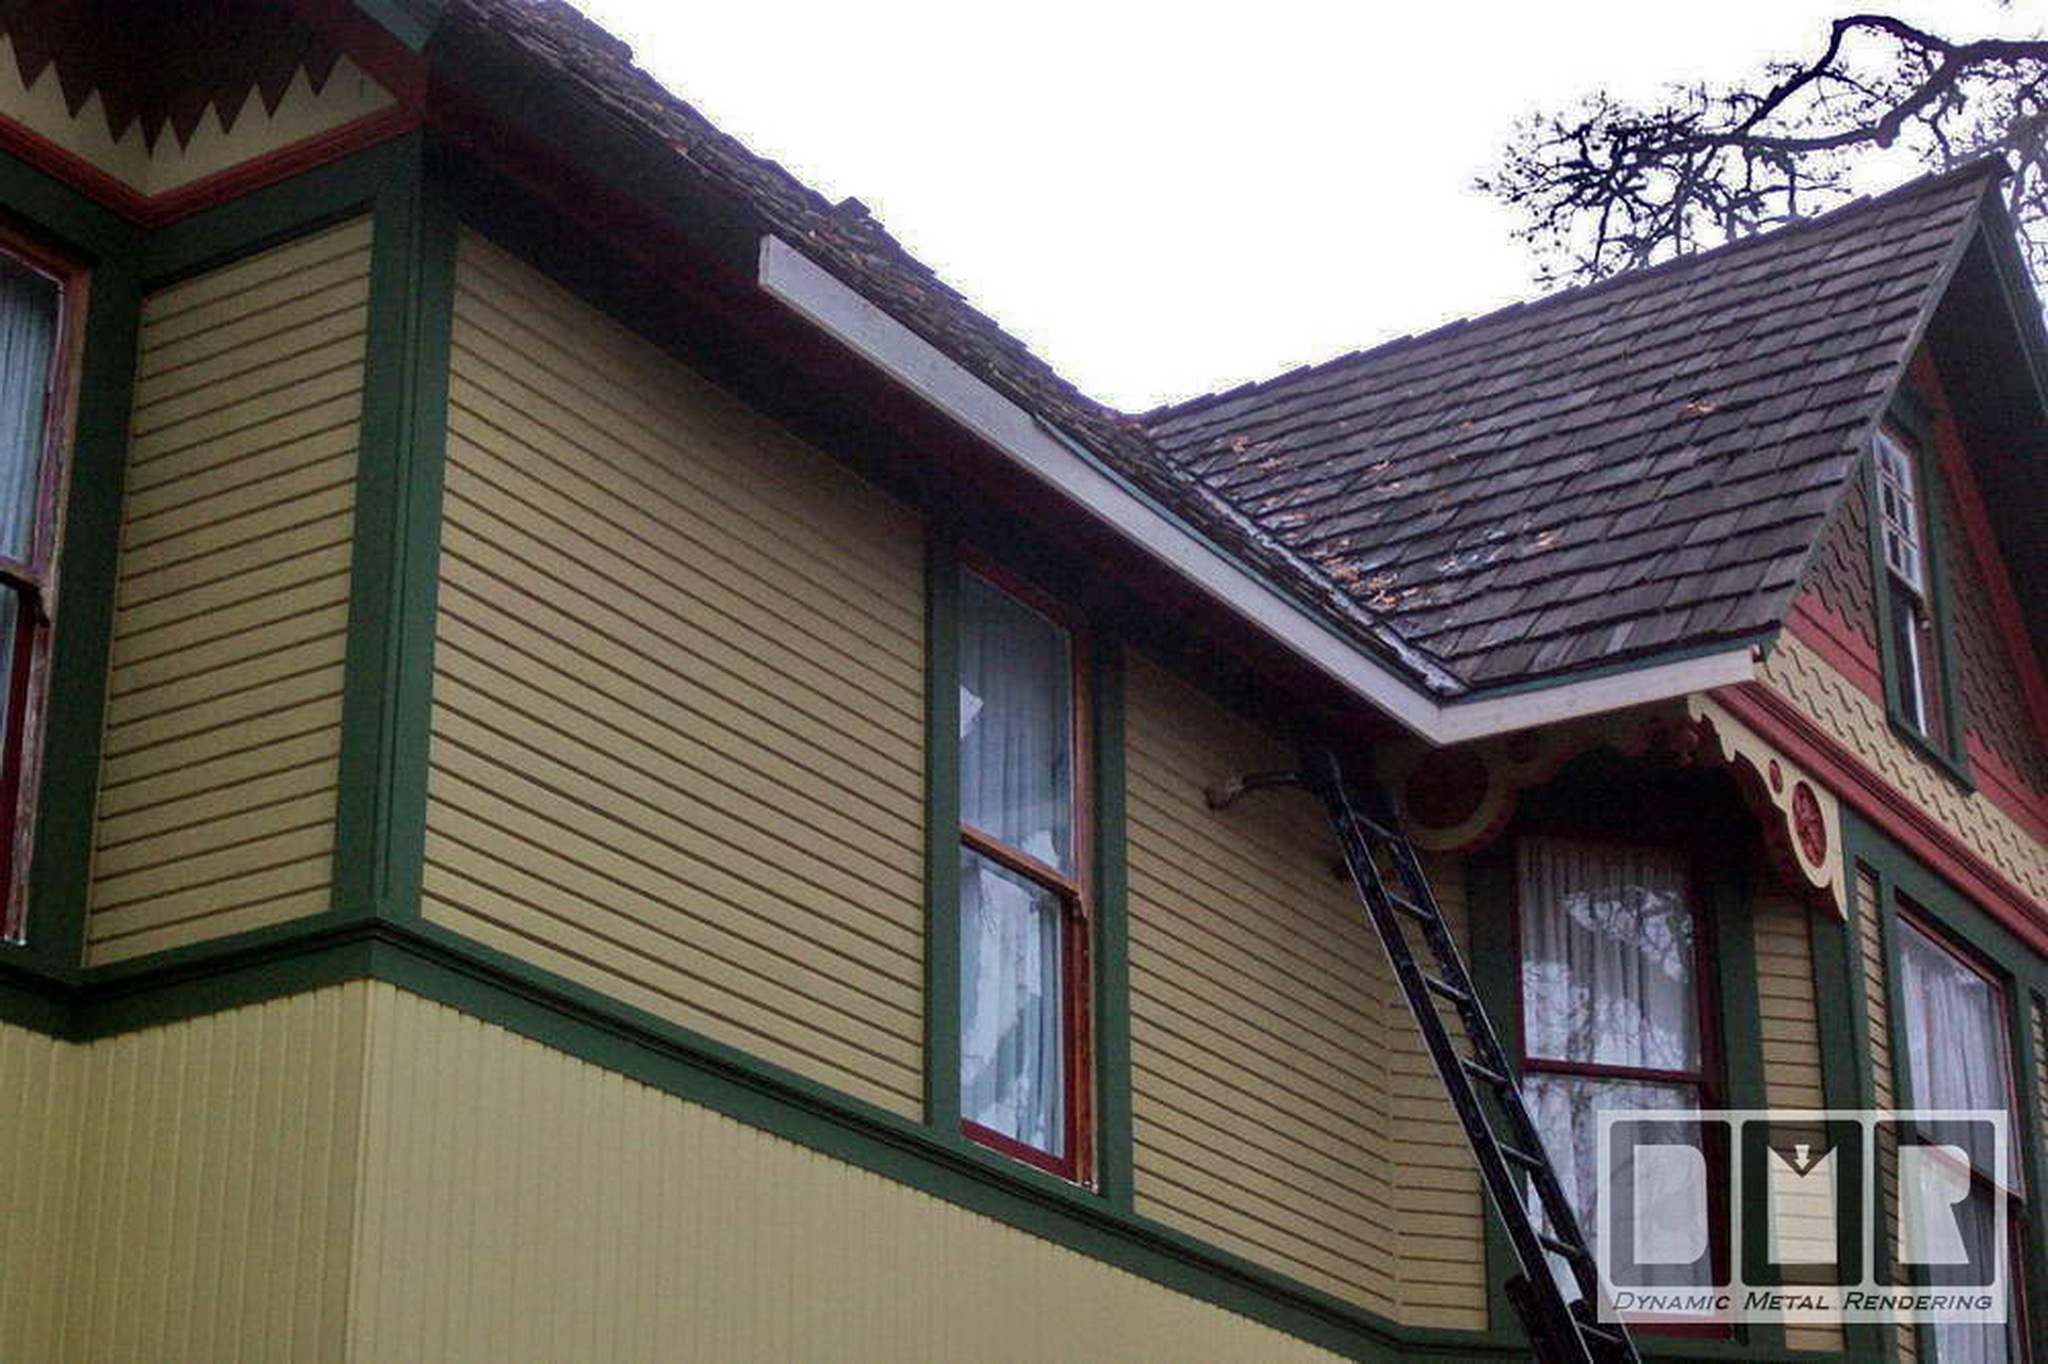
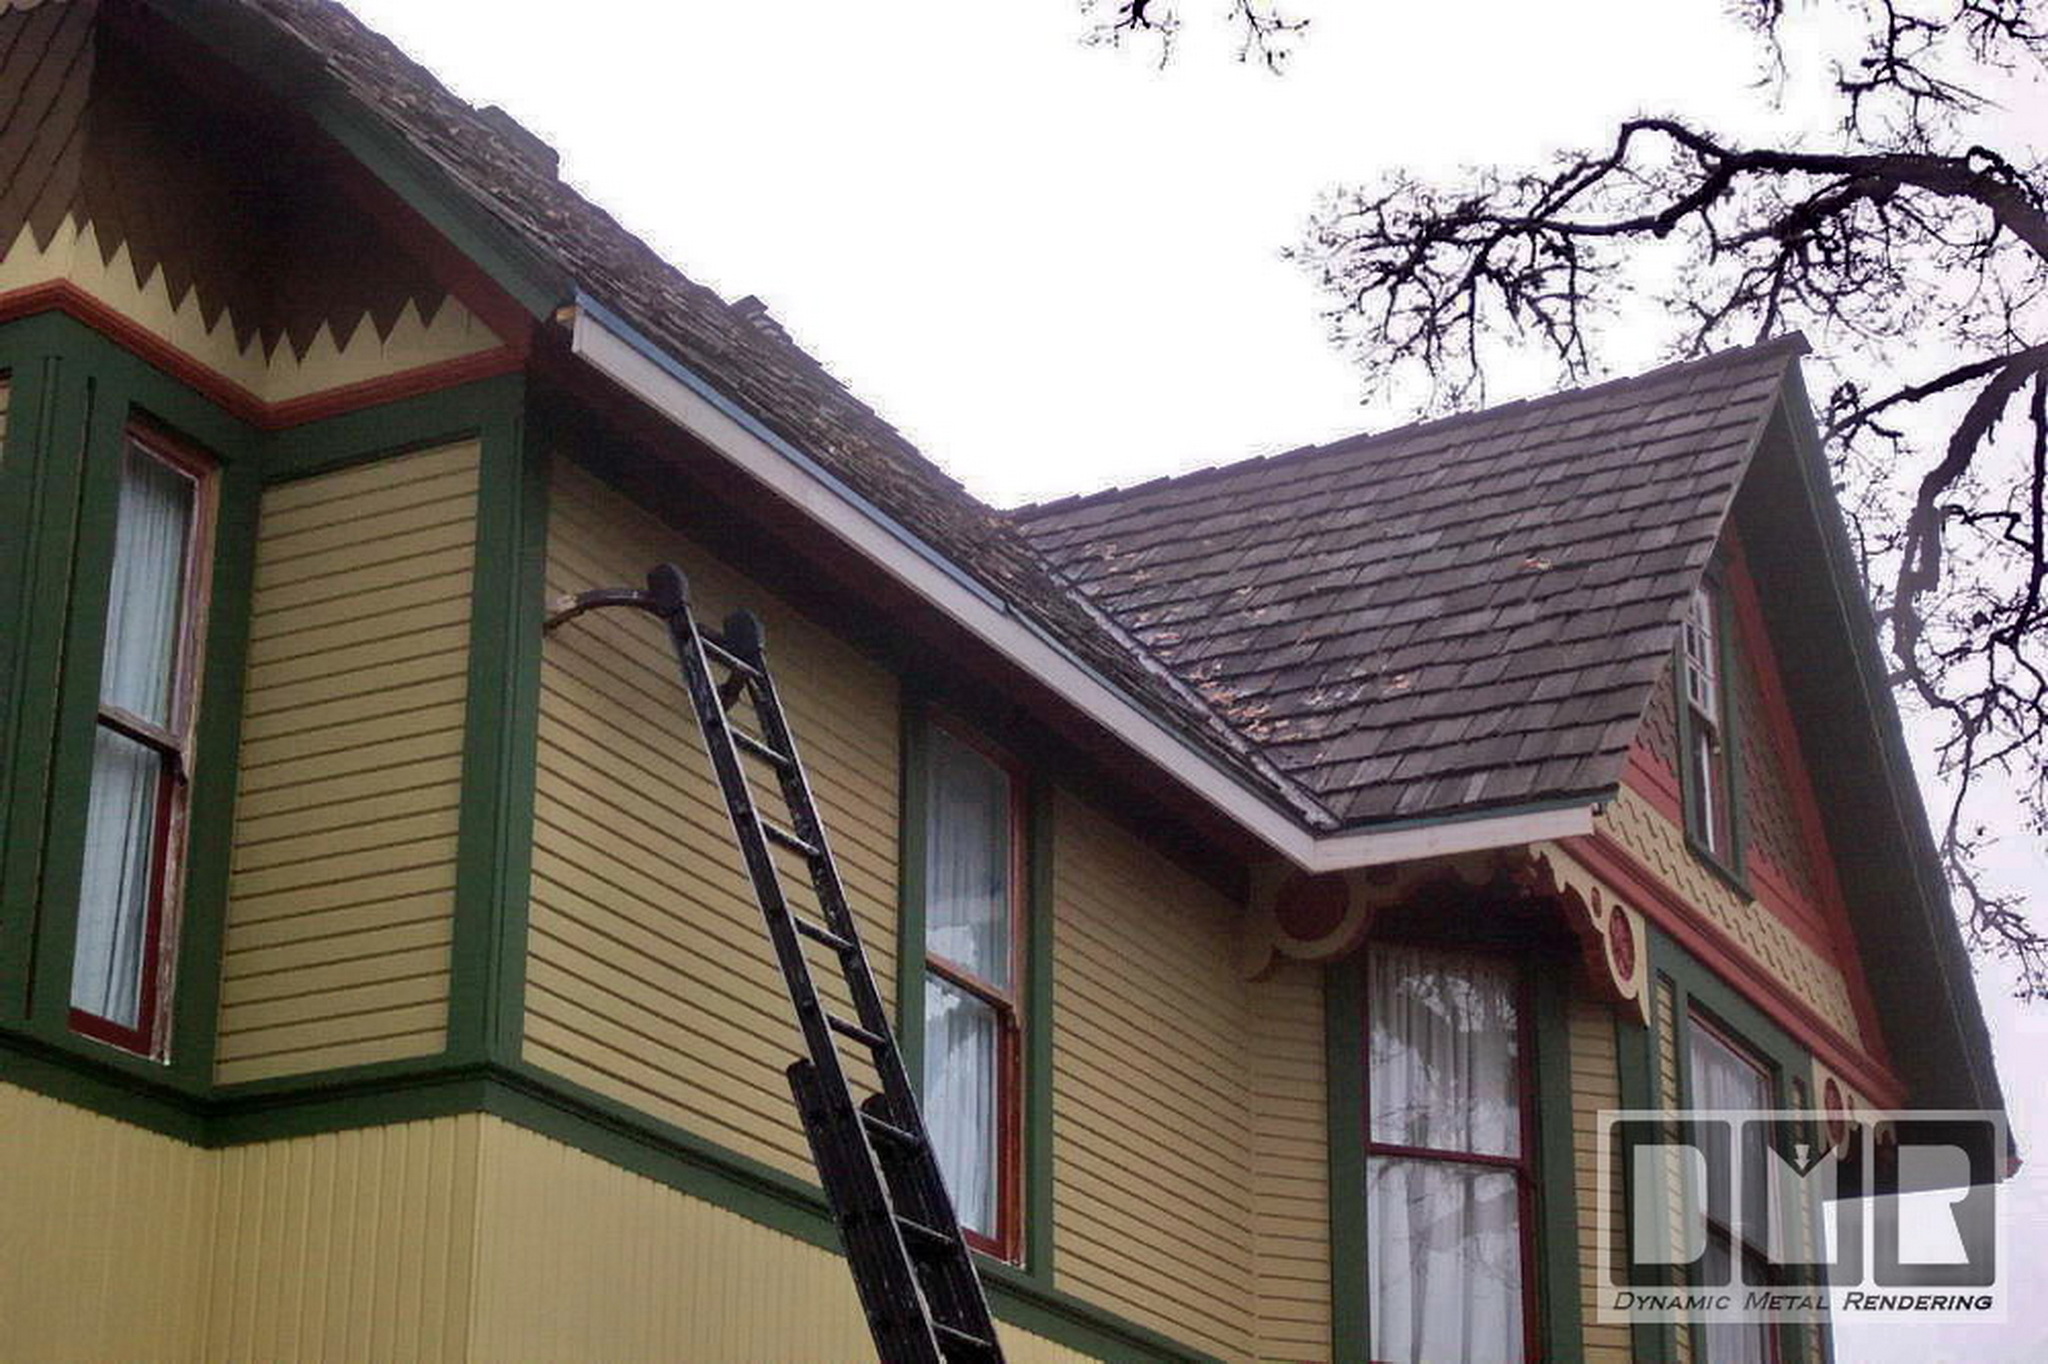
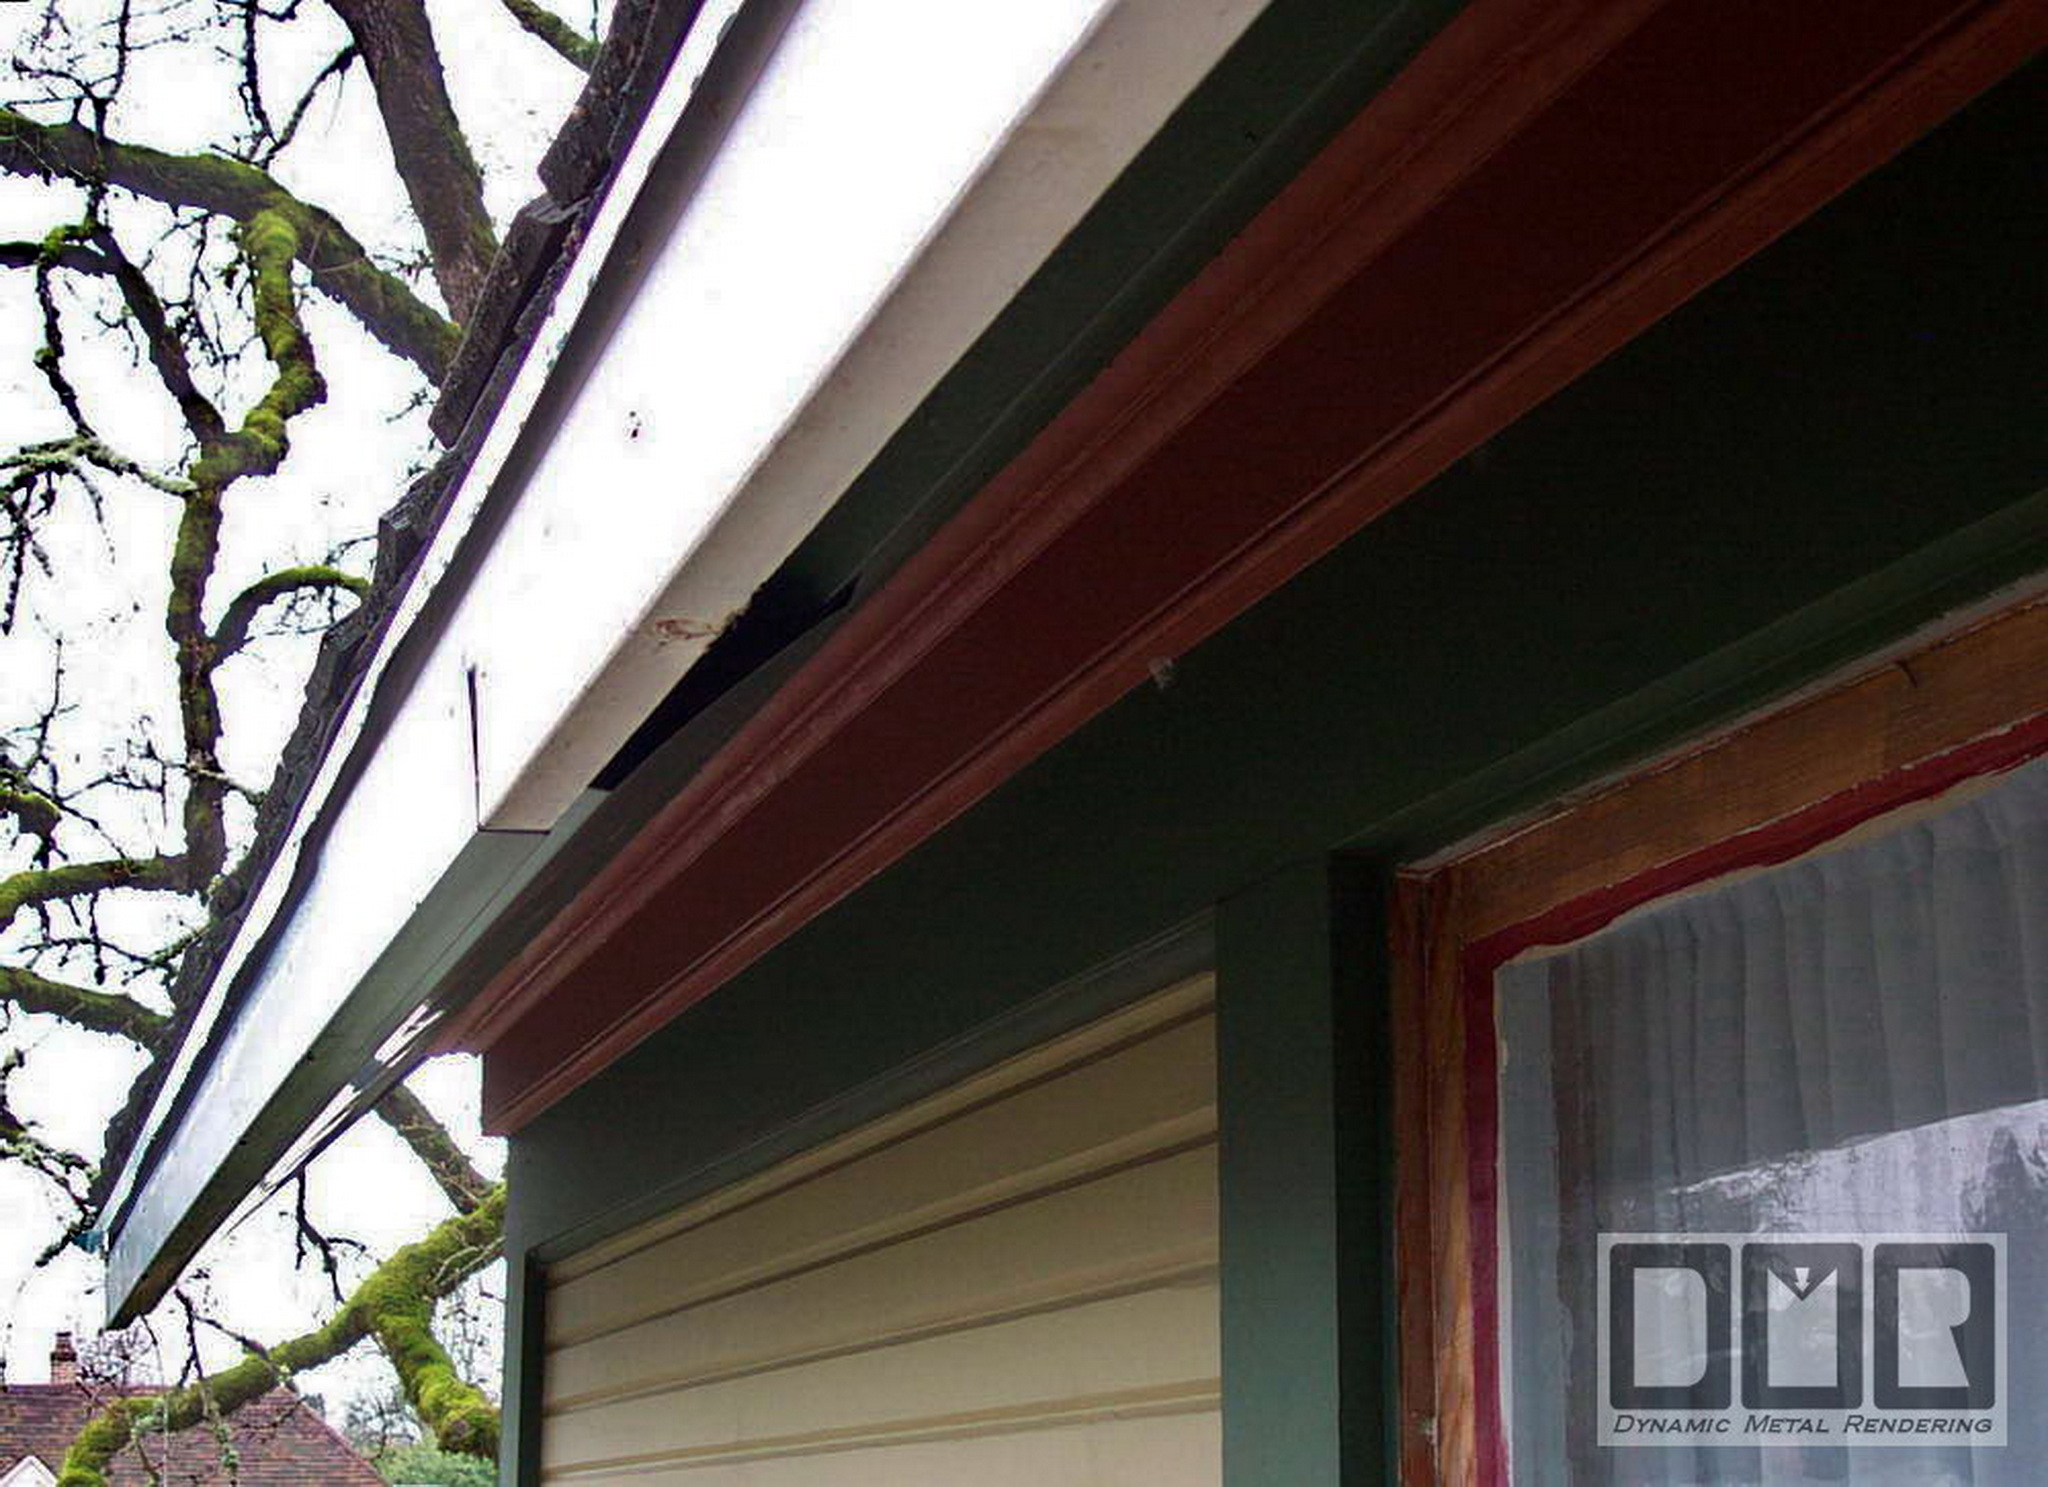
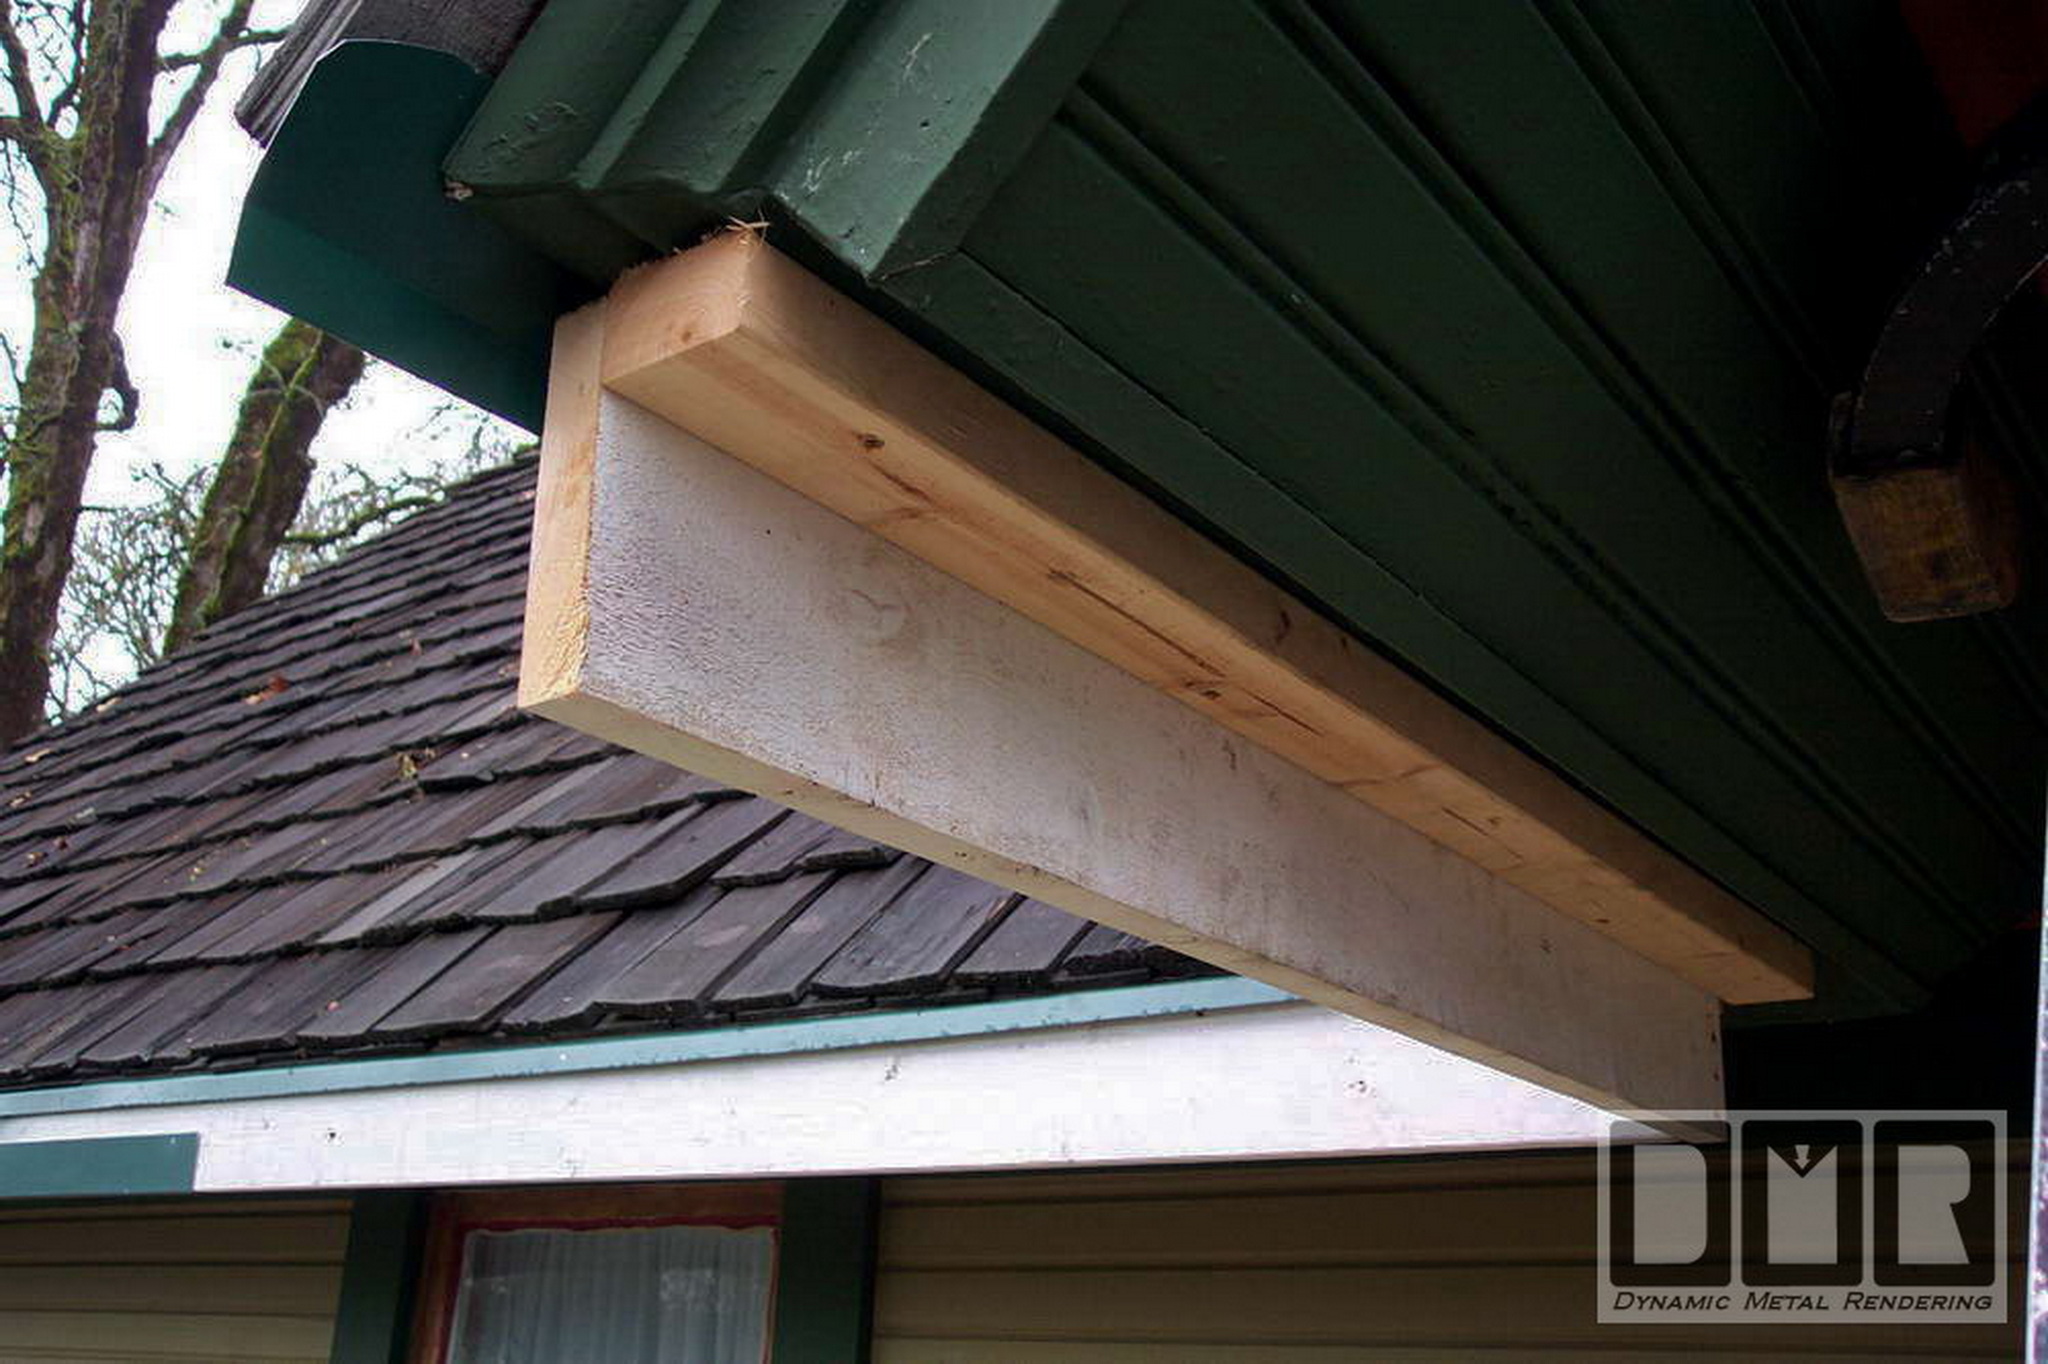
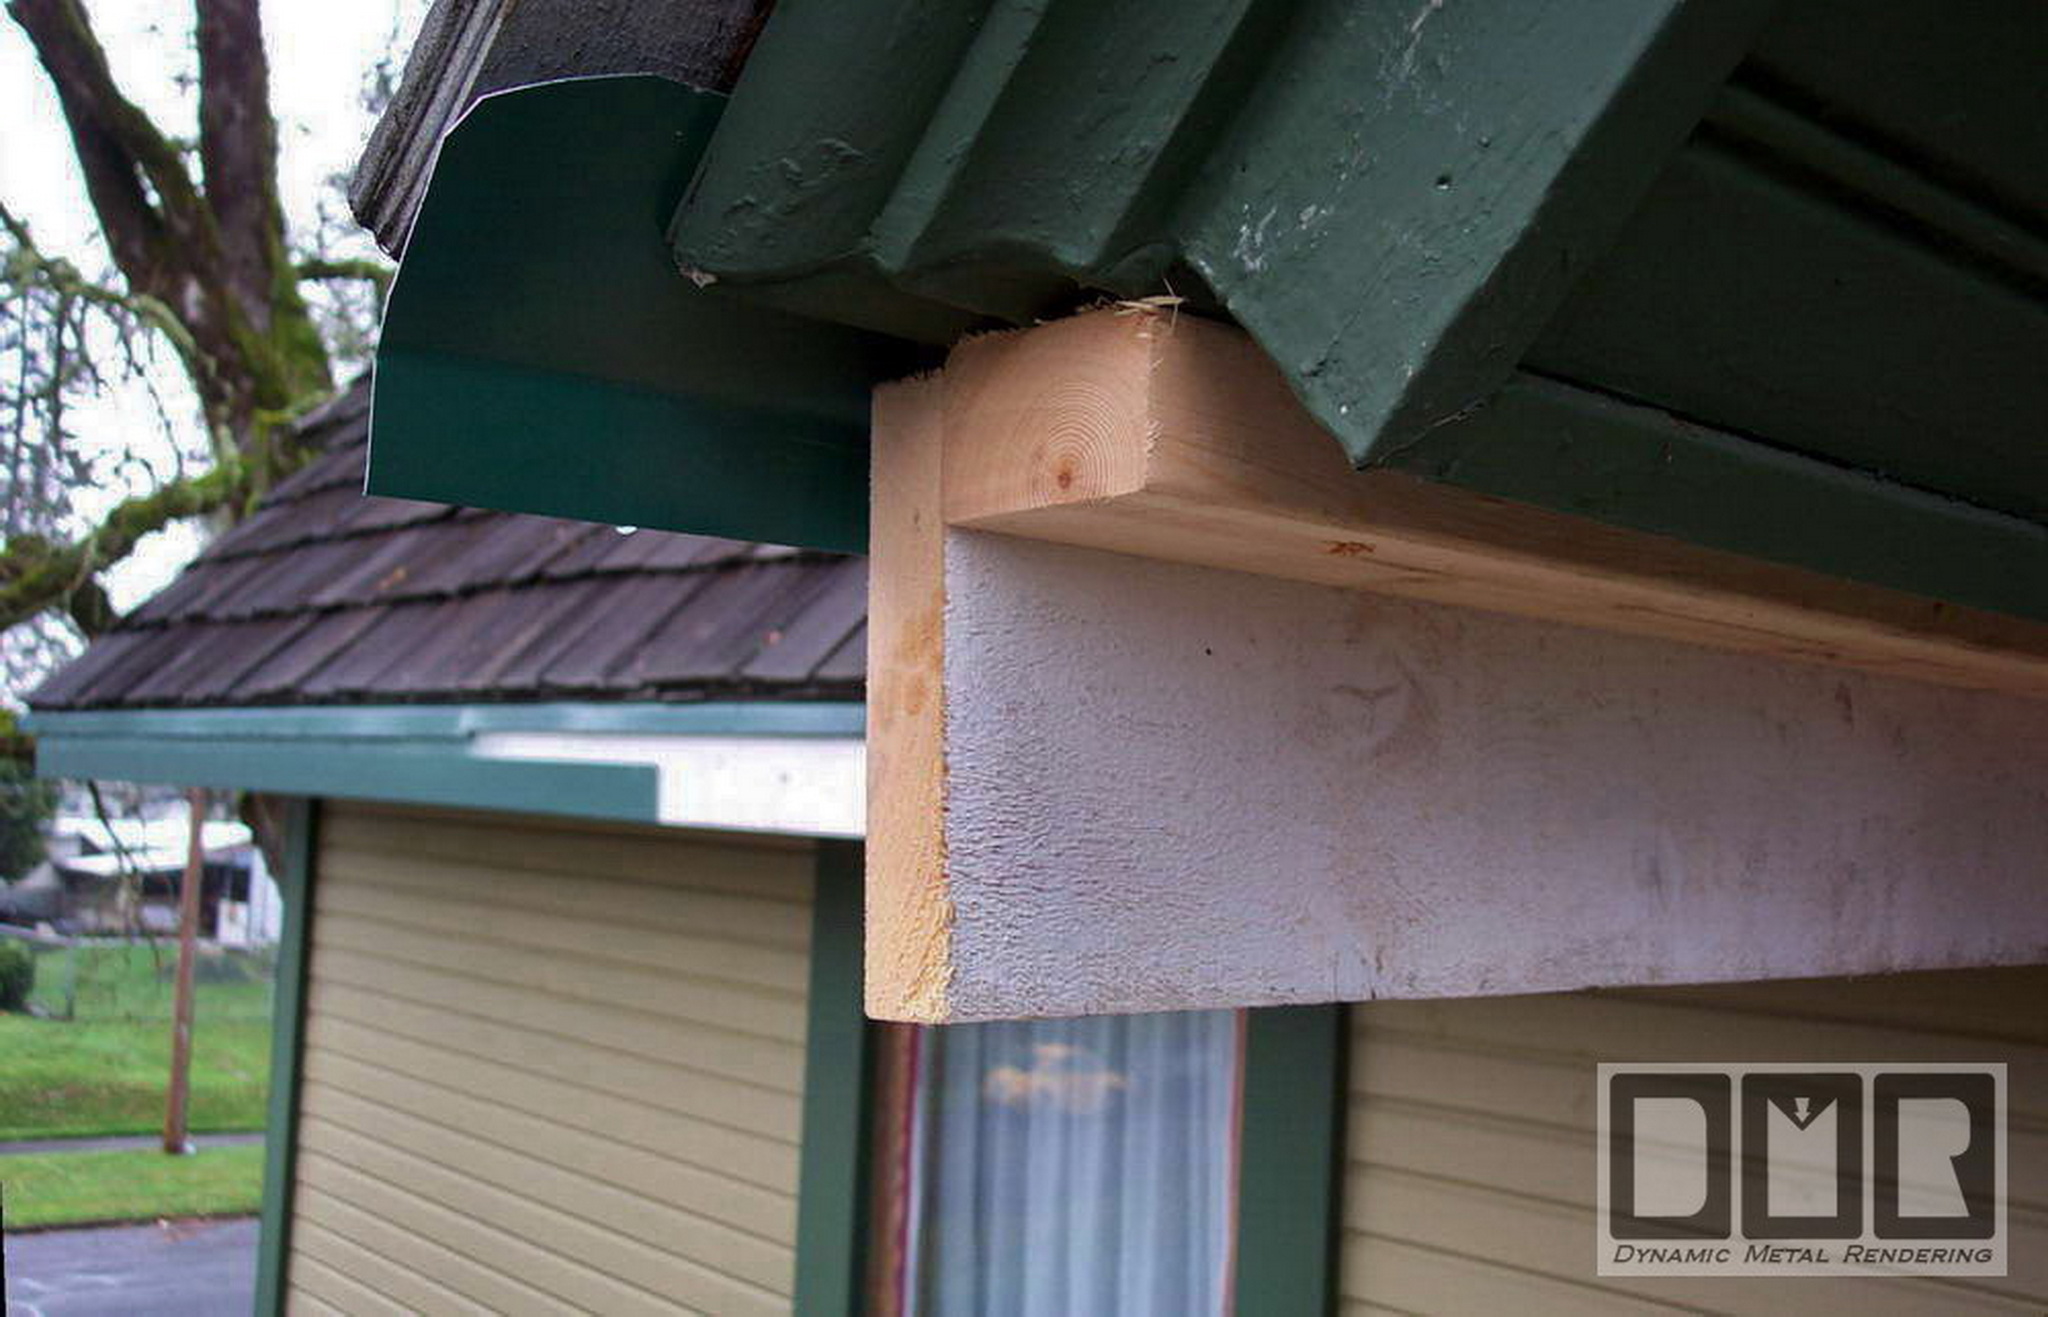
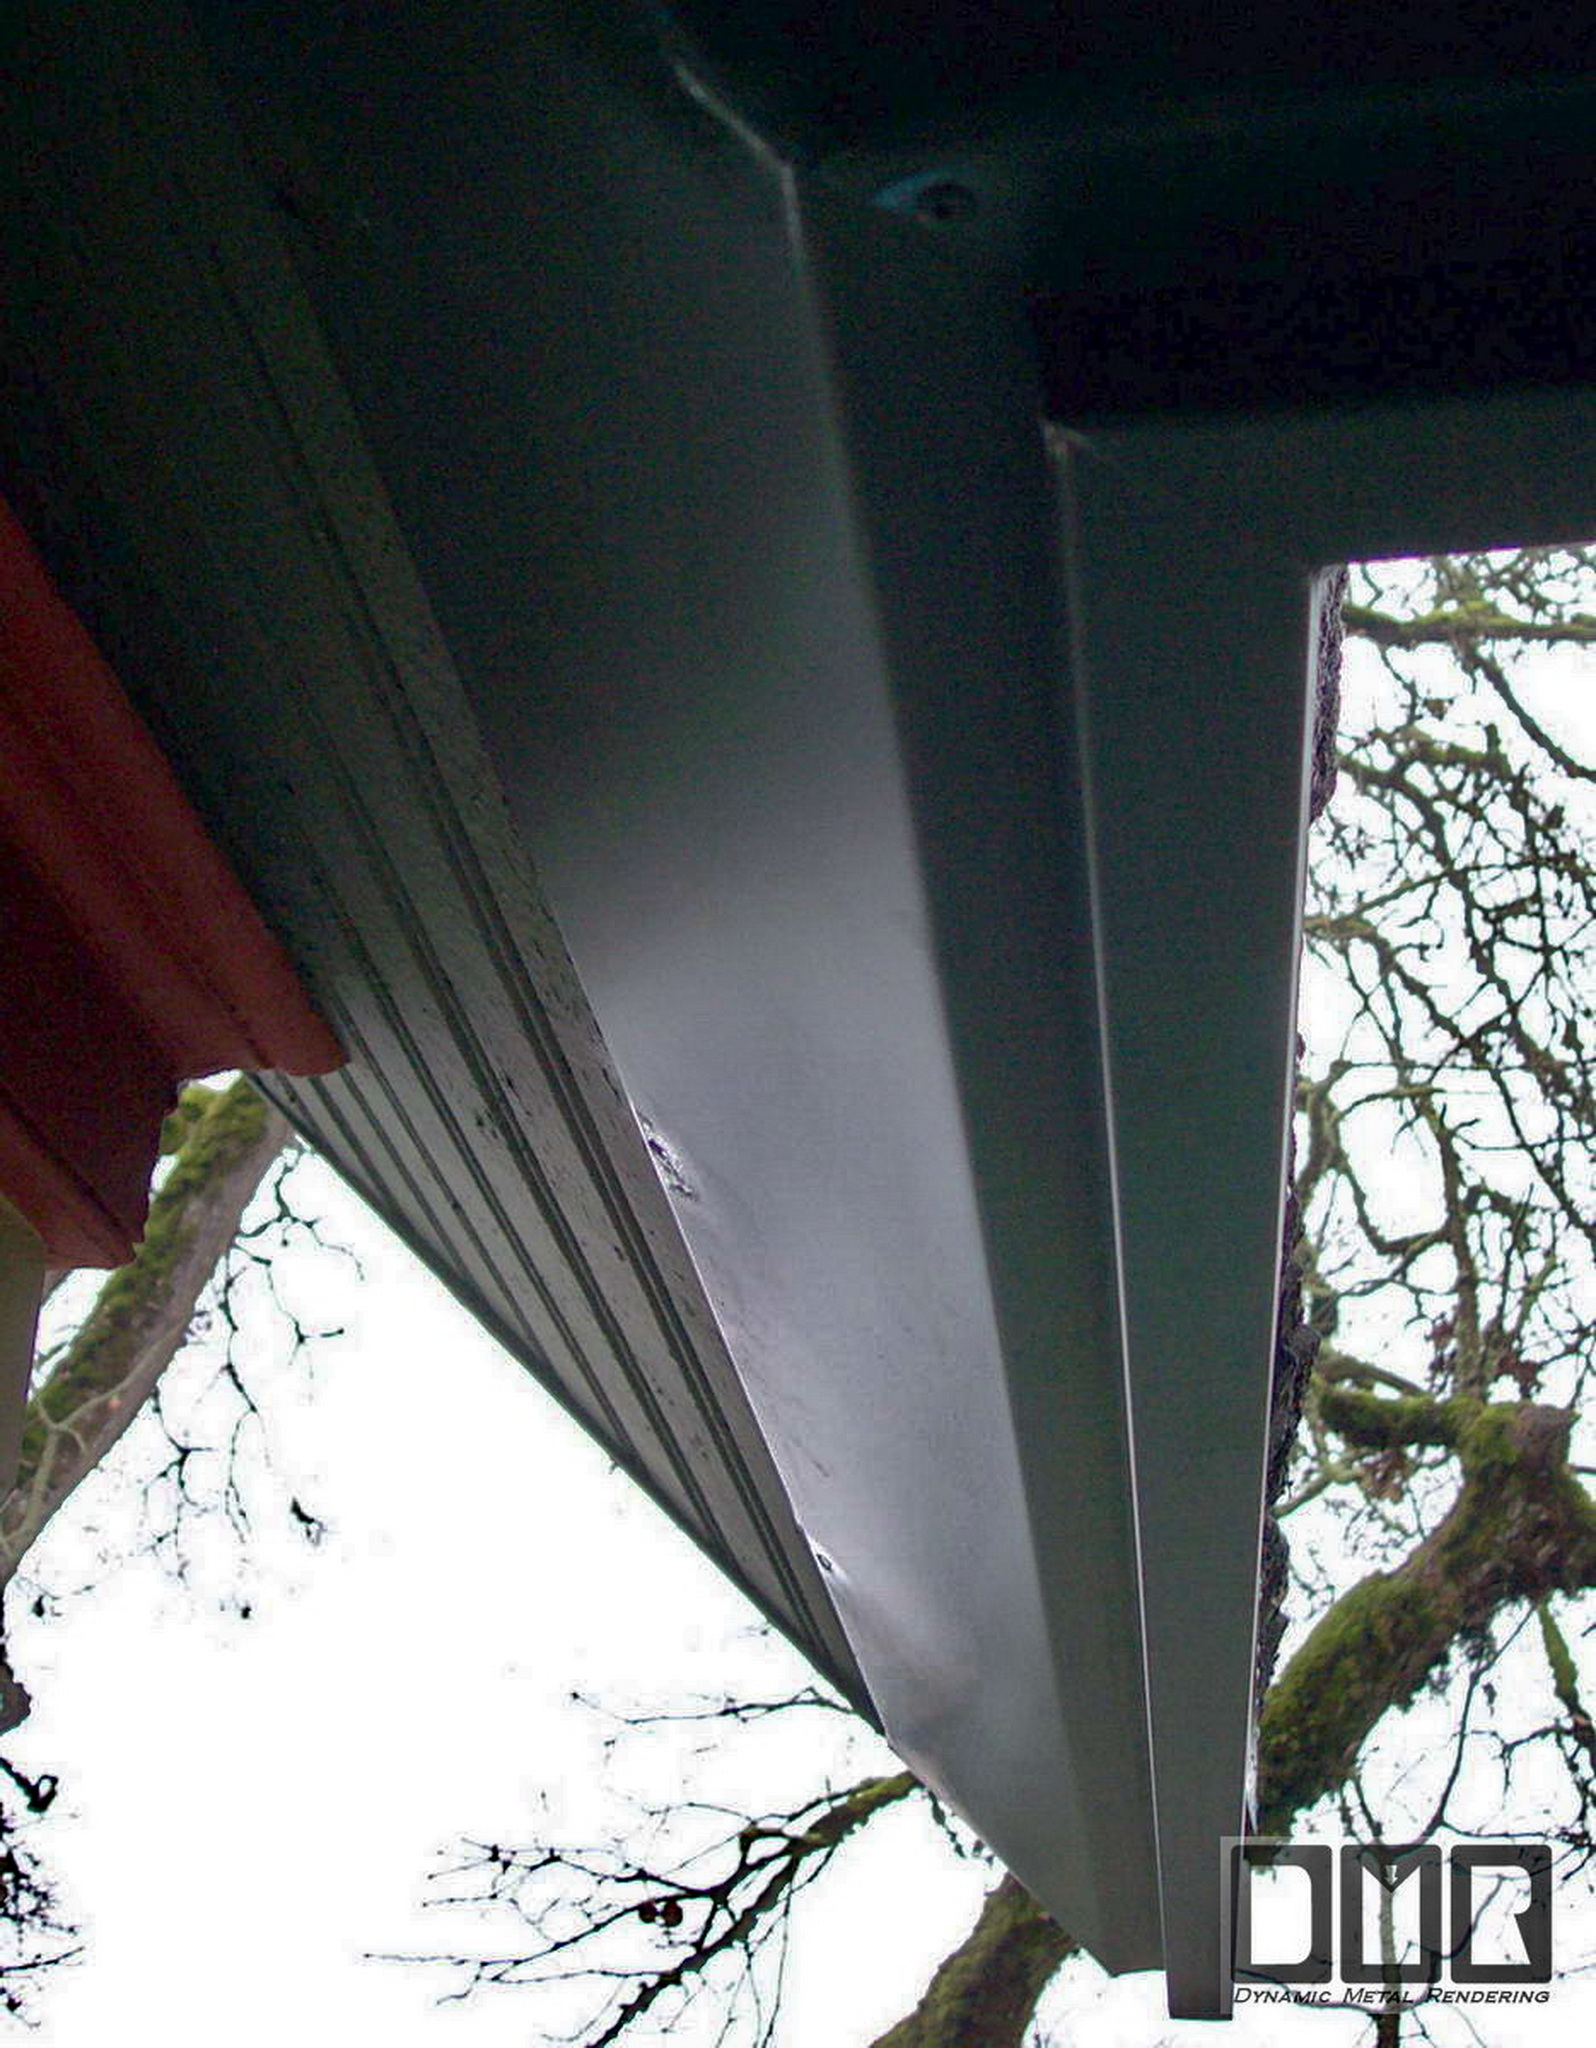
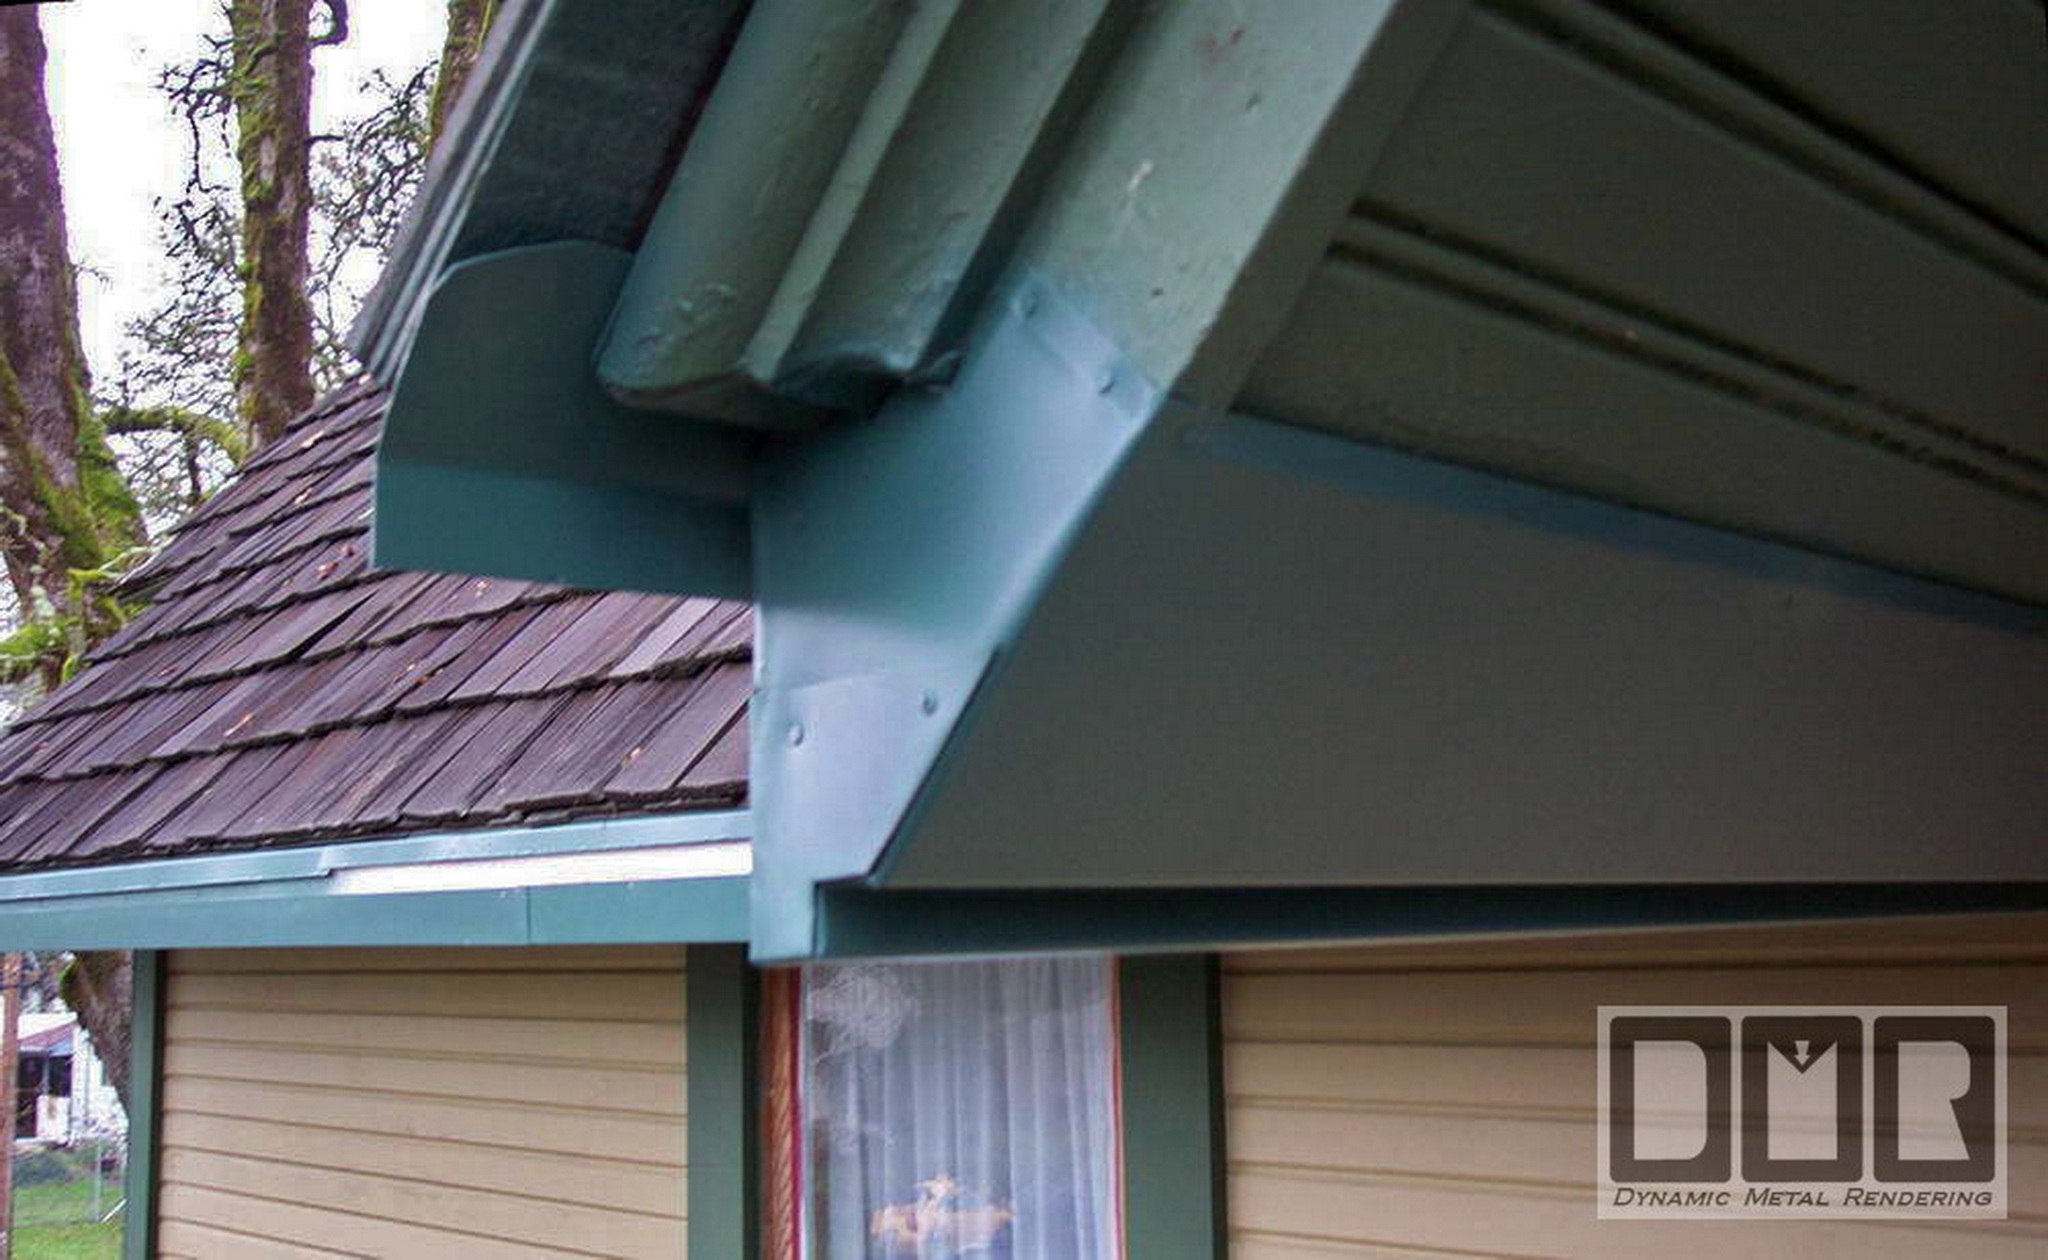
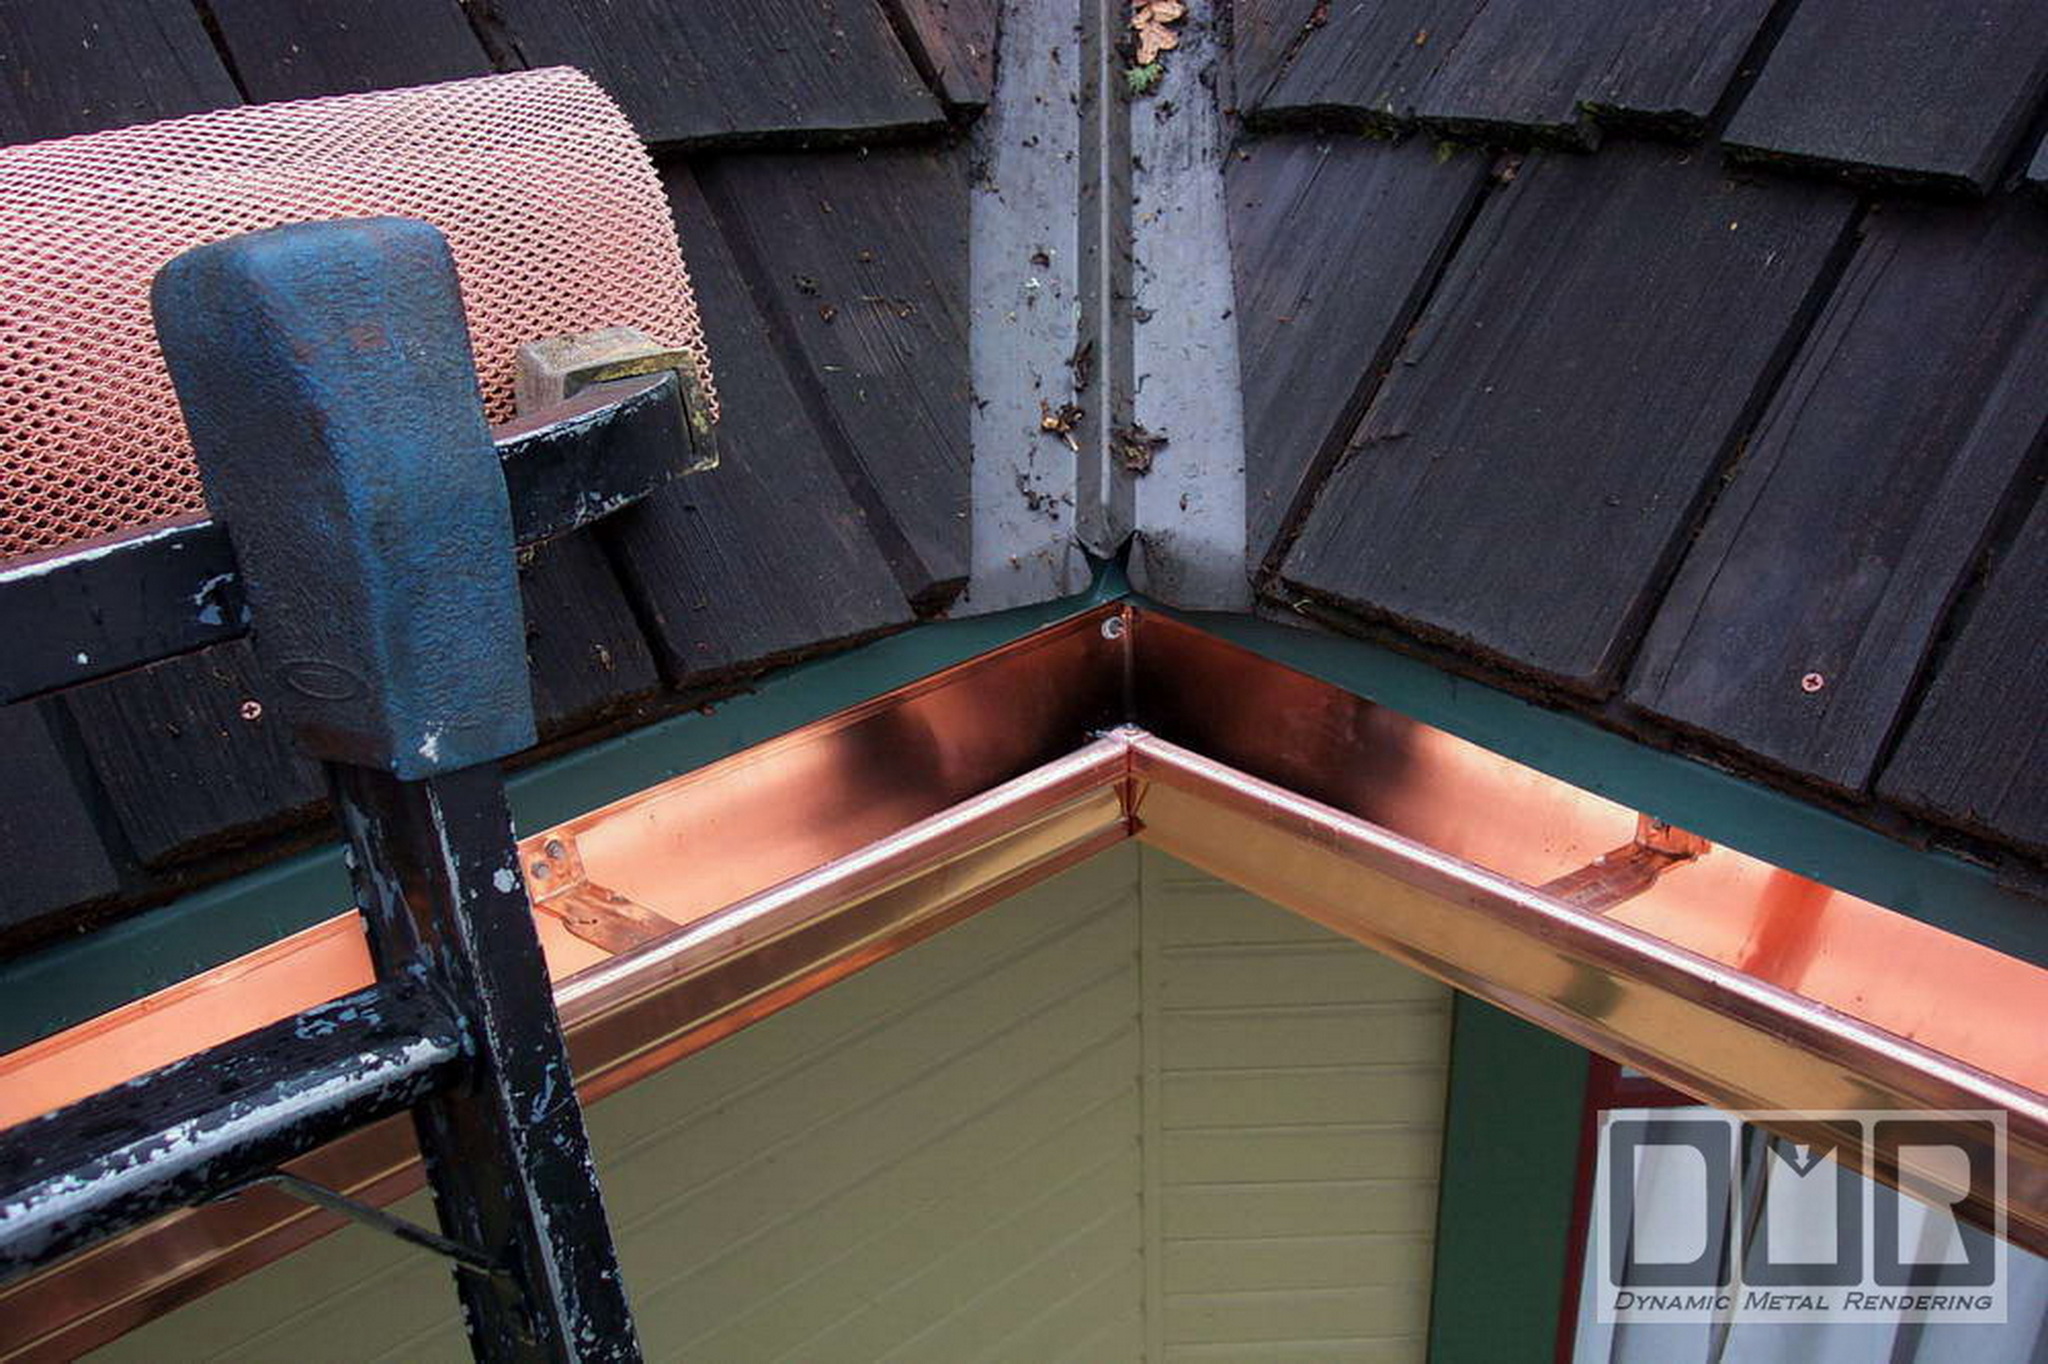
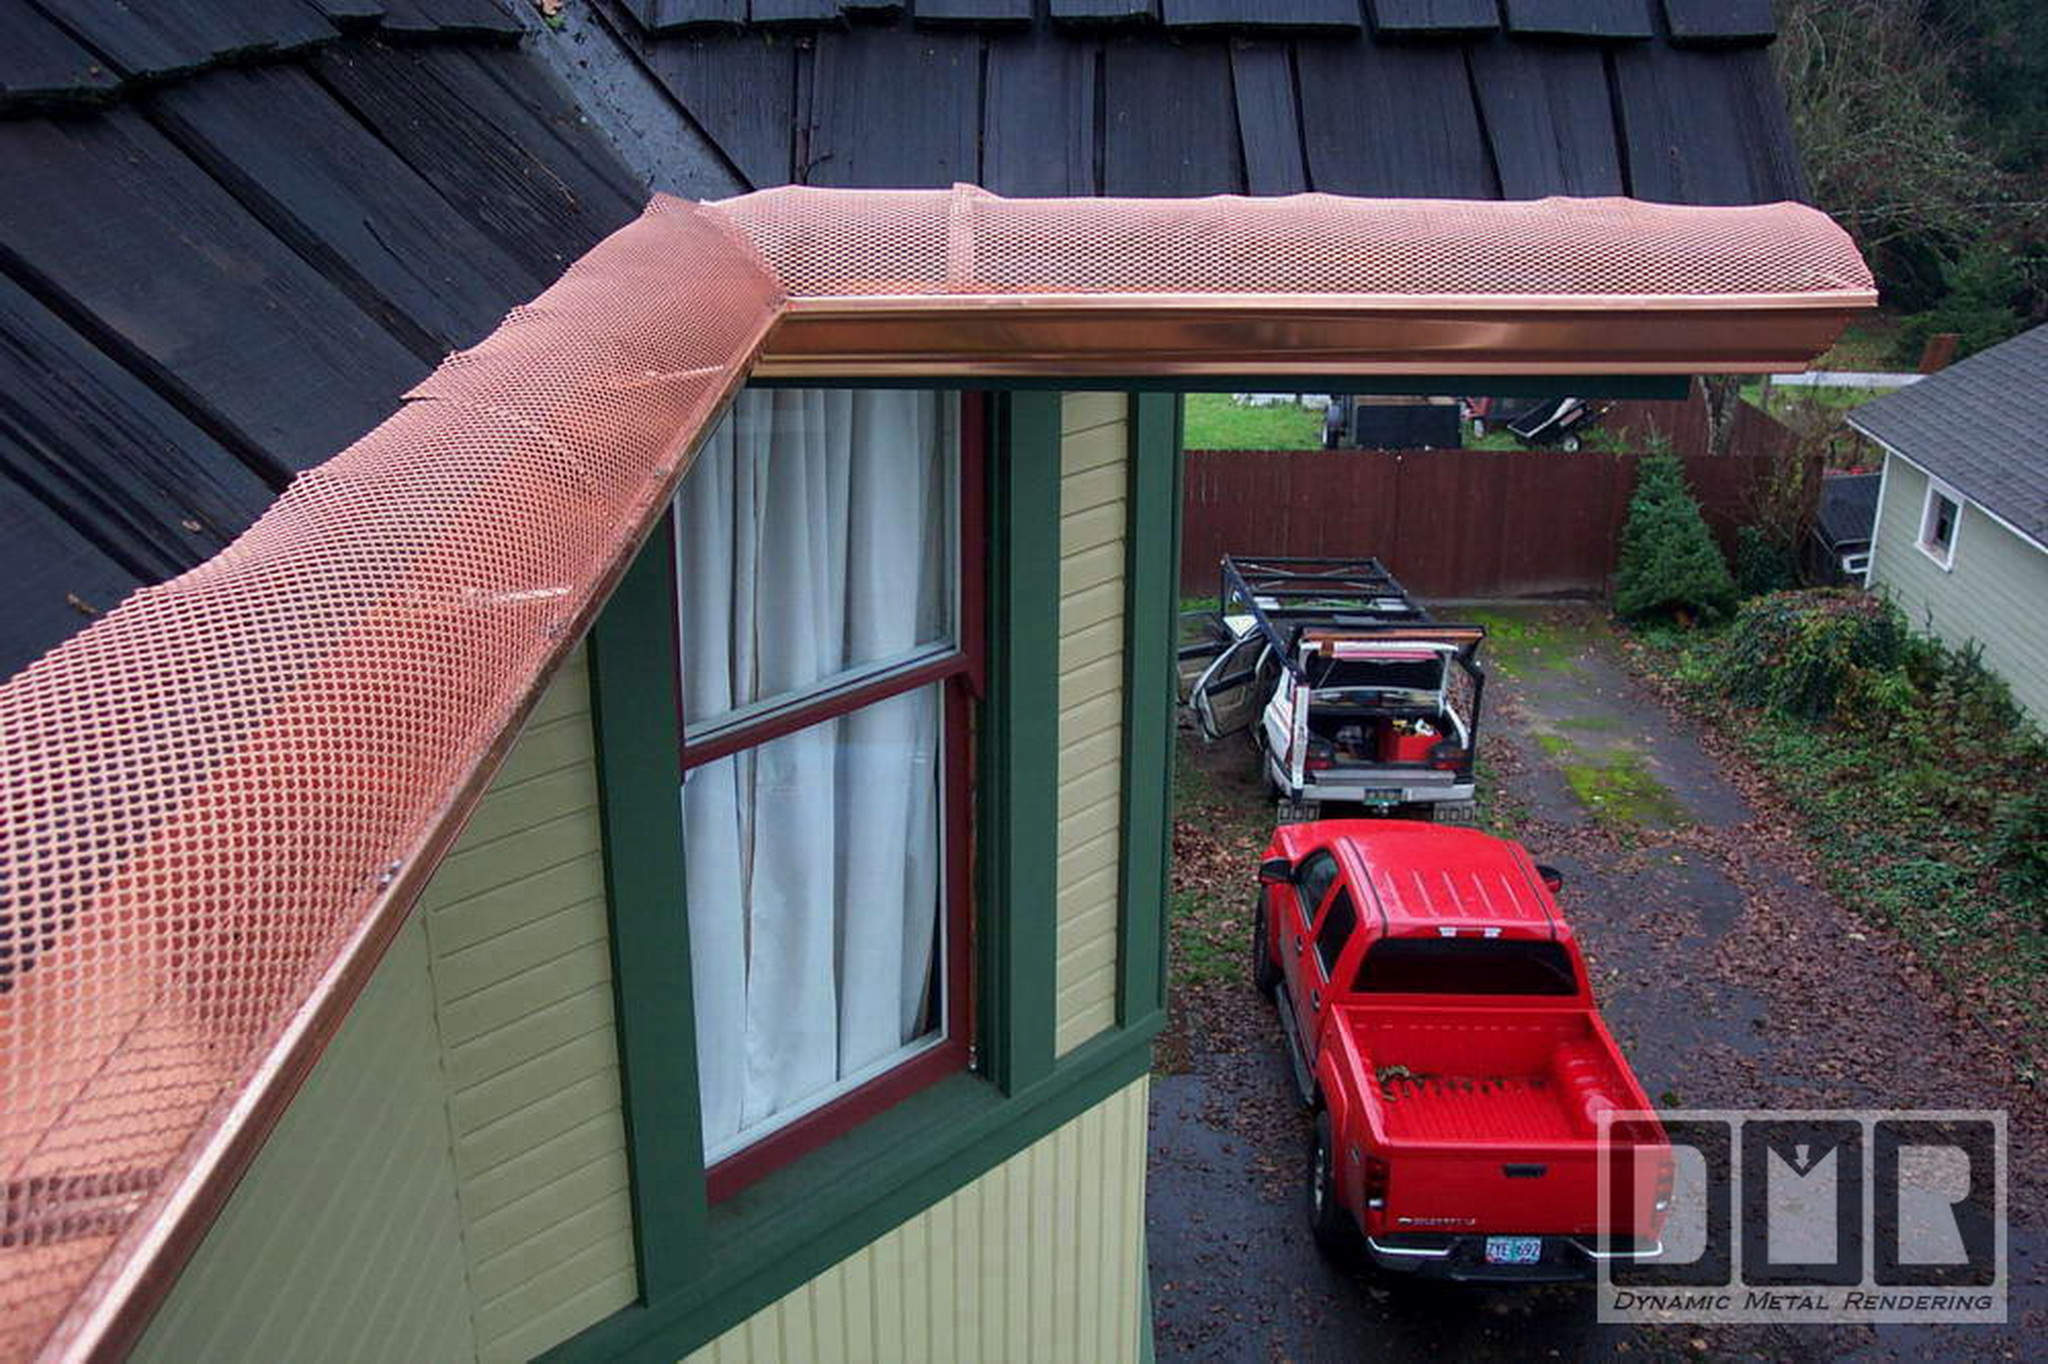
I also had this trouble setting the gutters on the upper roof, since that roof is resting on the porch. I stopped again to discuss this with the Kistlers, telling them that the best placement for the downspout would be mounted on the corner post. But they wanted the outlet and downspout to be back on the house corner. It was so out of level that in the short 5' 8.5" from the front outside corner to the back inside corner the gutter had to drop so much that the bottom of the gutter was a few inches below the bottom edge of the fascia board, instead of well above it. There was nothing I could do to improve it without having the porch lifted. If I had mounted the gutter straight with the roof edge, the water could not go down the downspout. It would have to fill the gutter and dump off the end of the outer corner. IT was that far settled.

.

Here is the work on the upper right rear corner gutter.  As you can see, there was nothing there to mount a gutter to.  There was nothing to even mount a fascia board onto.  I had to attach this 2x3 up into the wood molding with screws, just to have something to screw the fascia board onto. This sheet metal supports the bottom of the fascia board.

Then take measurements for the custom Forest Green pre-painted aluminum sheet metal cover to be bent to shape and installed with small stainless steel nails. This sheet metal supports the bottom of the fascia board.

Then of course to install the gutters. Clip on the hinged copper screens and figure out how the downspout needs to go and fabricate those parts. This one was easy to just drain the rain water onto the roof beside it.

Just a couple years later:

.


Here is the work on the upper right rear corner gutter.  As you can see, there was nothing there to mount a gutter to.  There was nothing here either to mount a fascia board onto.  I had to screw the 2x3 up into the wood molding, just to have something to screw the fascia board onto.

Then take measurements for the custom Forest Green pre-painted aluminum sheet metal cover to be bent to shape and installed with small stainless steel nails.

Then of course to install the gutters

And seal this corner


For the Kistler Gutter Job Page #4:
"Custom Gutter Fabrication"
just click on the gutter below


Back to the Kistler Gutters Job Page #1 "Before & After Pics"


Below is a photo of our
Better Business Bureau's
NW Business Integrity Award
for the year 1998

1999 Better Business Award

We were also a 1997 finalist for this same award. See our referral web page to see how we managed to be honored with this special award

.


Back to homepage
Homepage

Site Map


Company
Profile
Aluminum
Gutters
Copper
Gutters
Custom
Work
Award &
Referrals
Personal
Ethics

Our Contact
Information
.

.

.

.

.

.

.

.

.

.

.

 copper-by-design.com