|
From: mmlenio@comcast.n*t
Subject: Lenio - SE 20th
Date: Mon, 22 Sep 2008
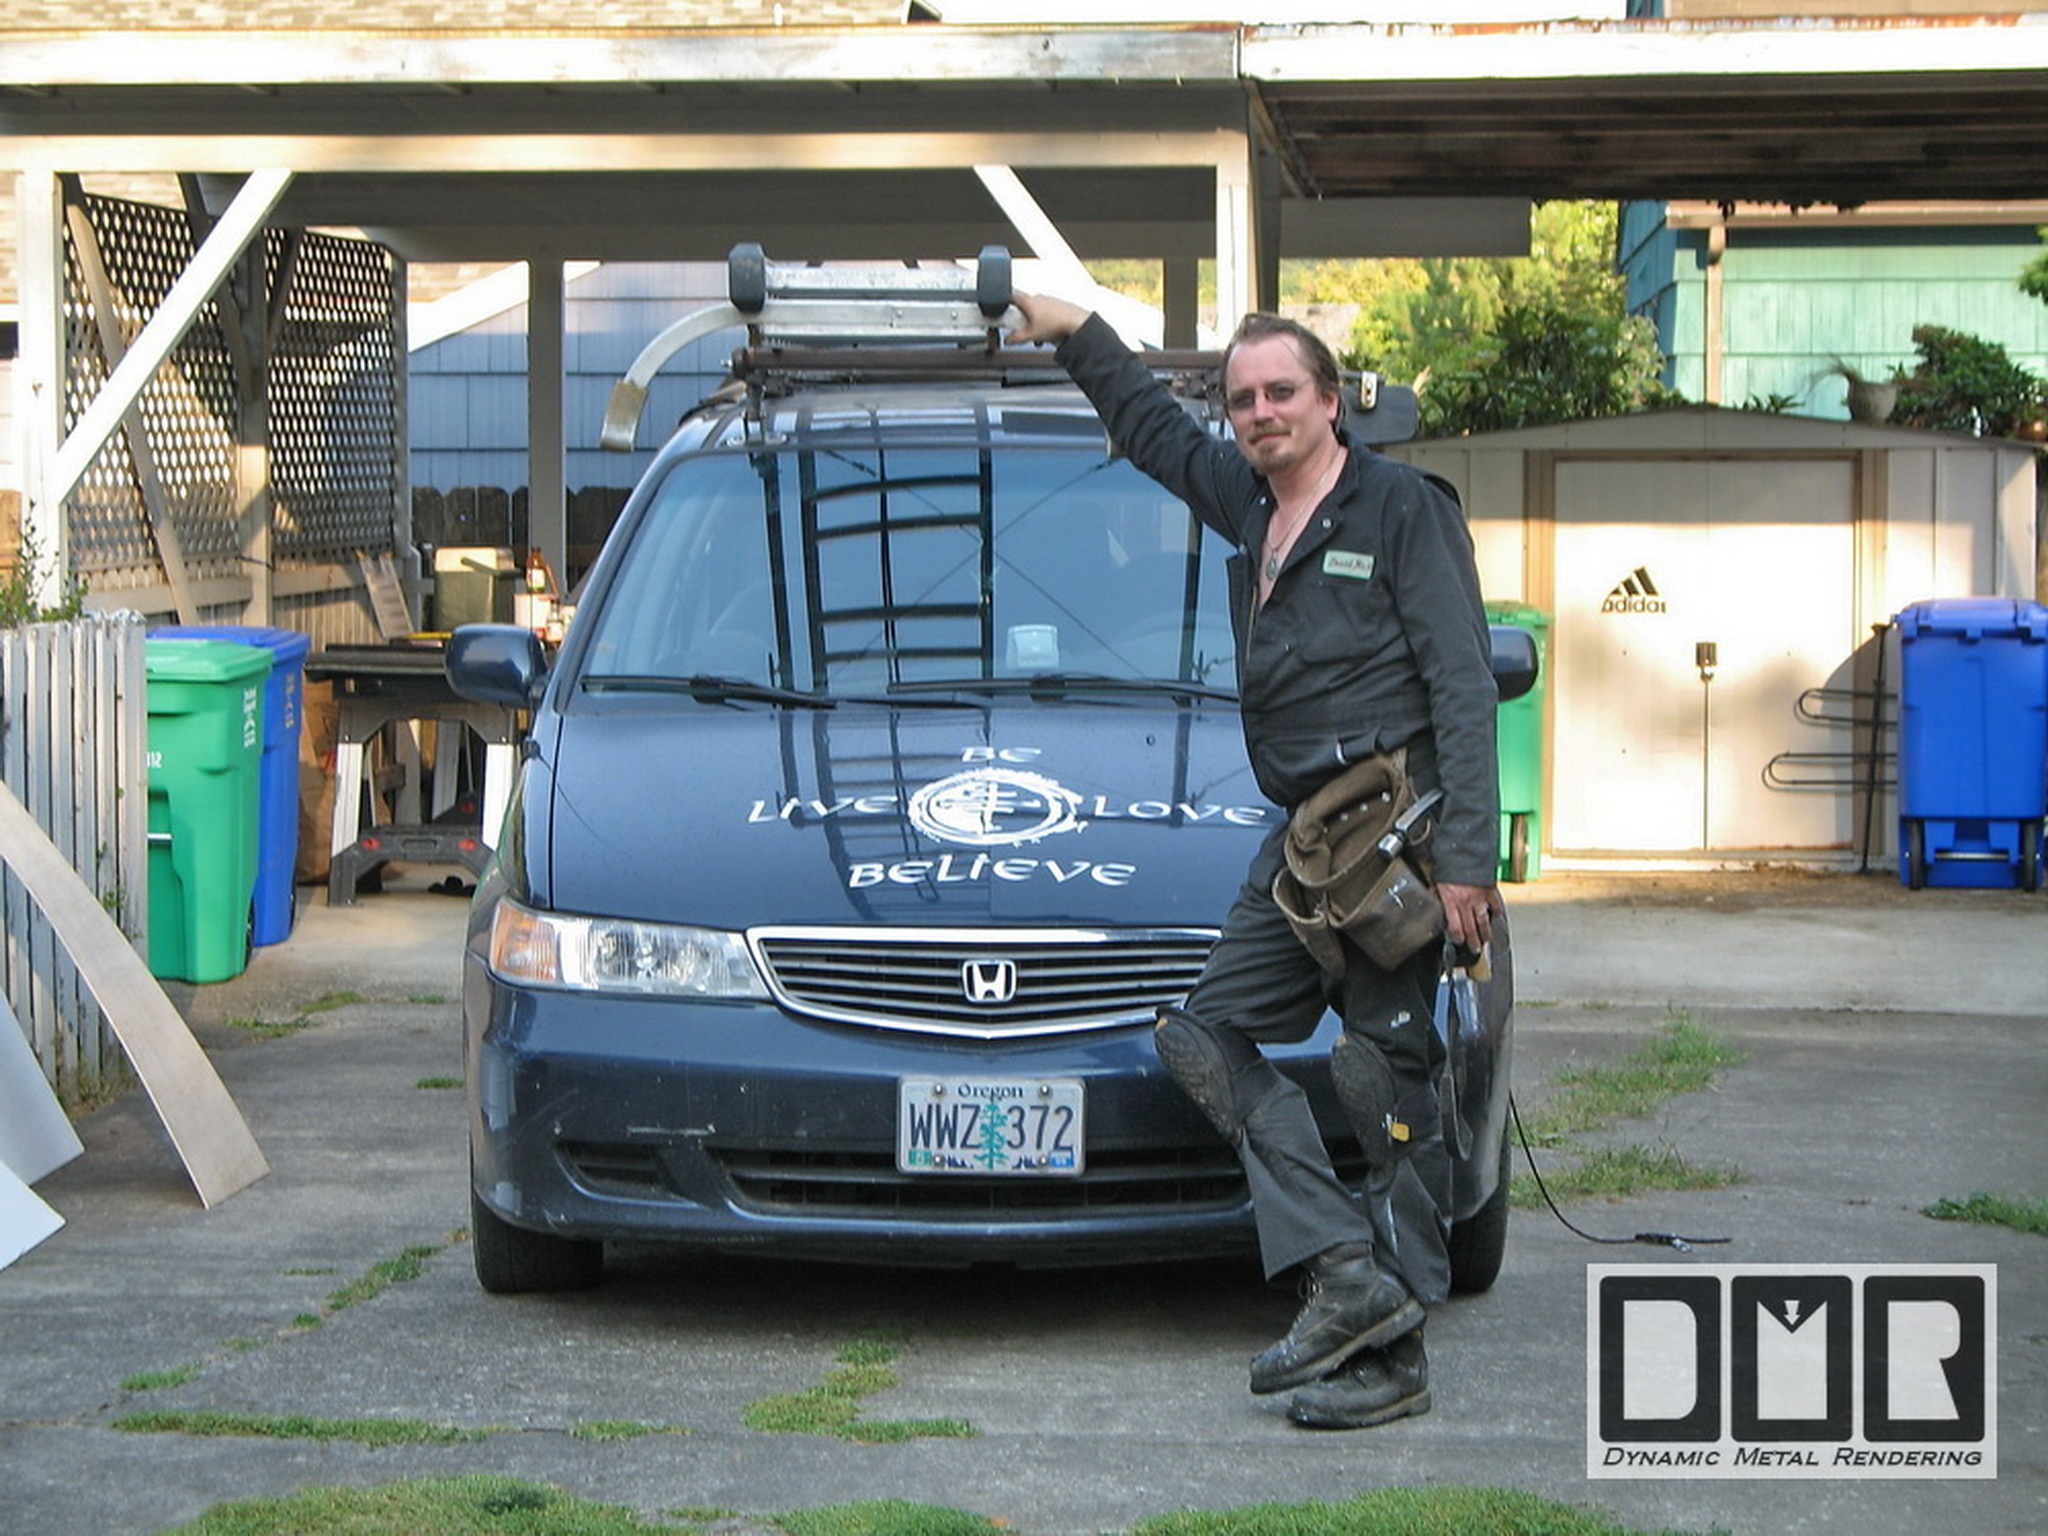
Hi David,
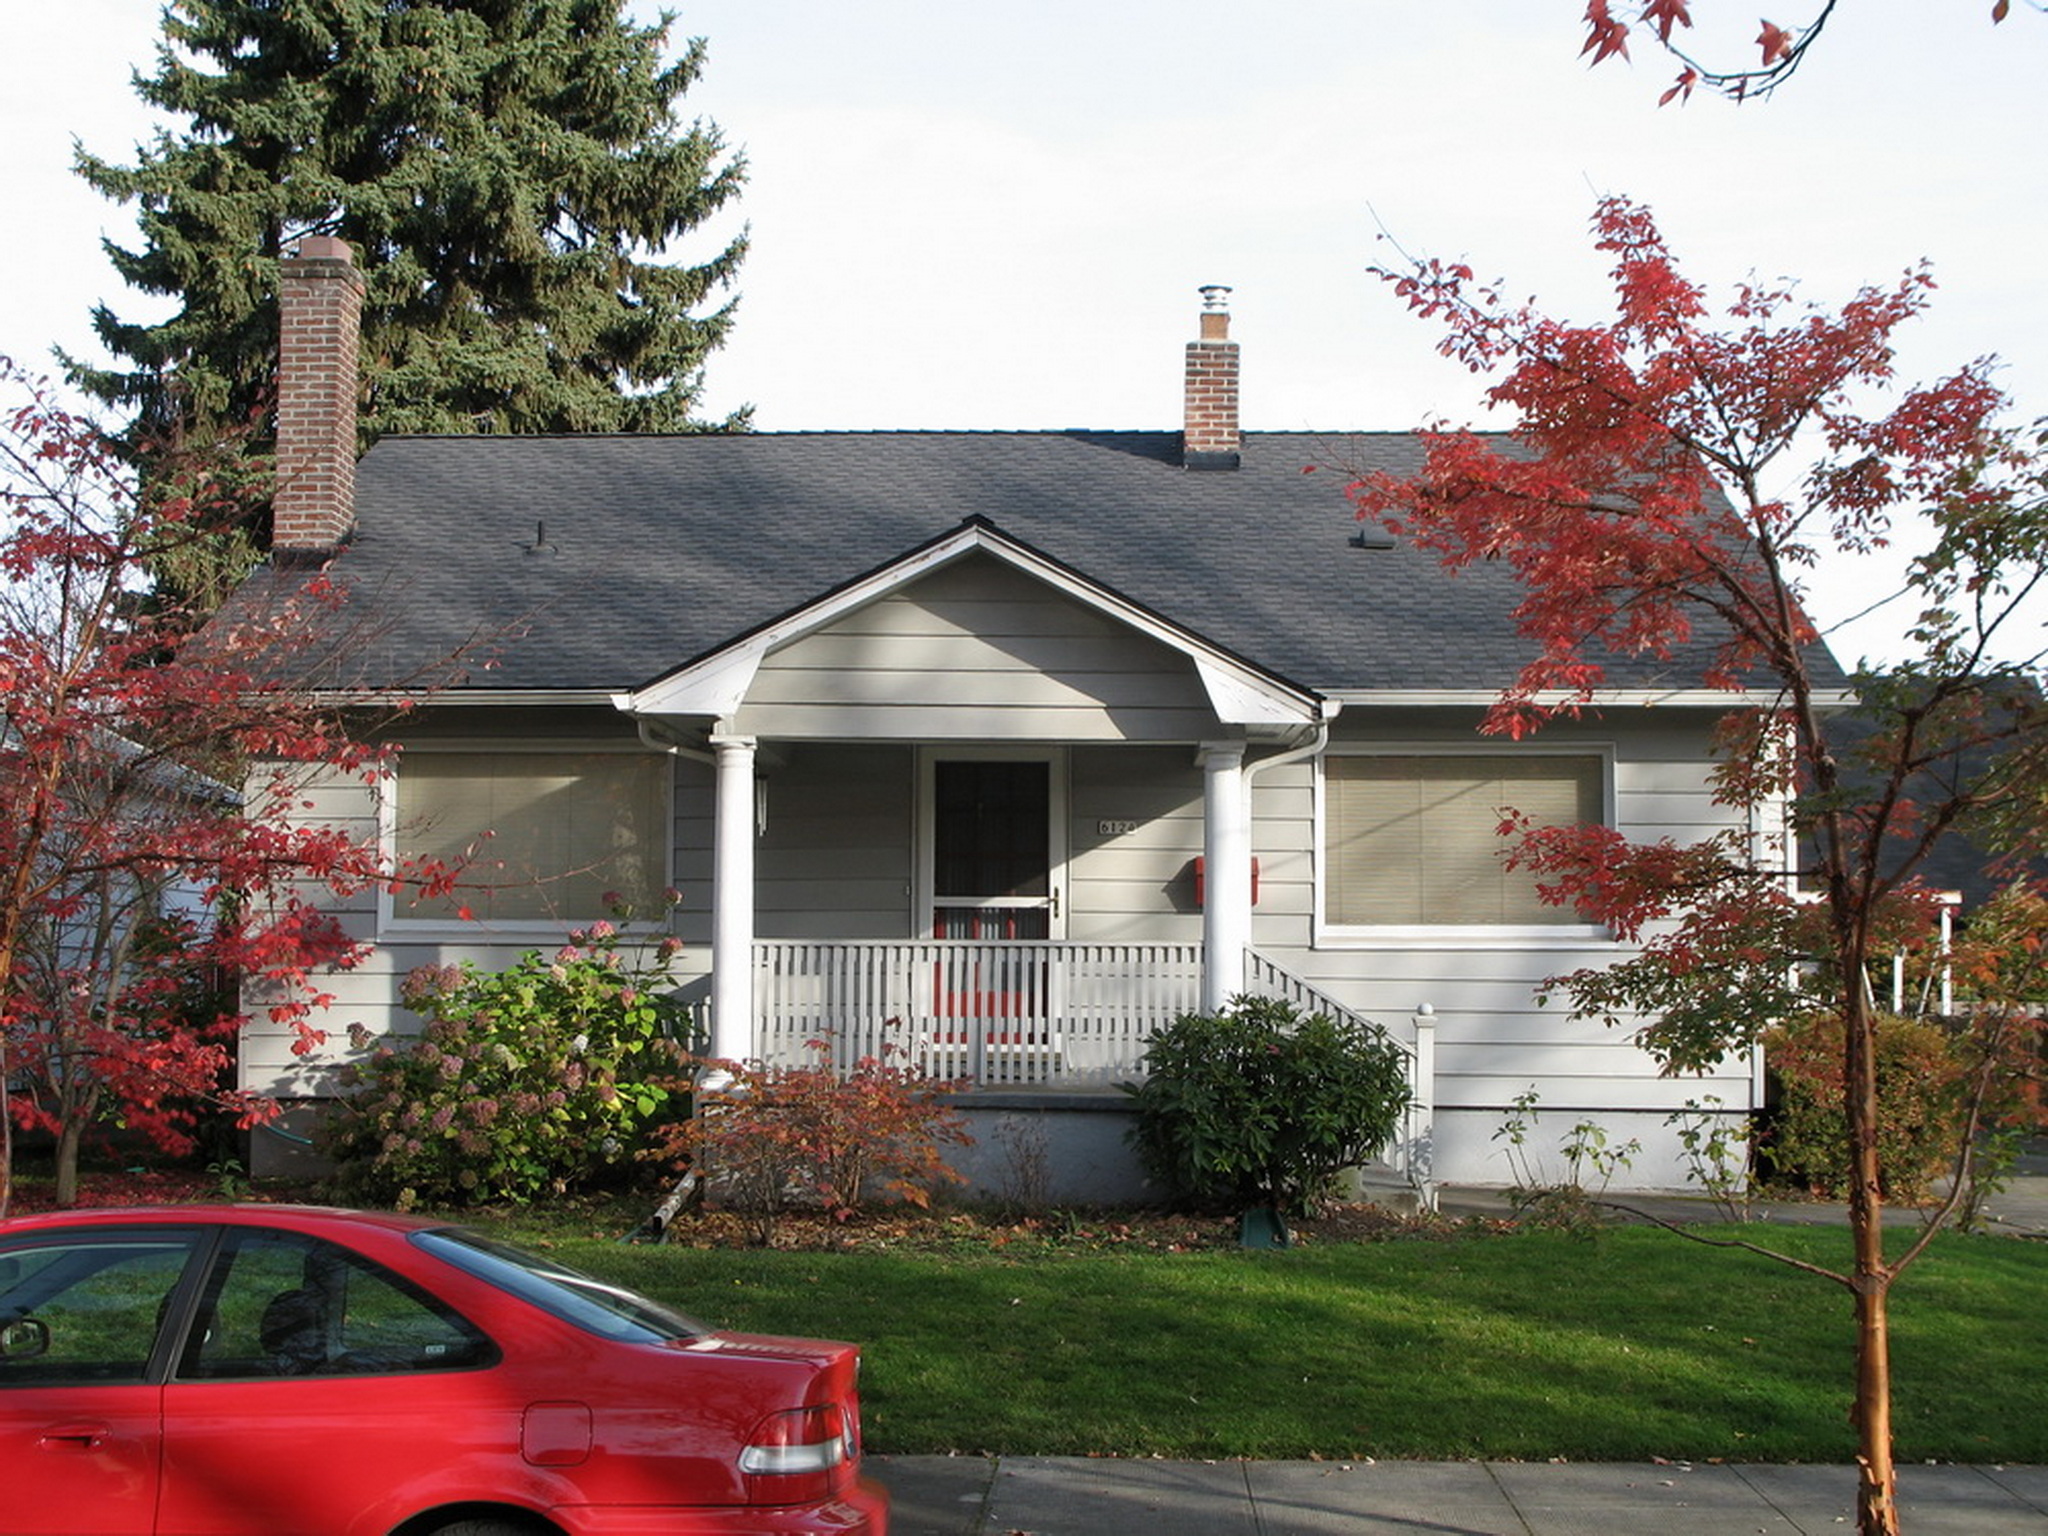
We can't thank you enough for all of the
work that you did on our house. We are so lucky to have found
someone with your honesty, integrity, talent, artistry and eye for
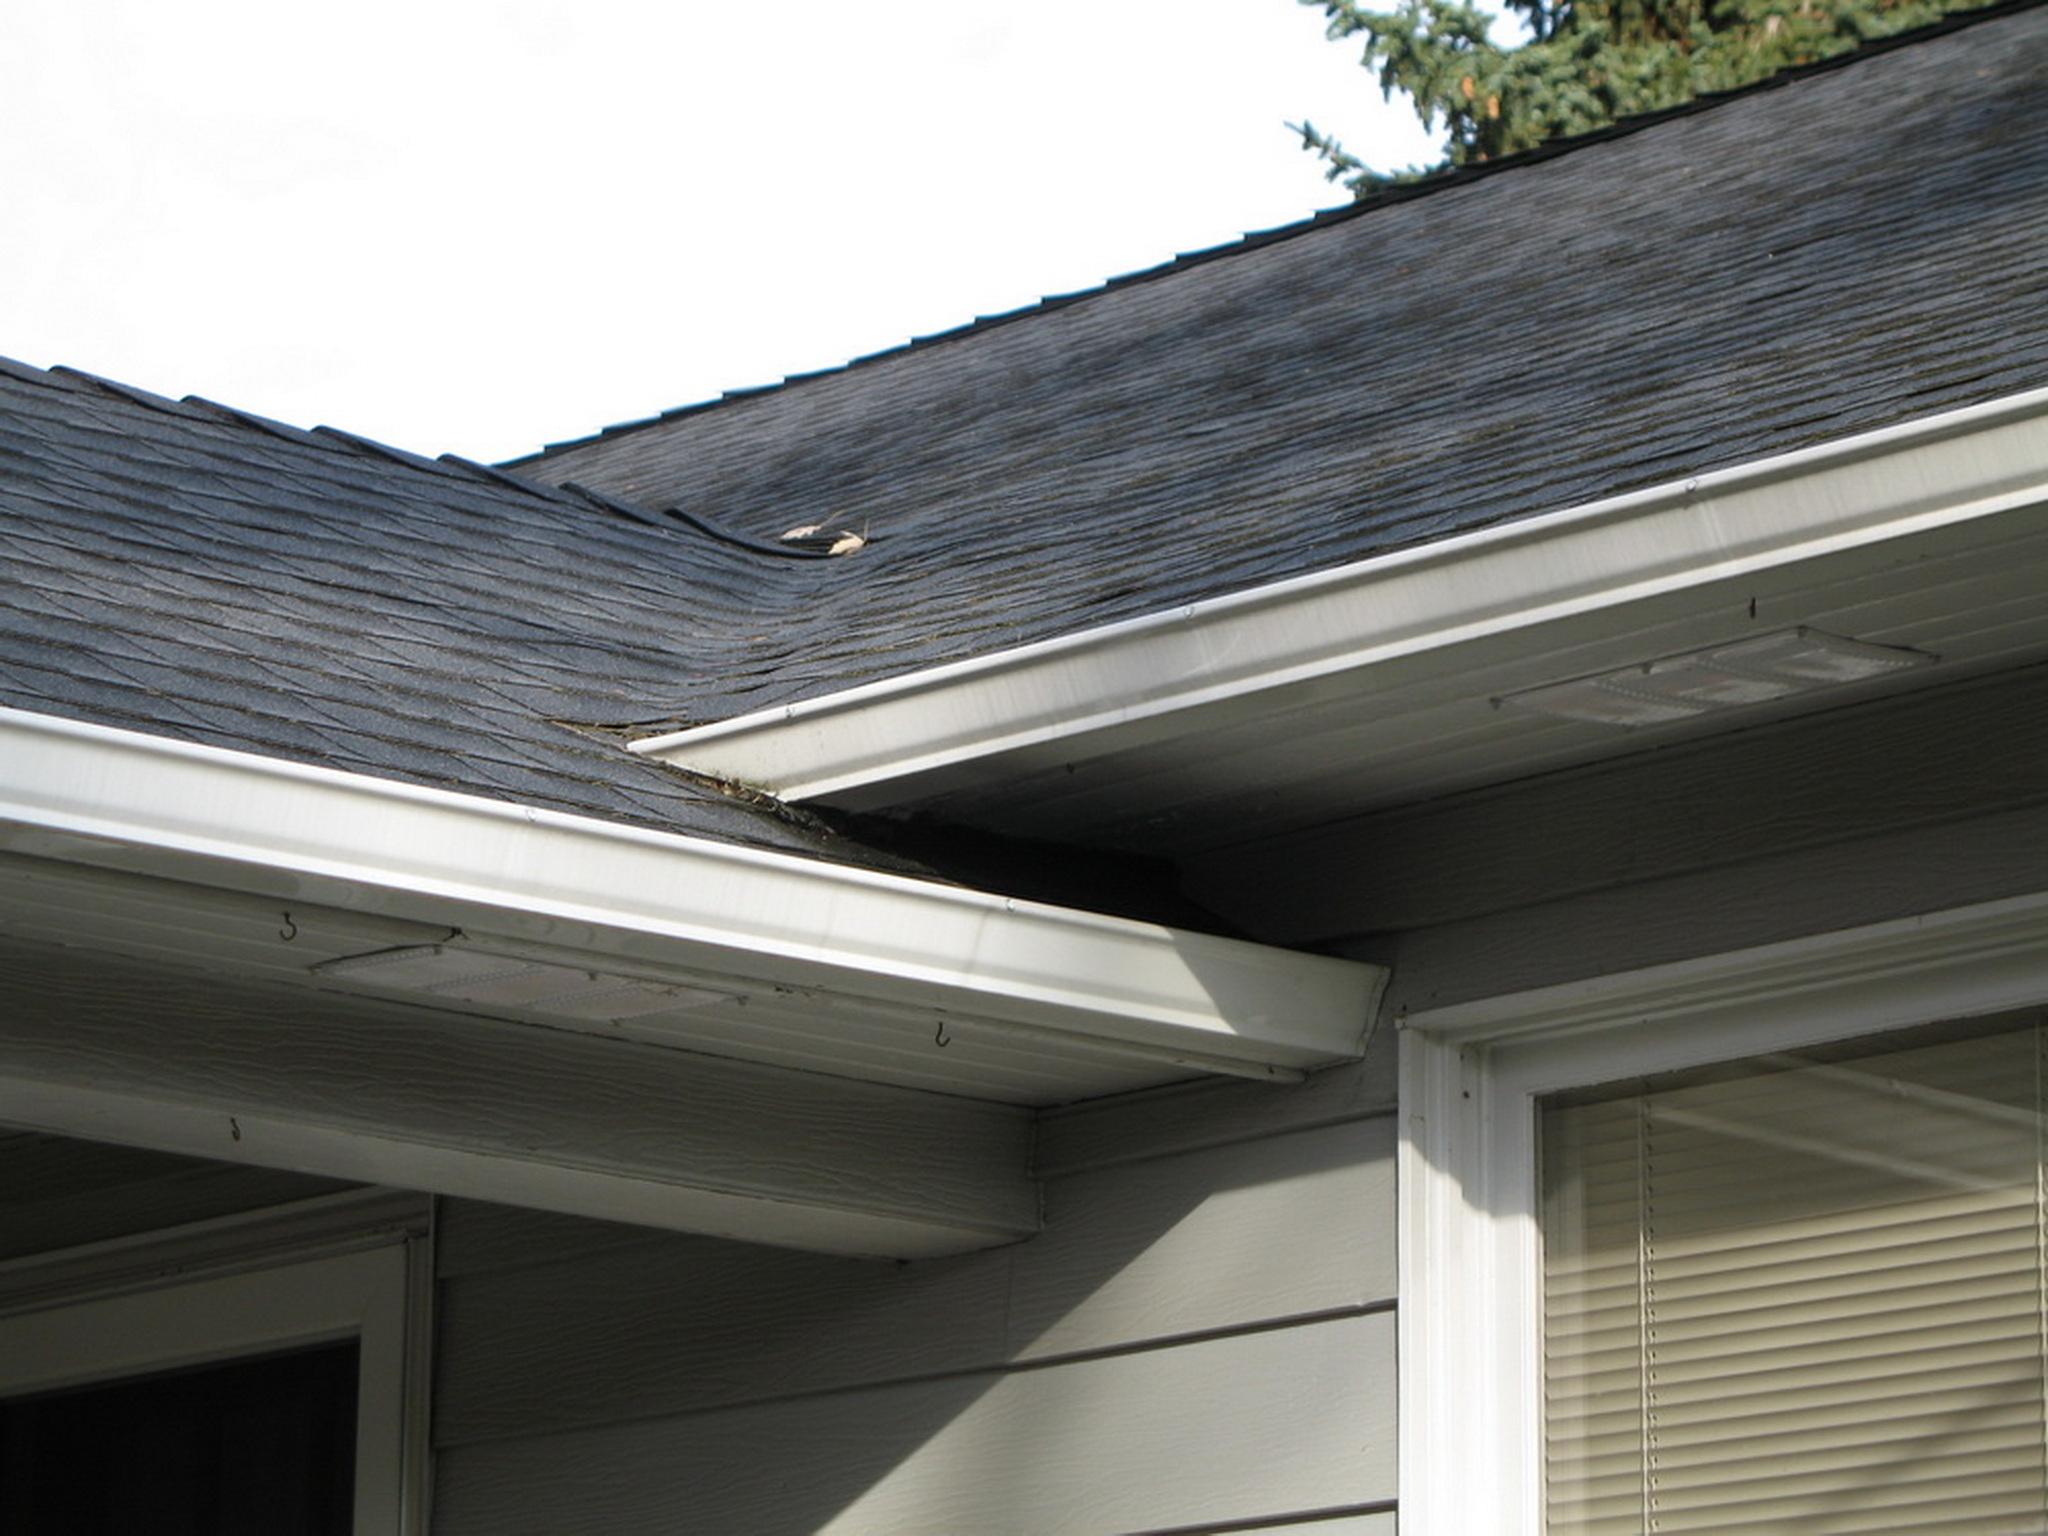
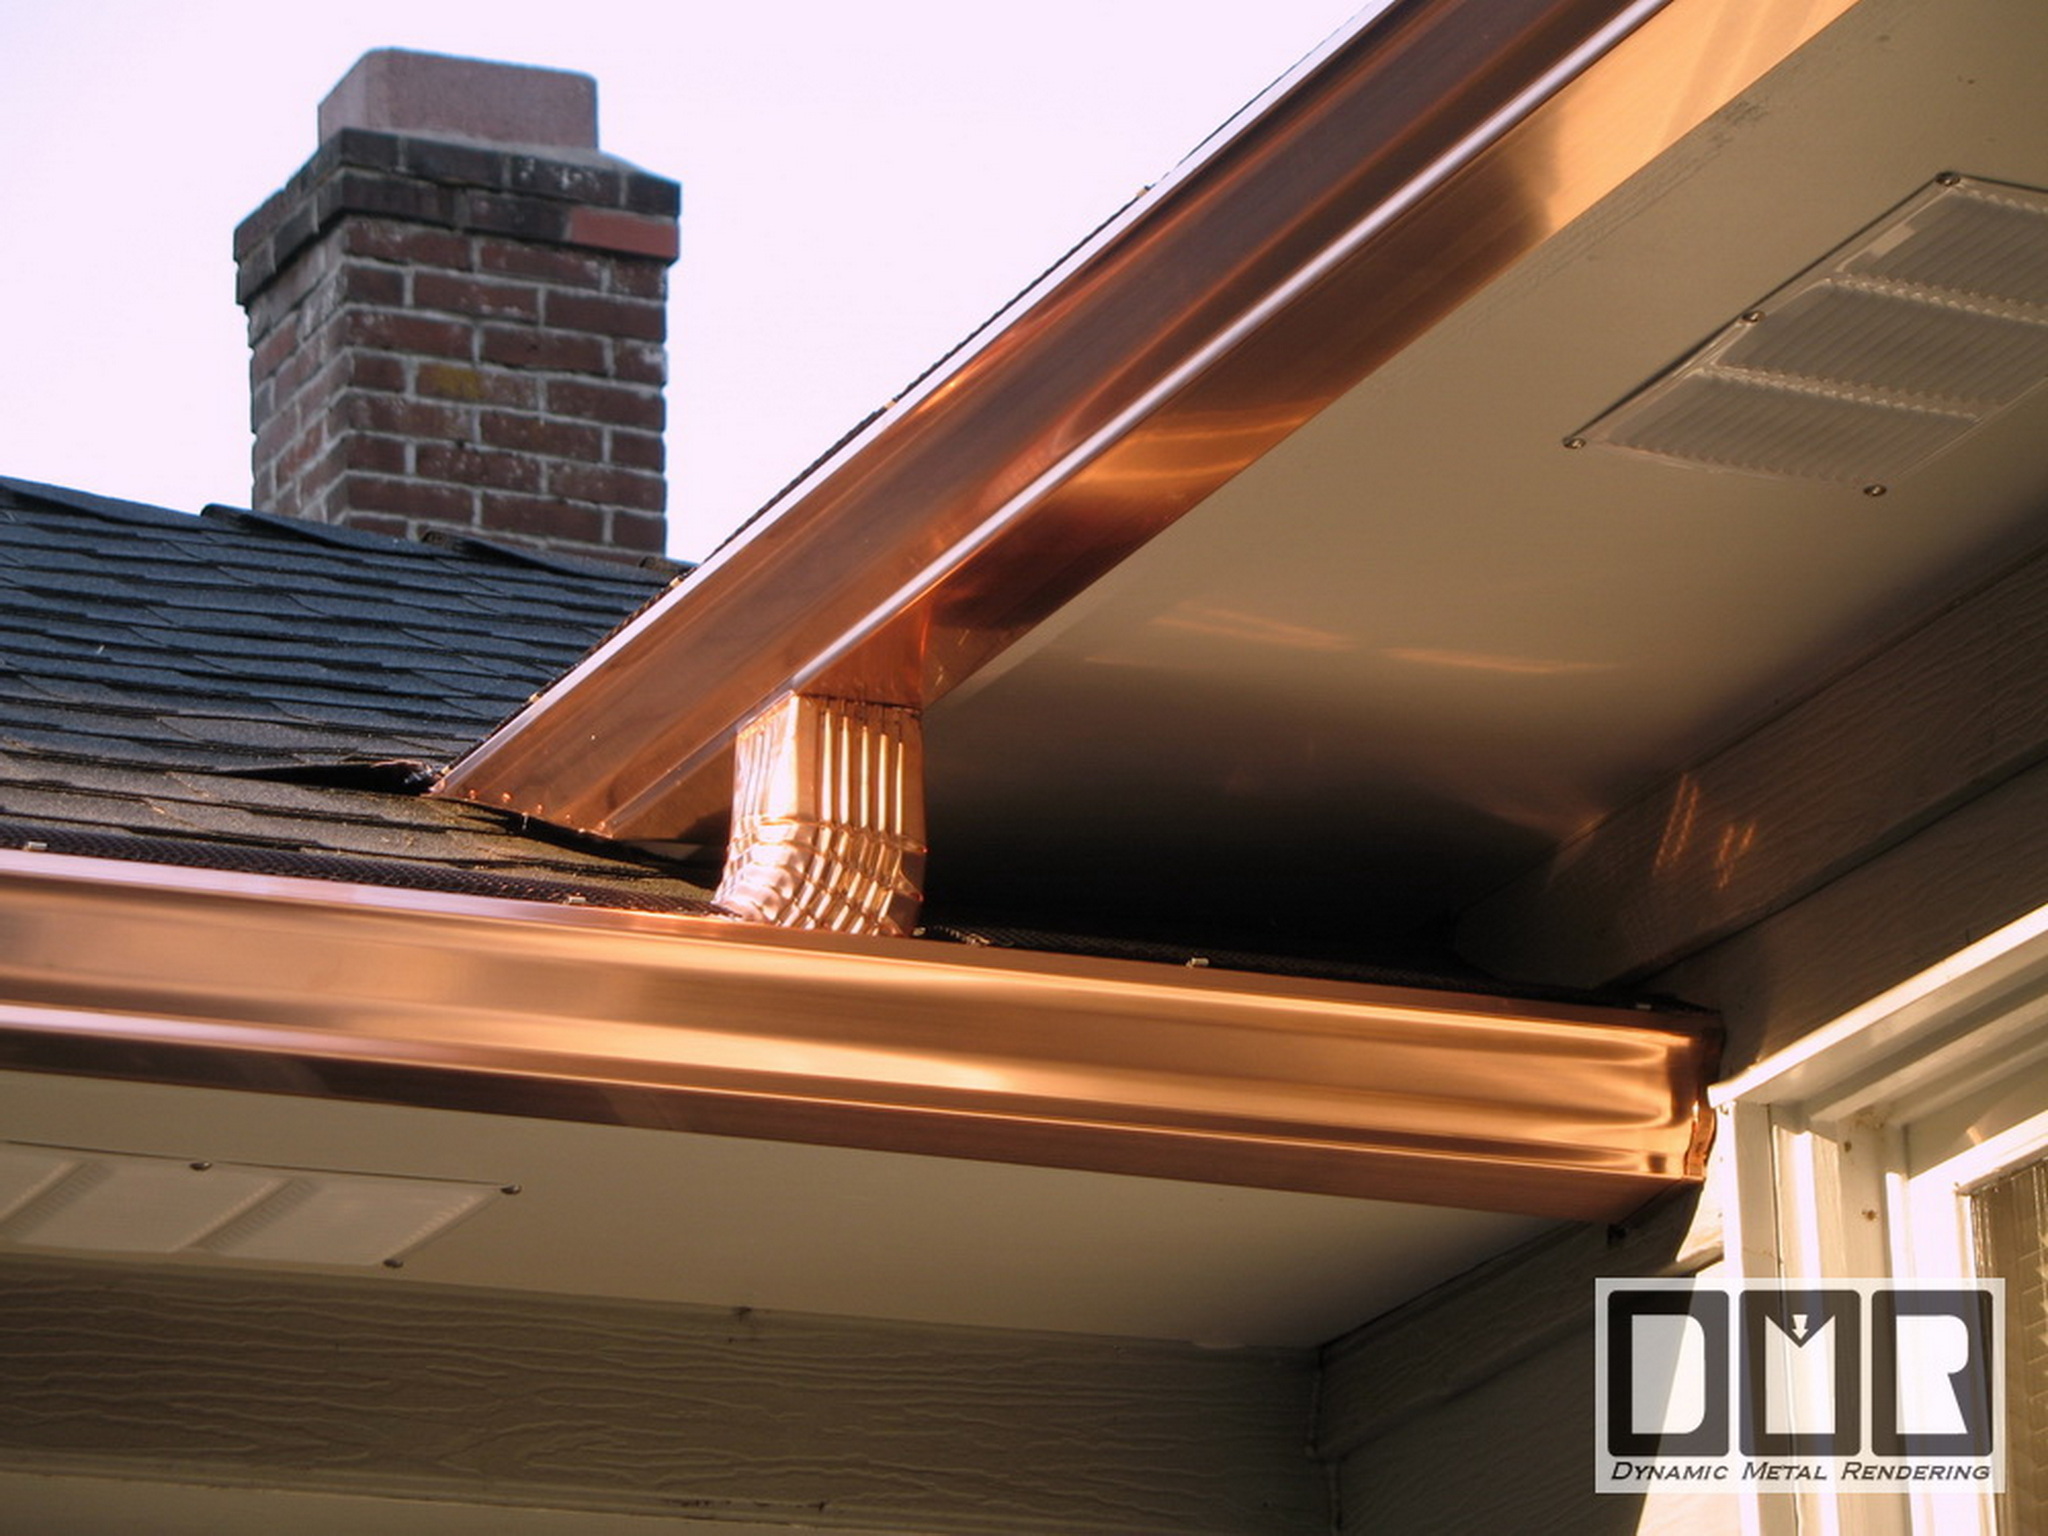
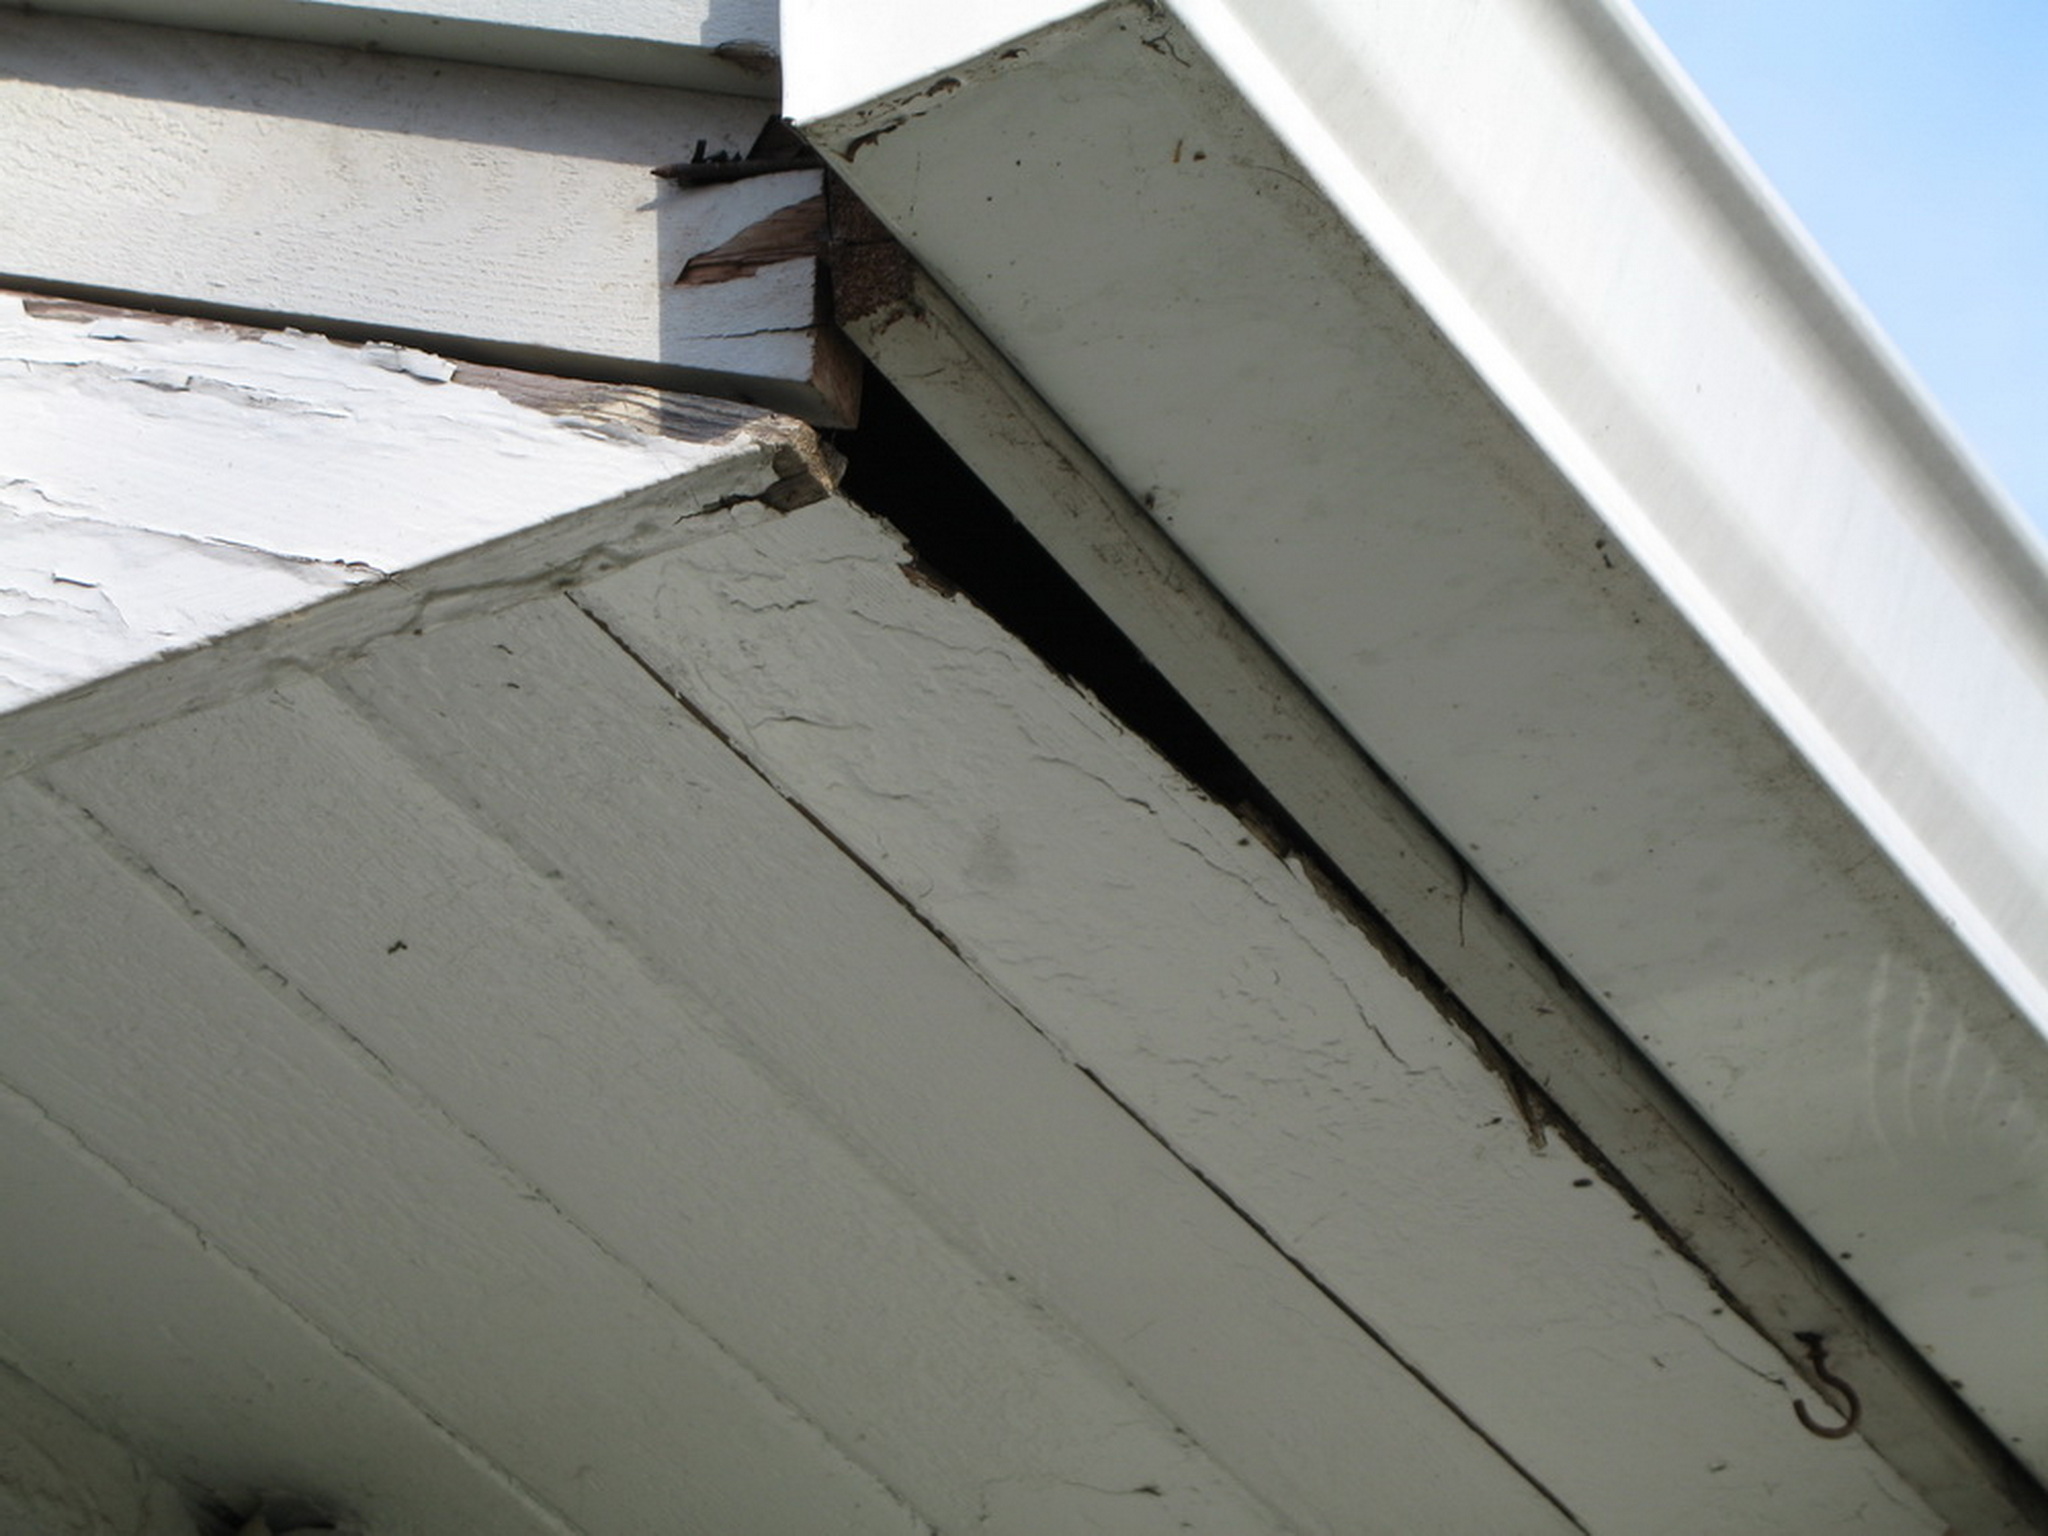
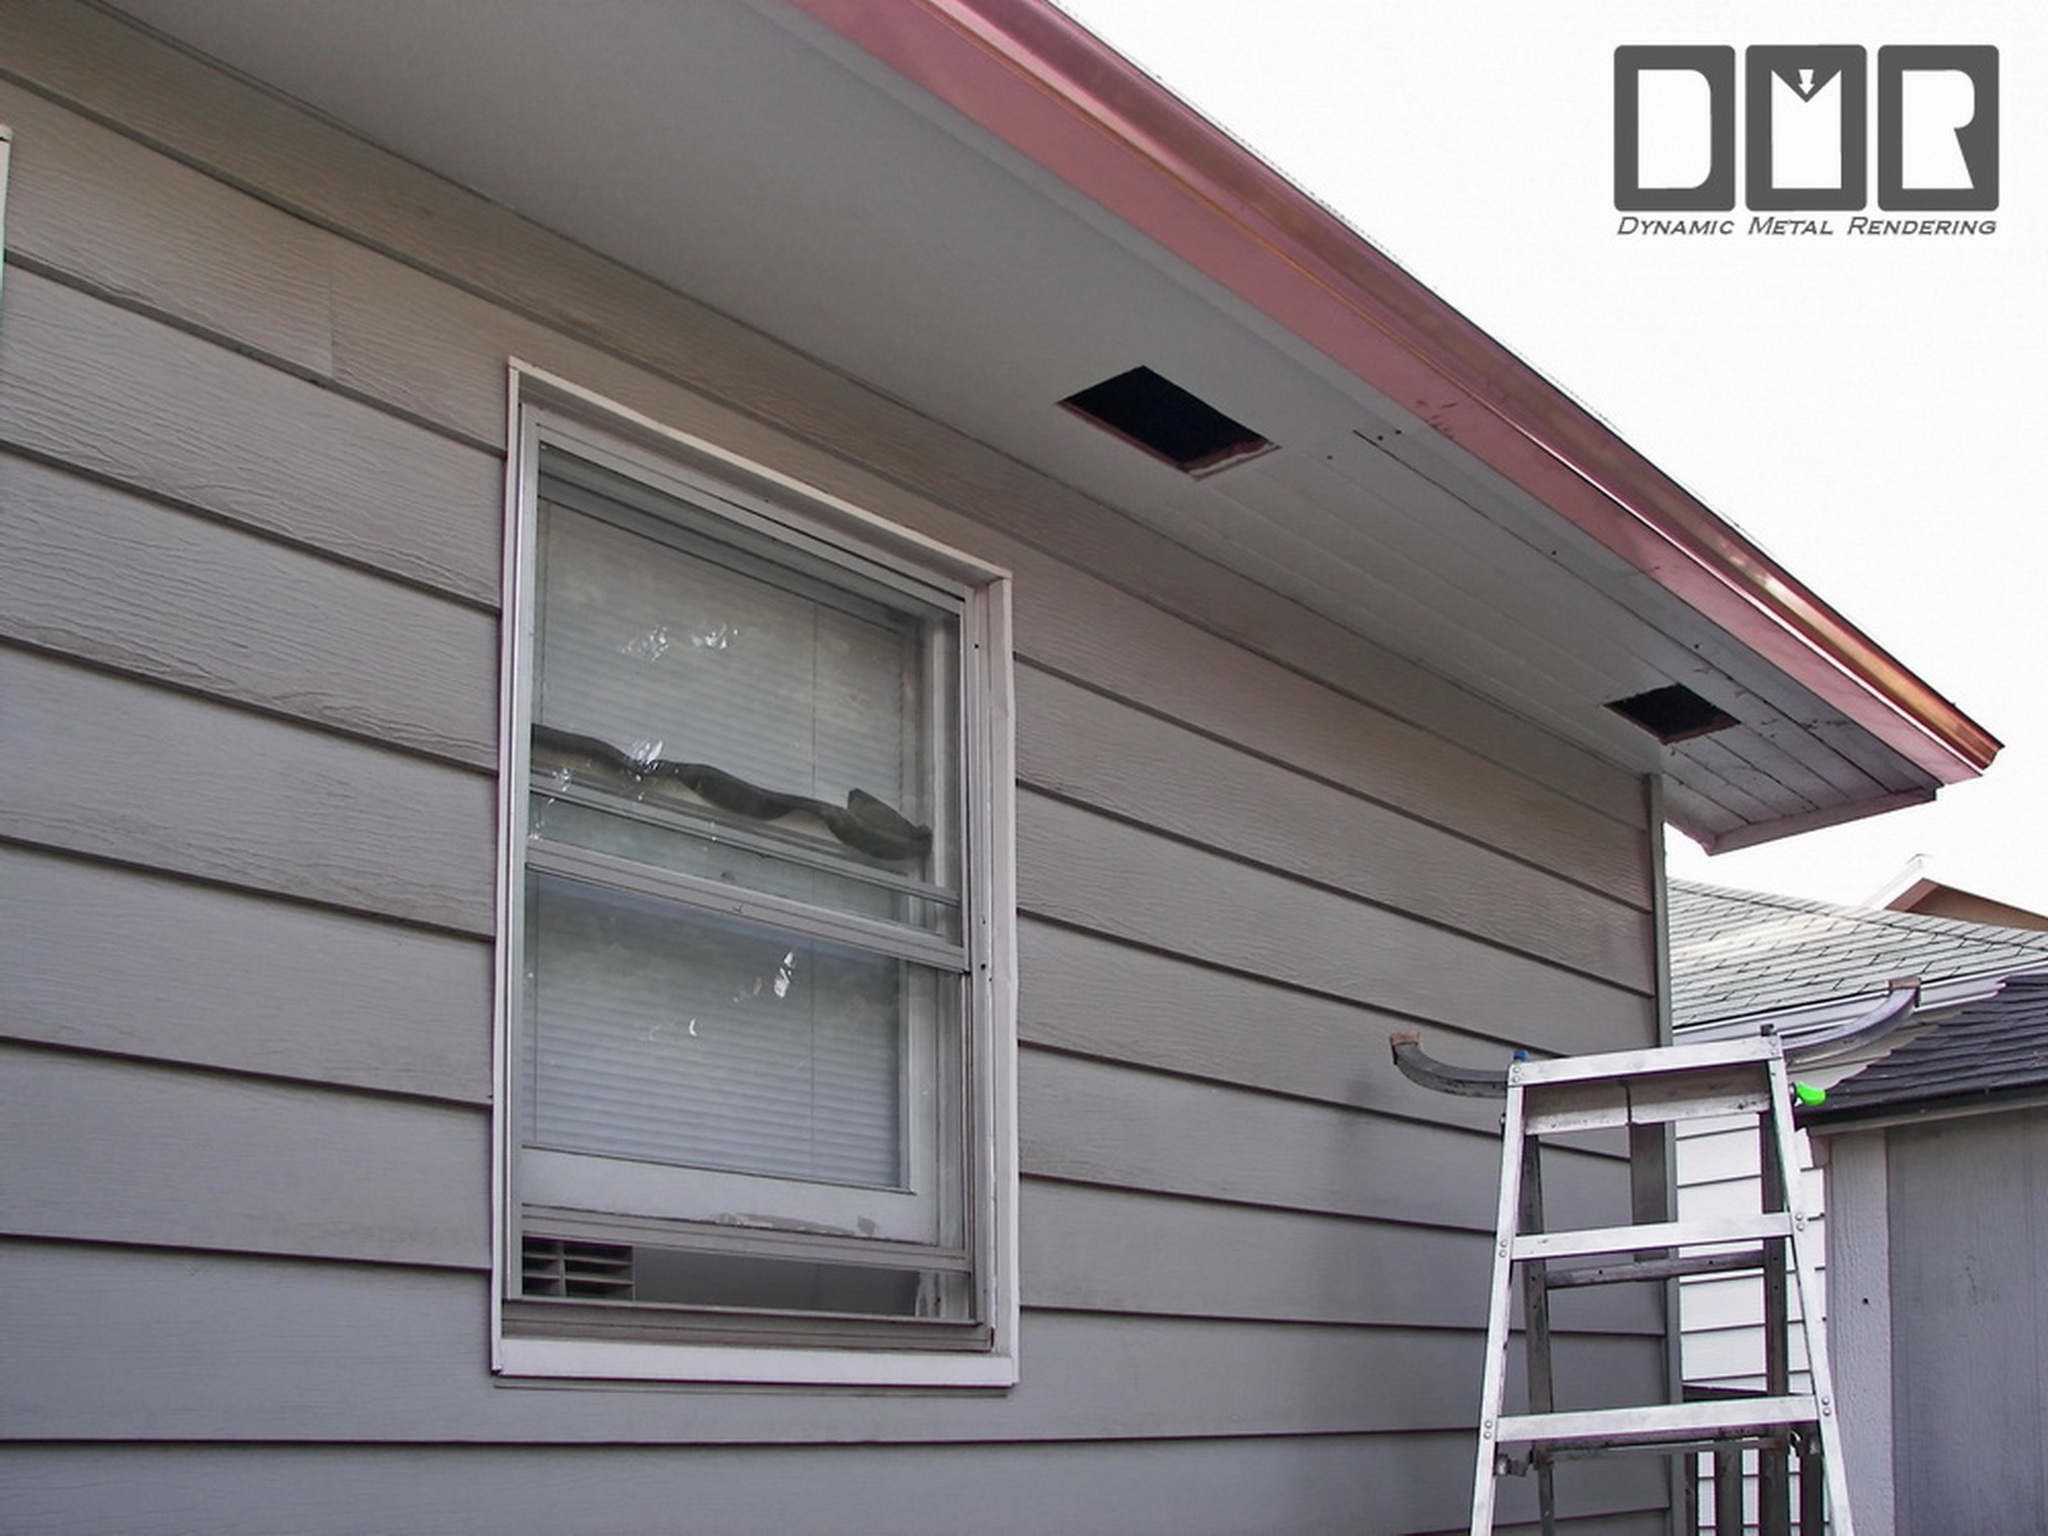
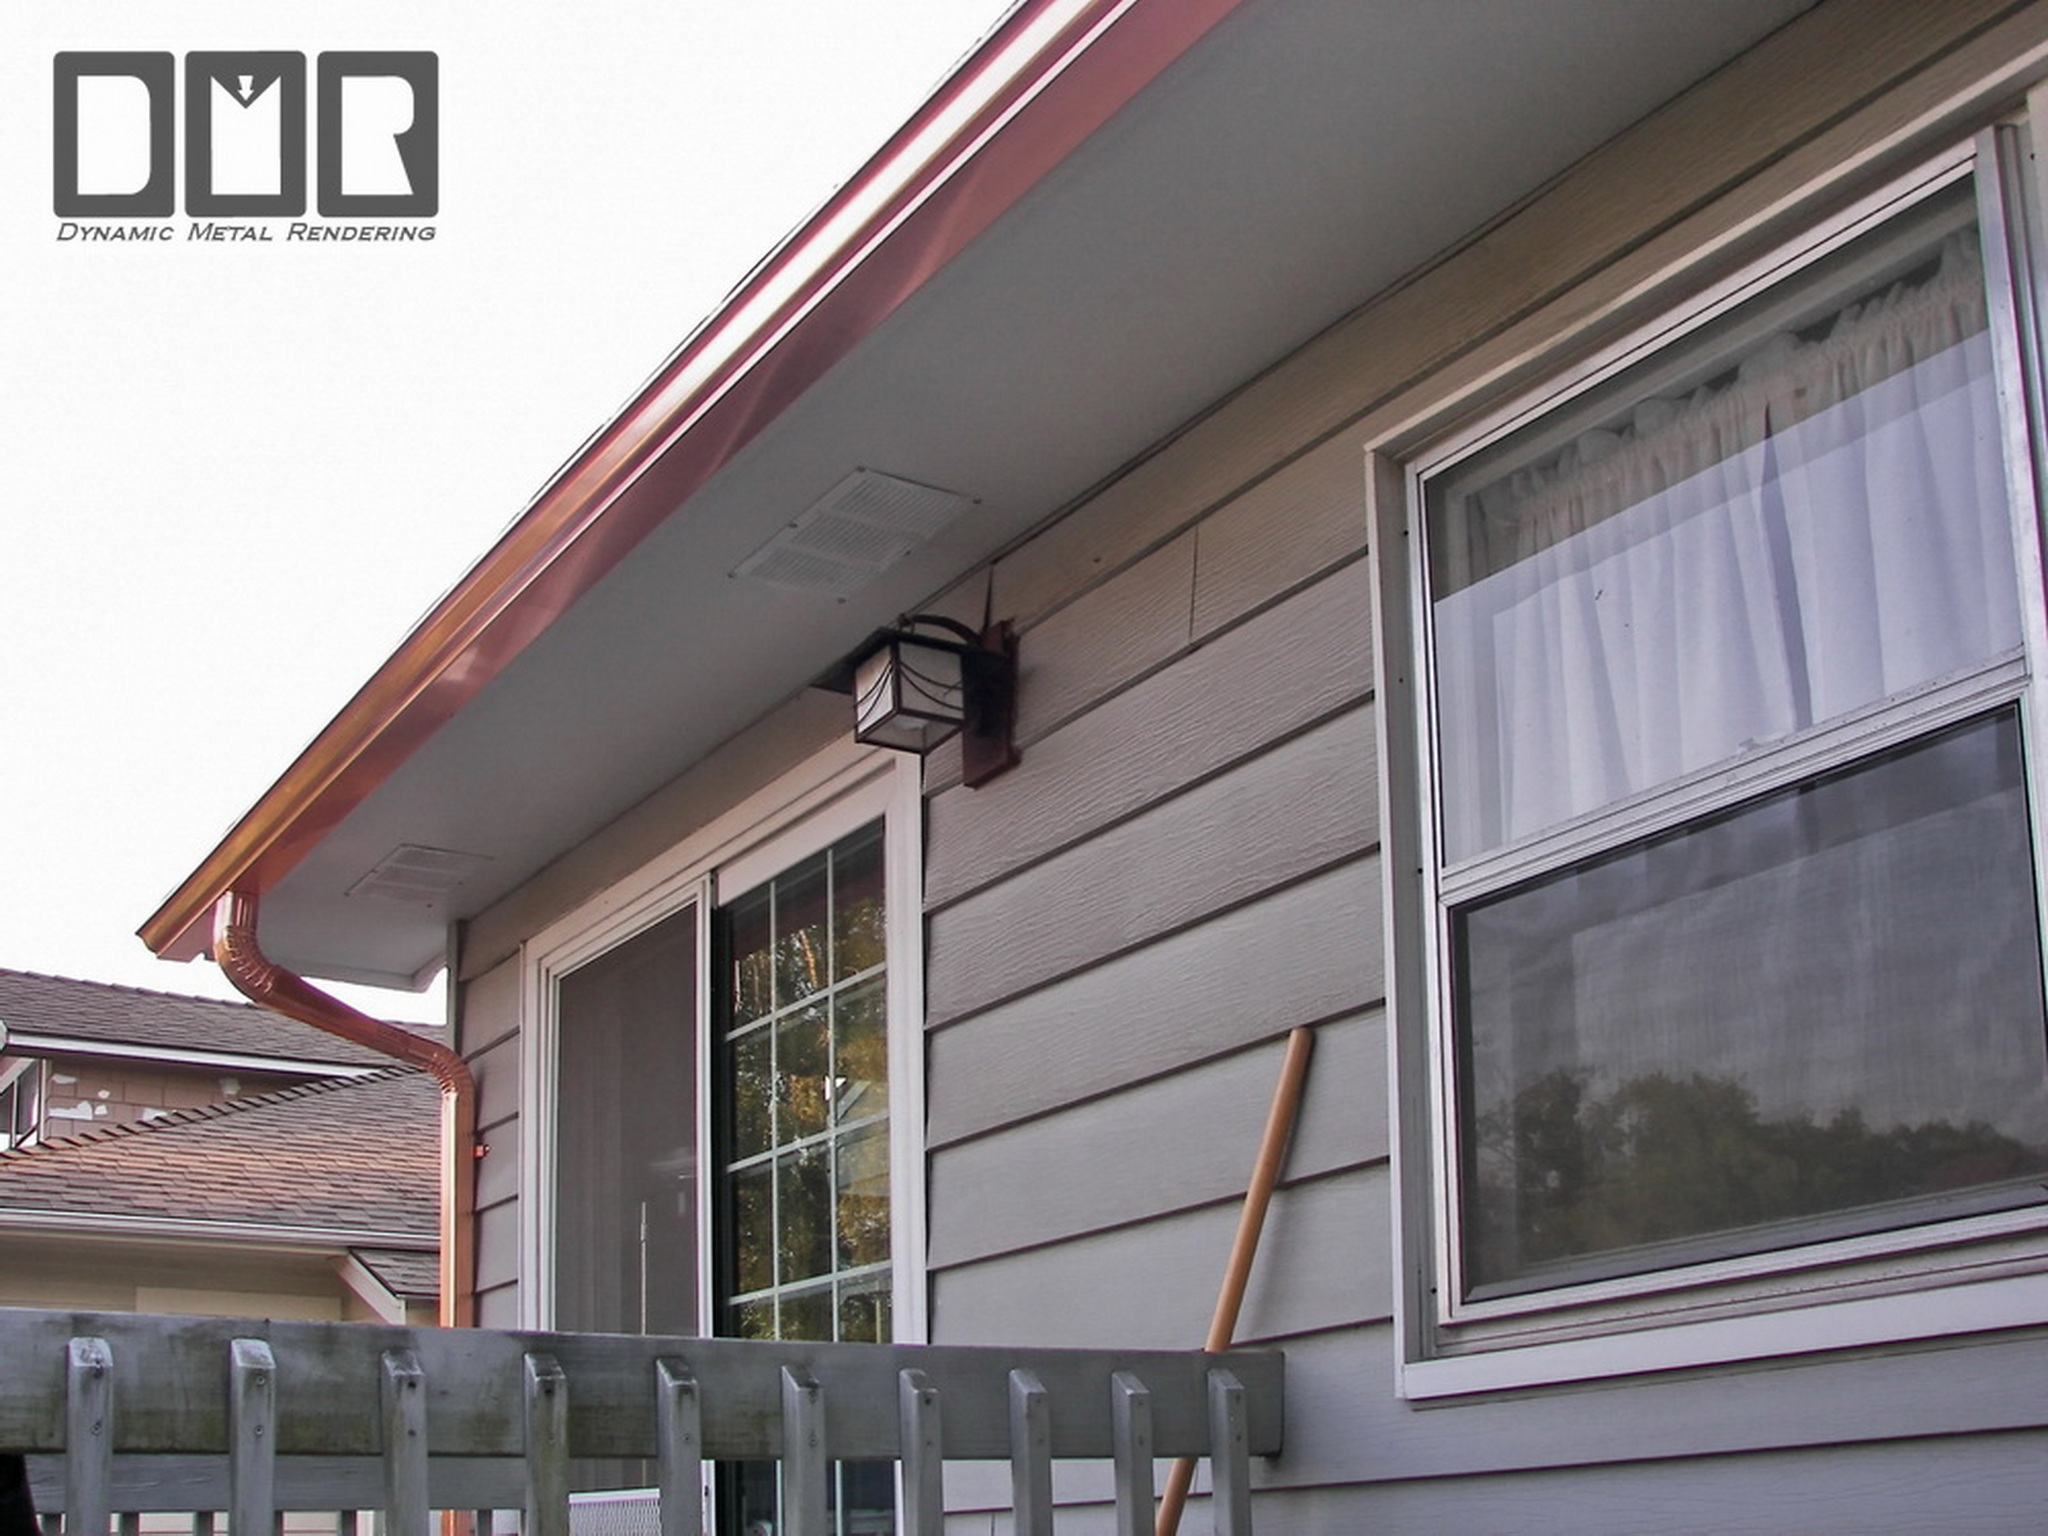
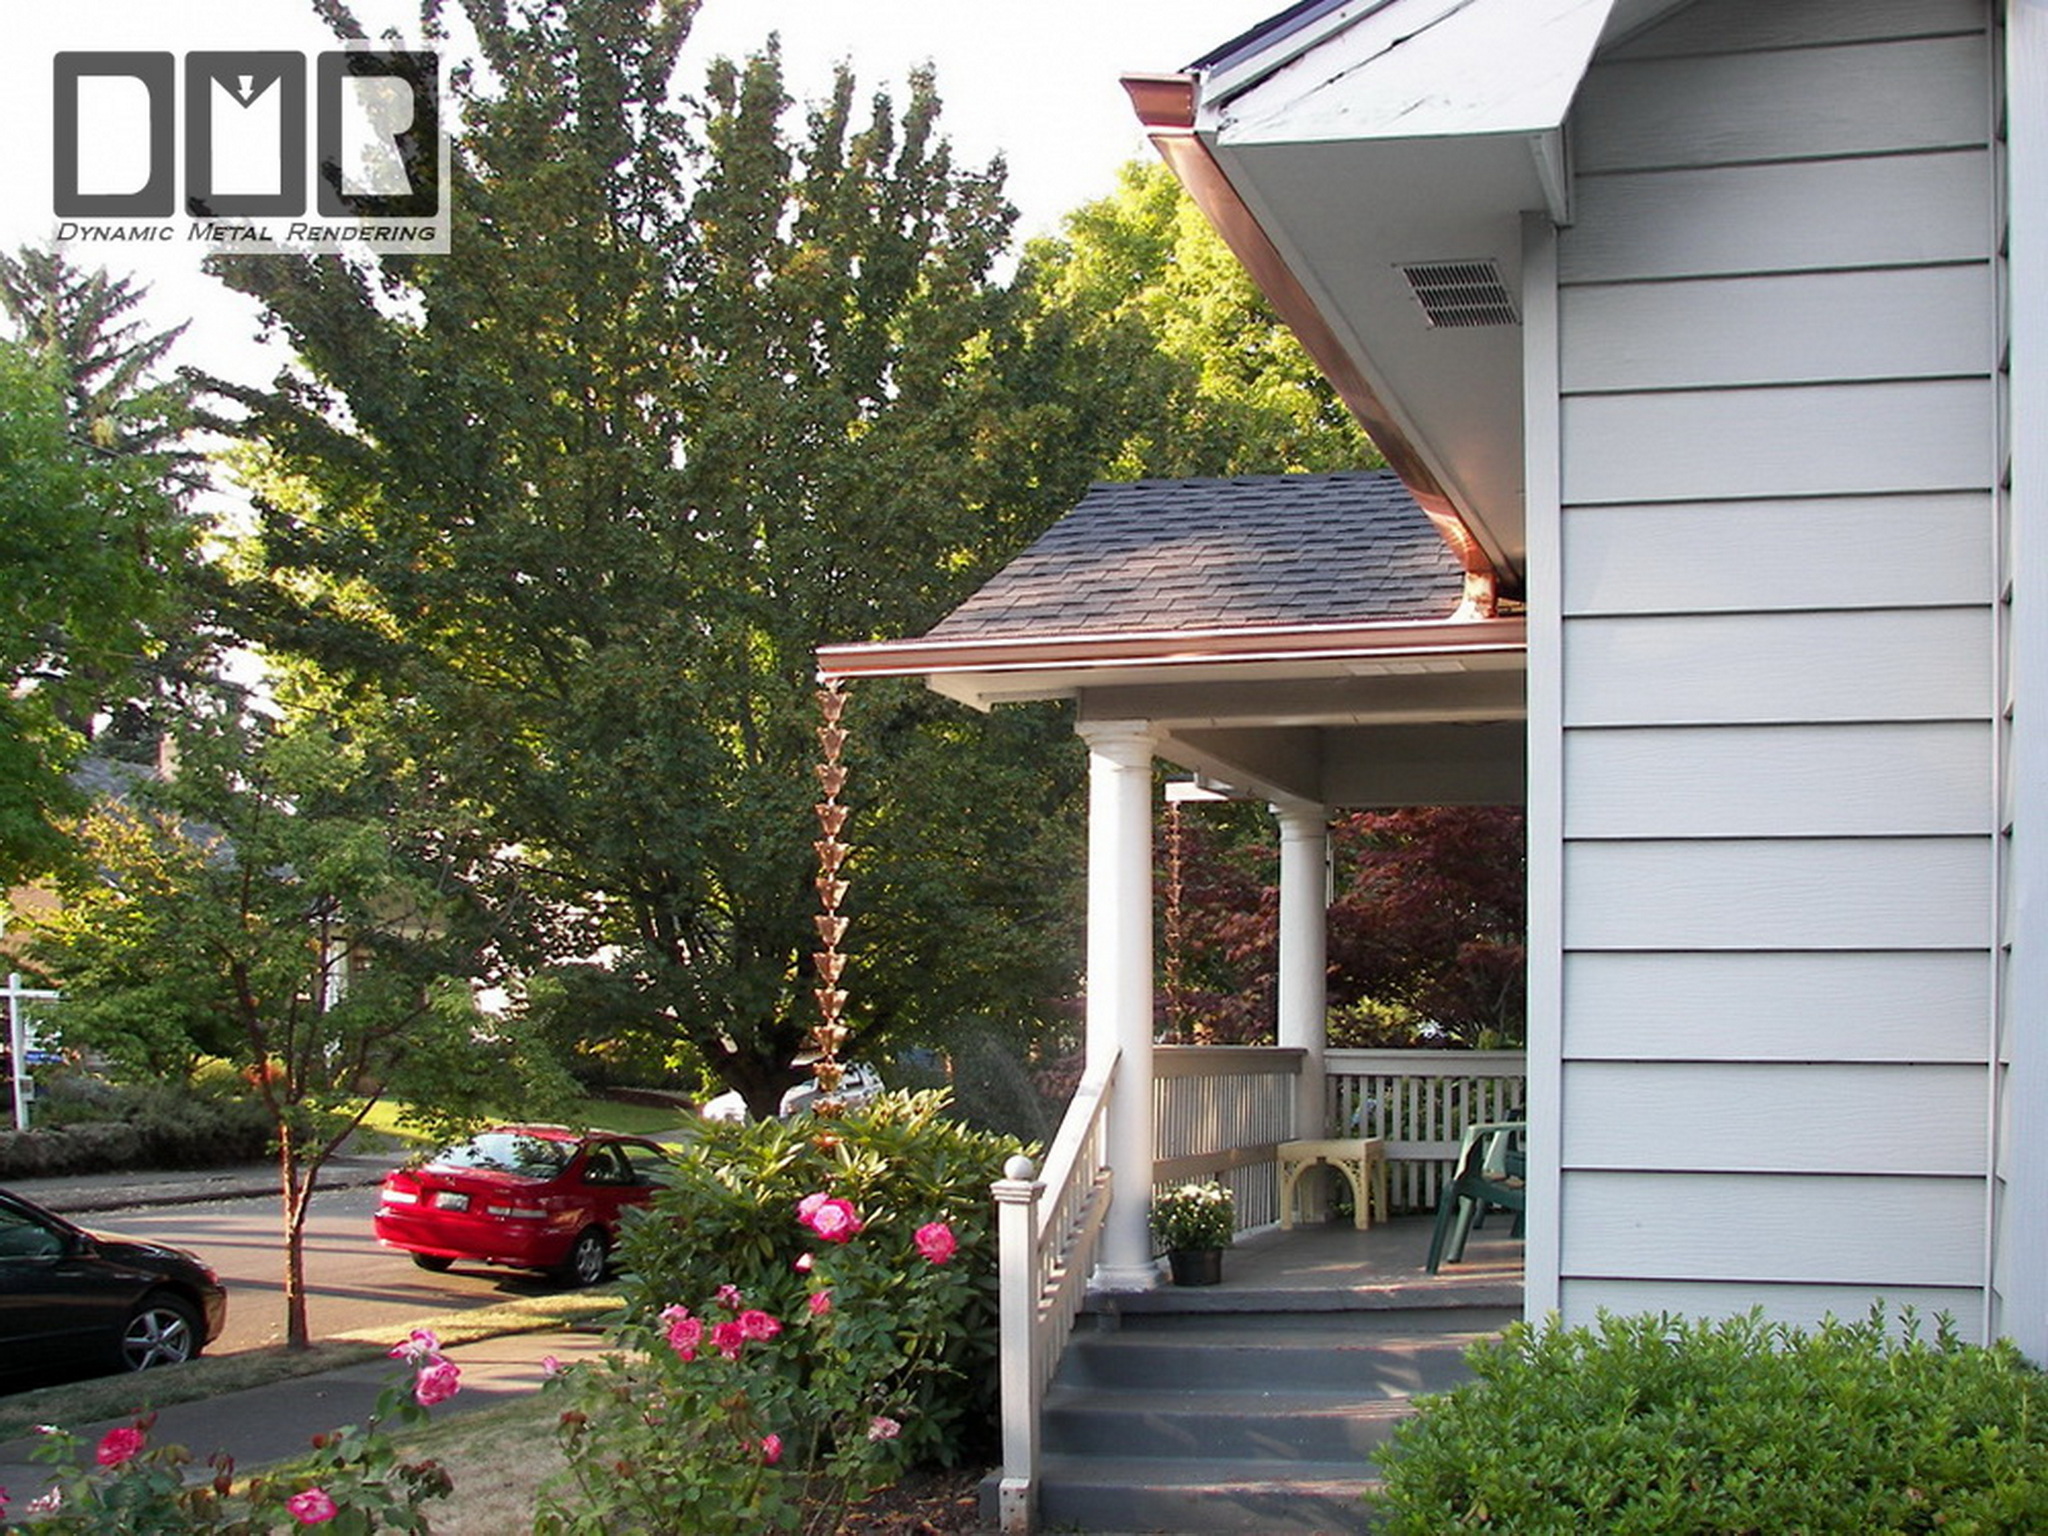
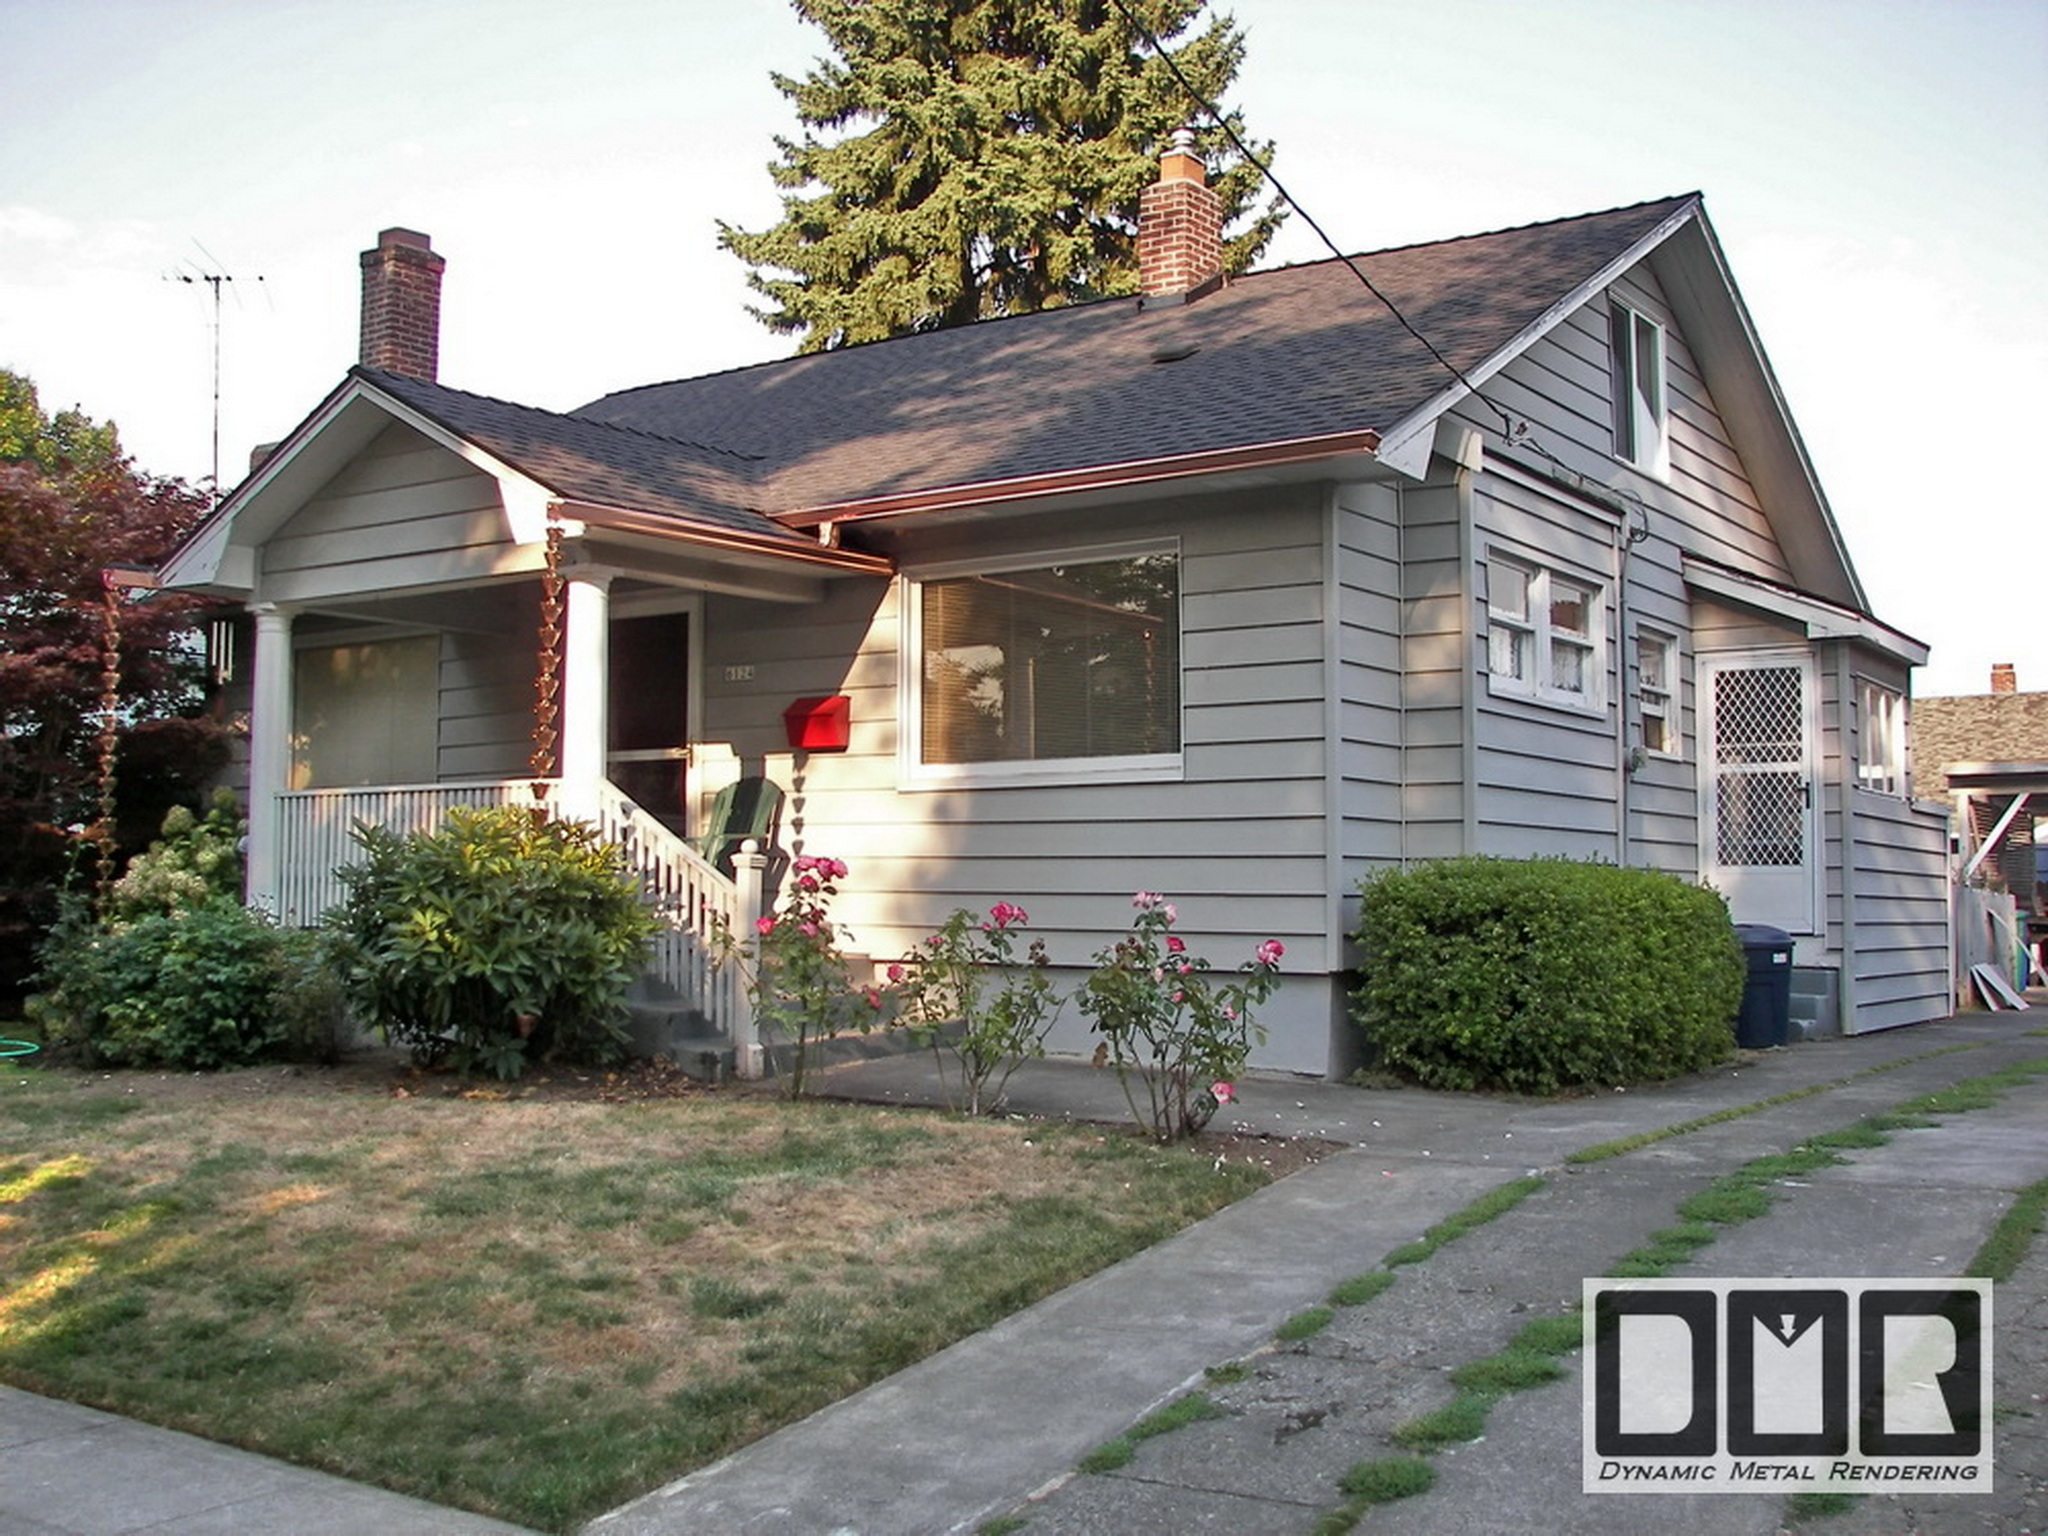
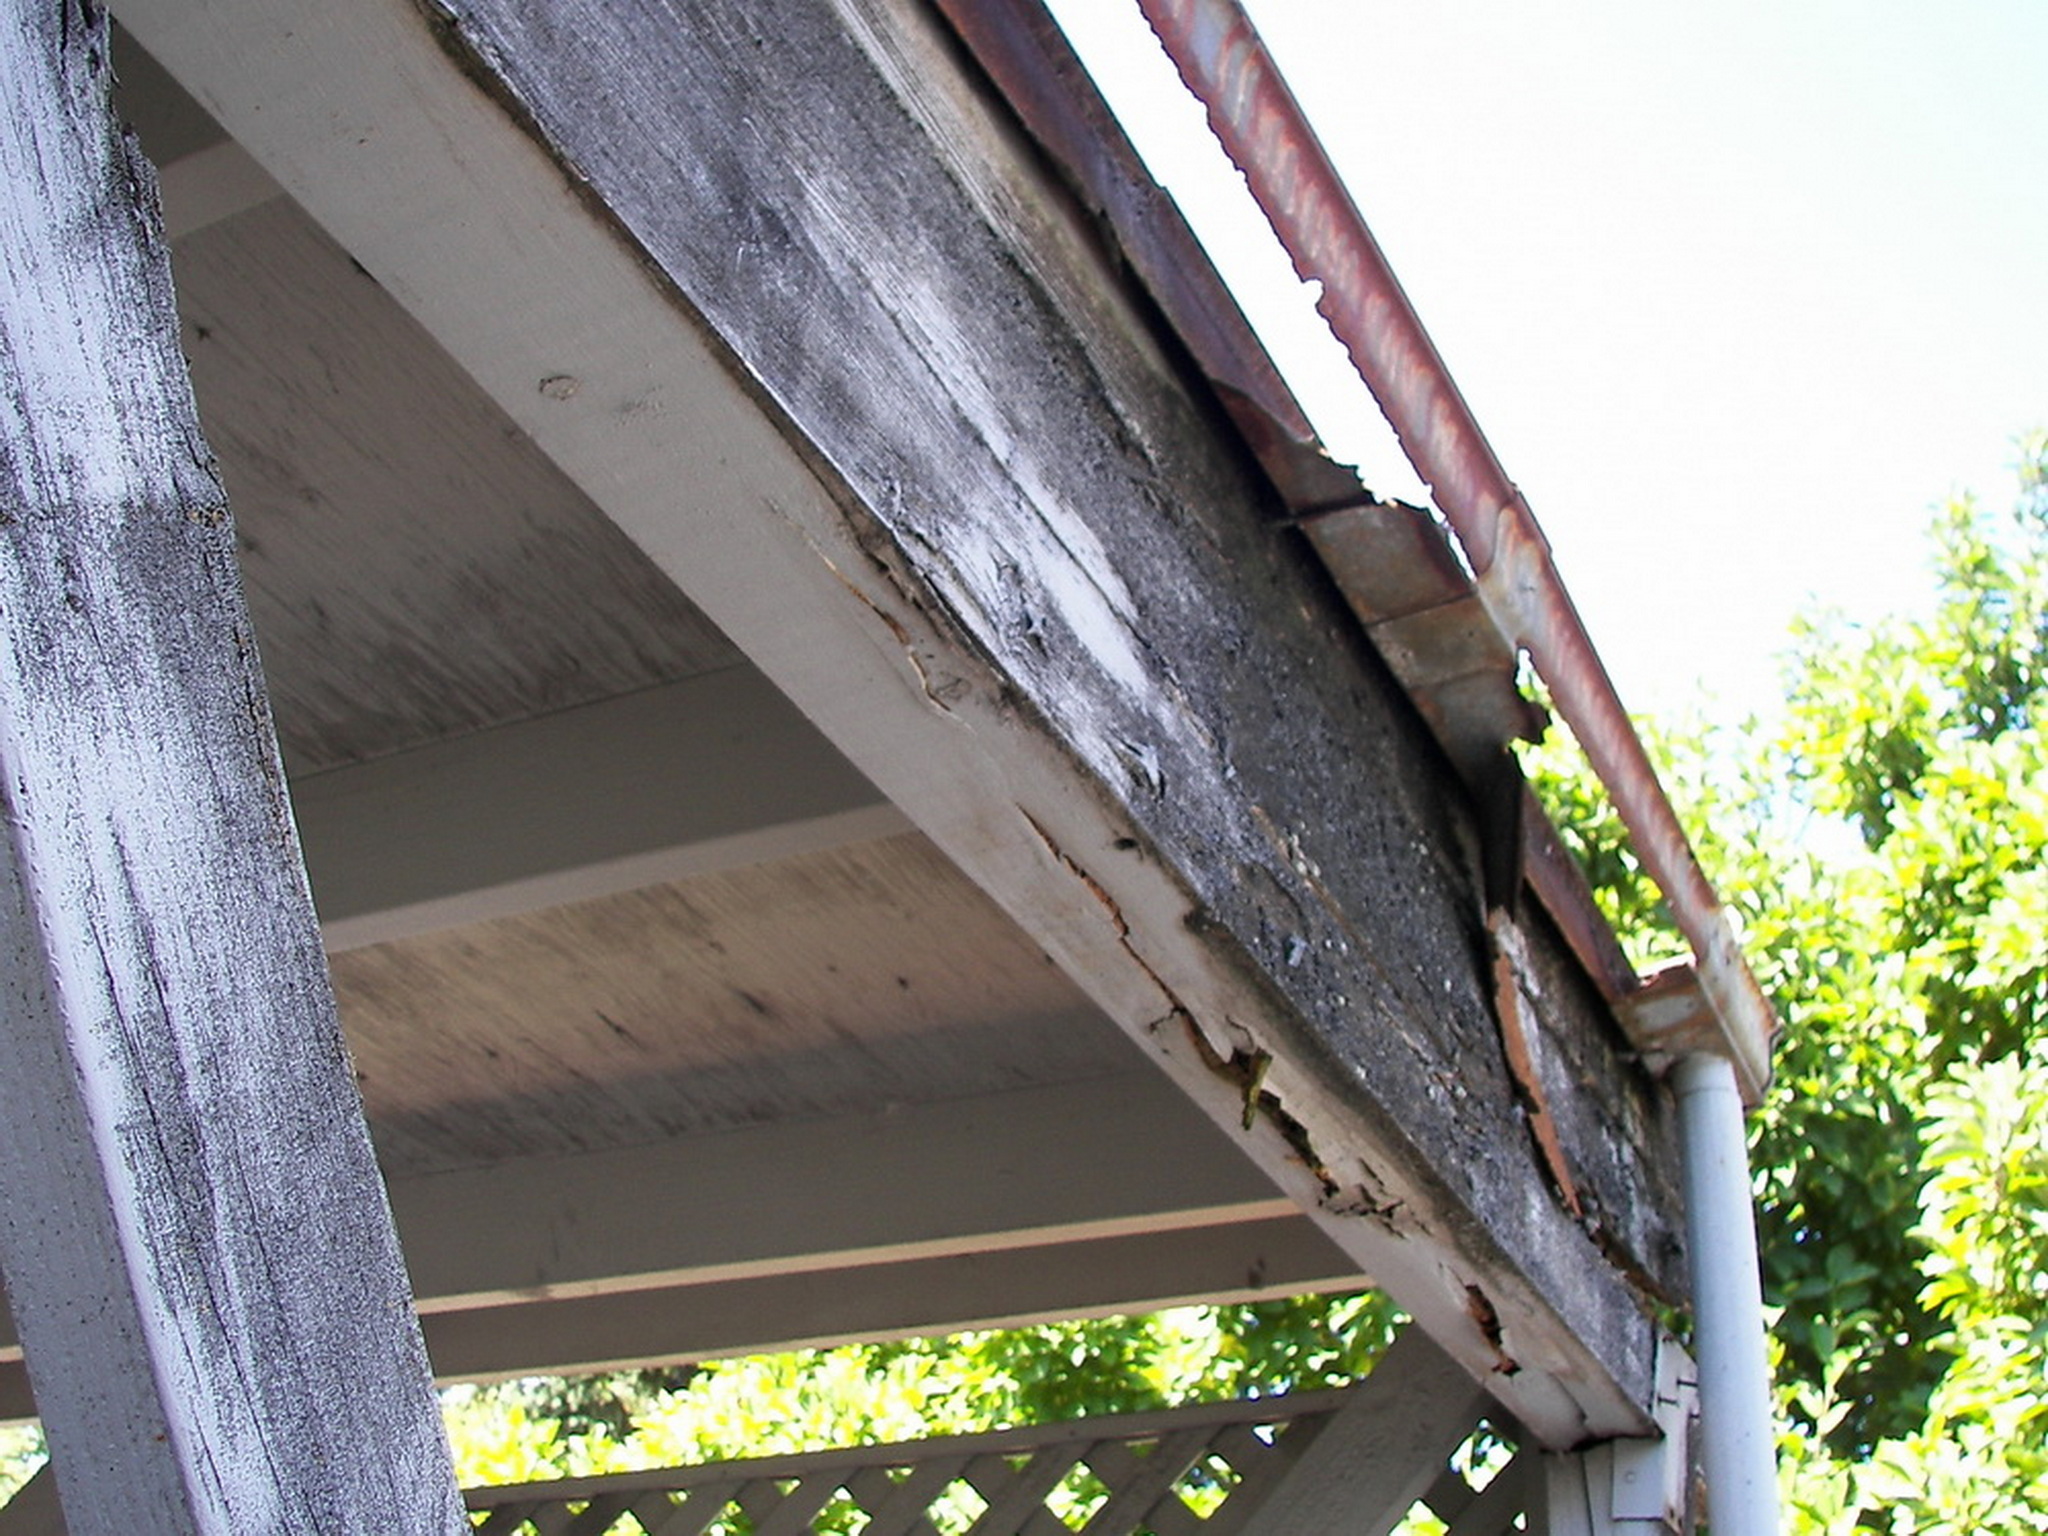
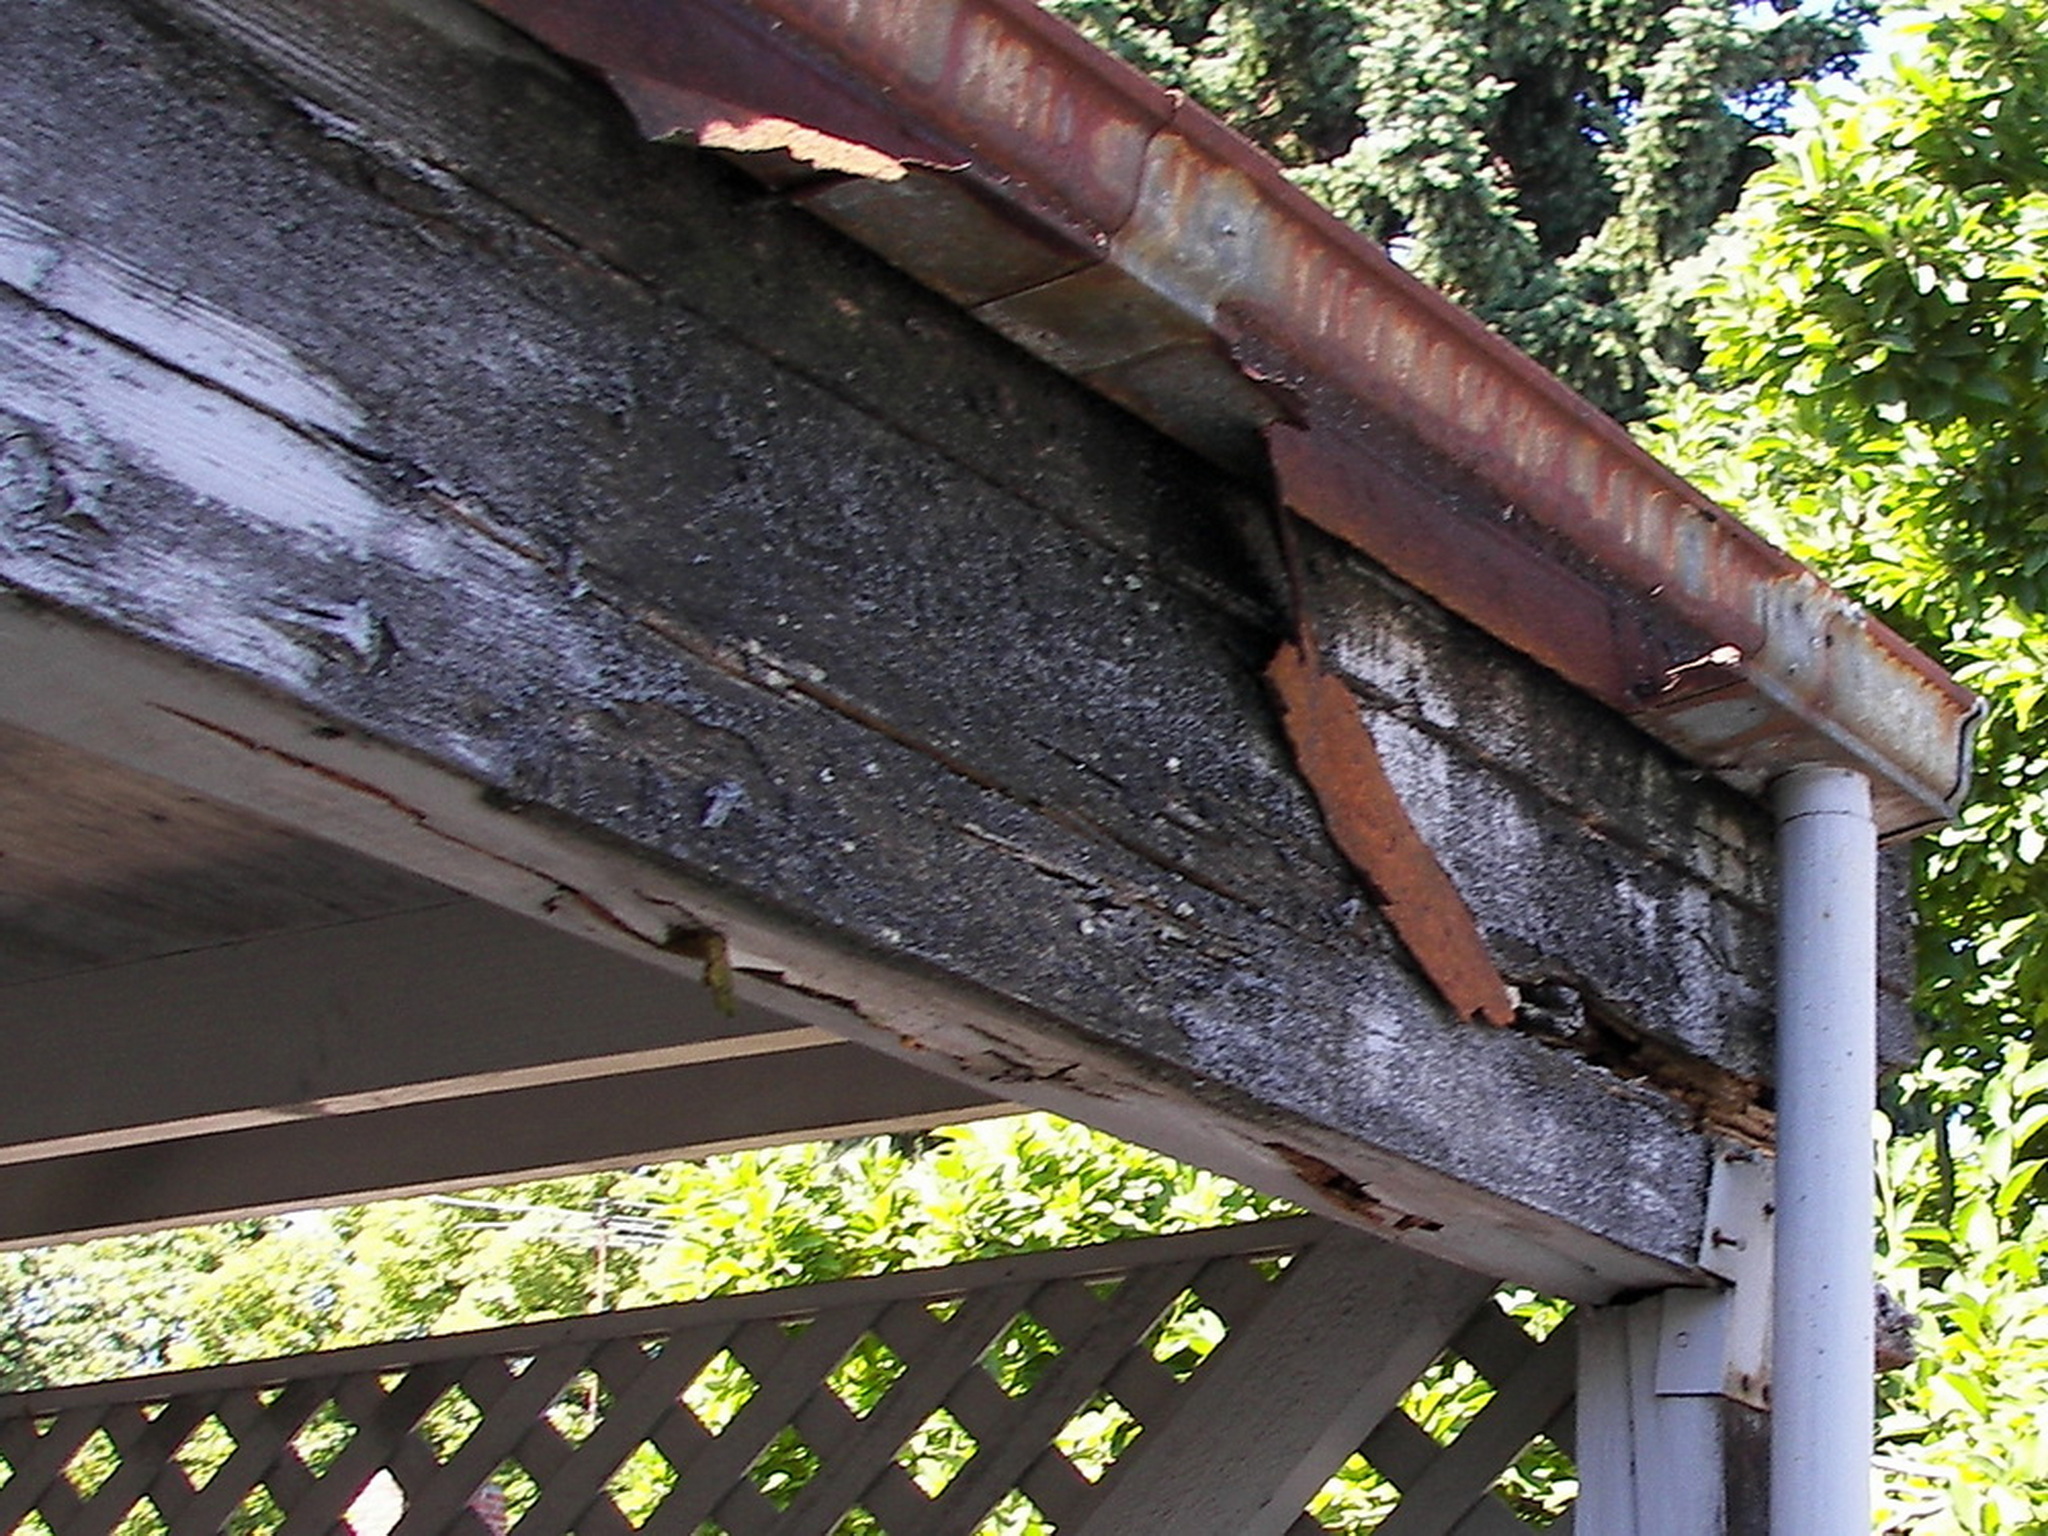
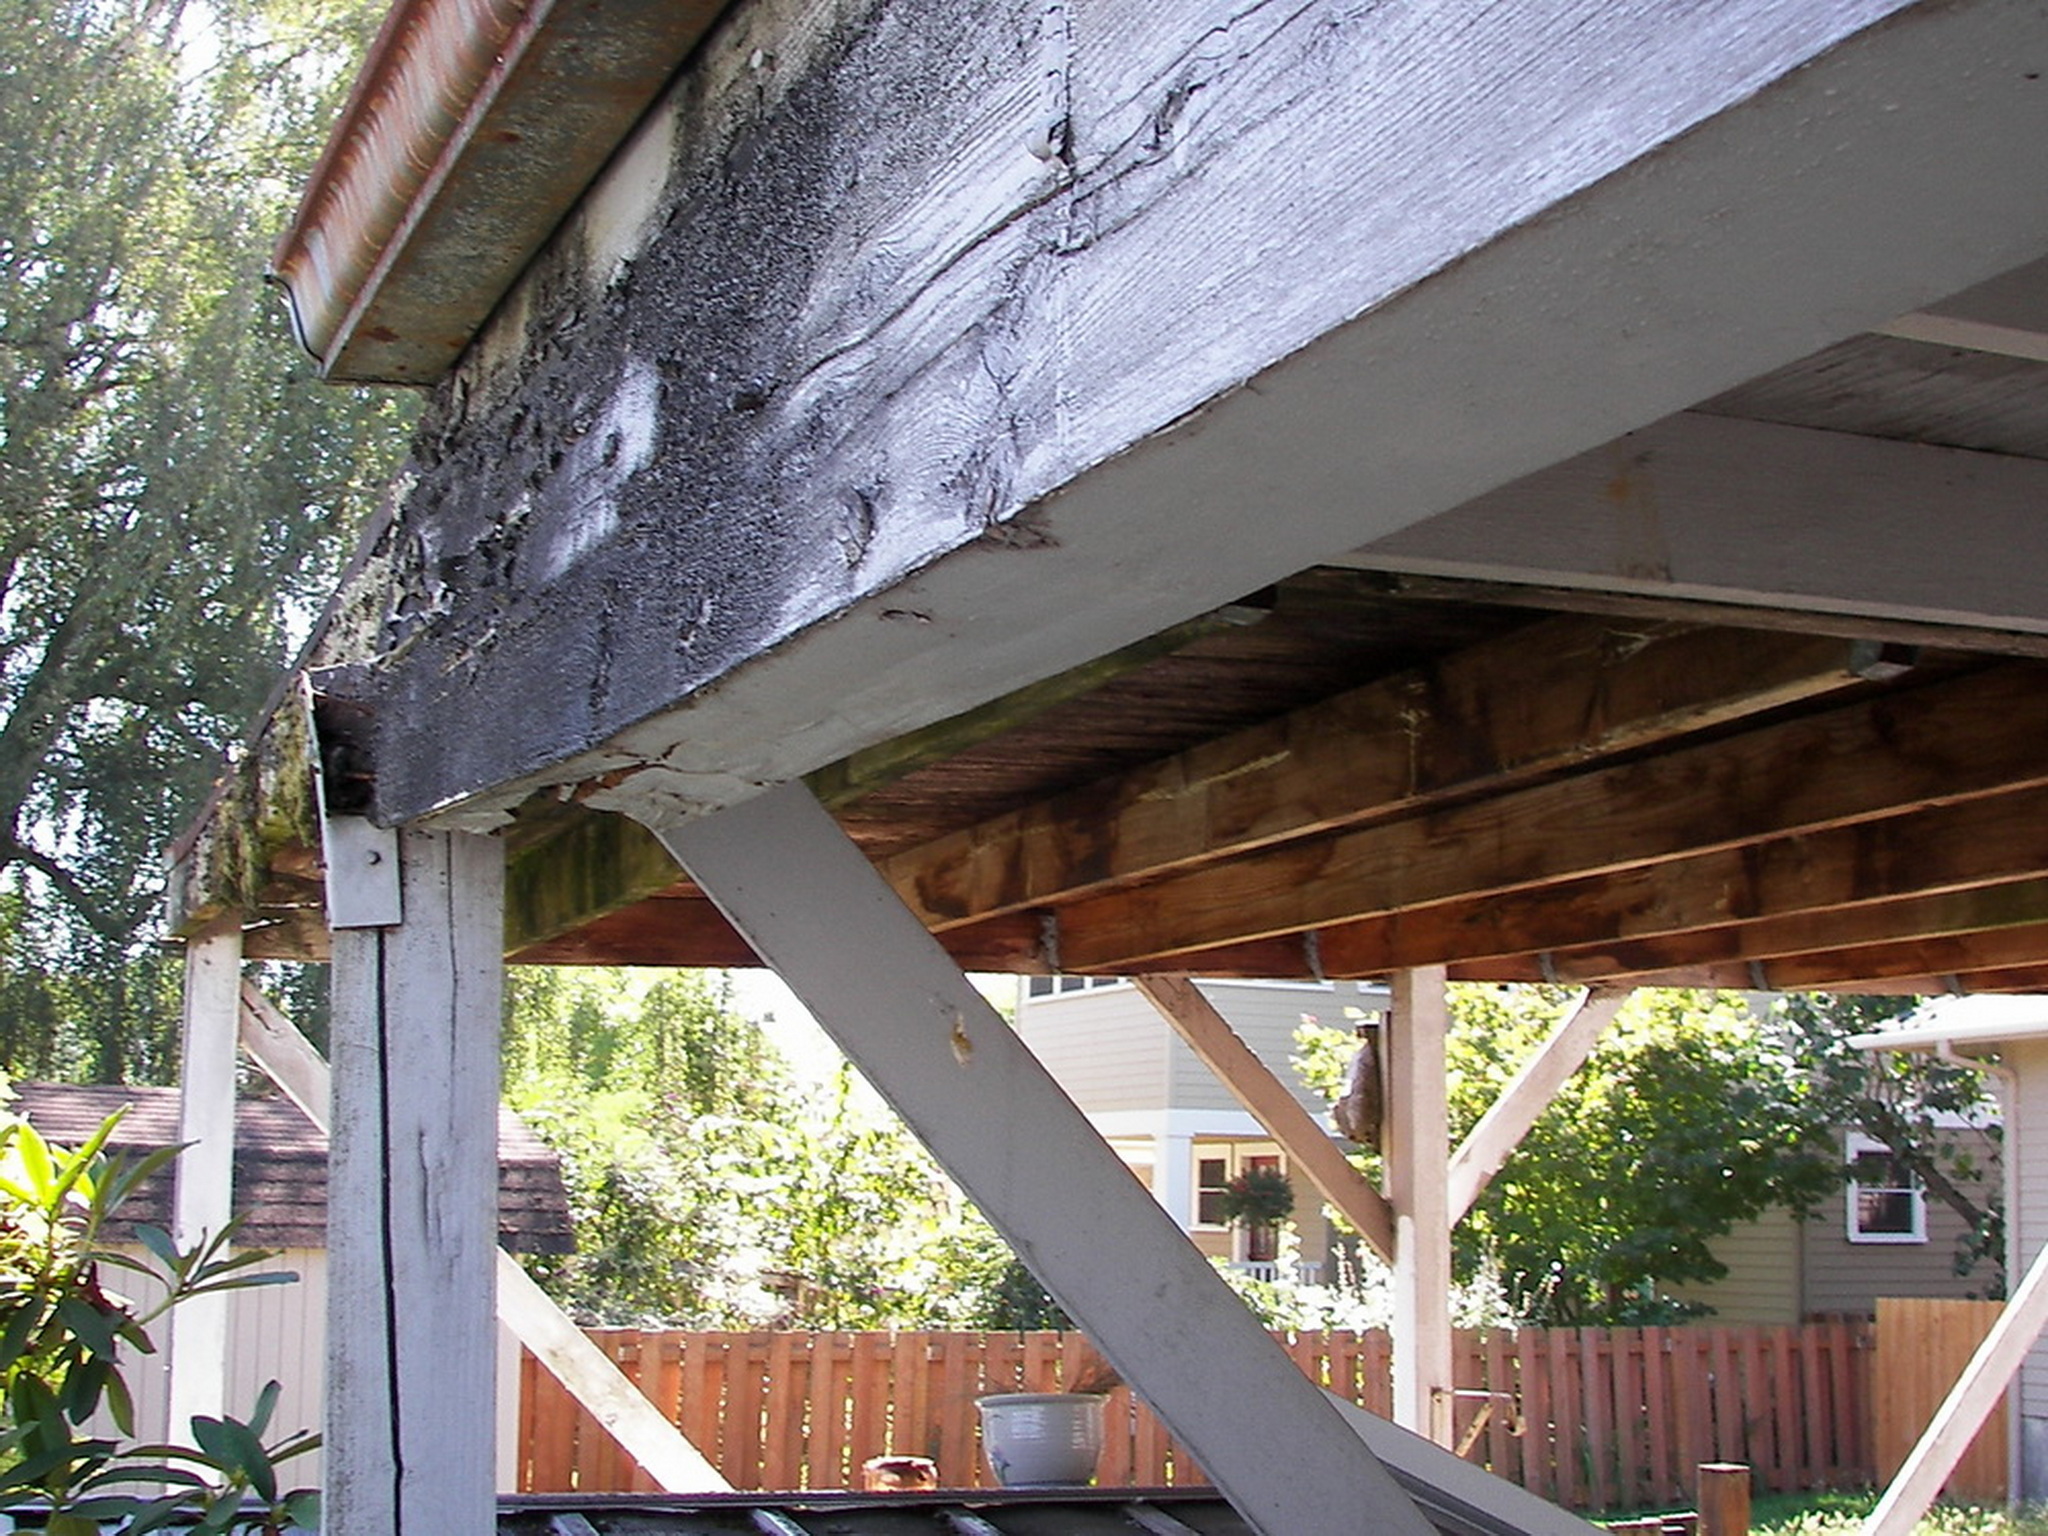
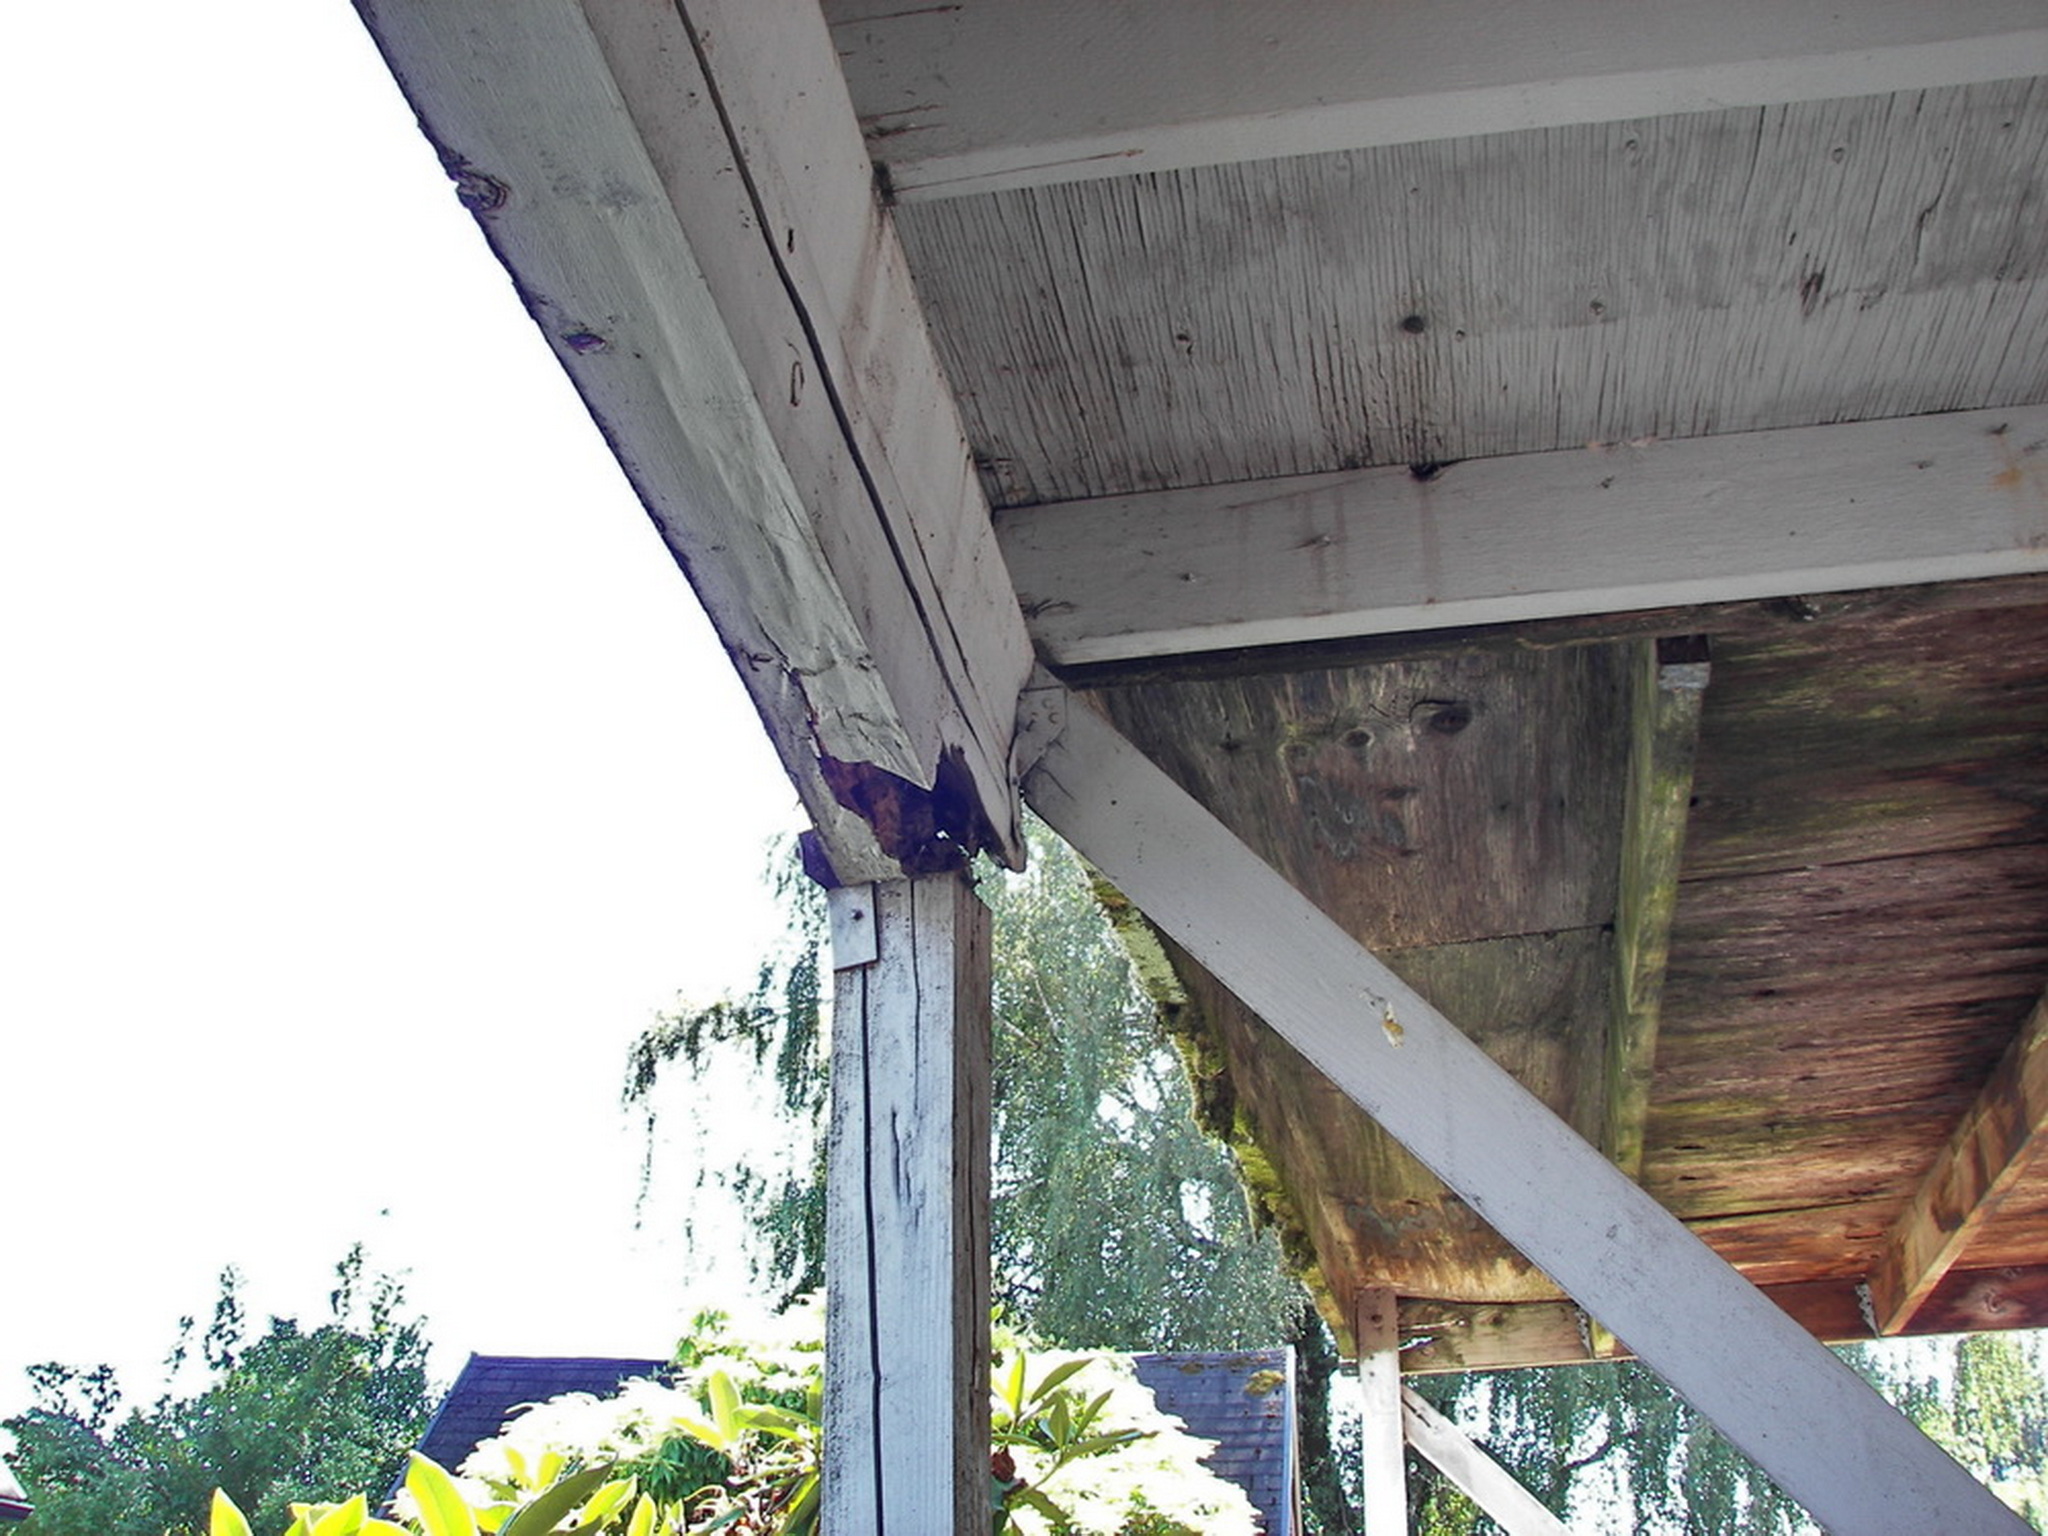
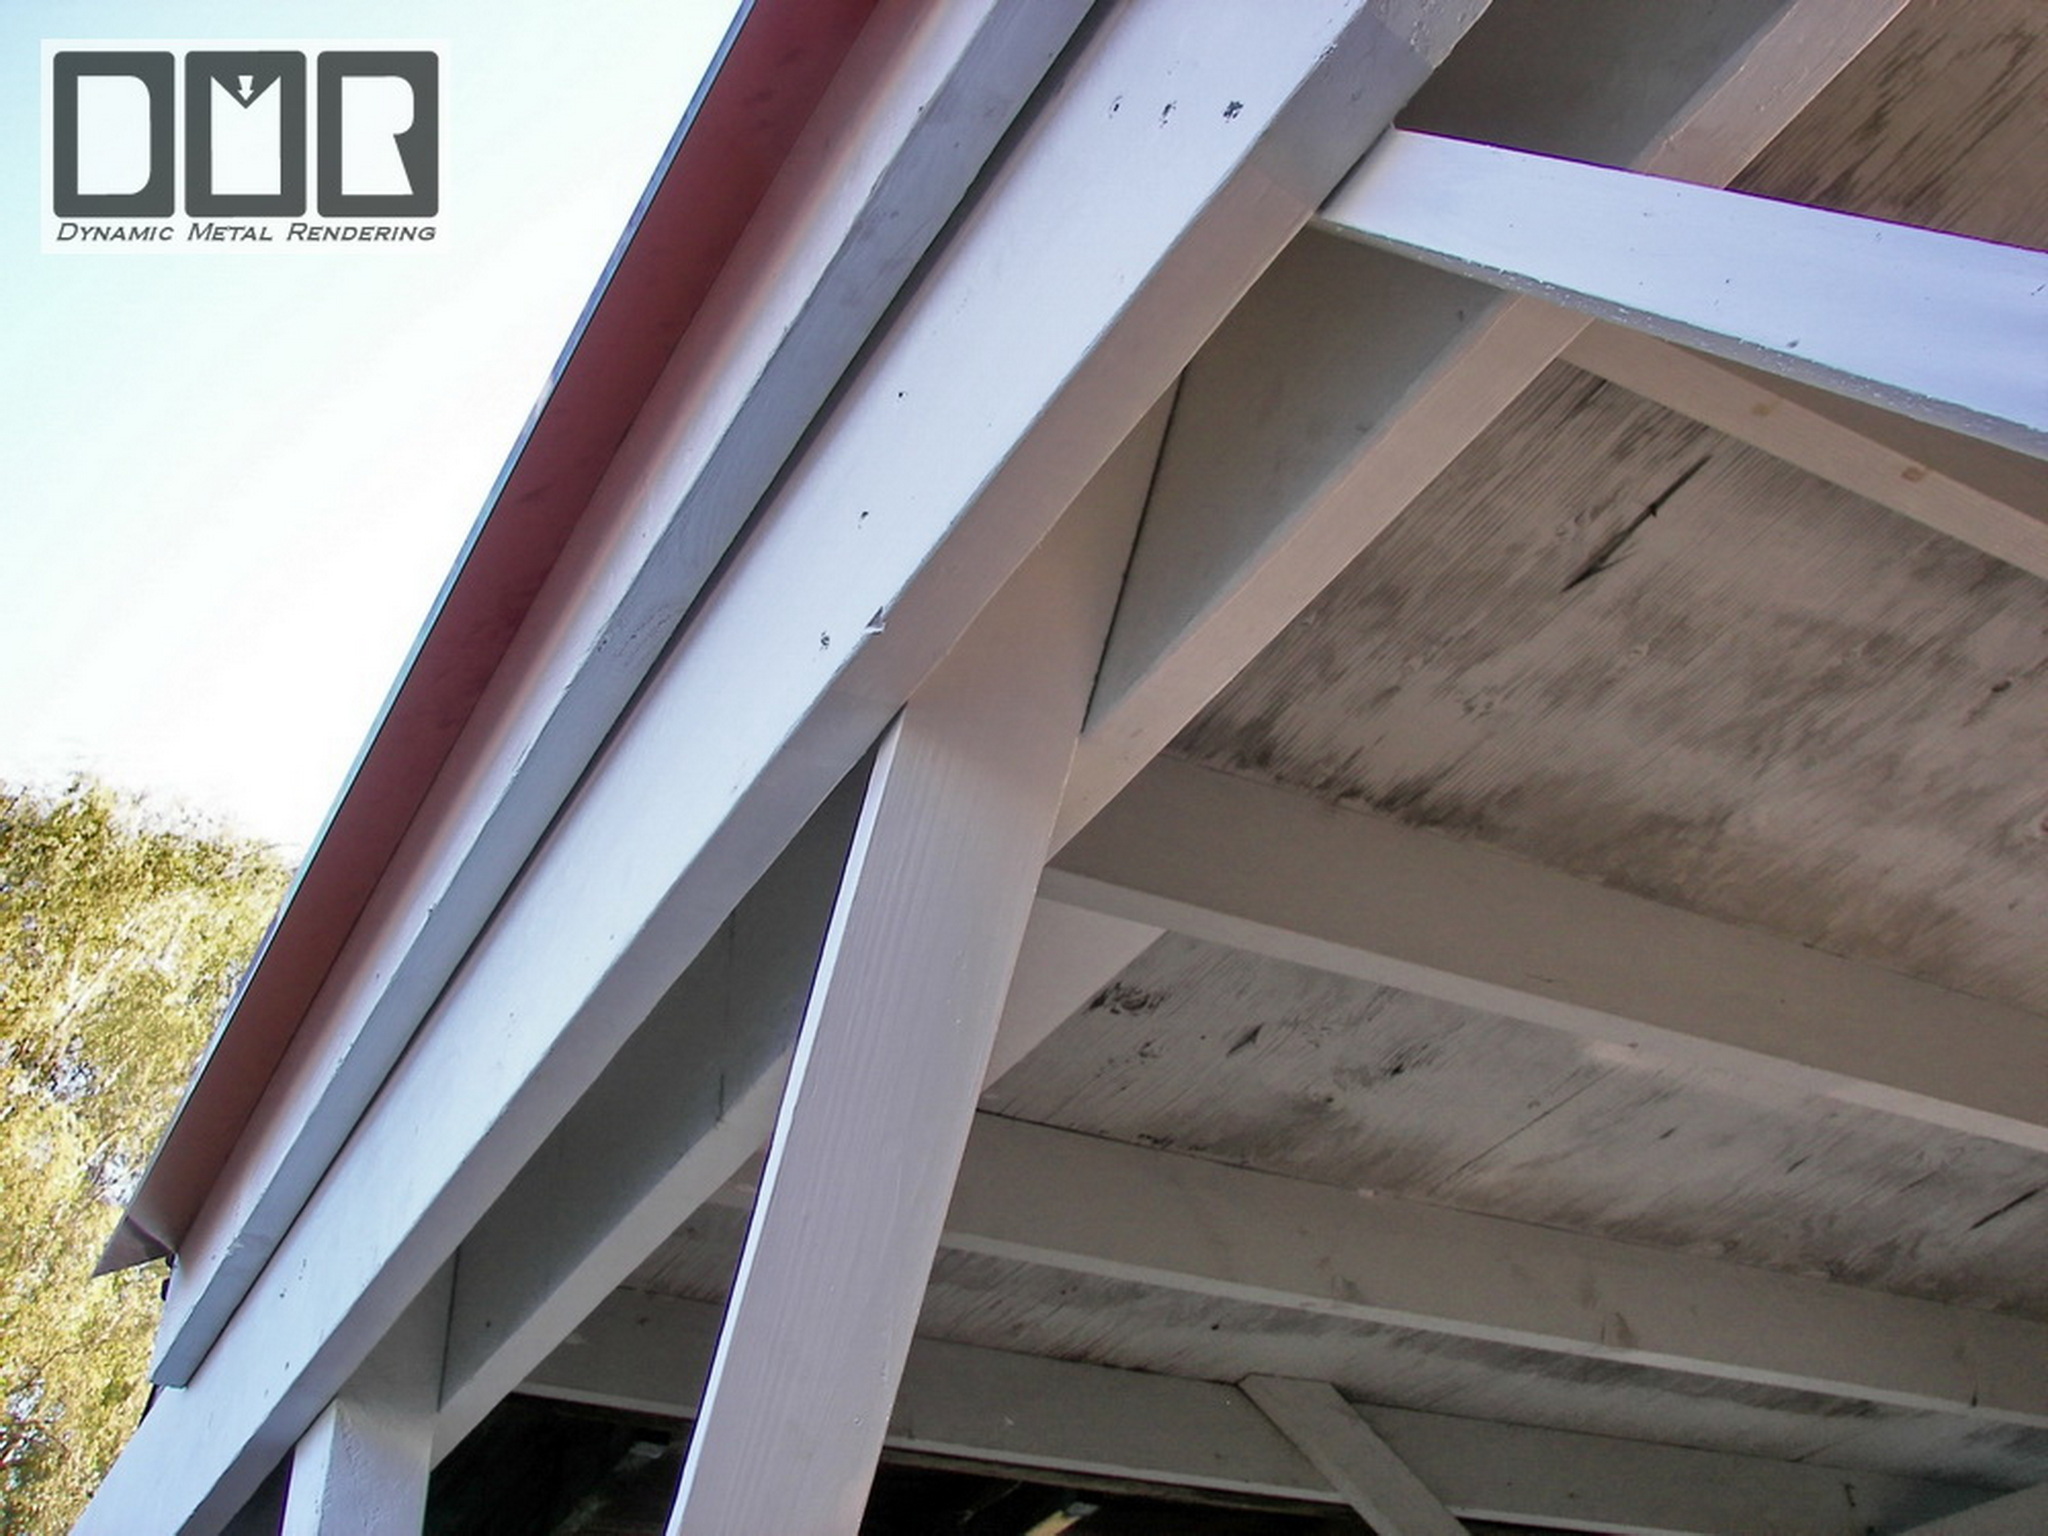
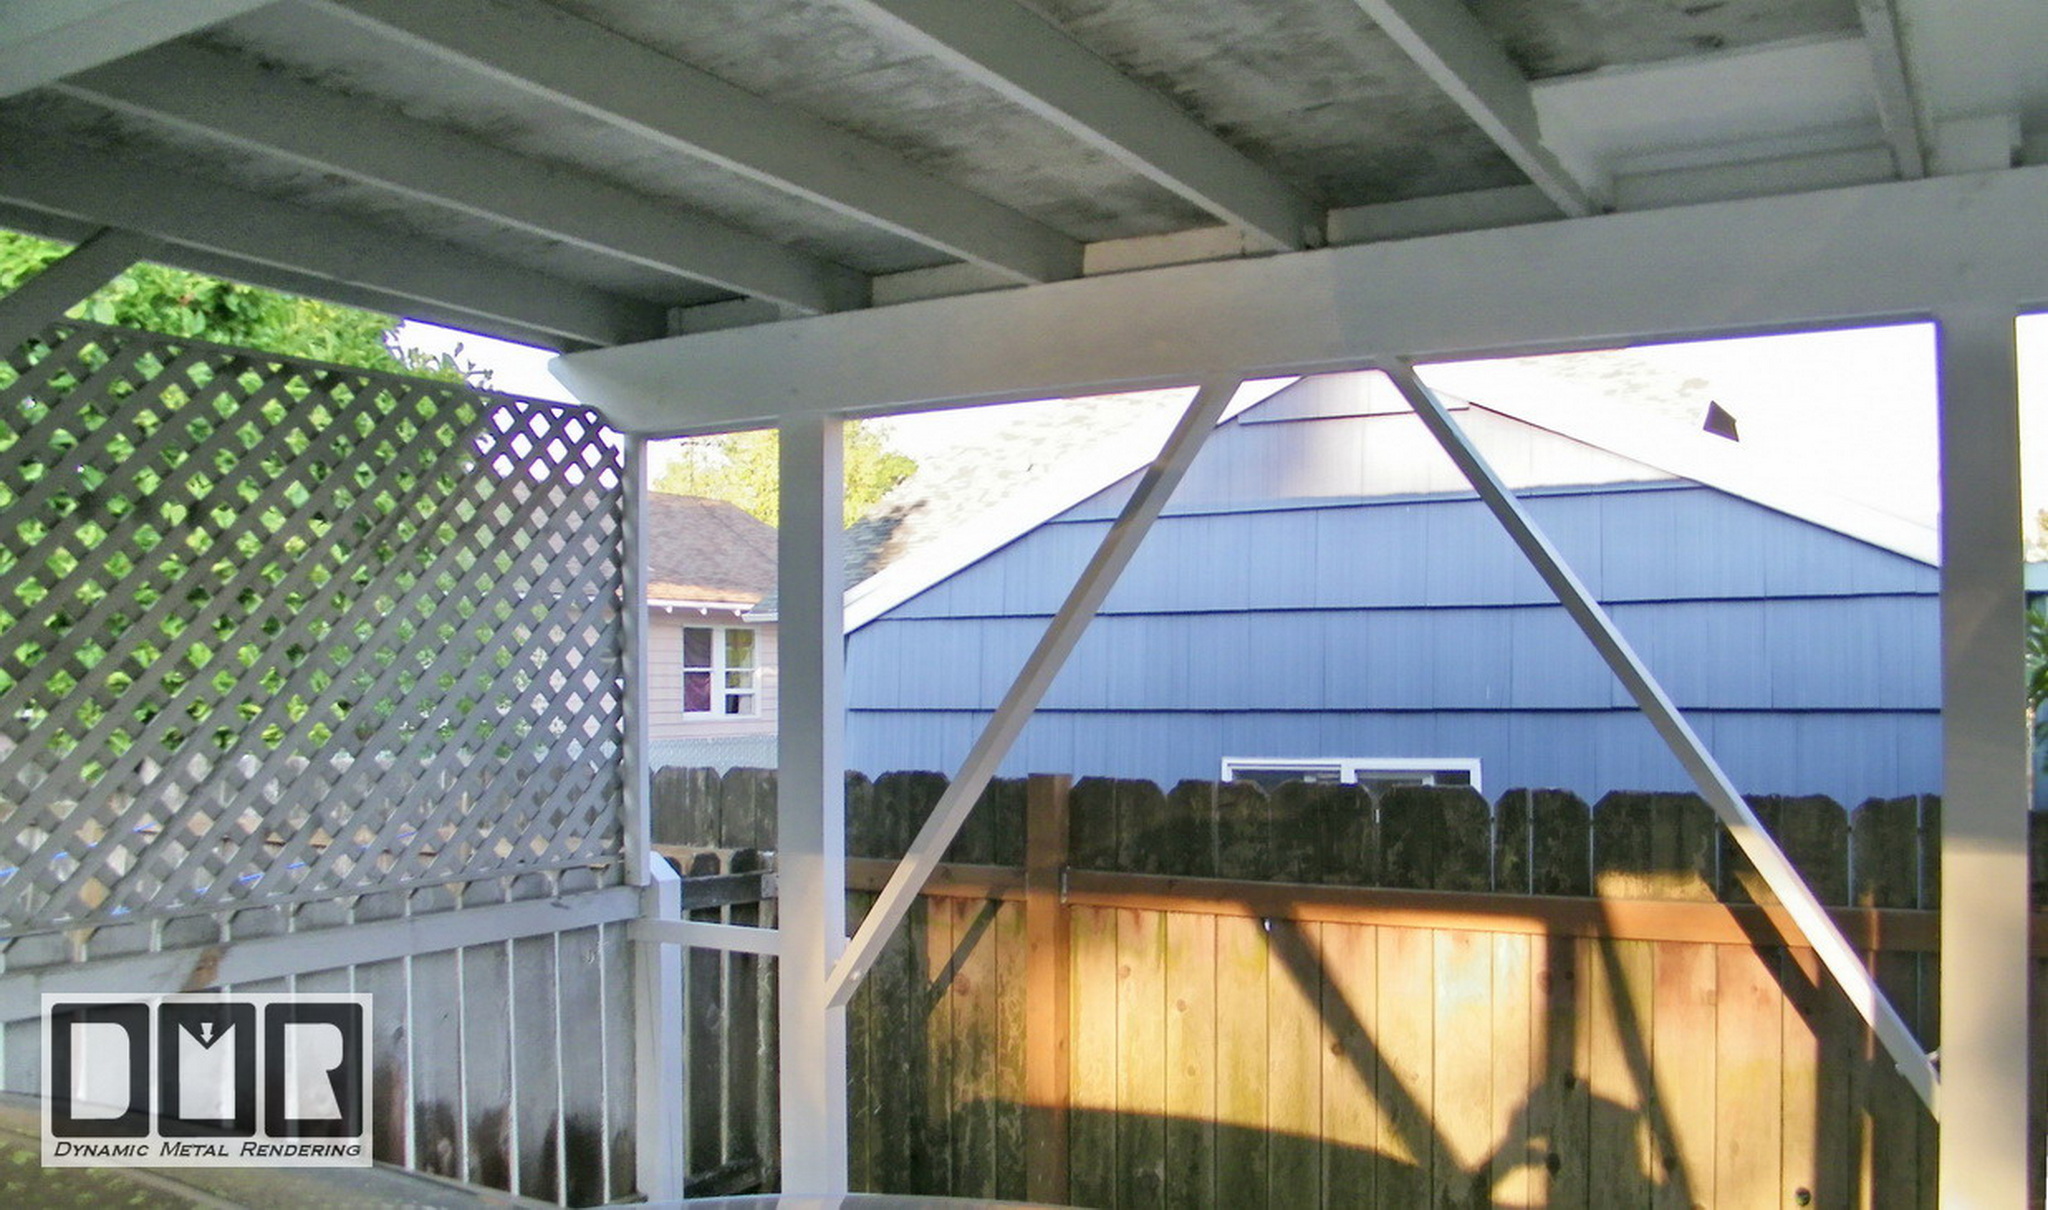
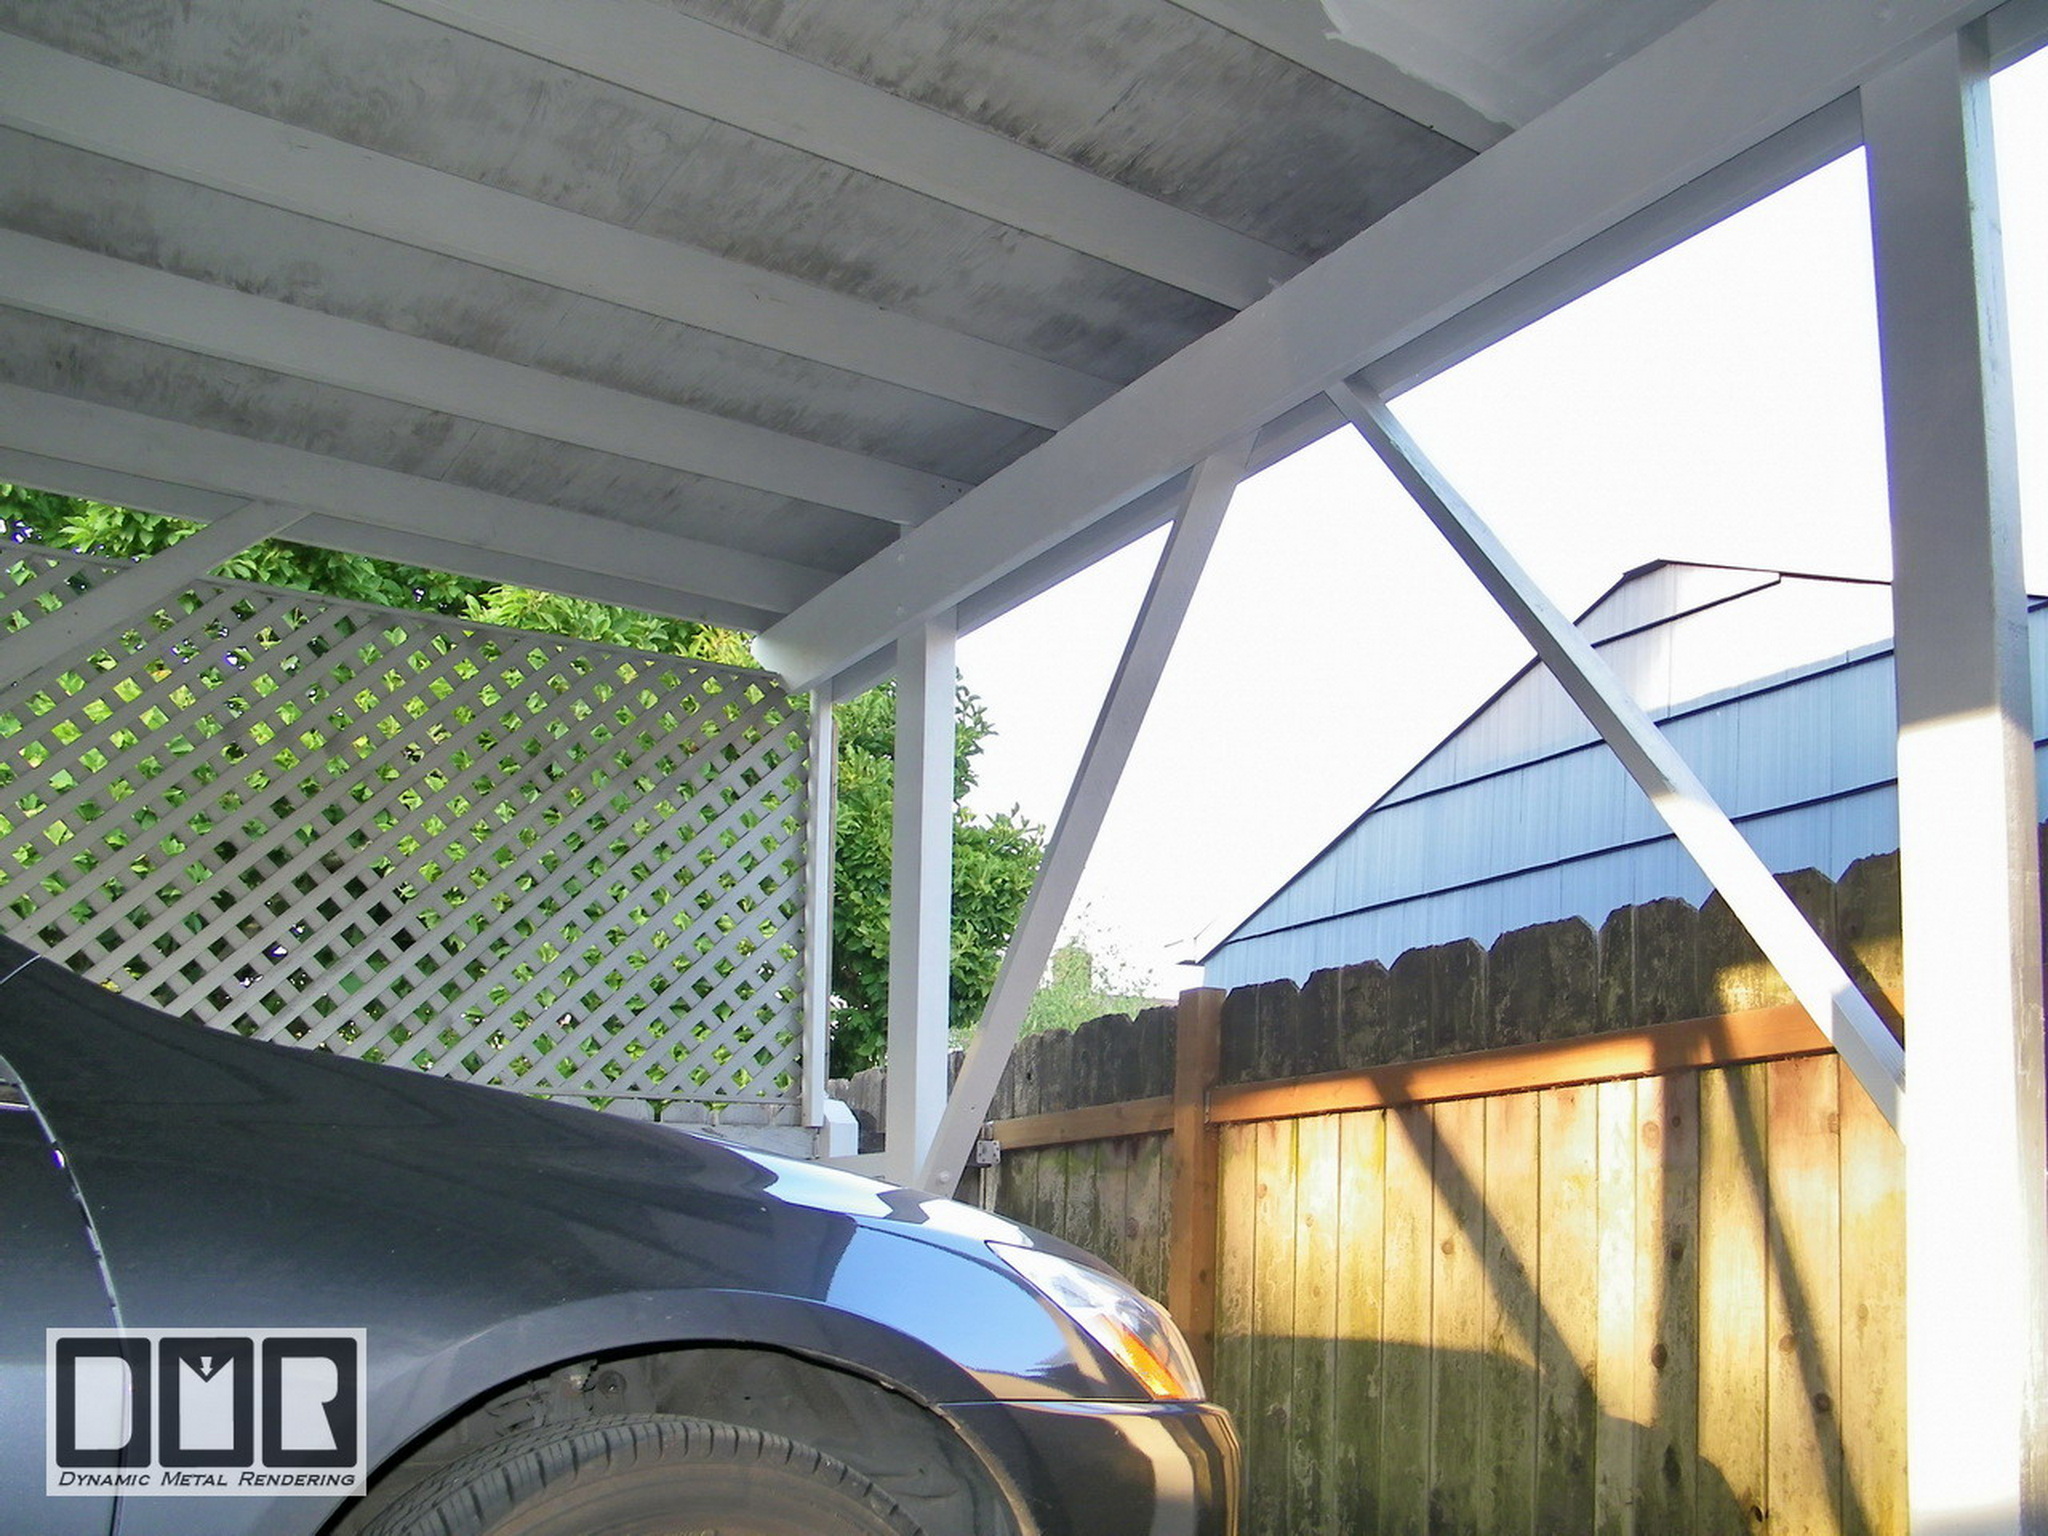
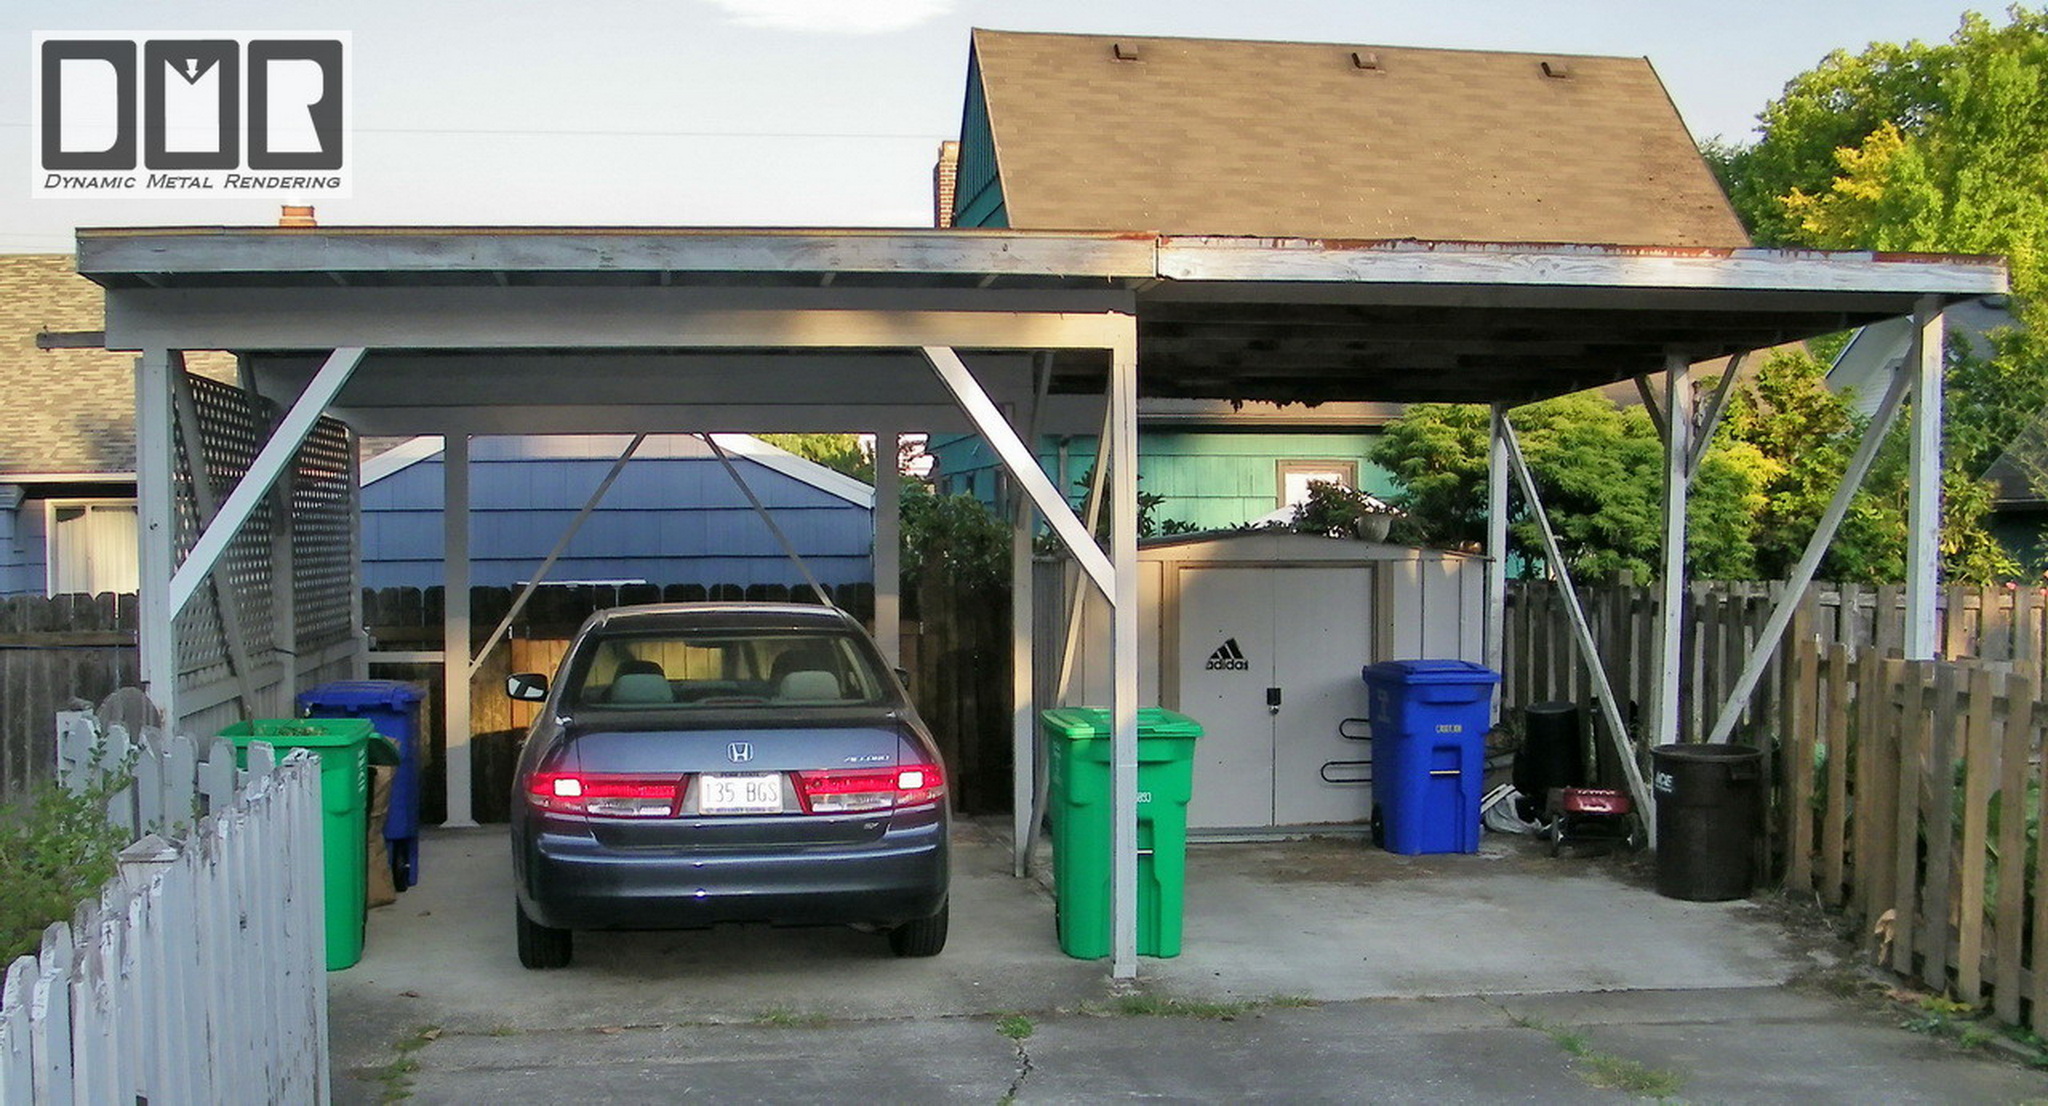
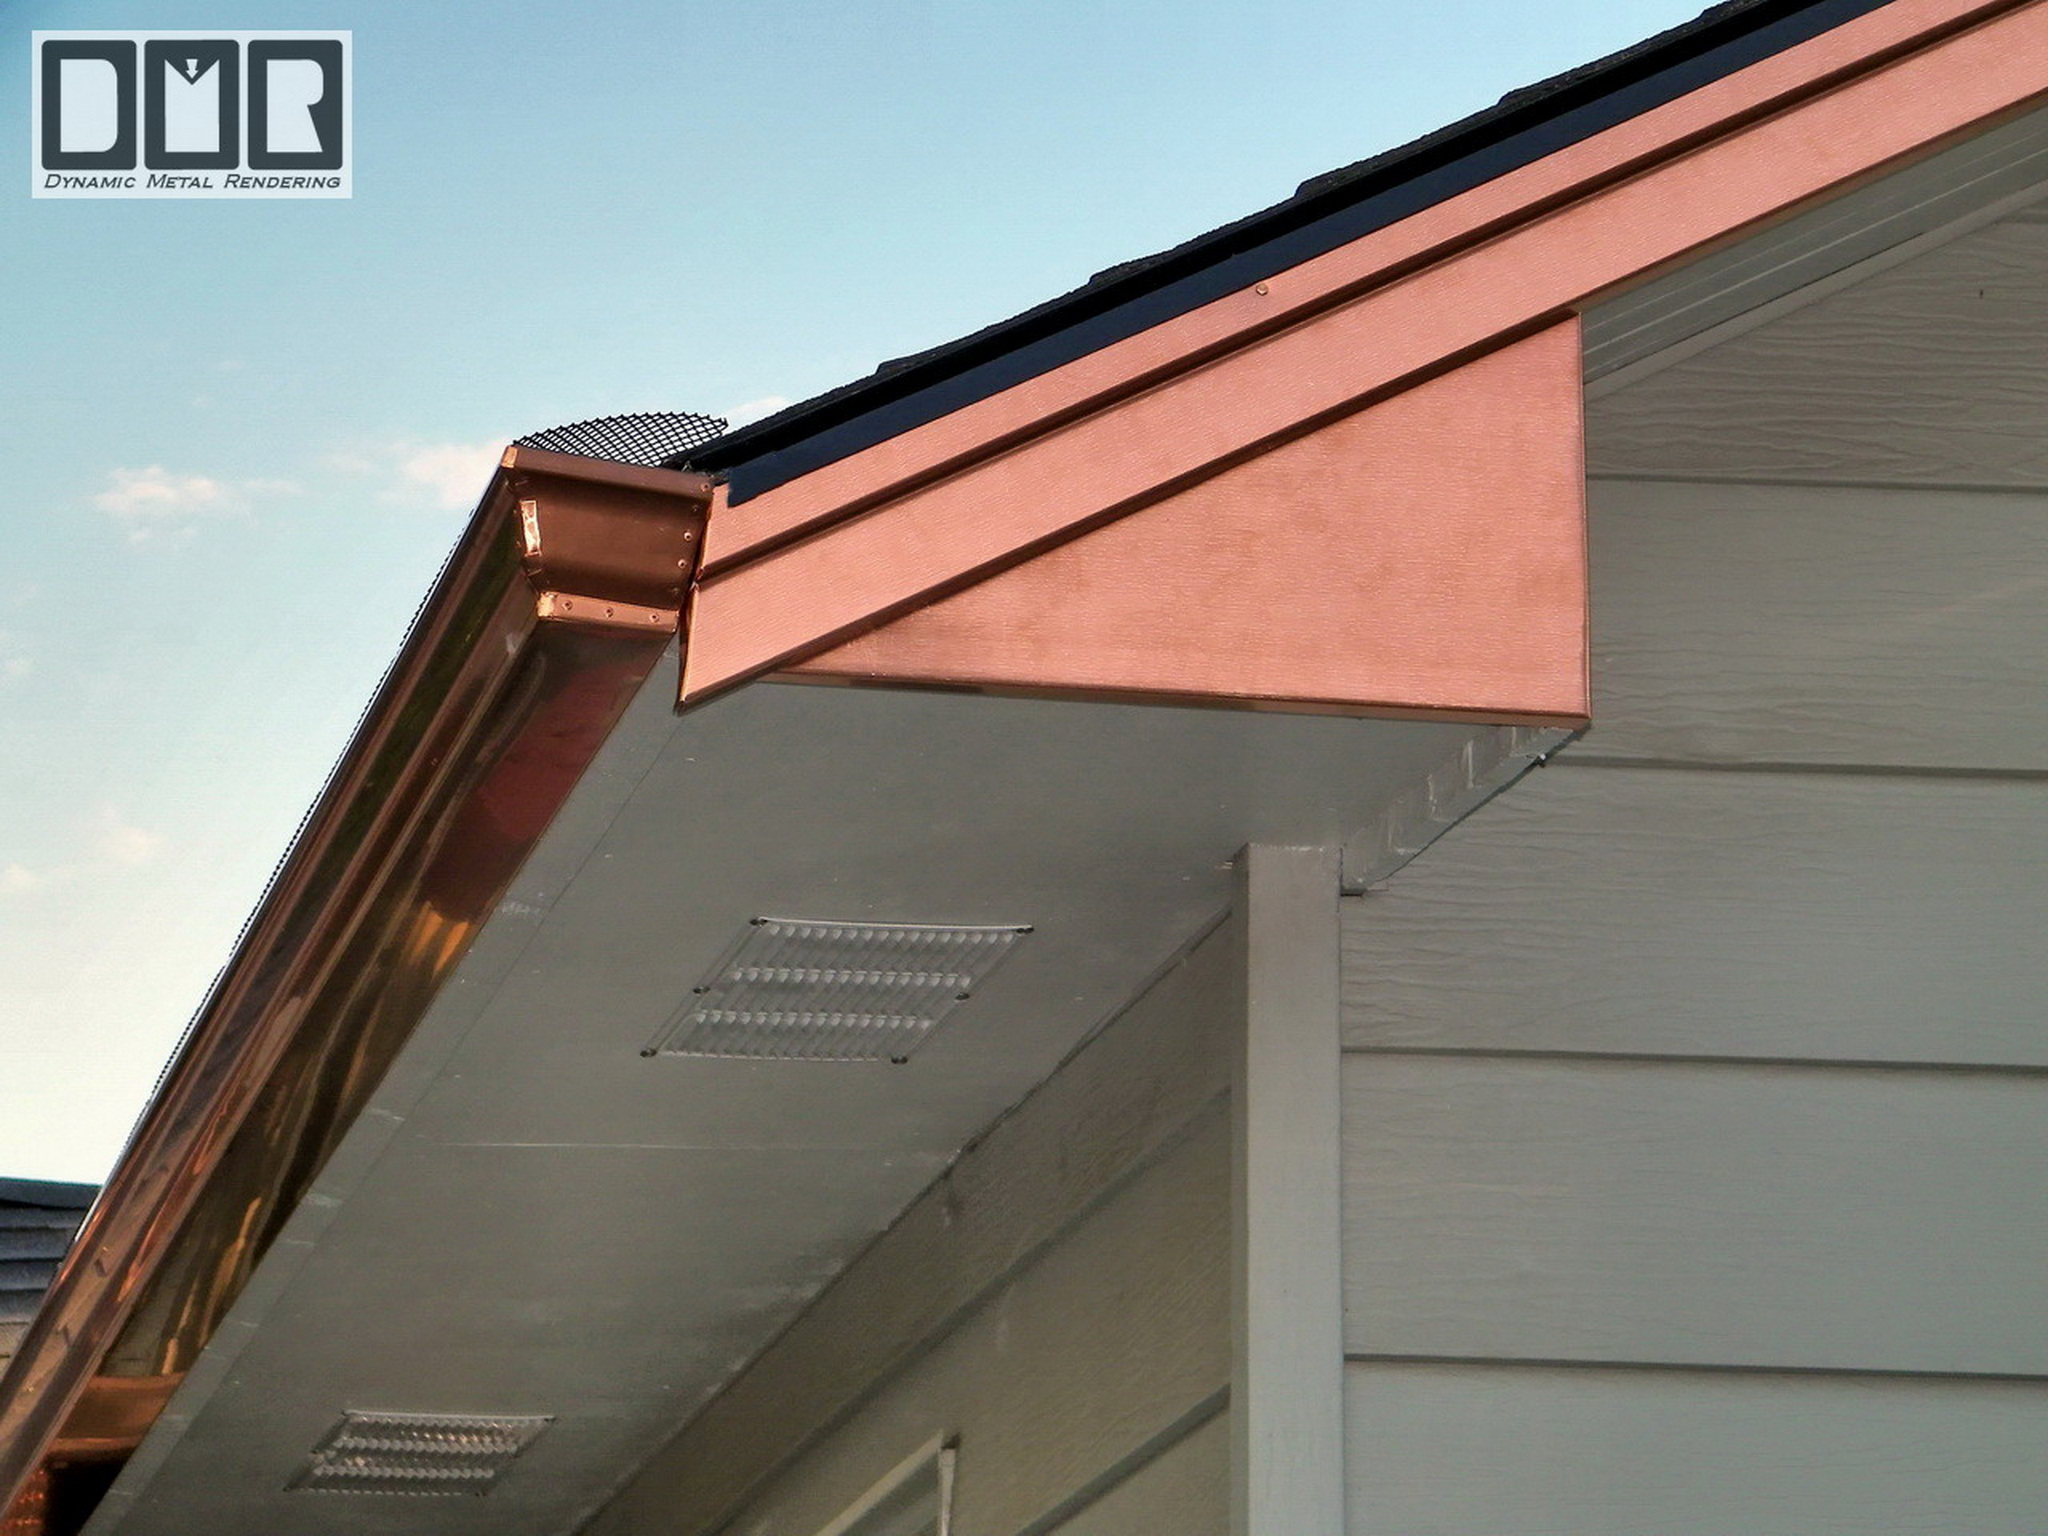
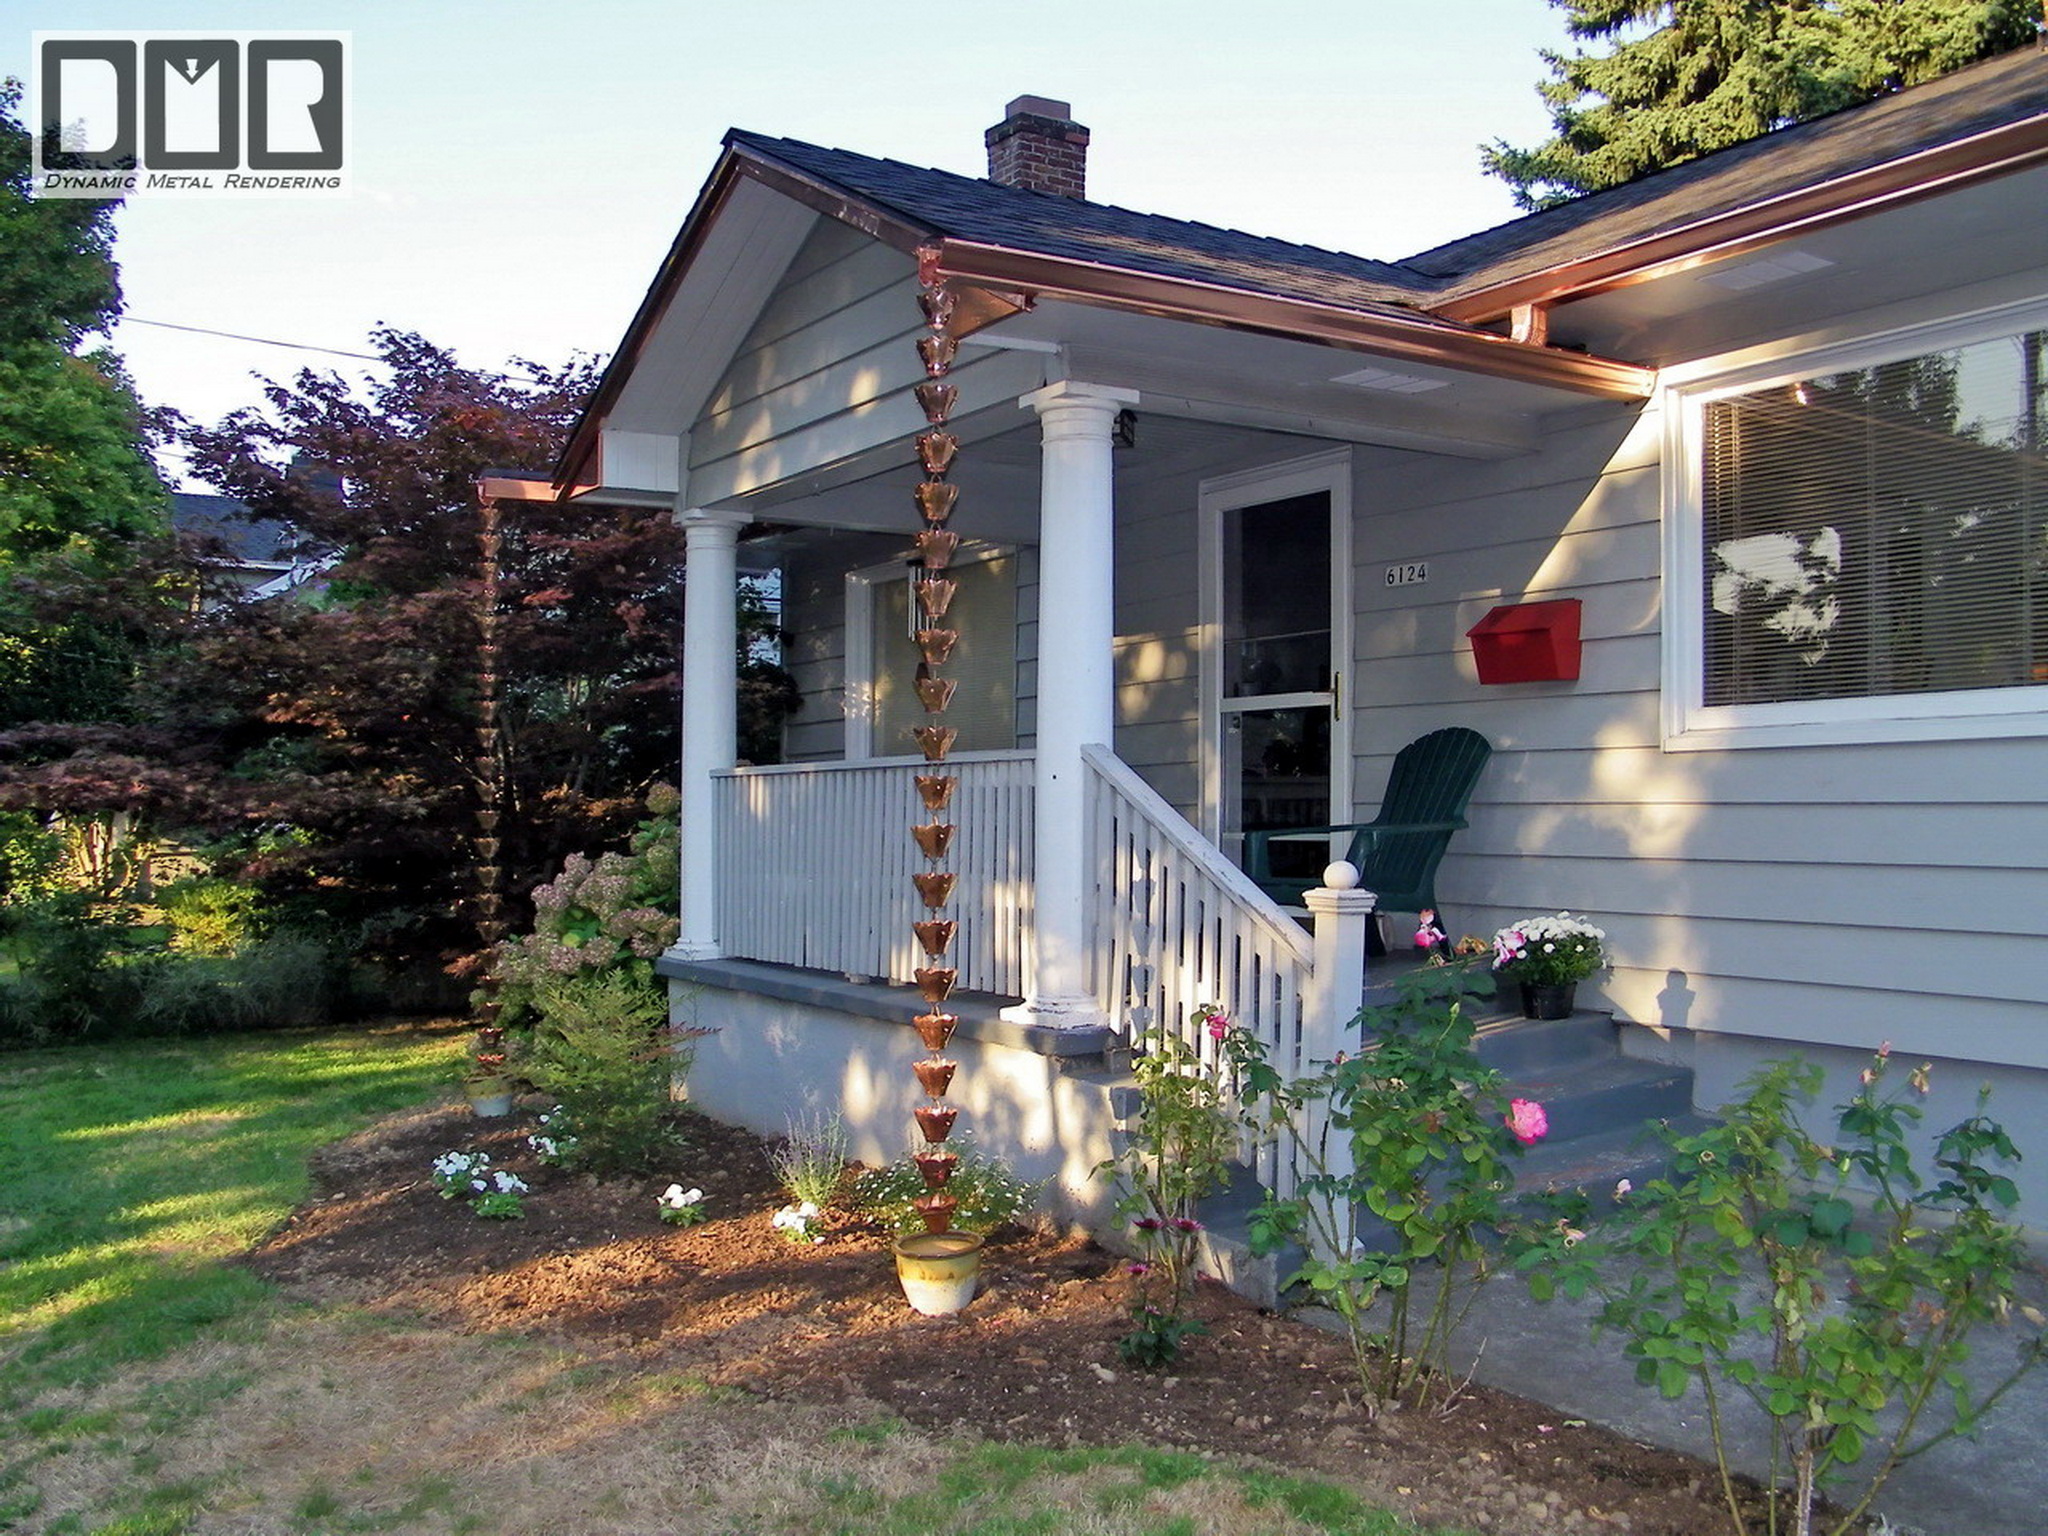
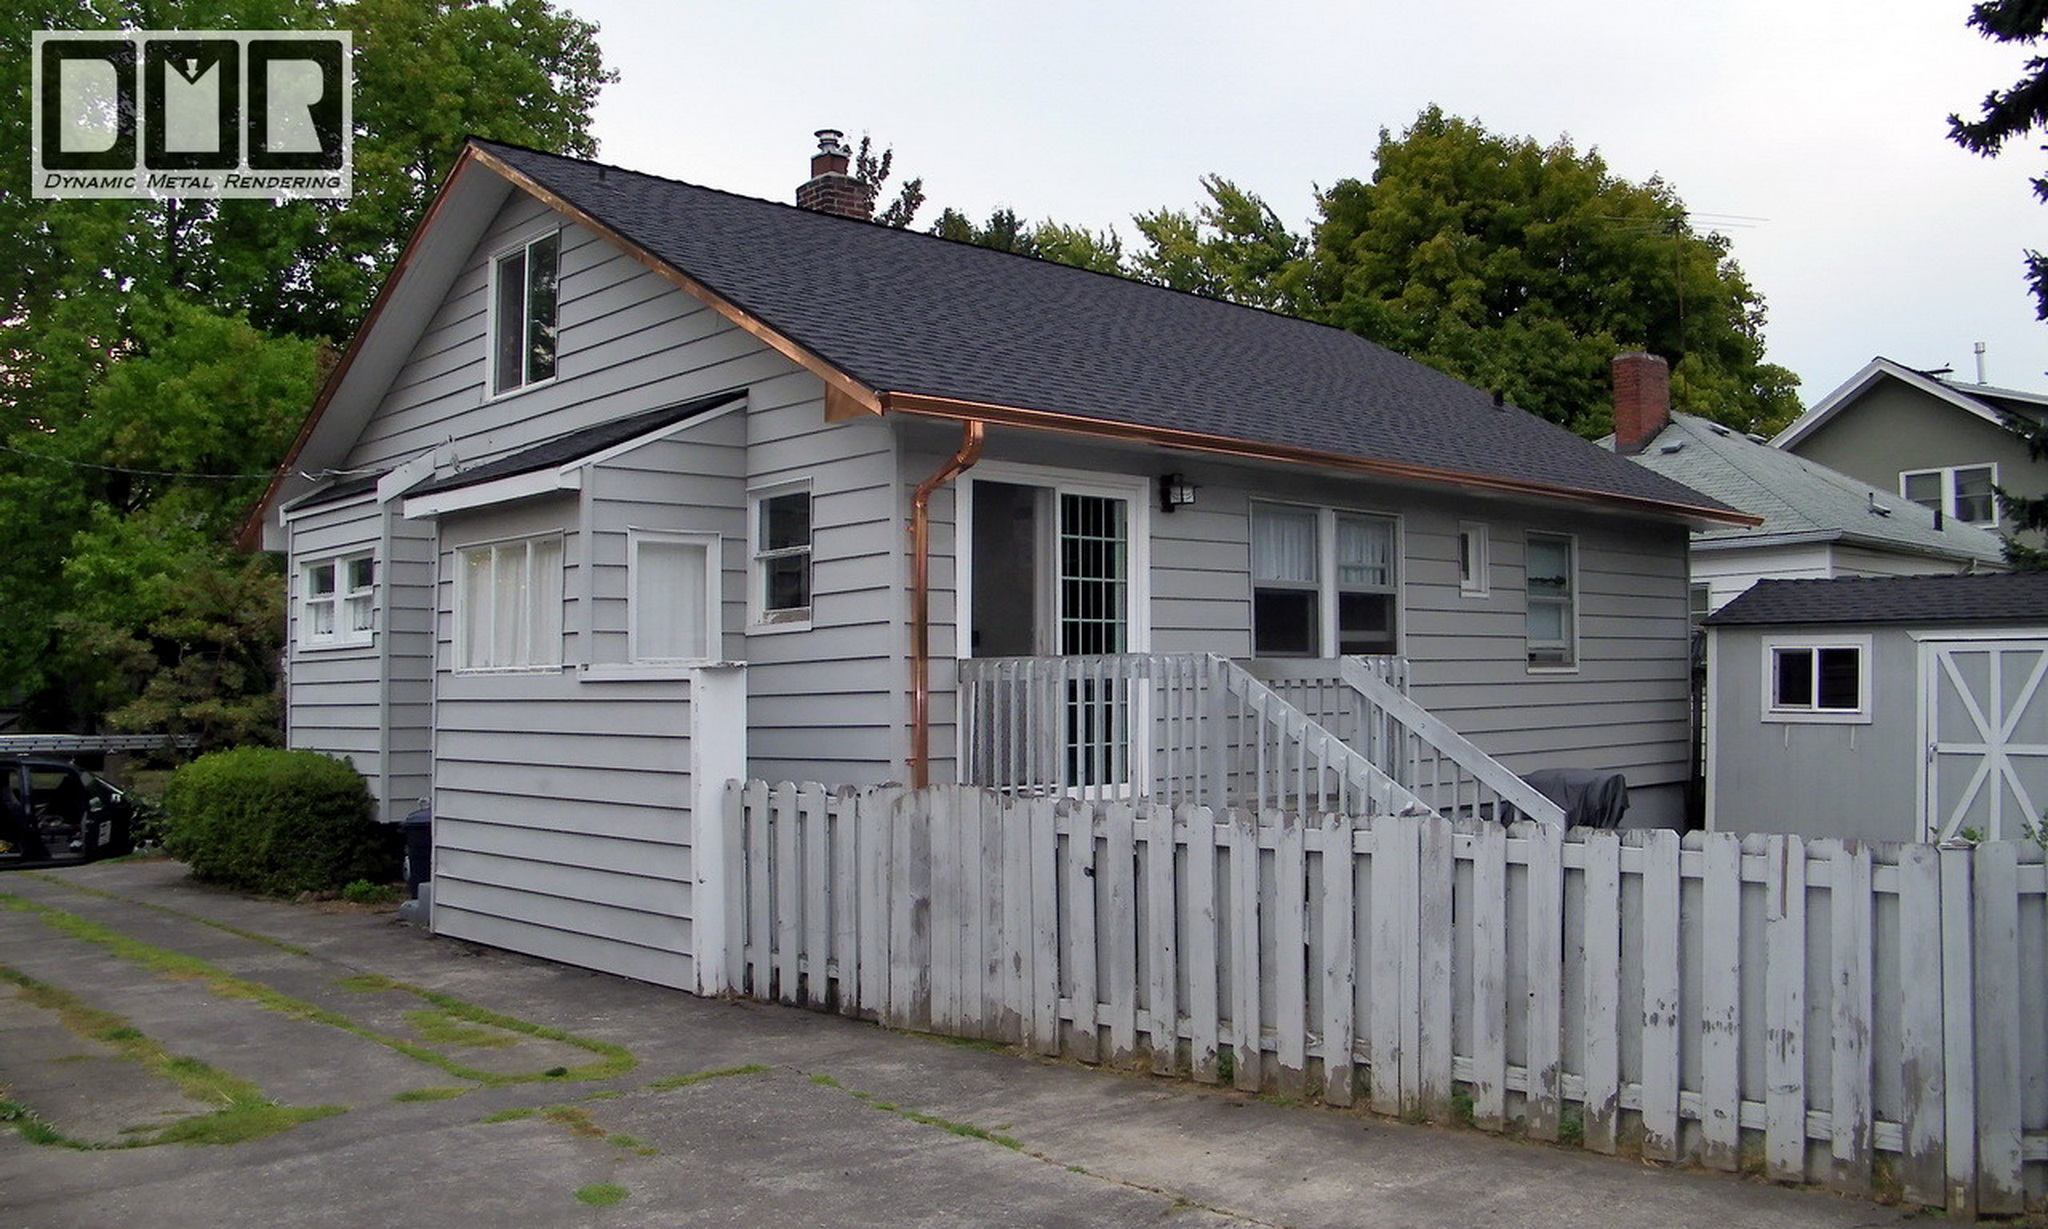
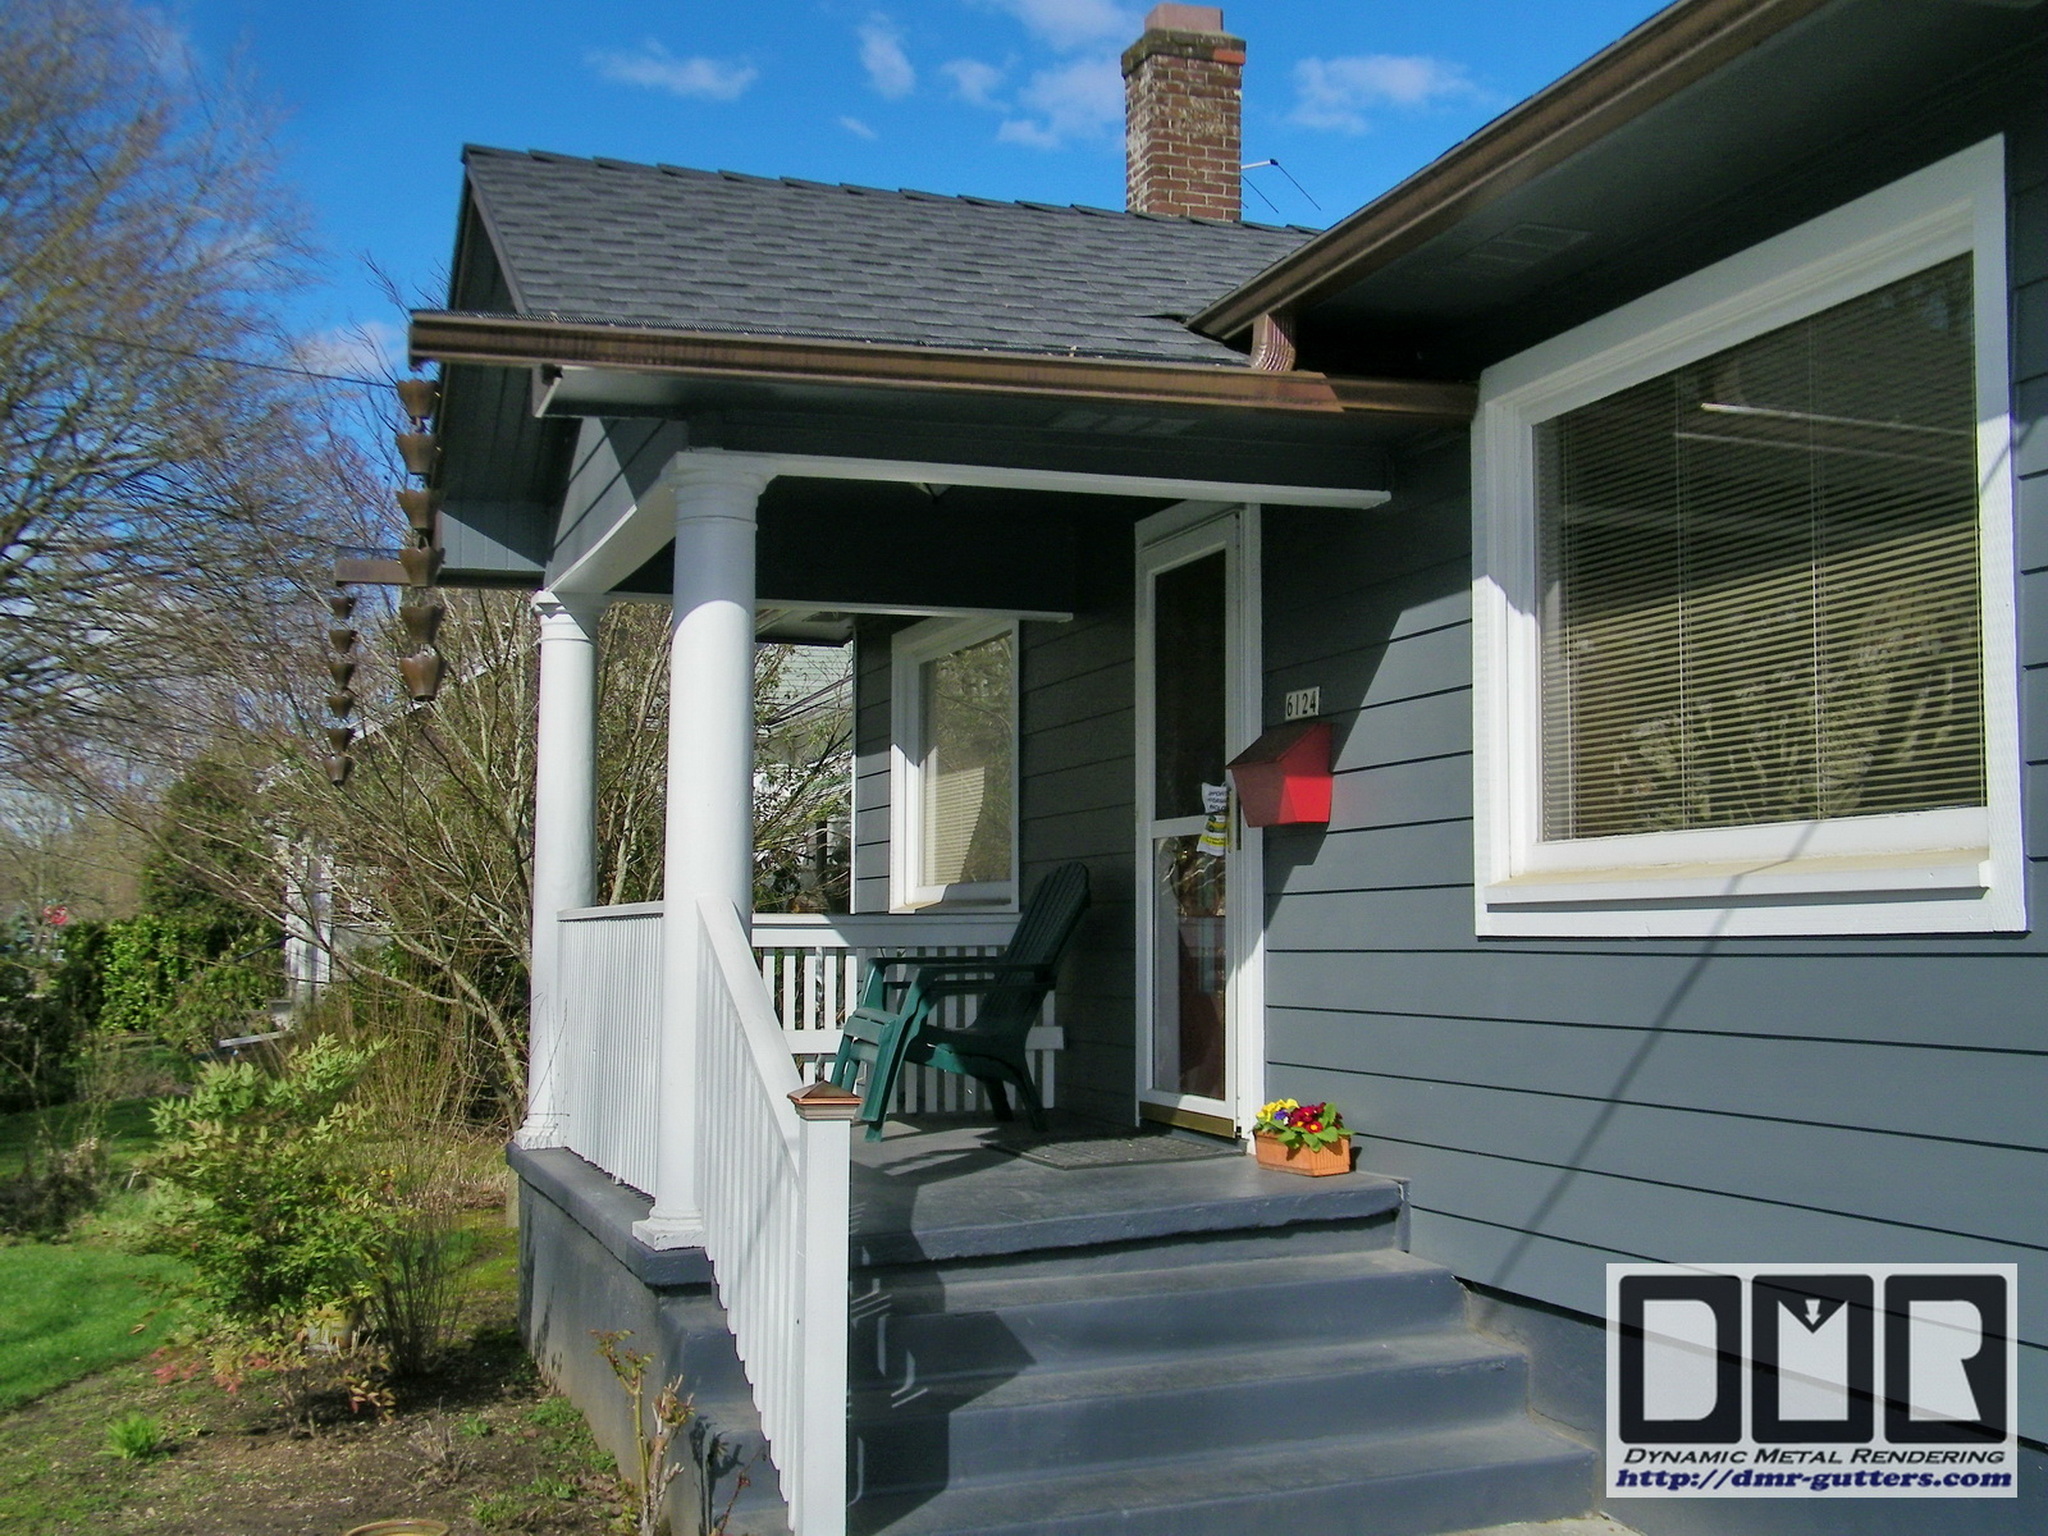
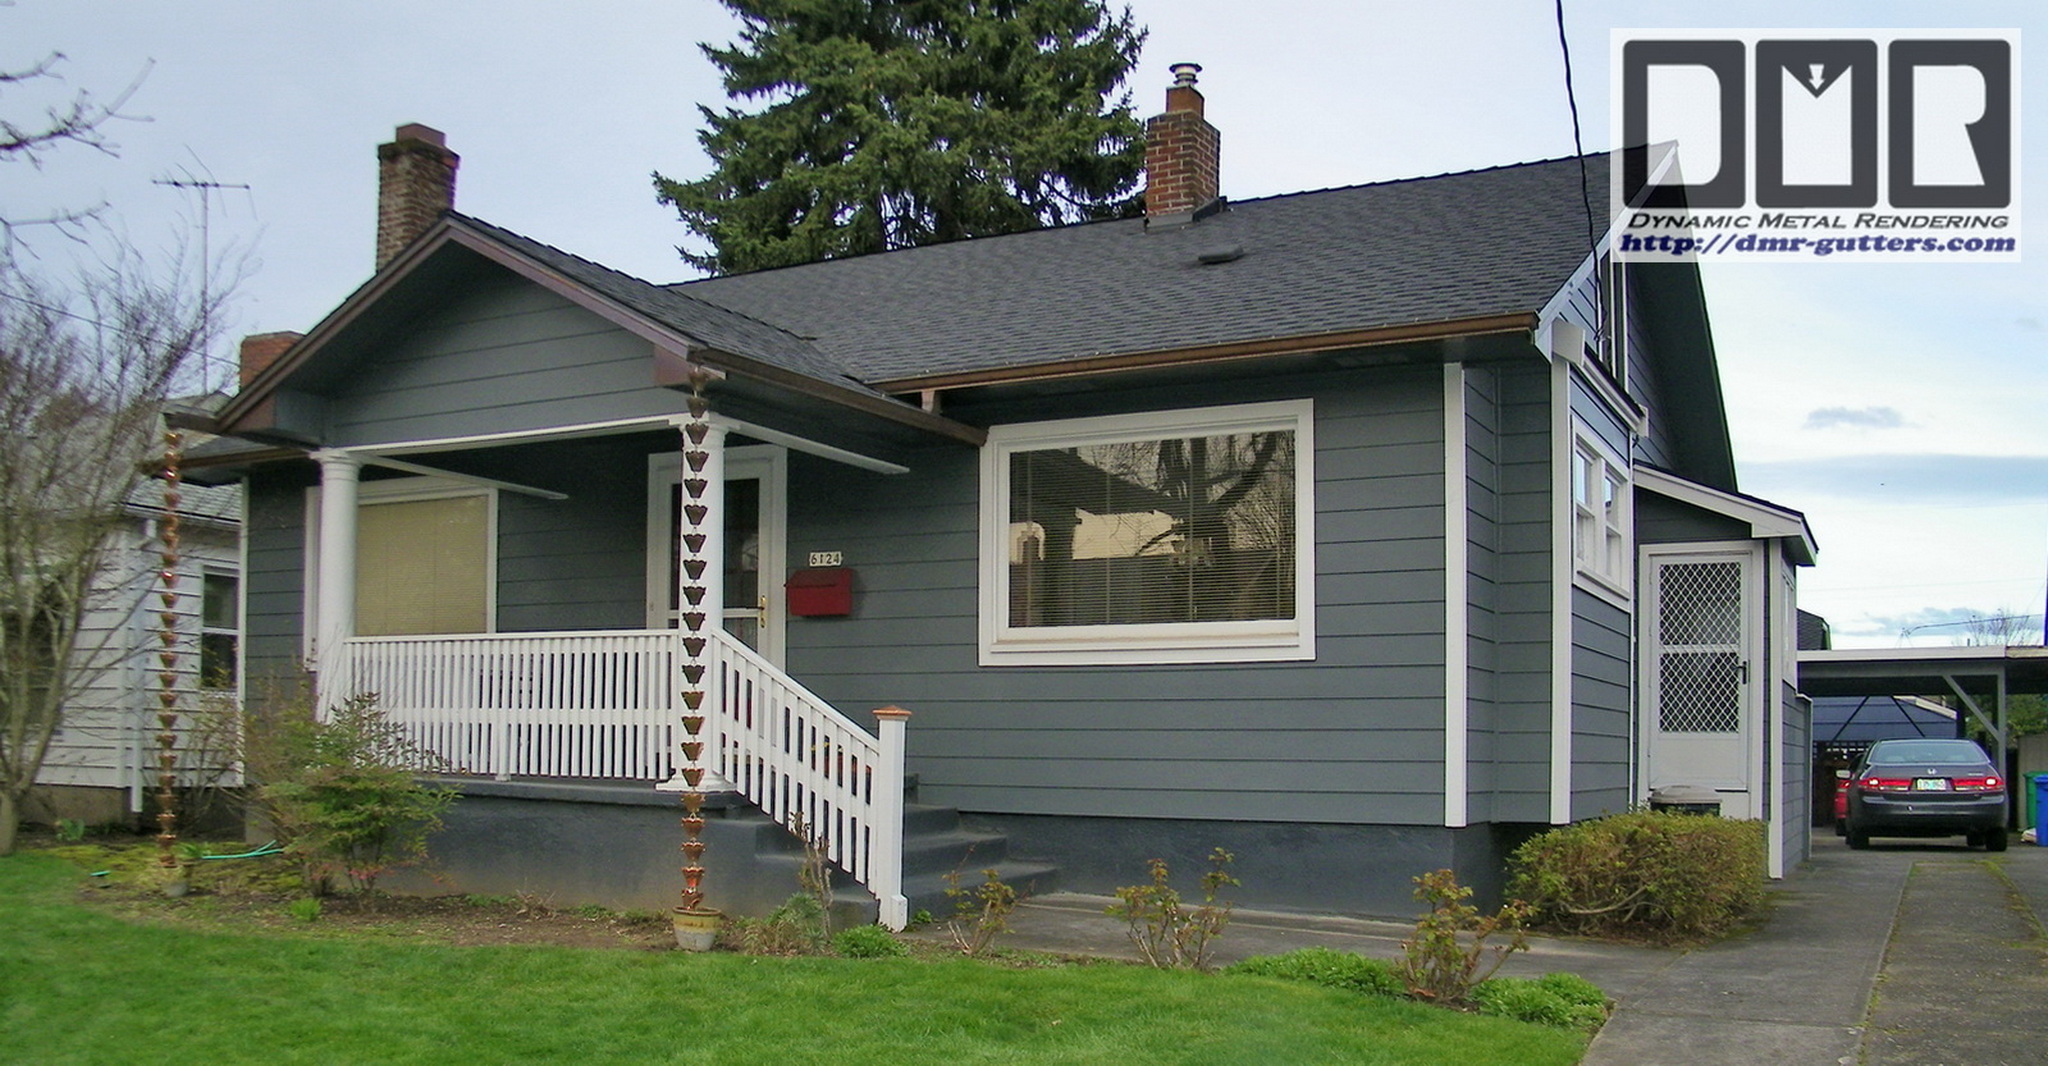
detail. We are very happy with our new gutters, fascia, soffits, and
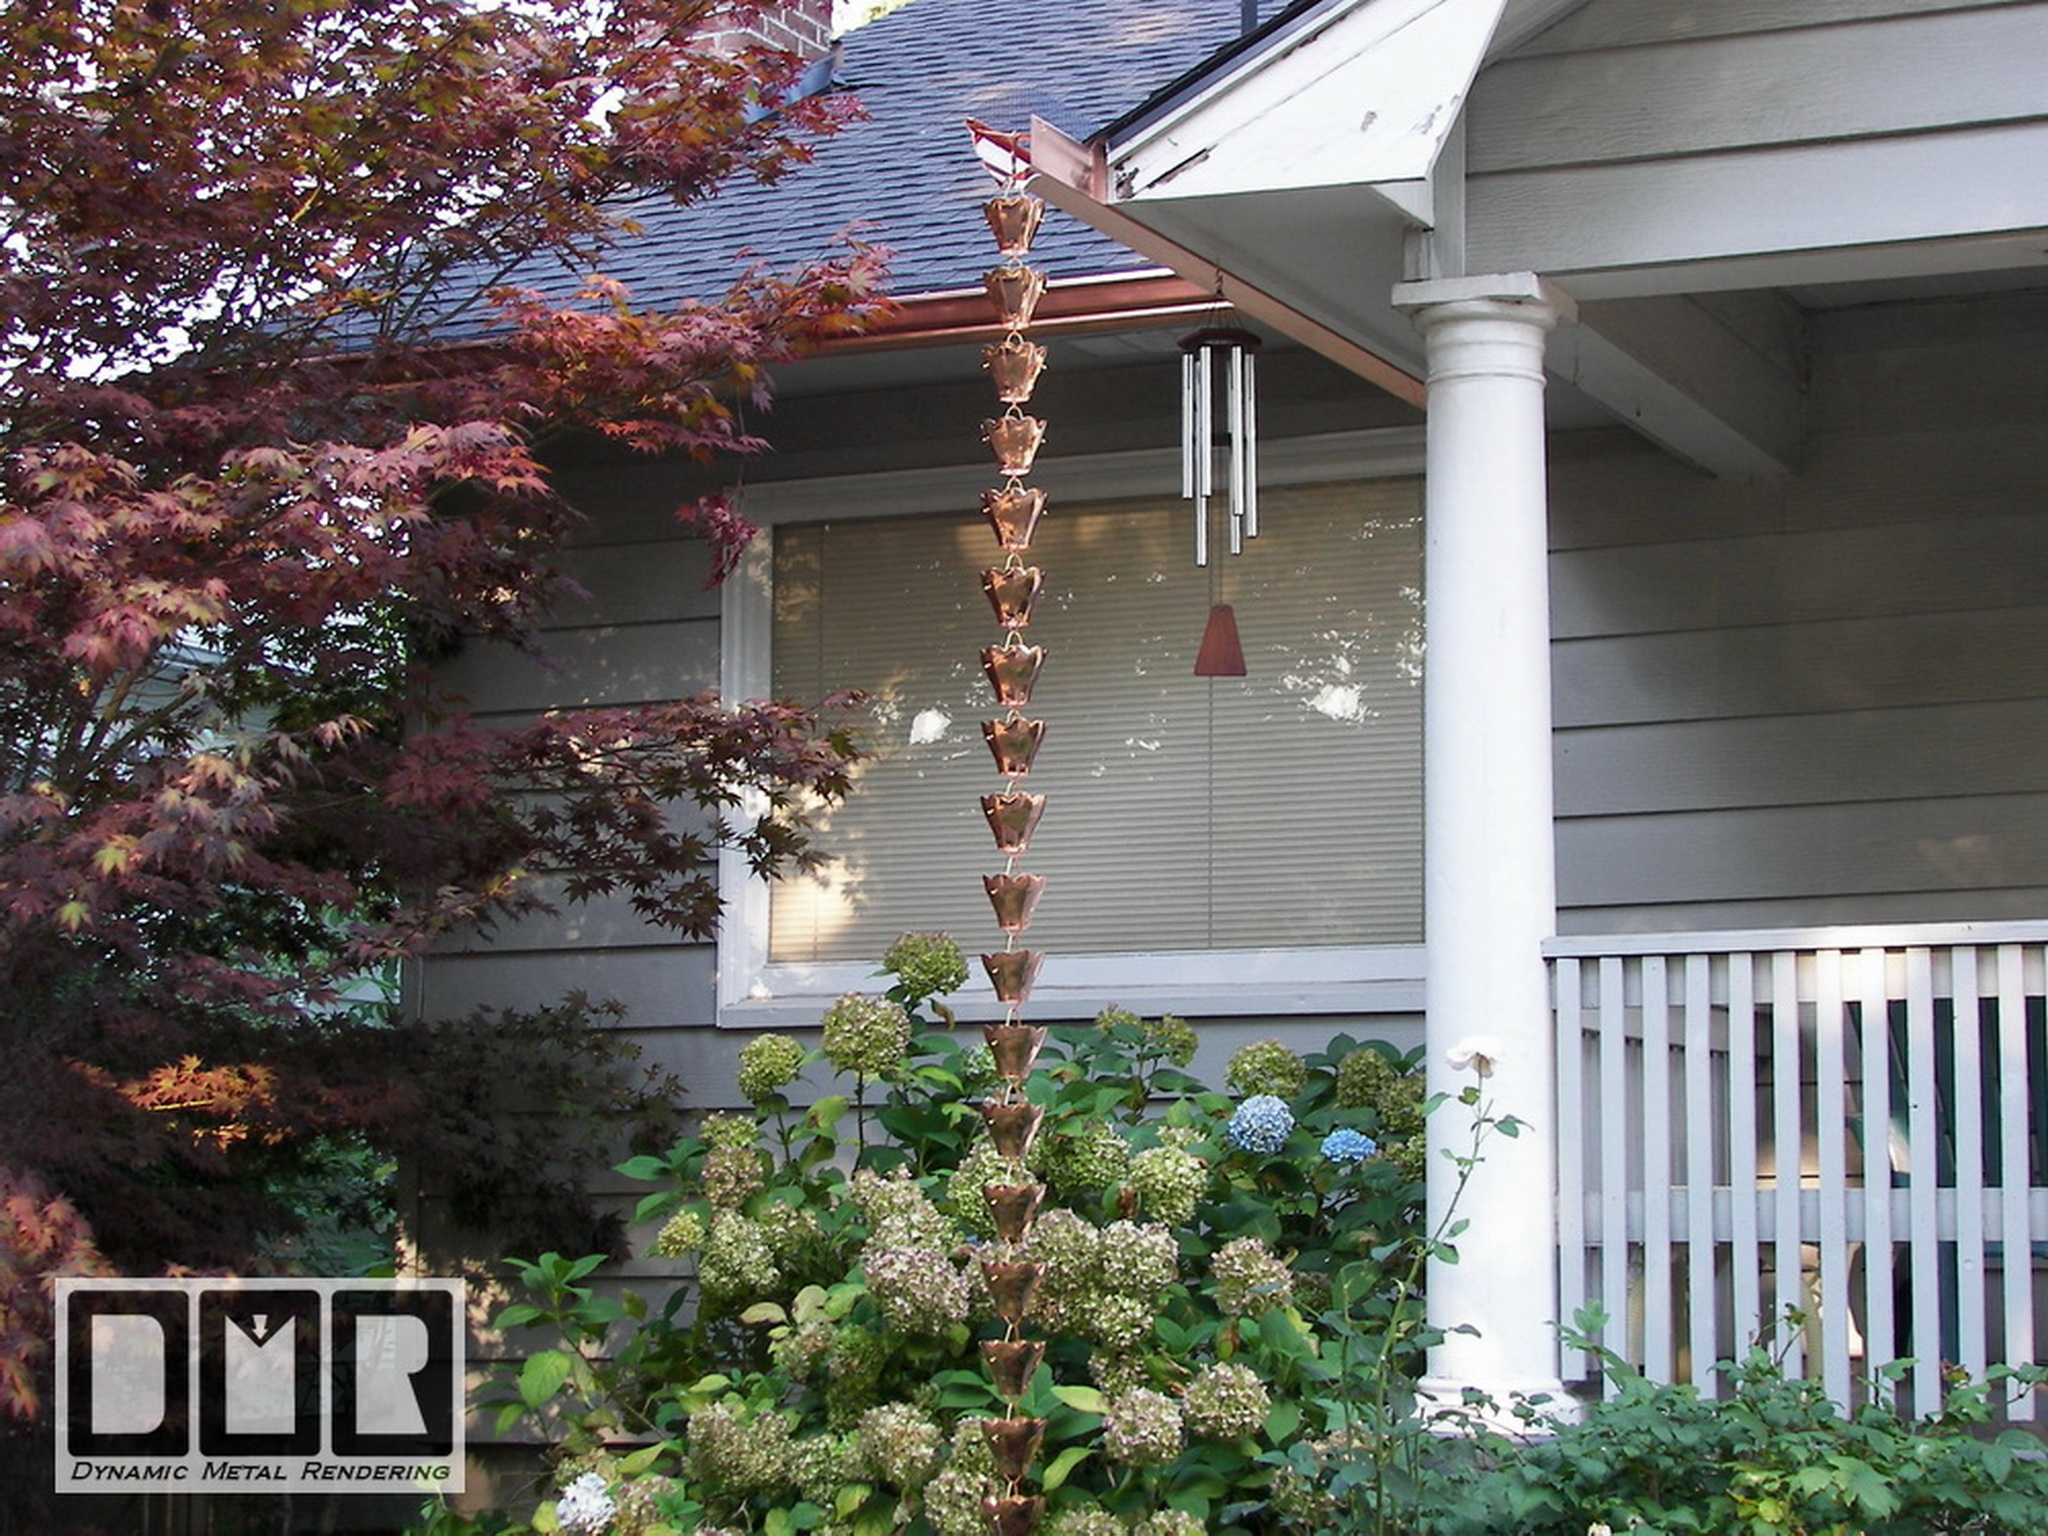
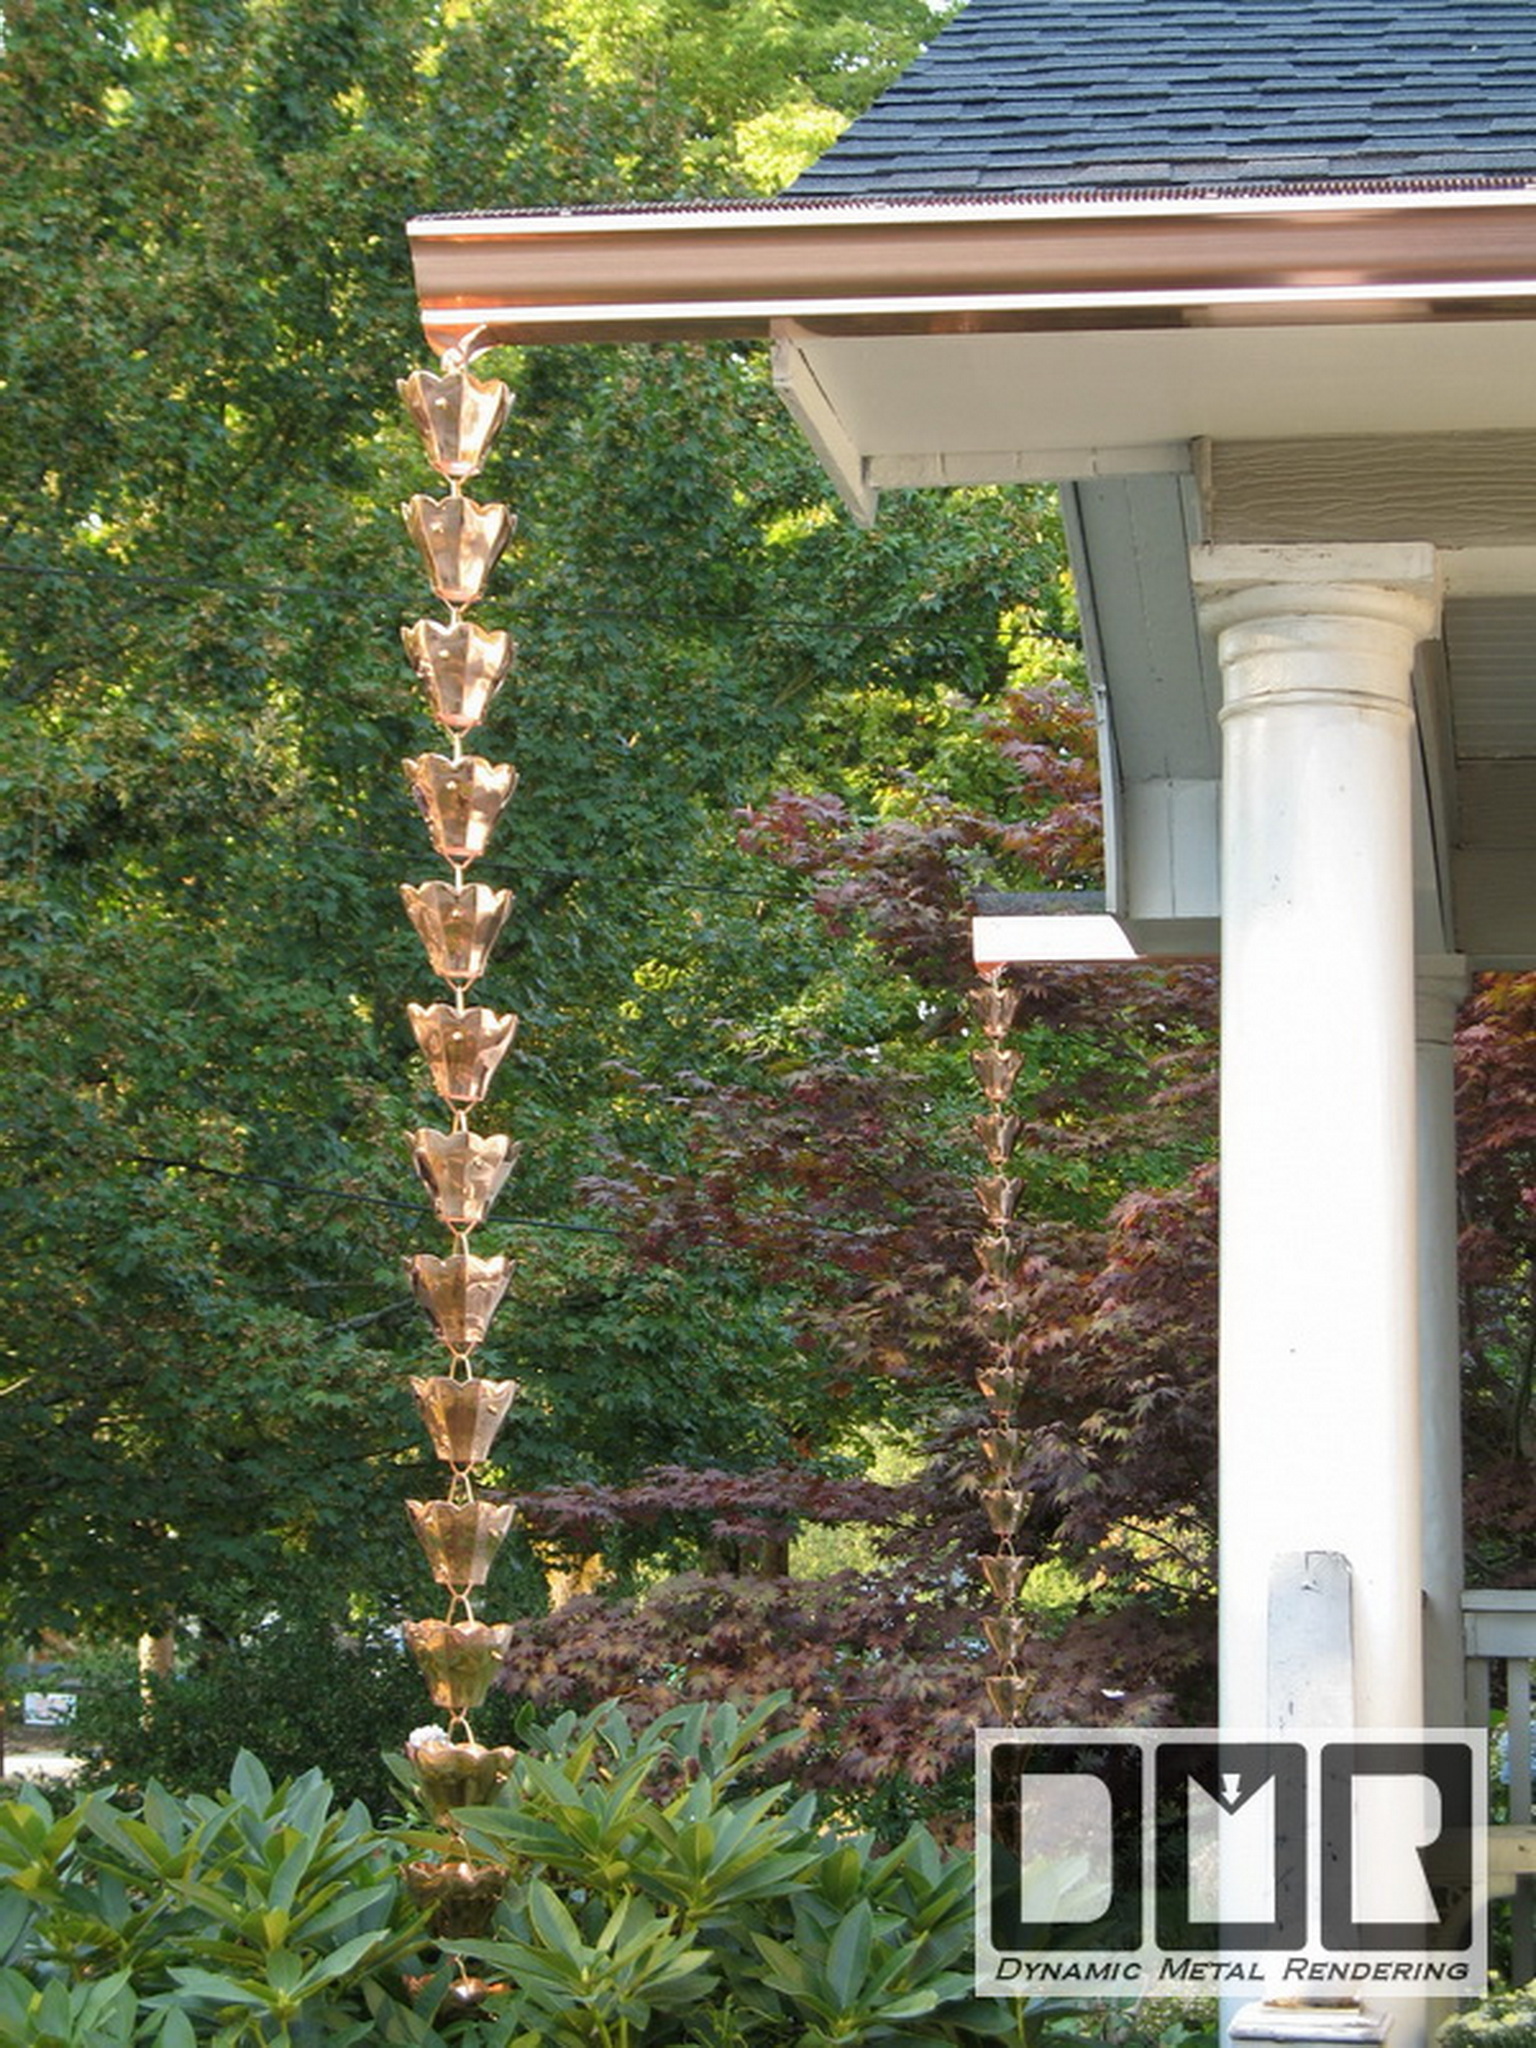
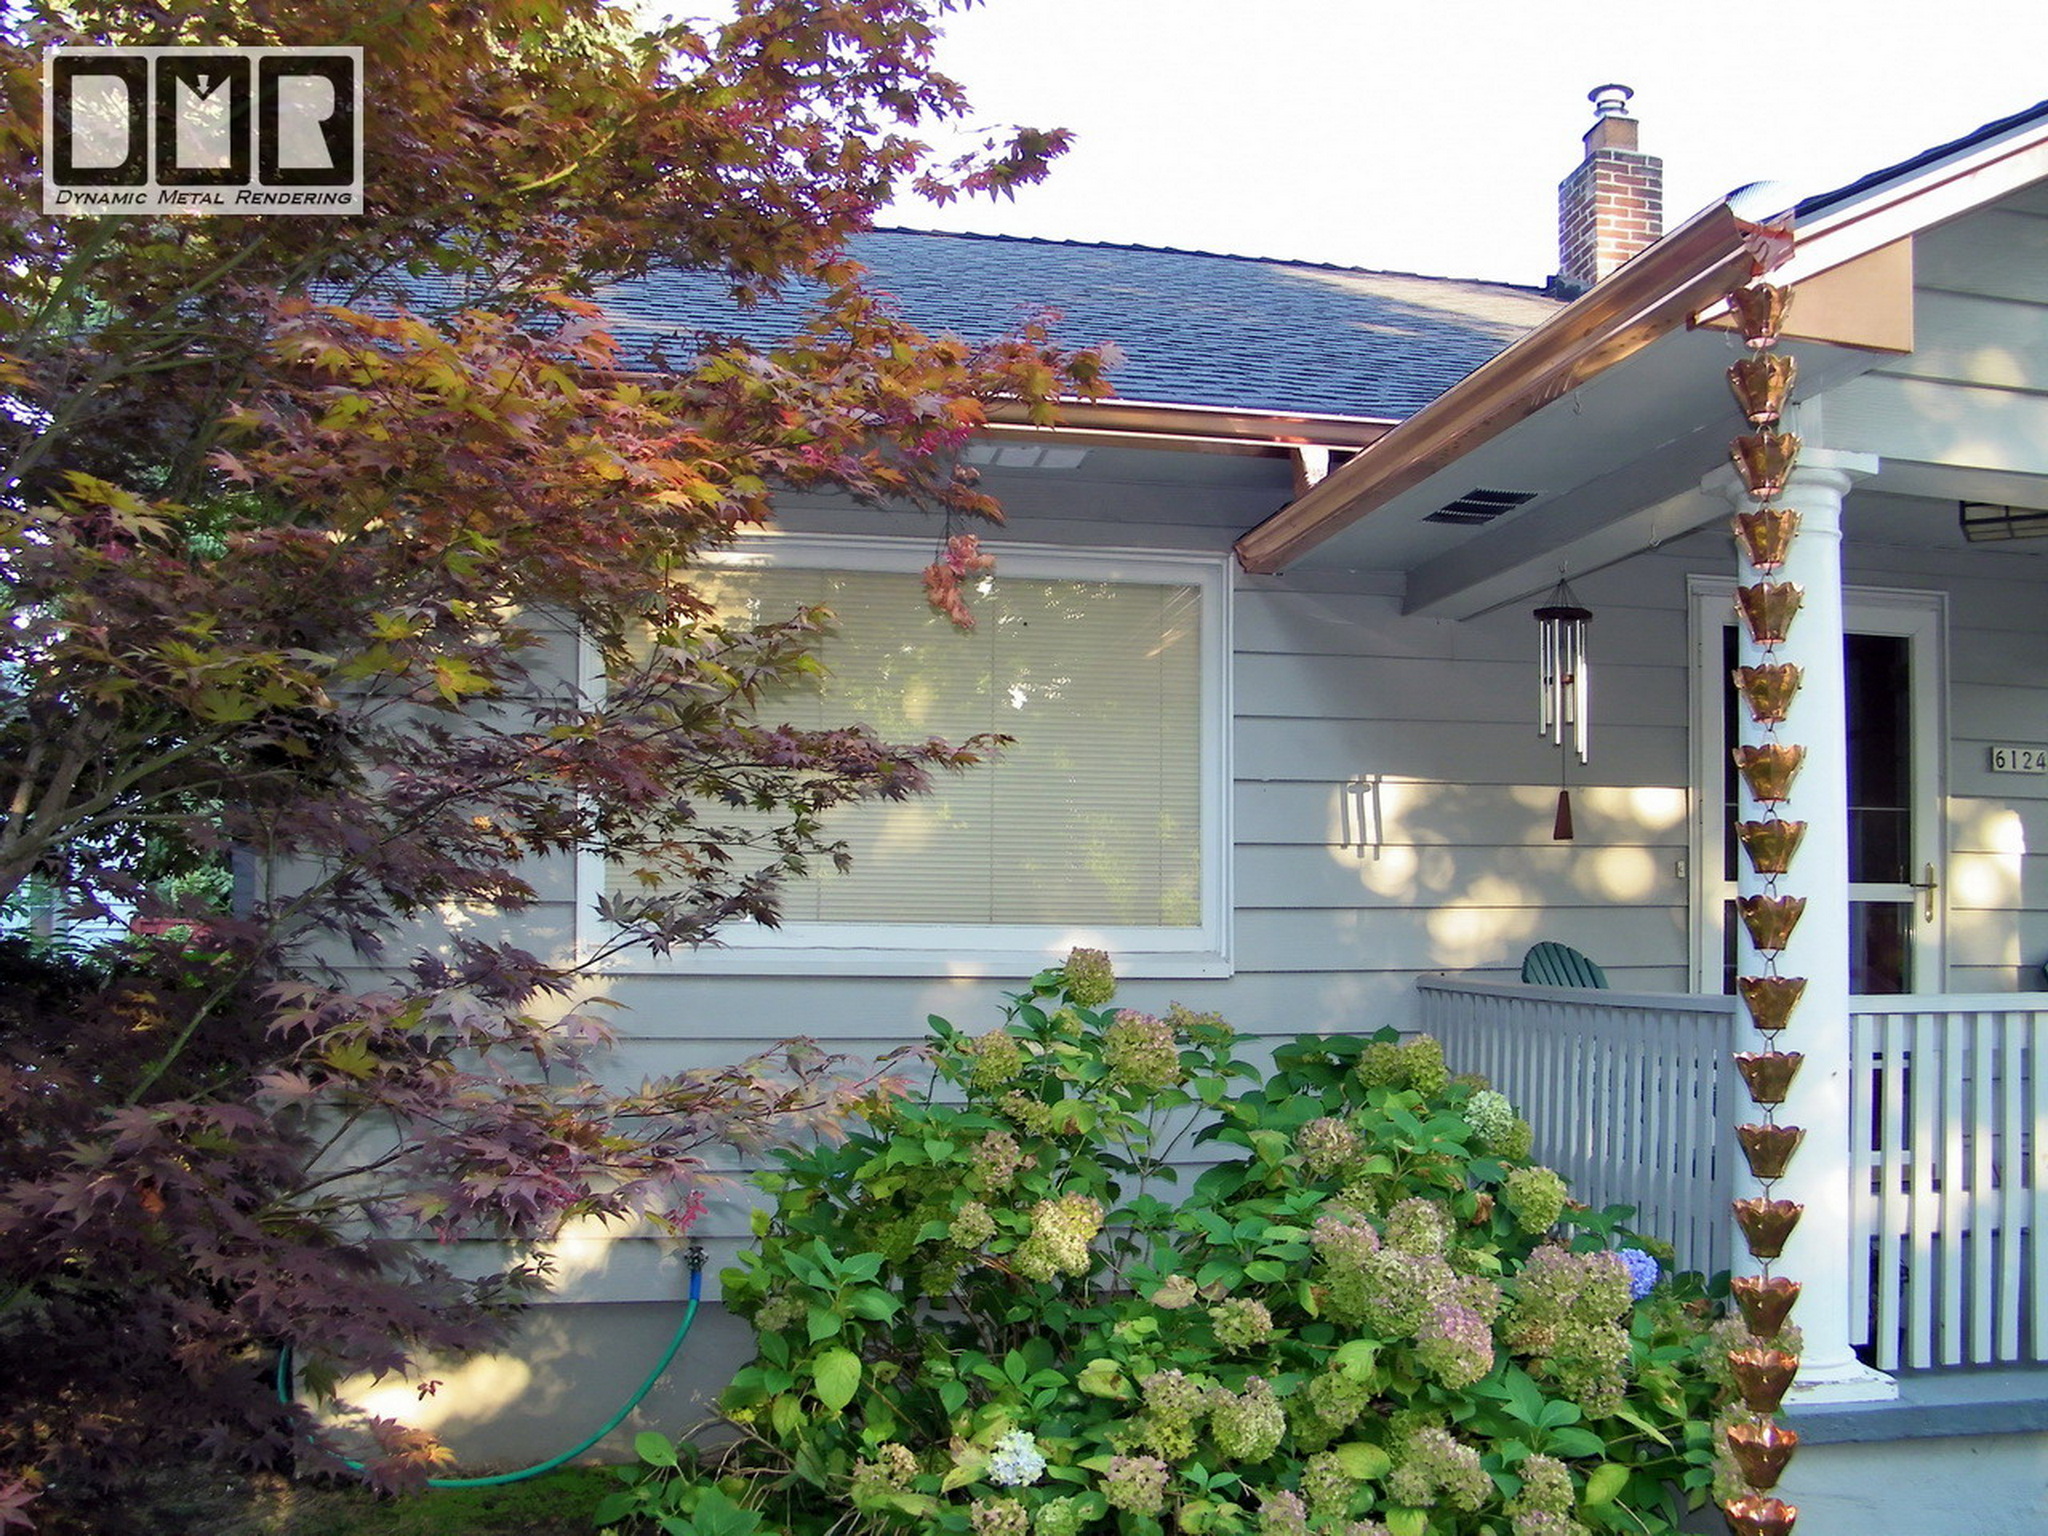
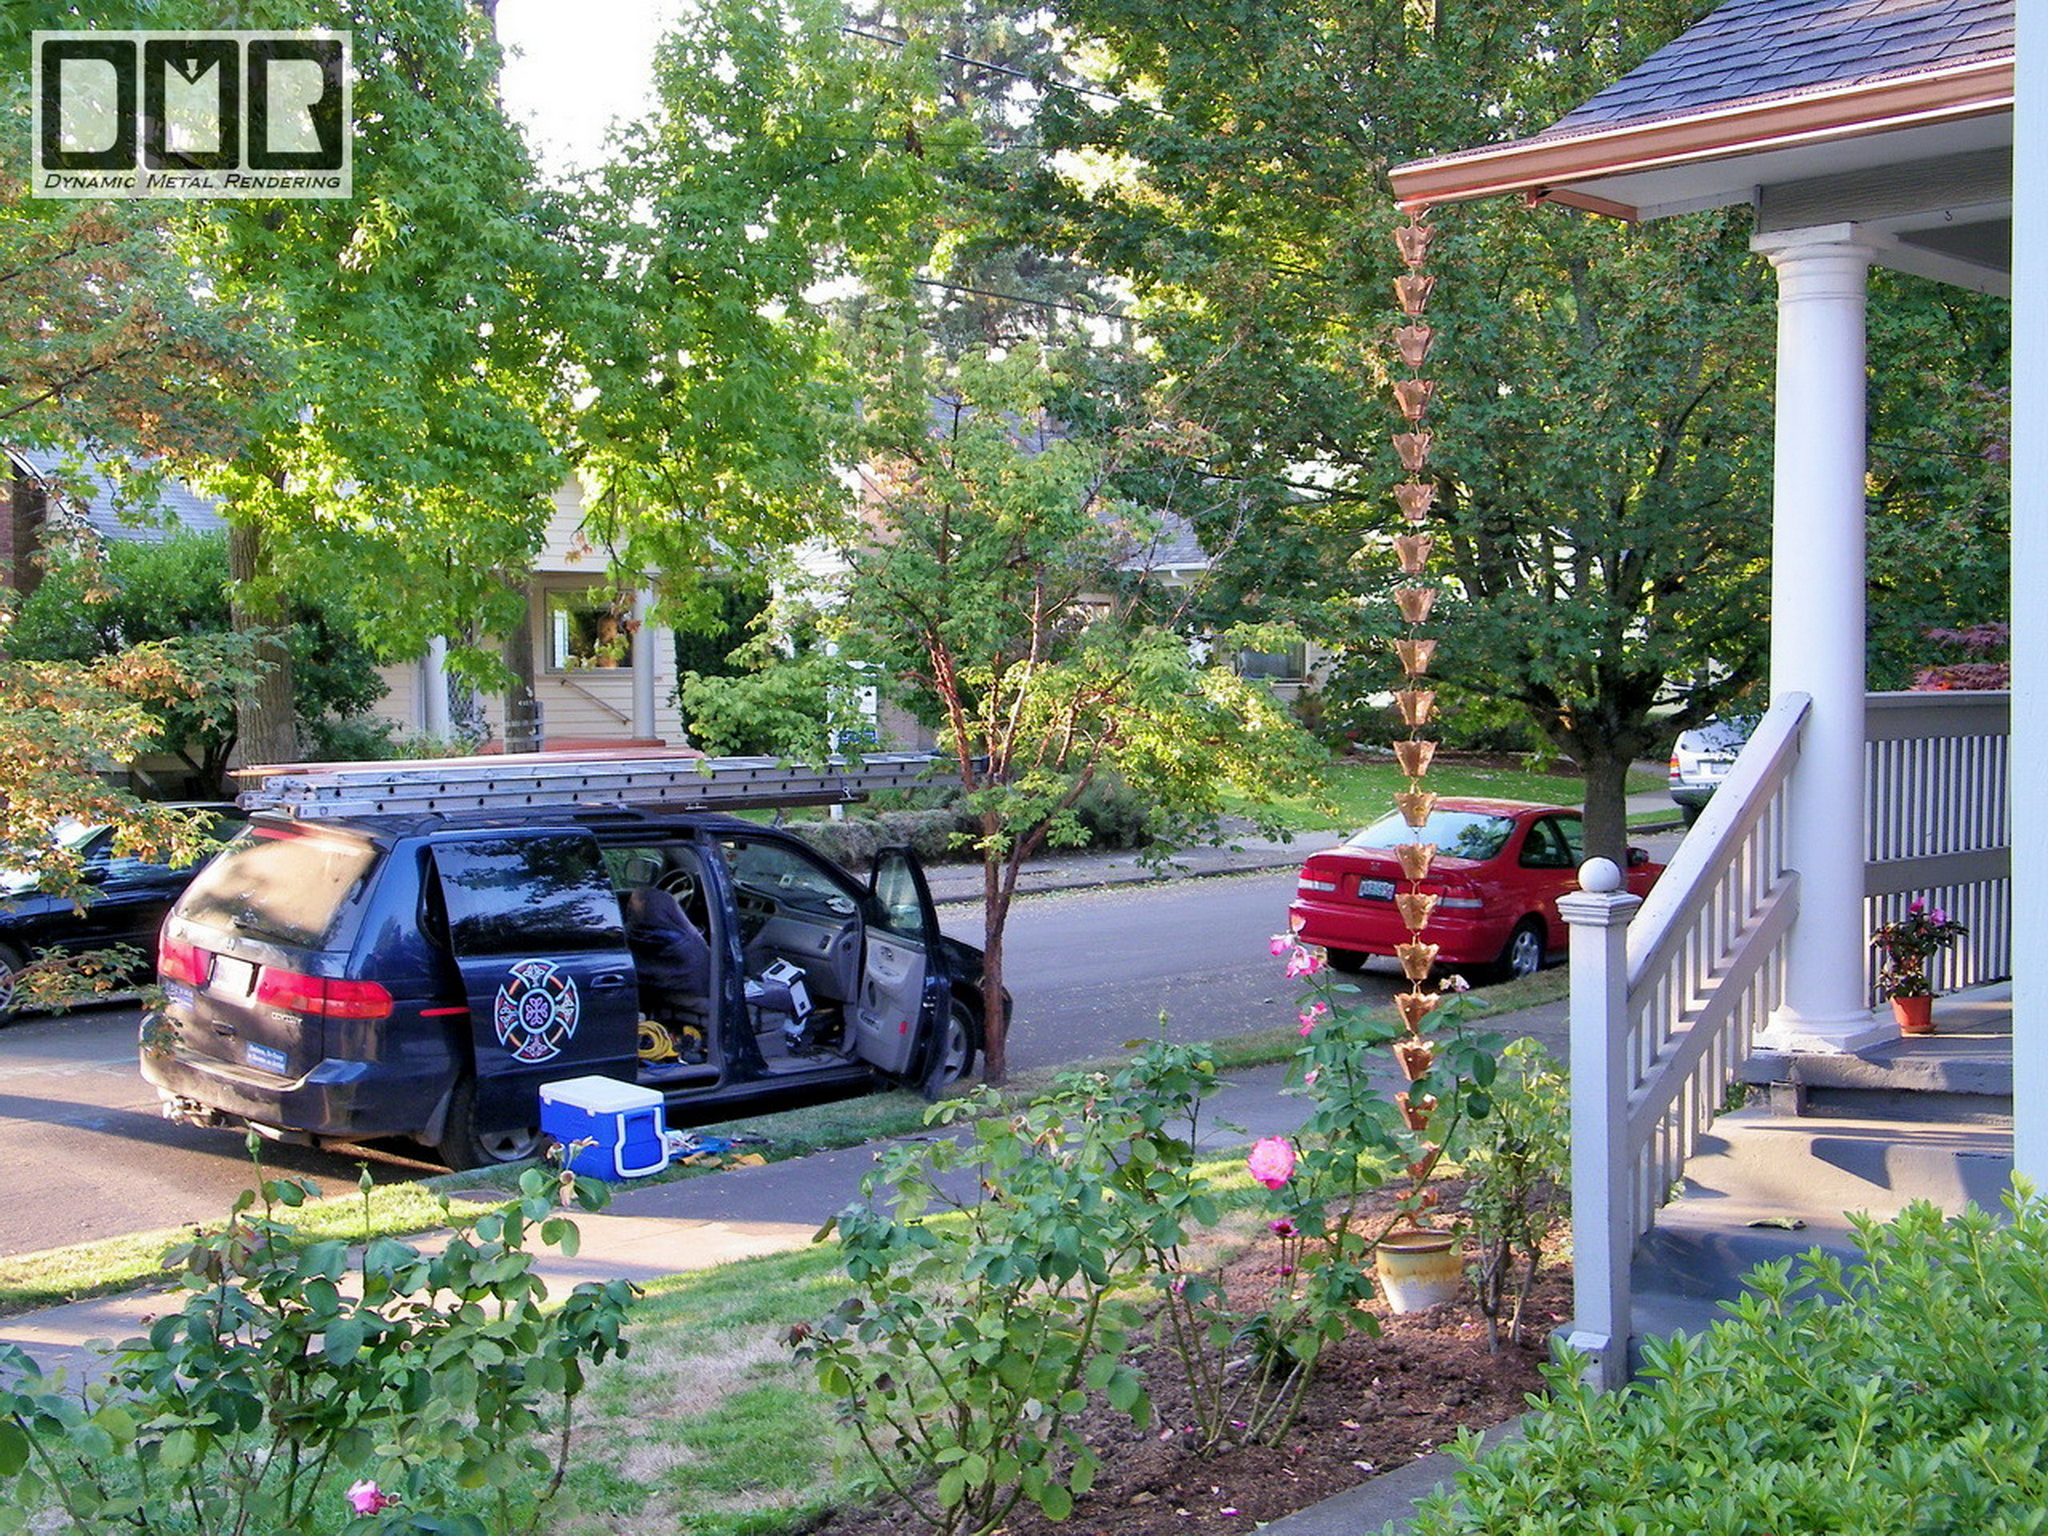
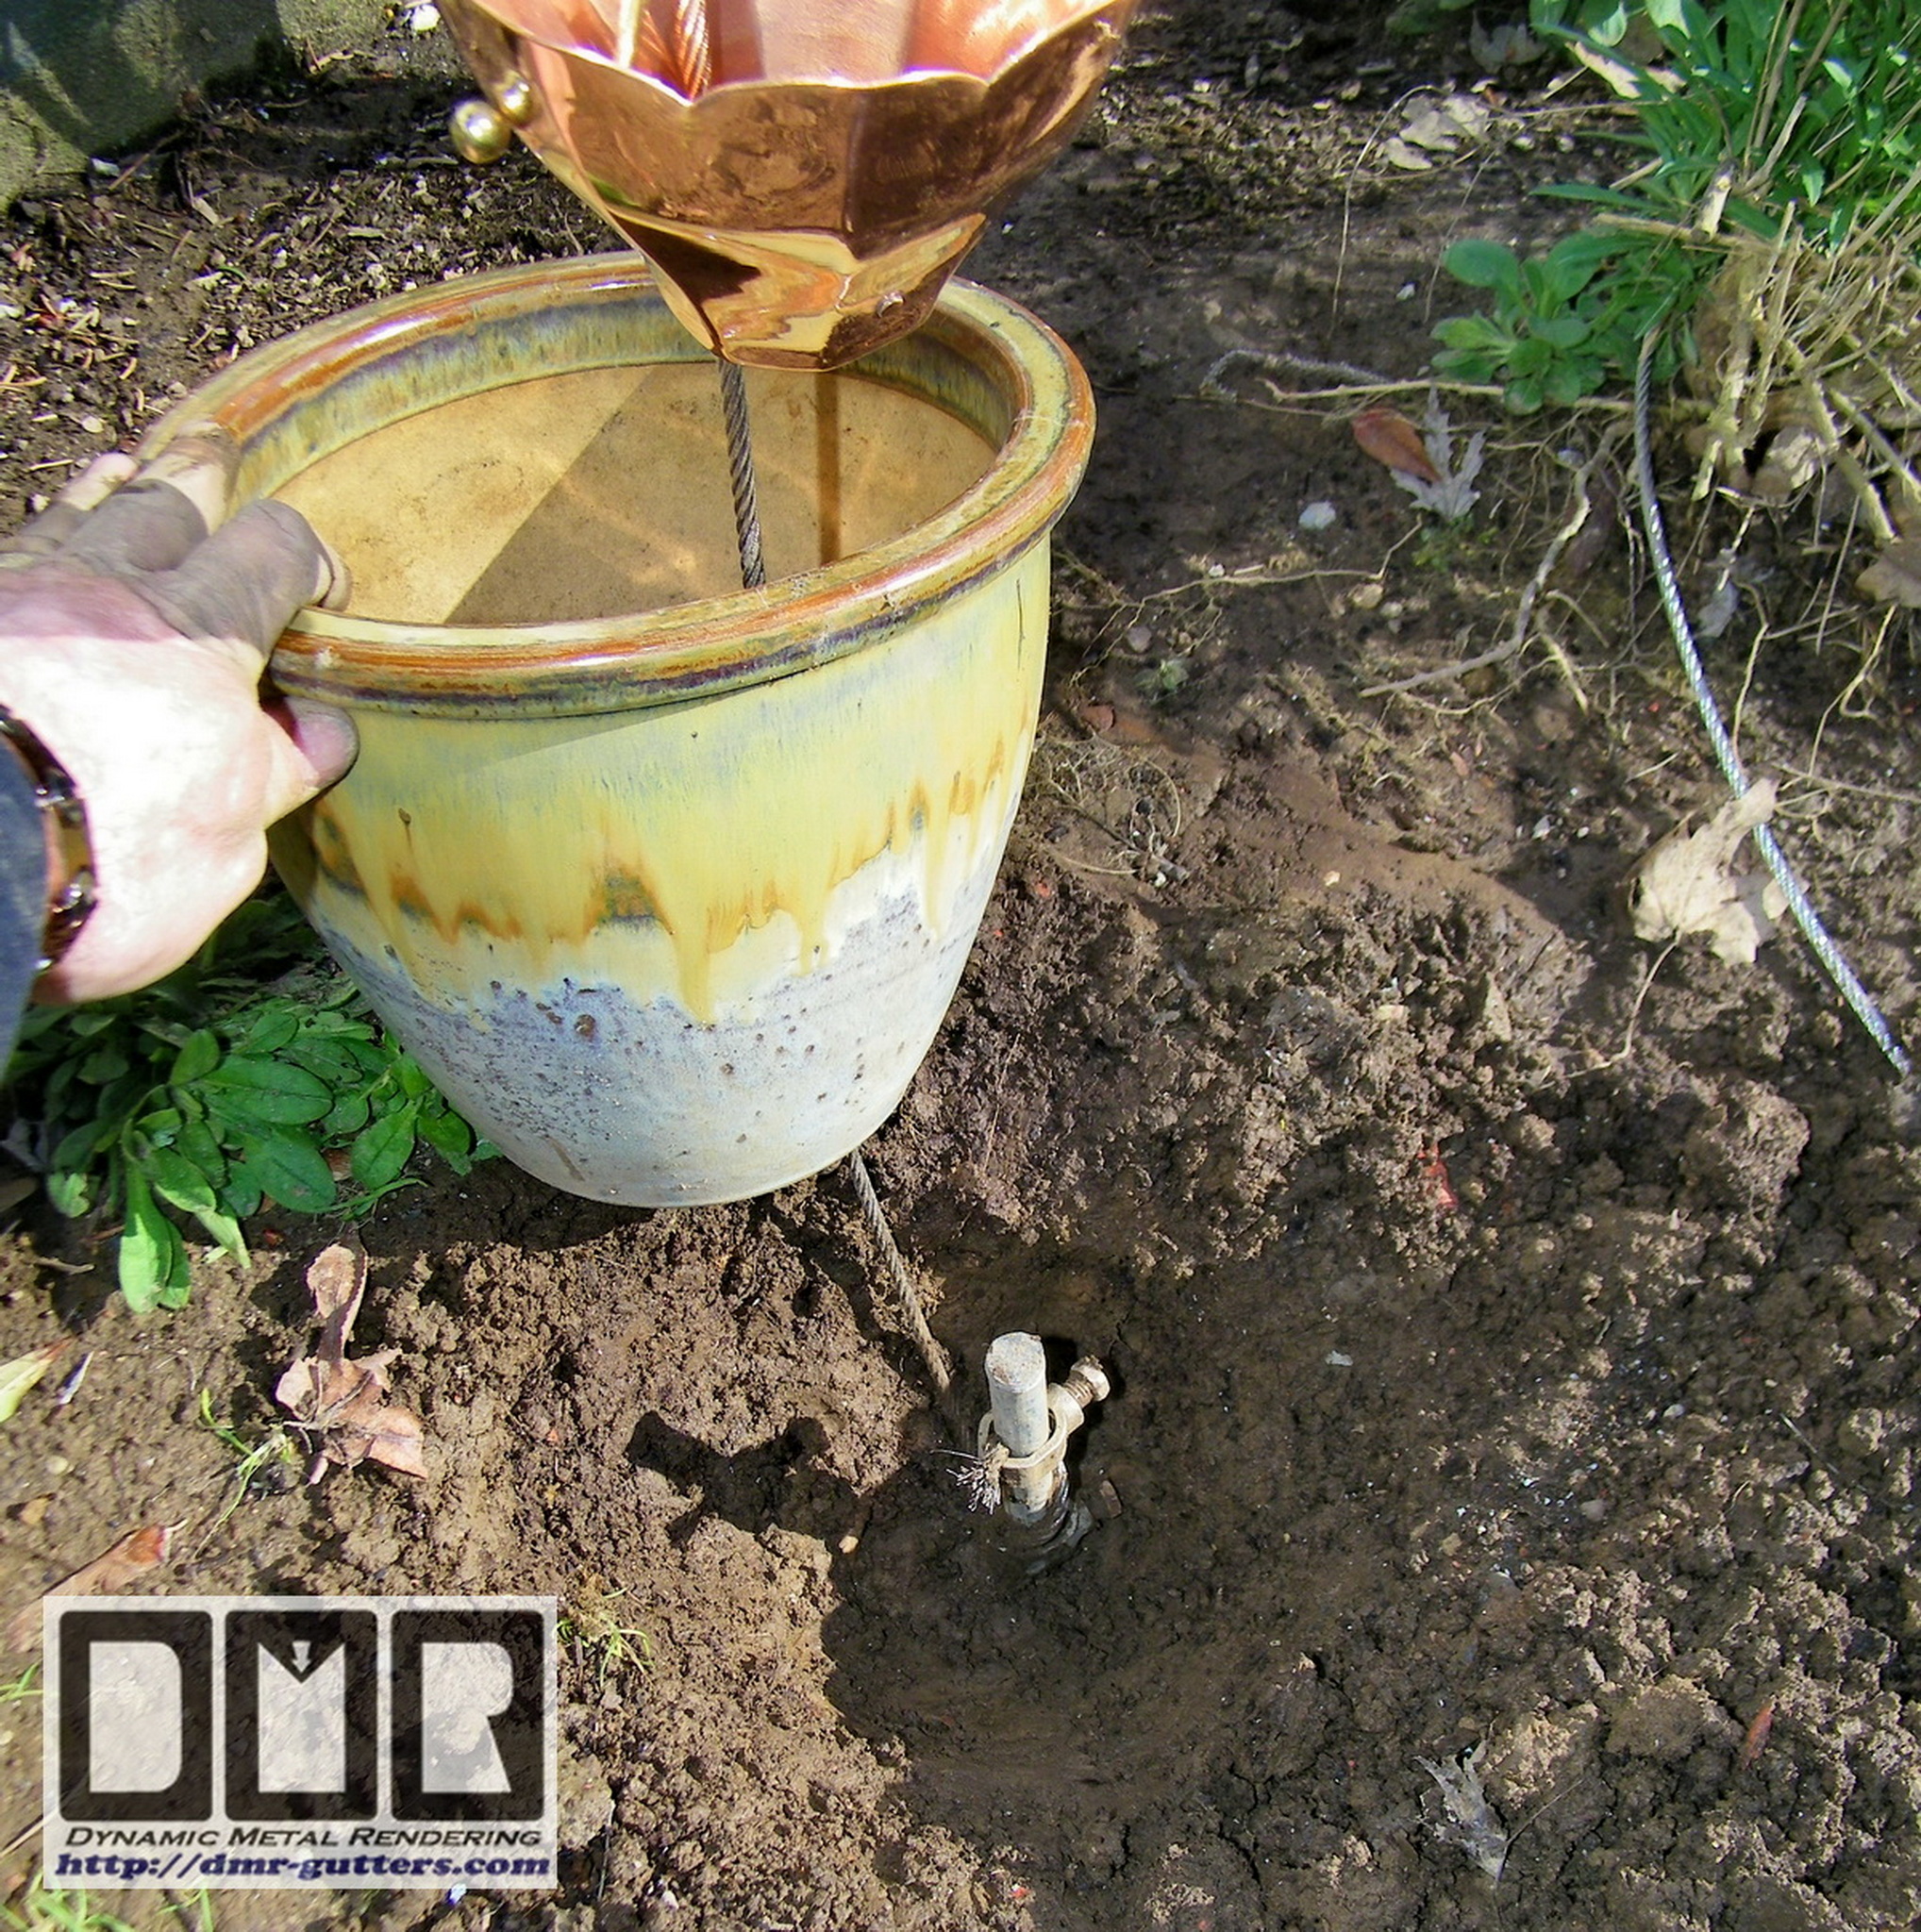
carport. We're enjoying watching water flow through our rain cups,
and we have received many compliments from friends, neighbors, and
people passing by. You really put a lot of yourself into this
project, and our house is a much better place because of you. For
that, we will be ever grateful.
We definitely would like you to come back and complete
the additional fascia work that we discussed. What is your
availability in the coming months? We would be able to send a
deposit to you in early October.
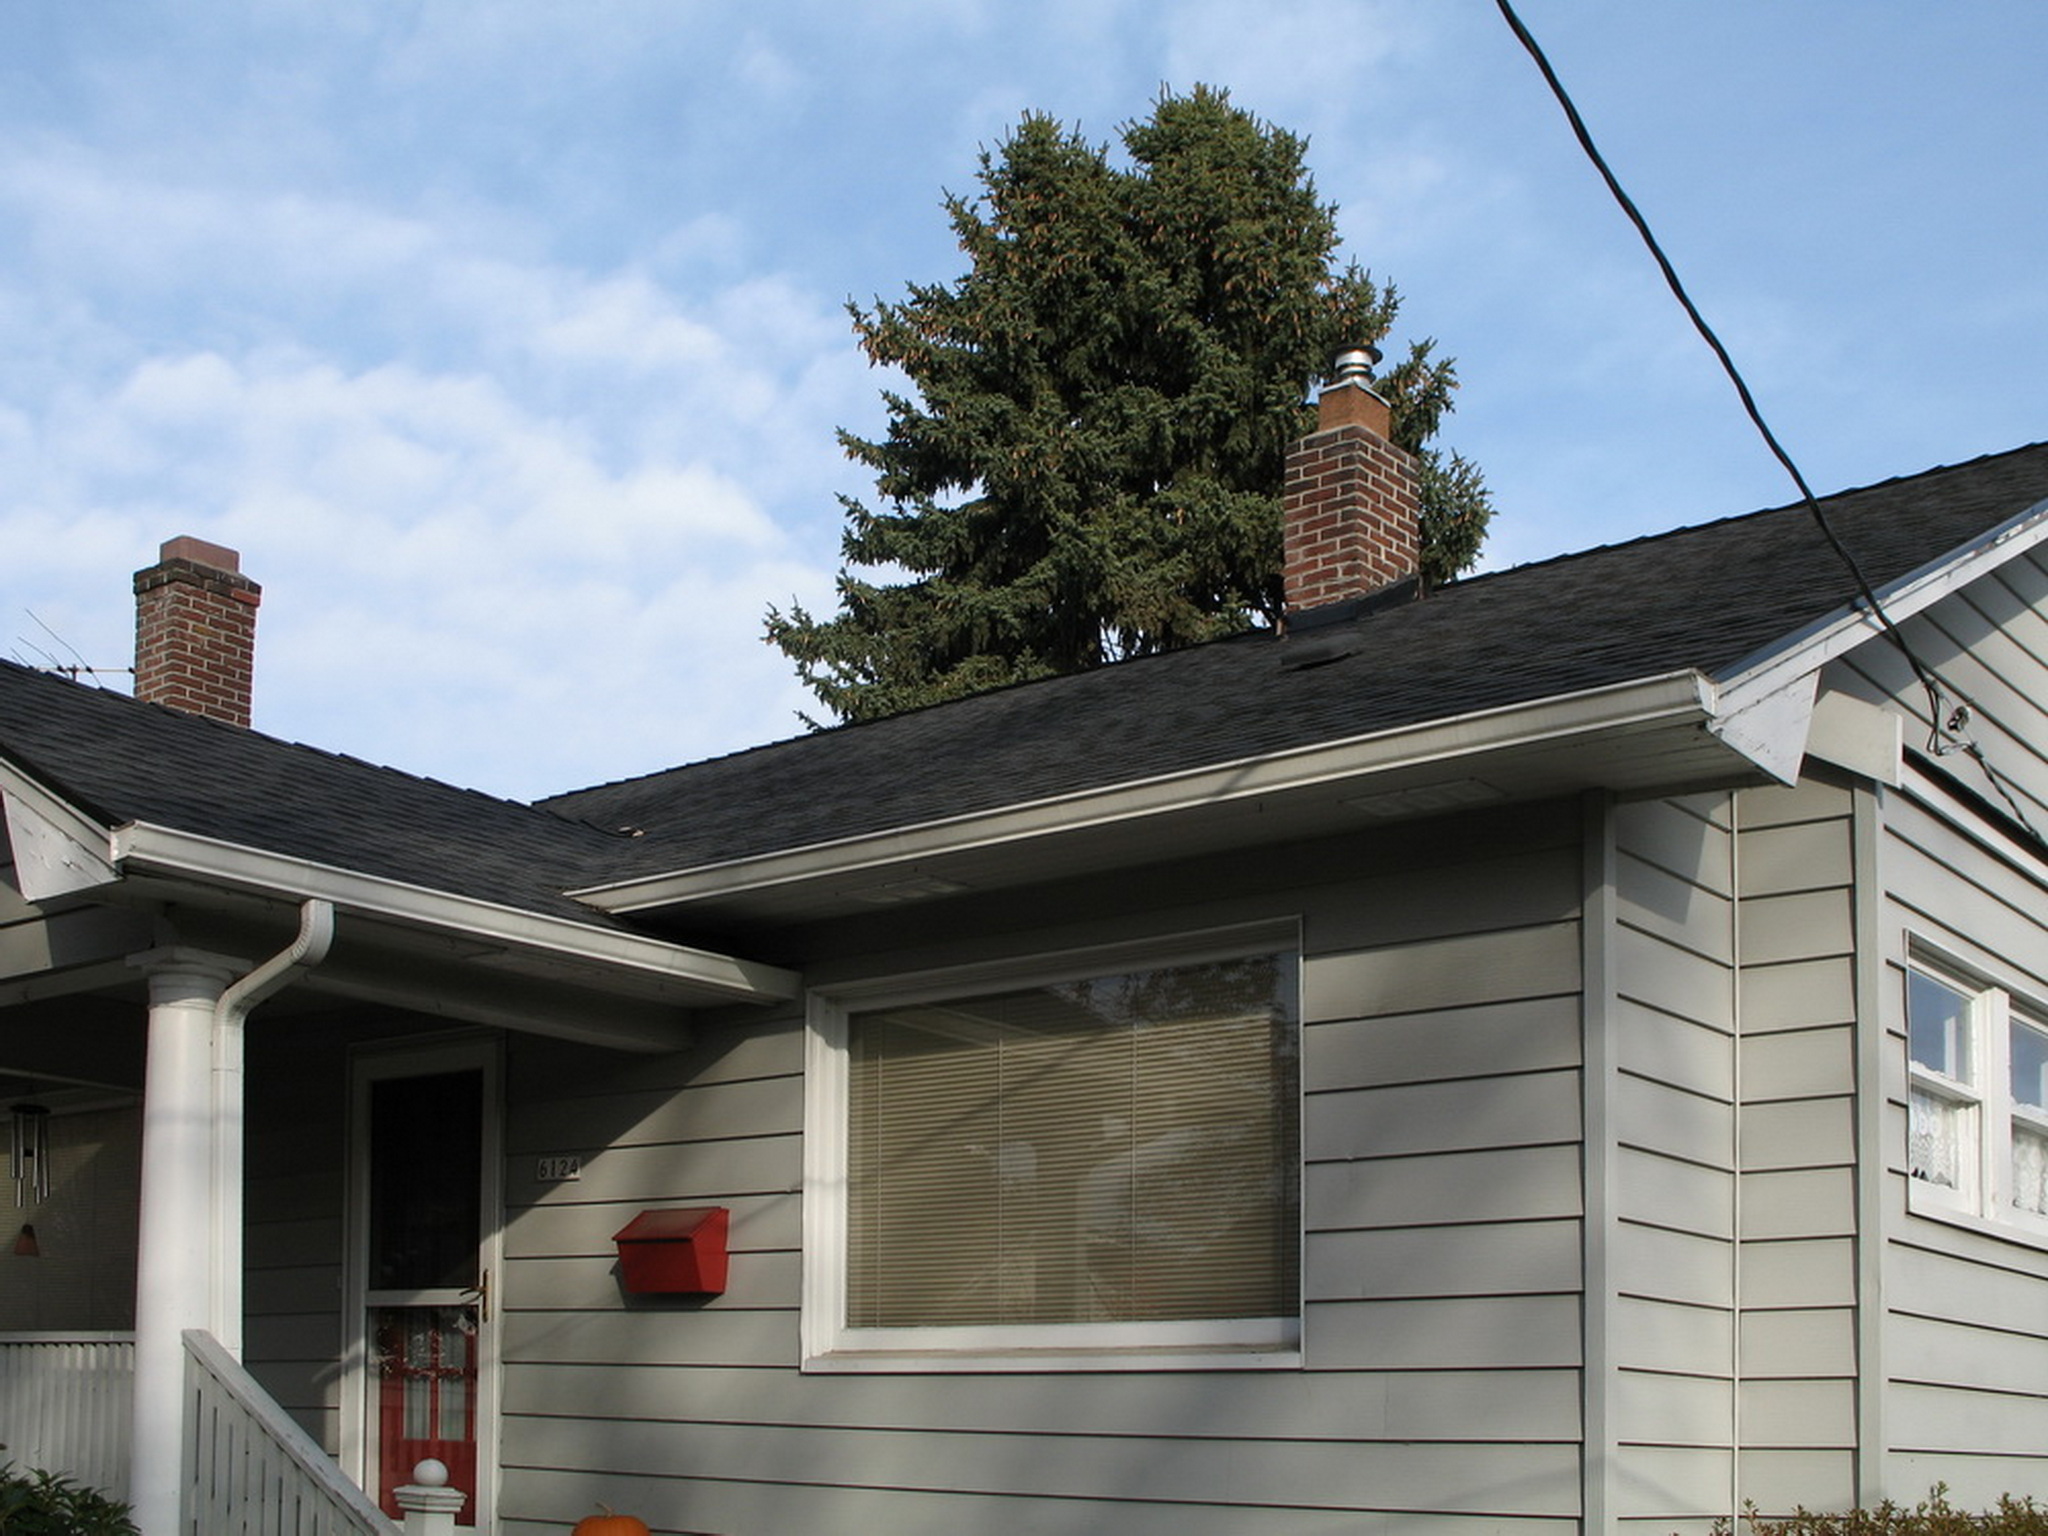
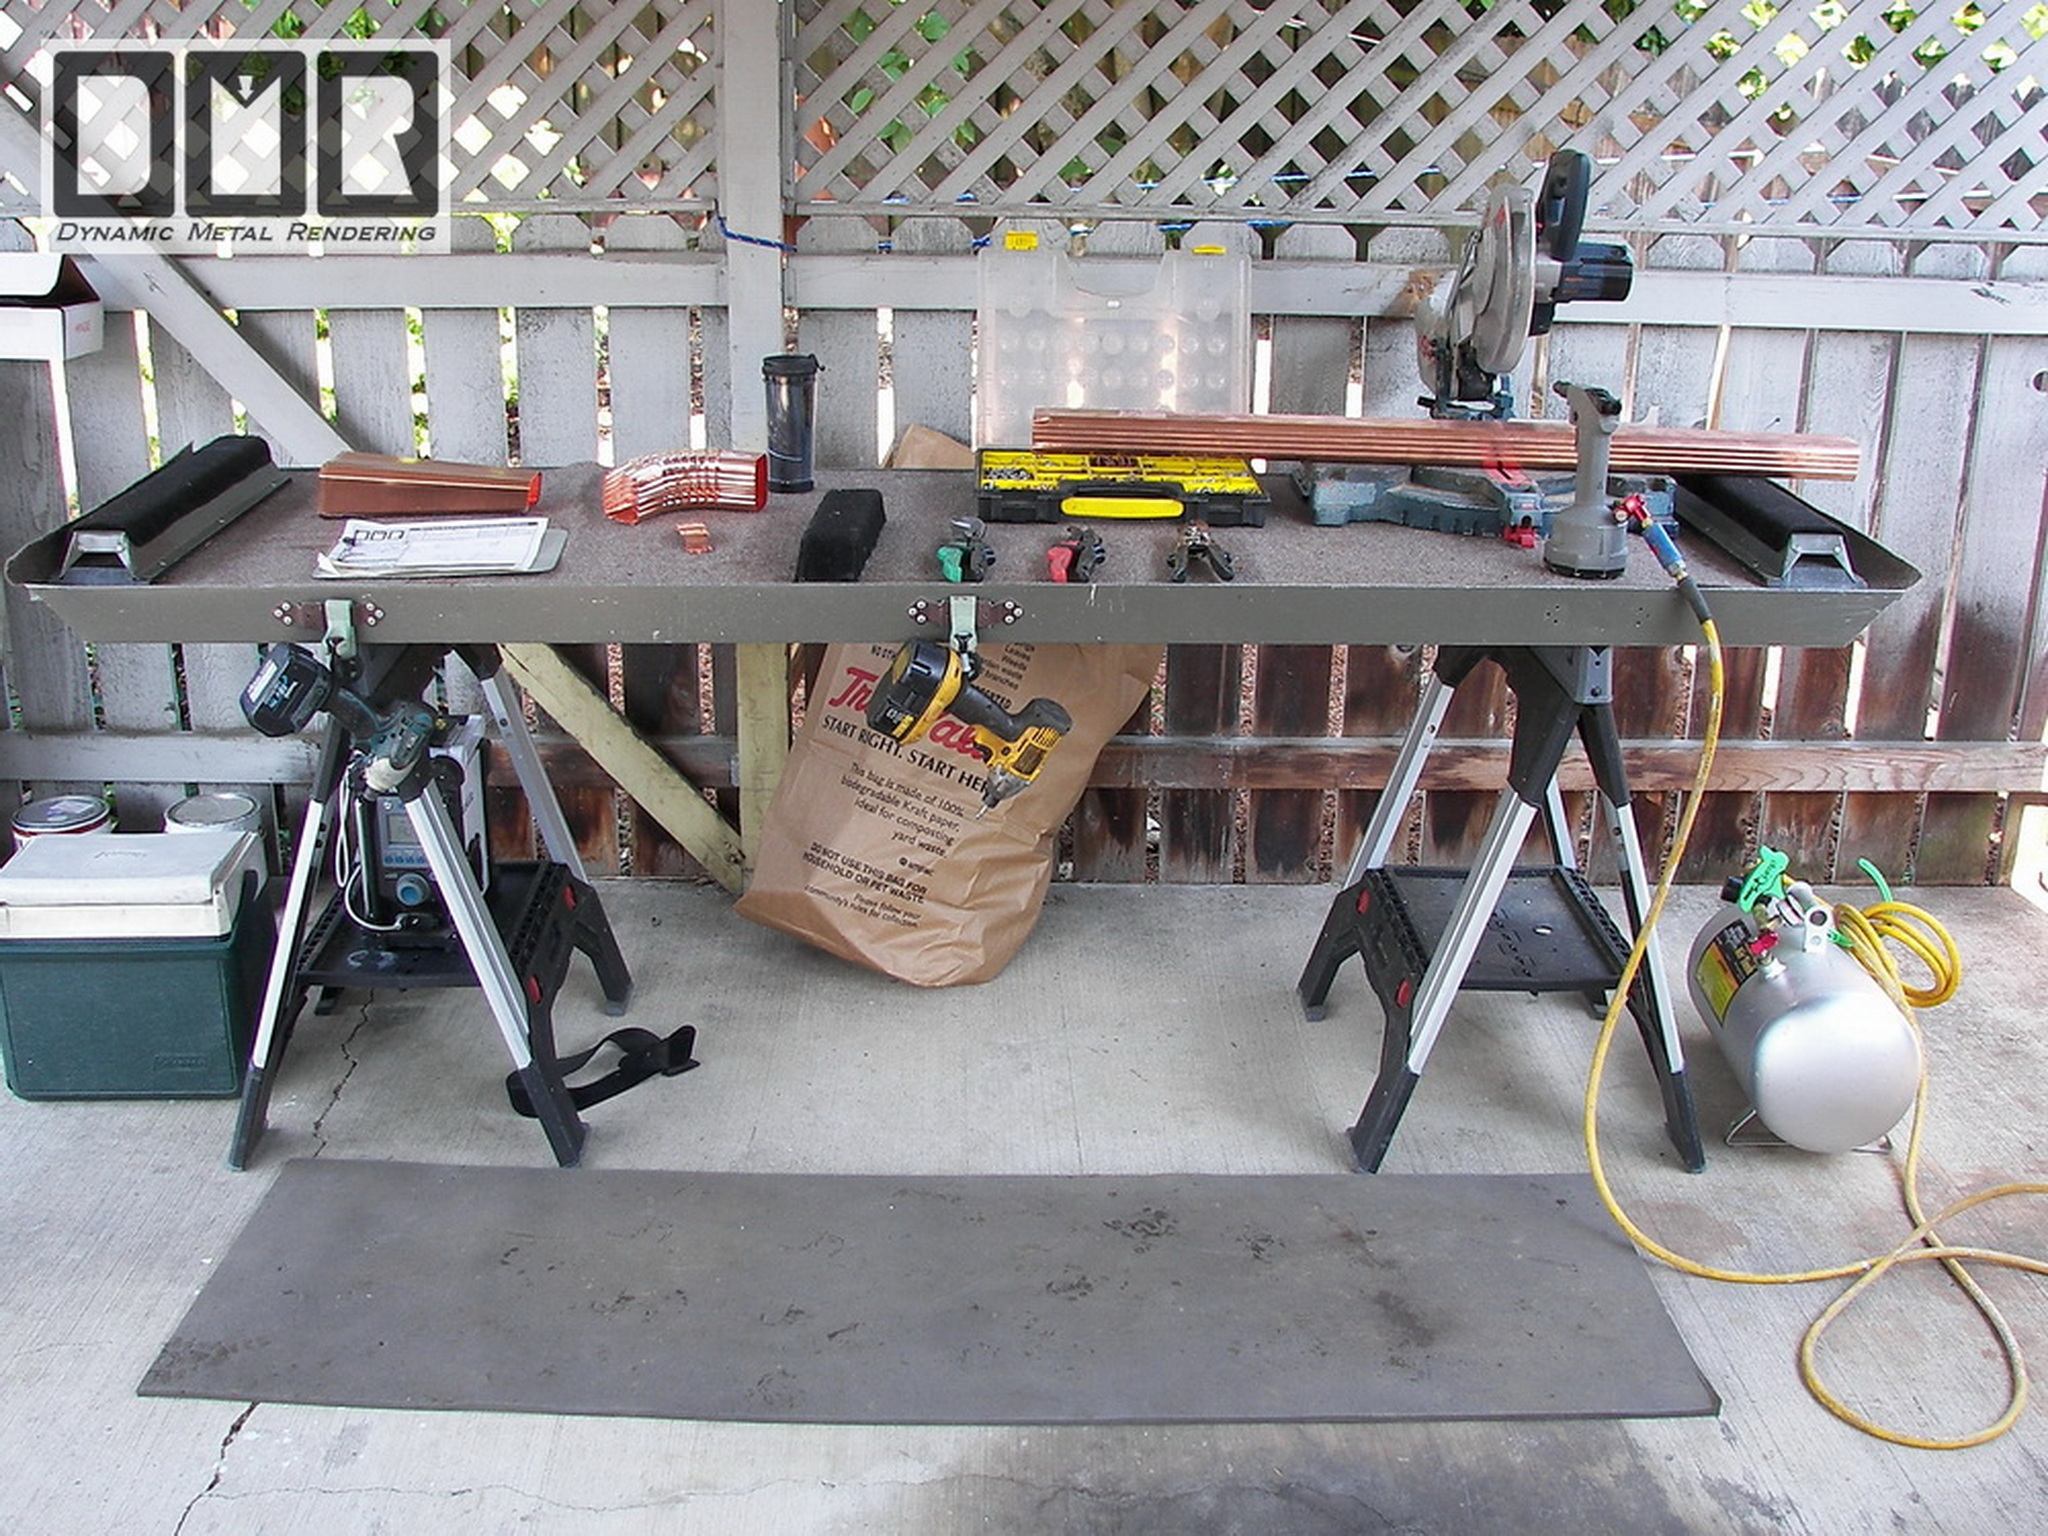
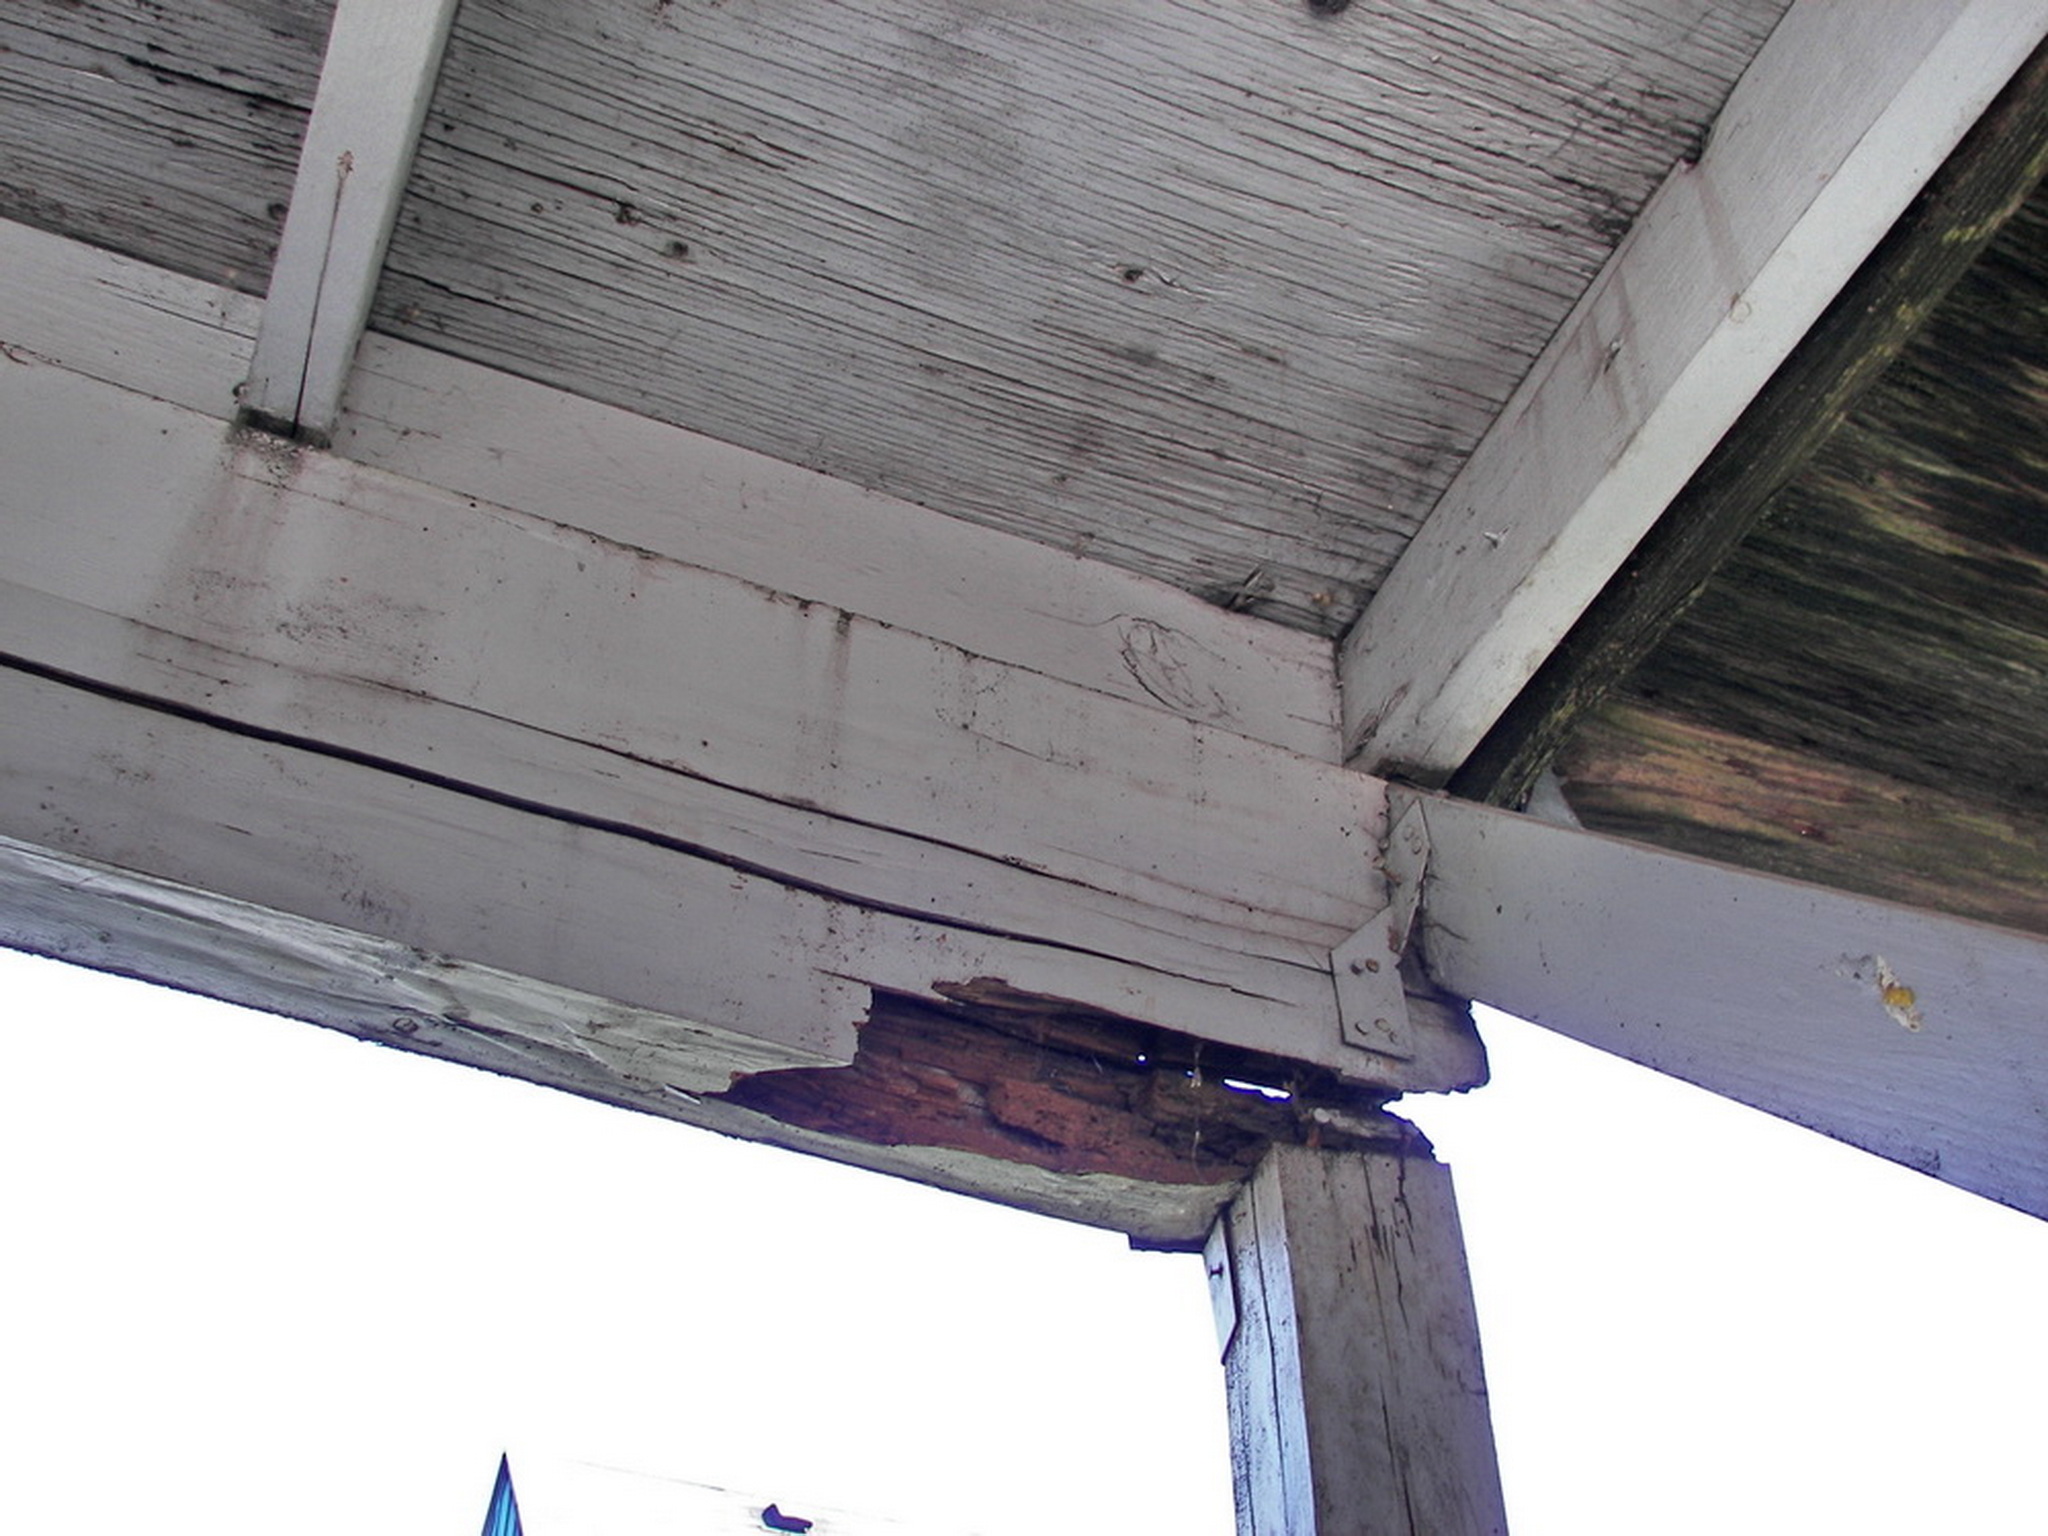
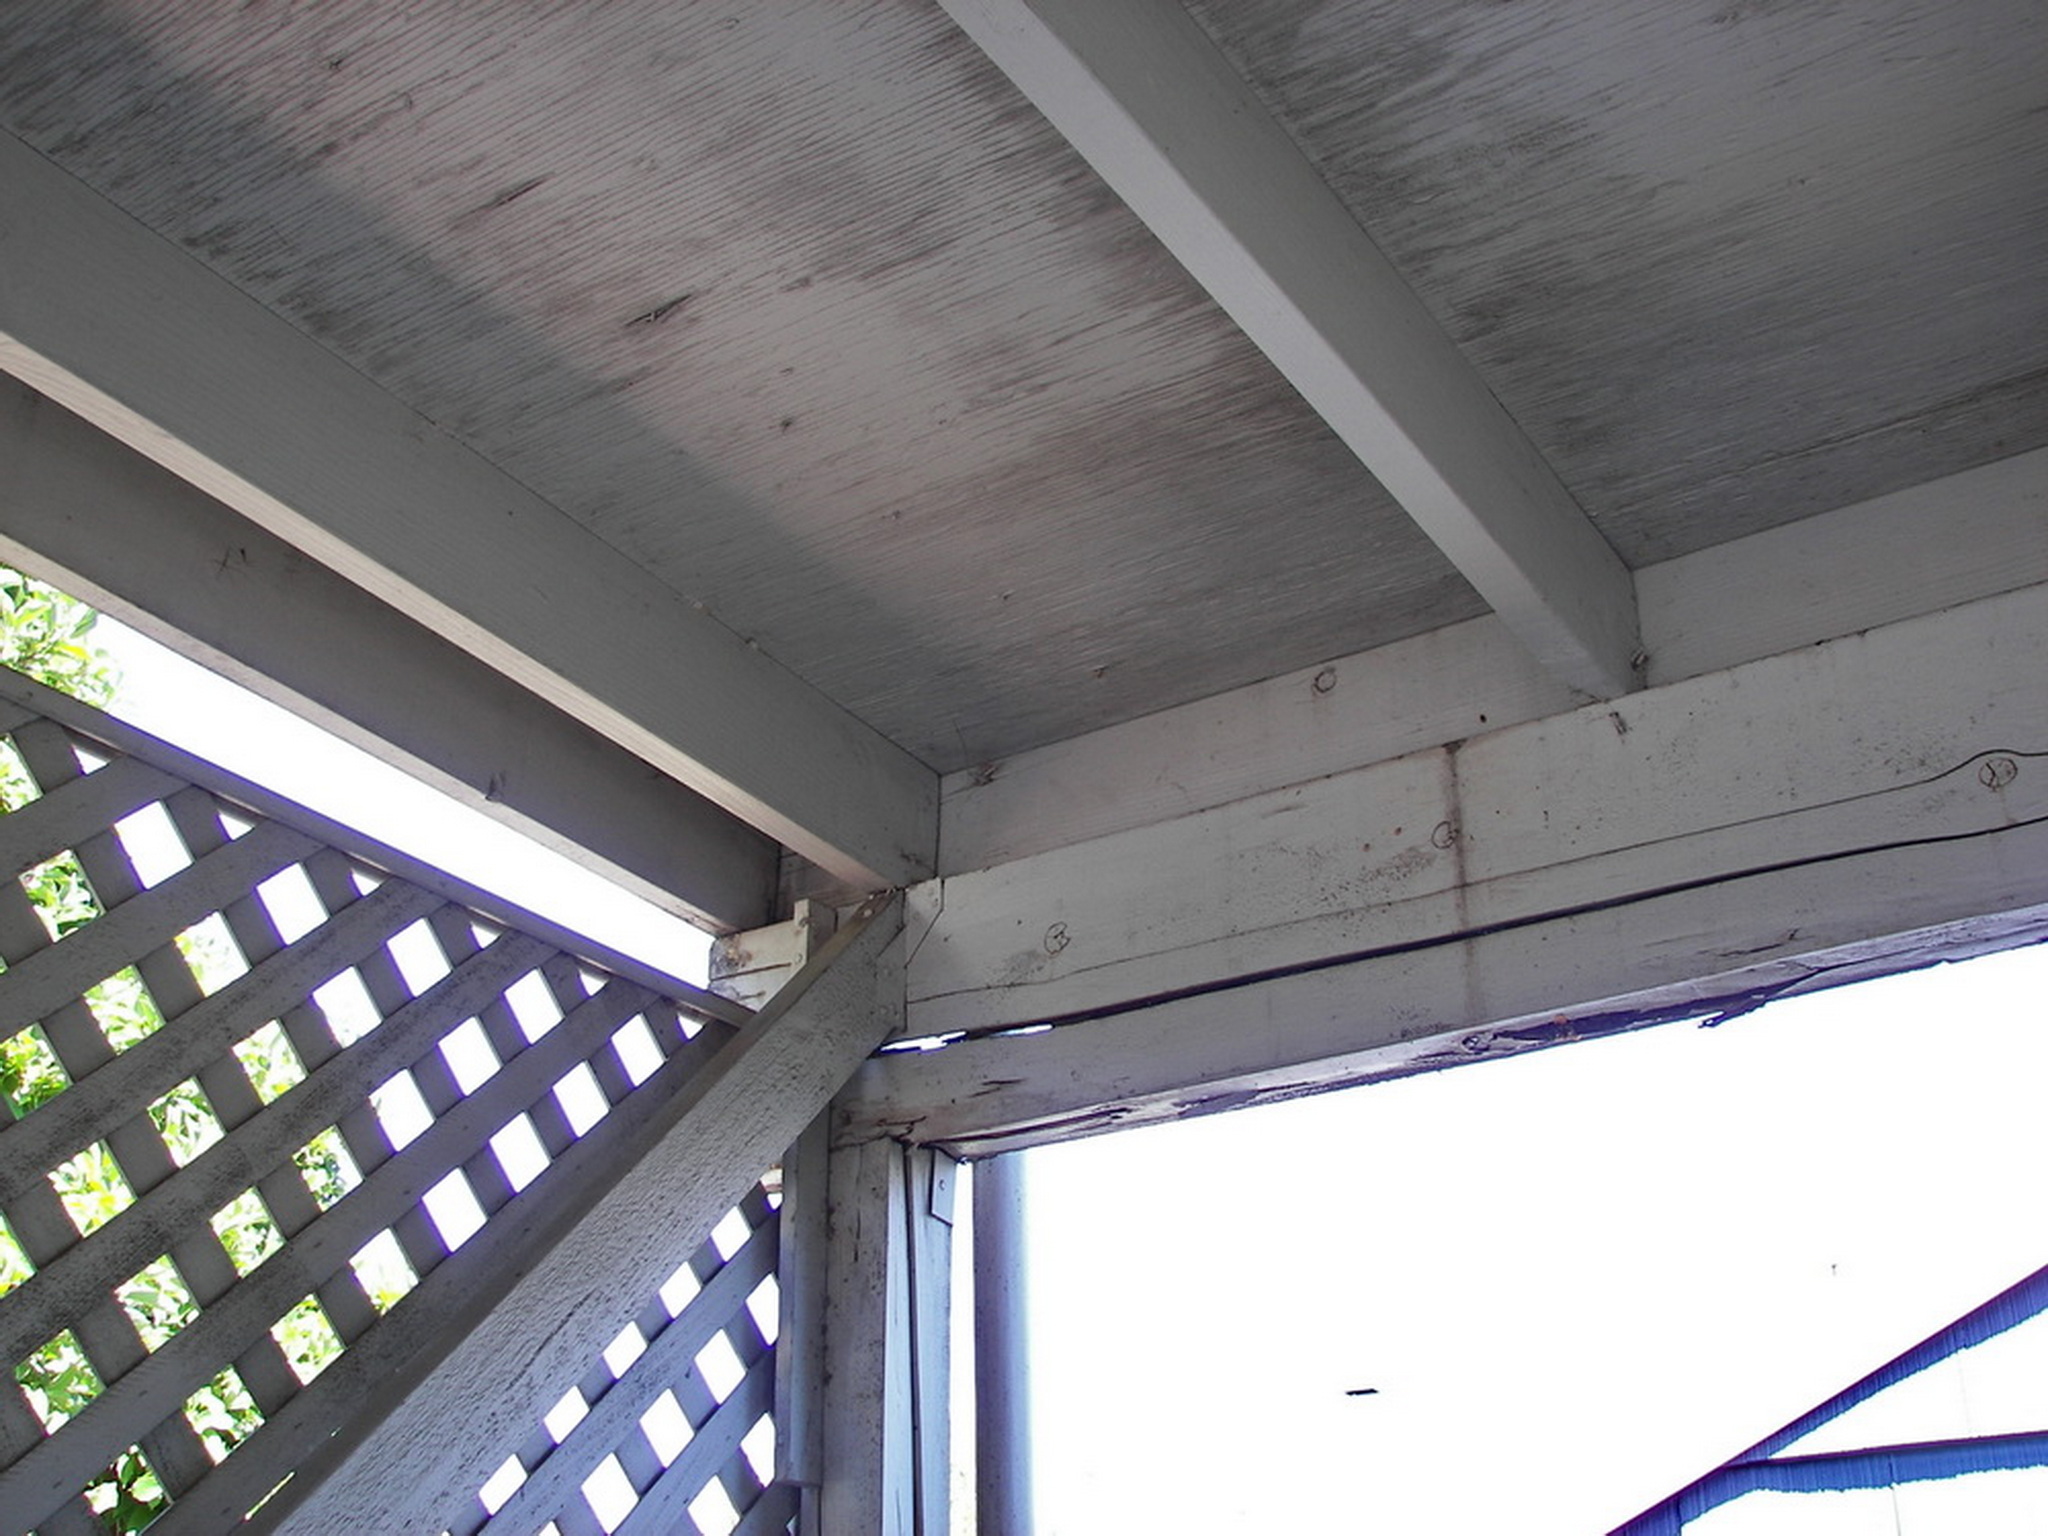
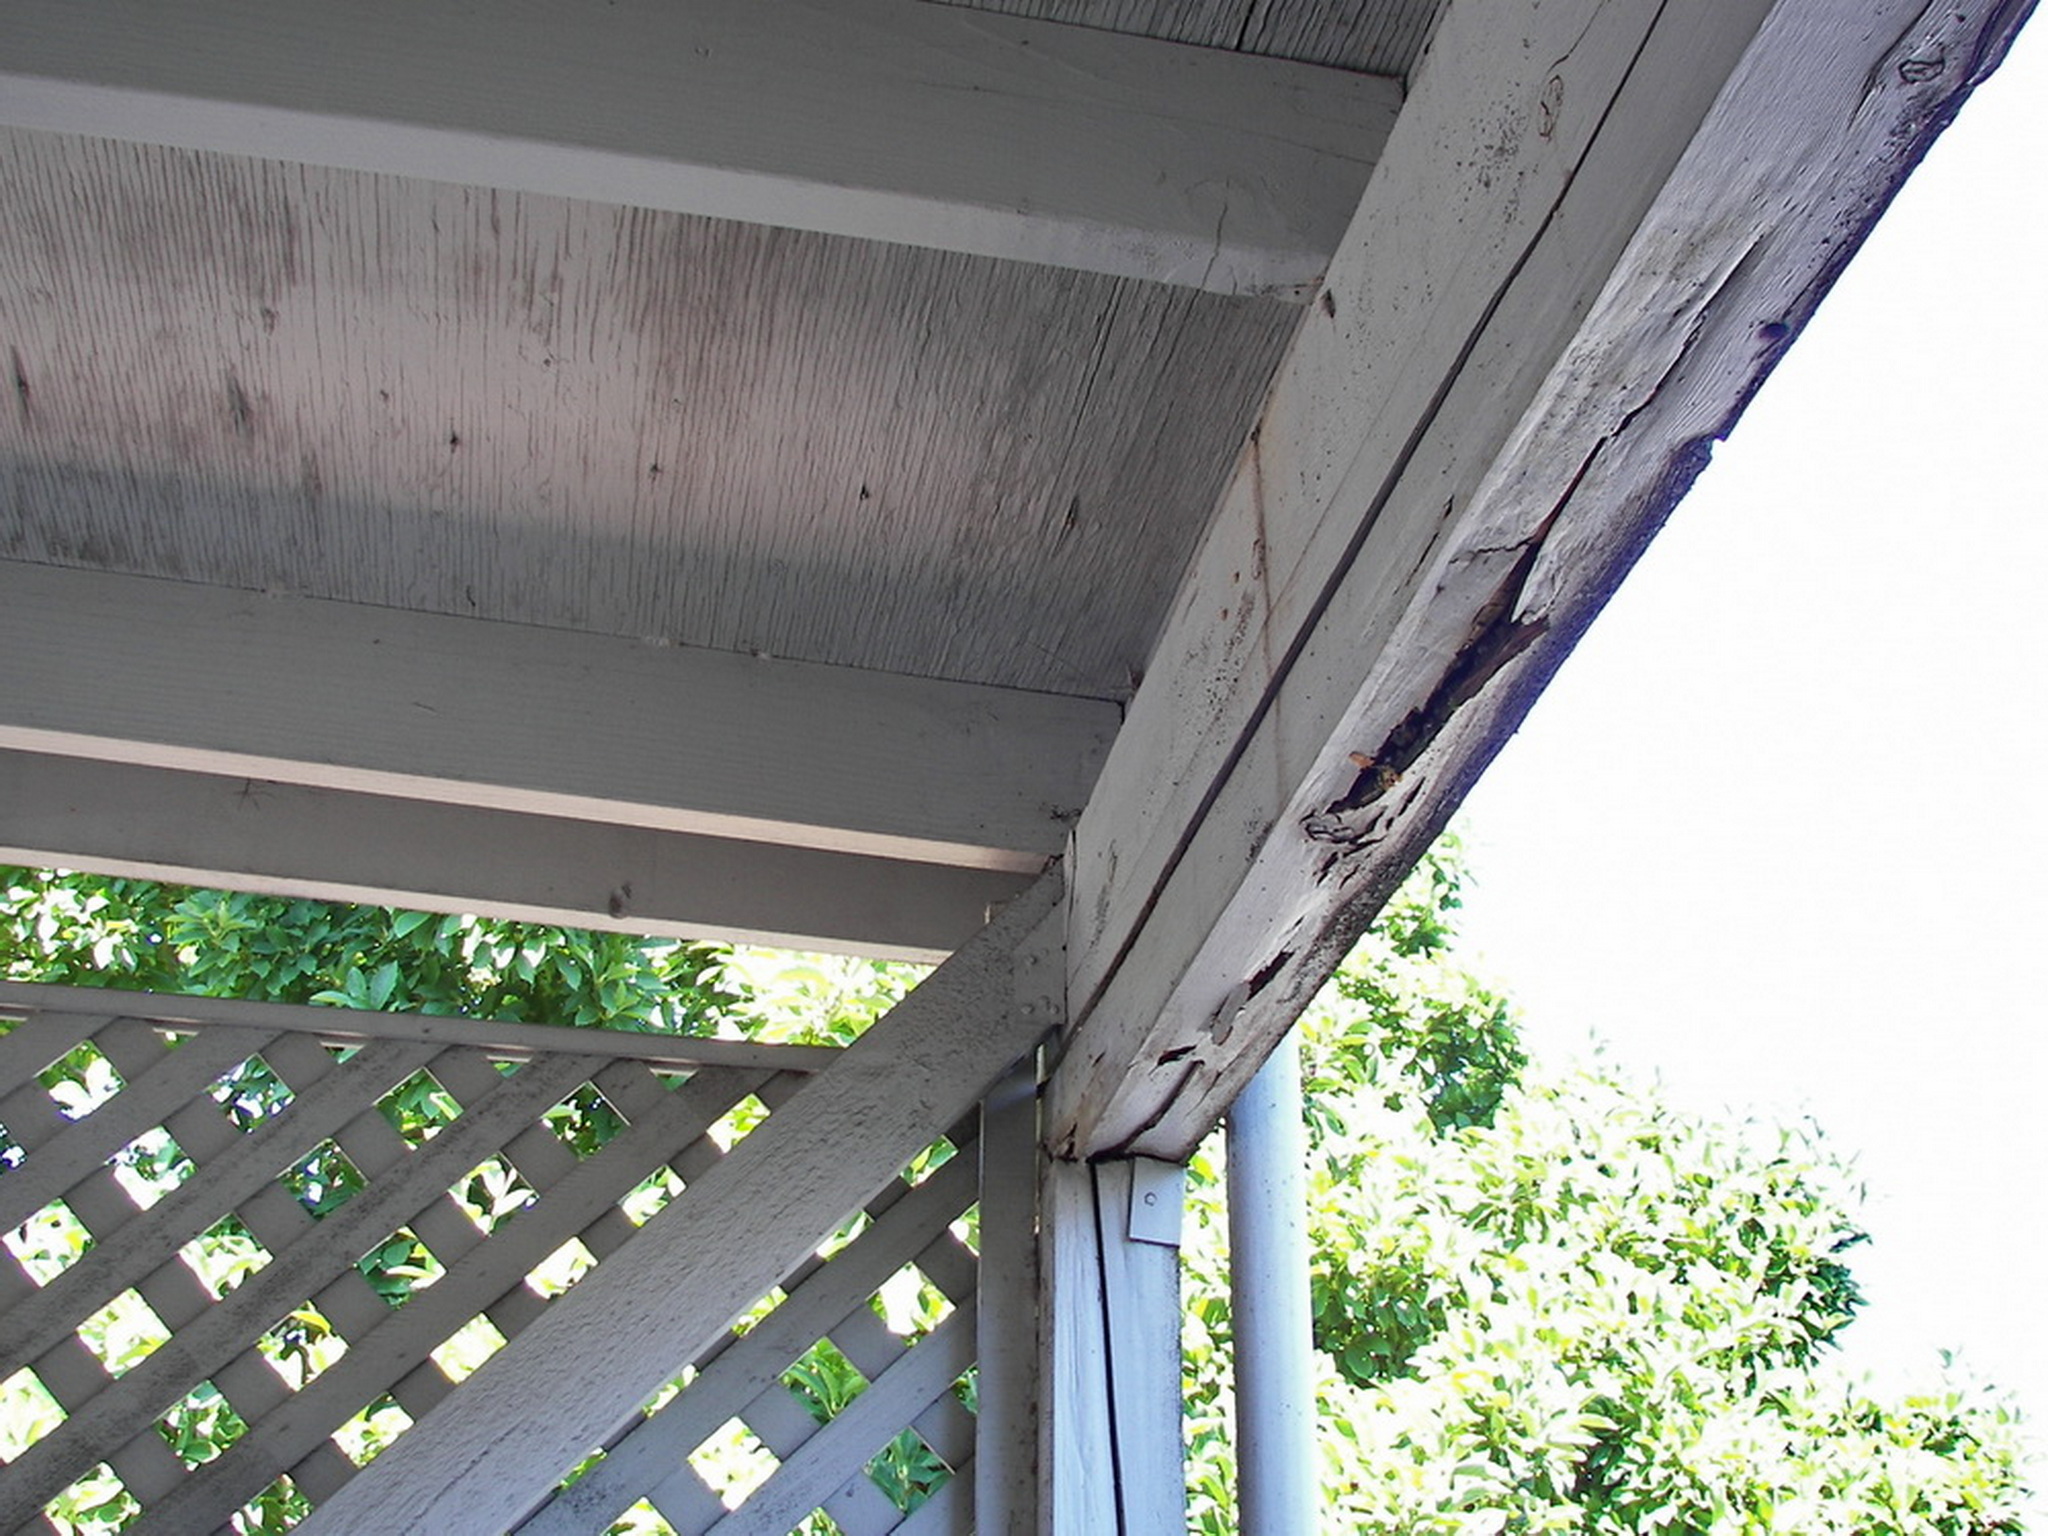
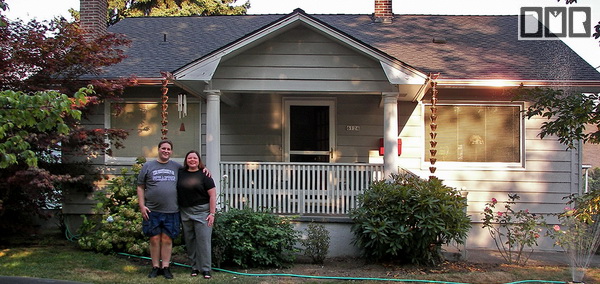
Attached are a few pictures we thought you might like.
Thanks again for everything, and we look forward to
working with you again.
Sincerely,
Meri and Mike Lenio
Date: Mon, 06 Oct 2008
Hi David,
Thank you once again for completing the
additional work on our house. You were so kind to fit our extra
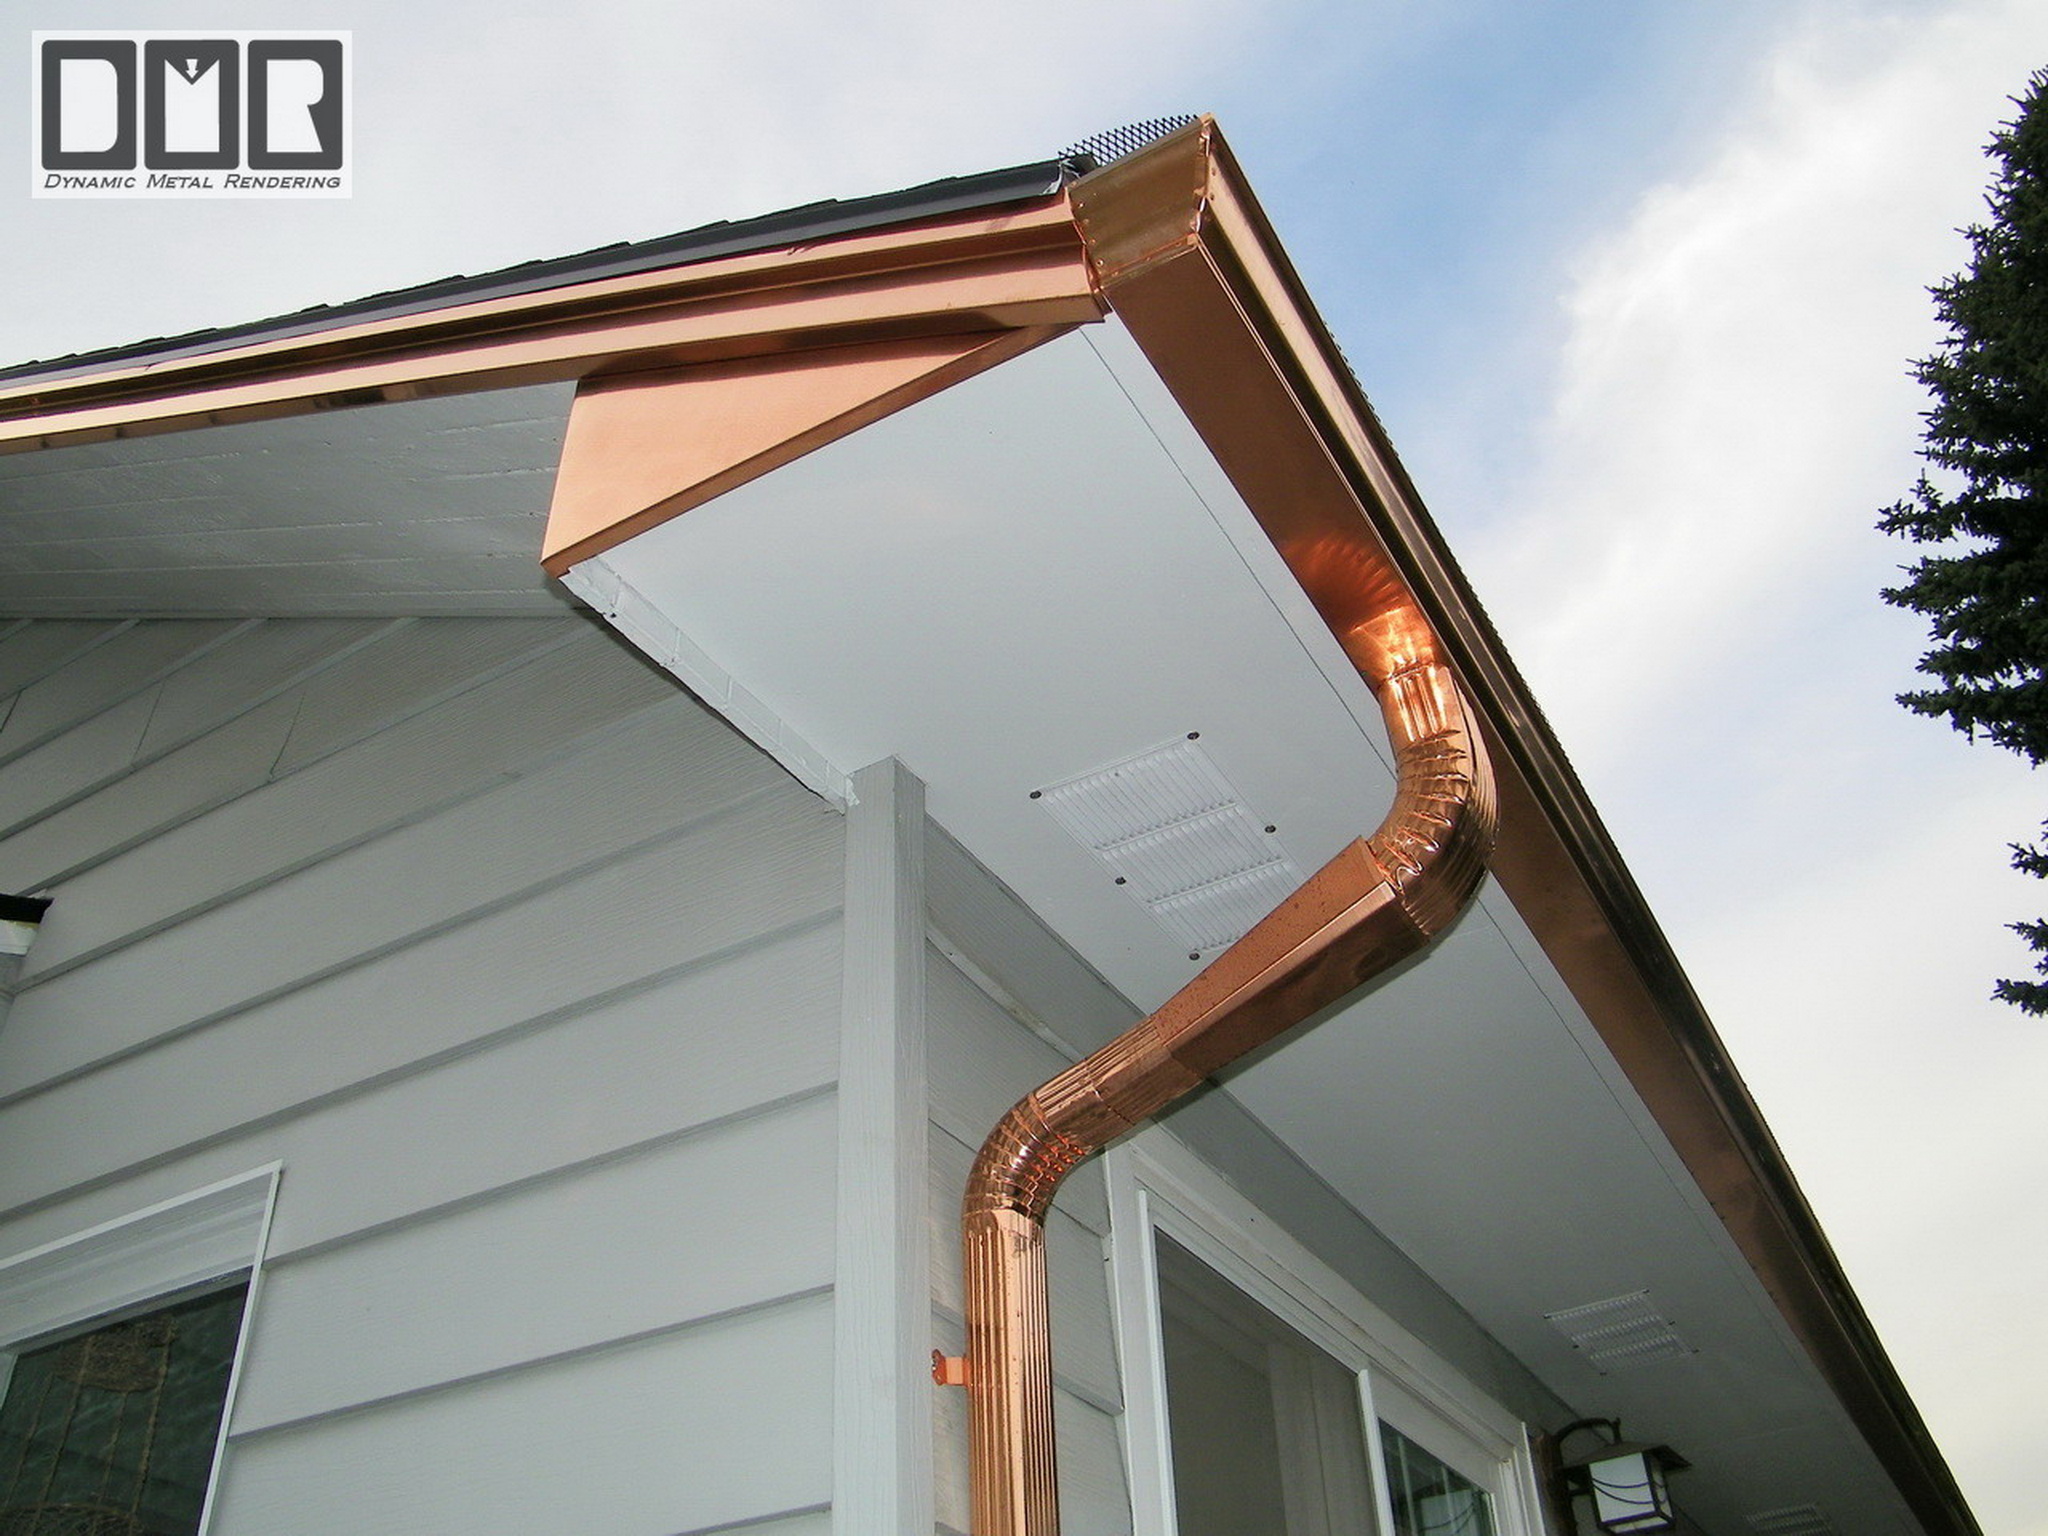
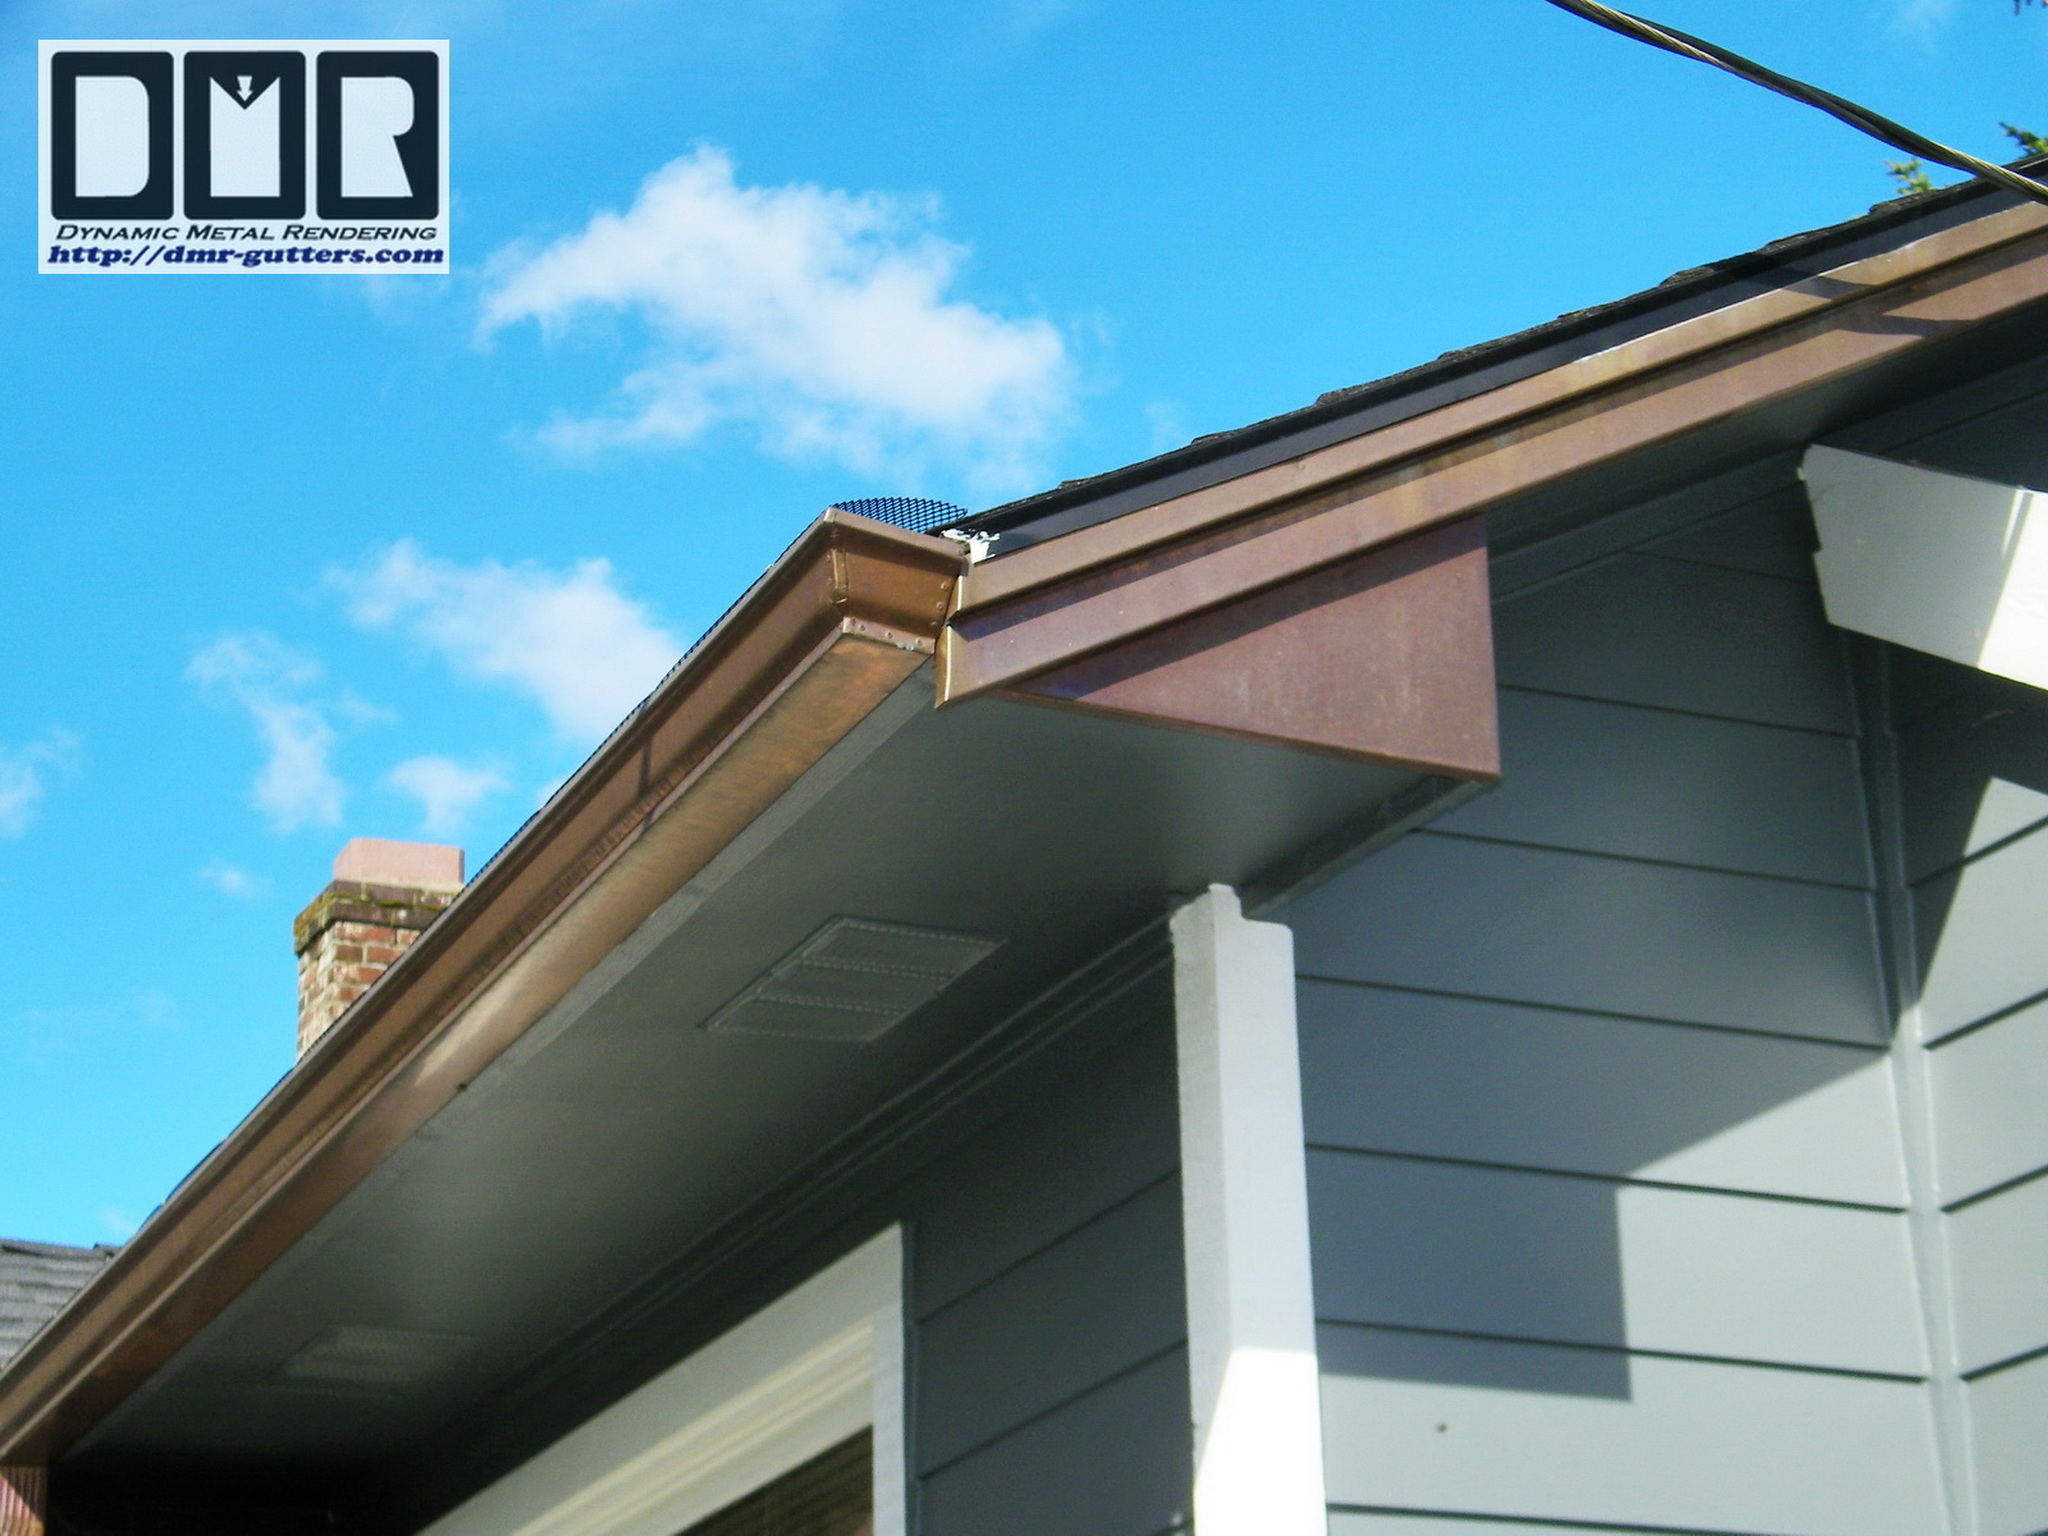
project into your busy schedule. All of the points and angles that
you created look great - even better than we imagined. You have
added so much architectural appeal to our house - only you could
have done that. We've also noticed that the view from our front
porch is now more open and airy.
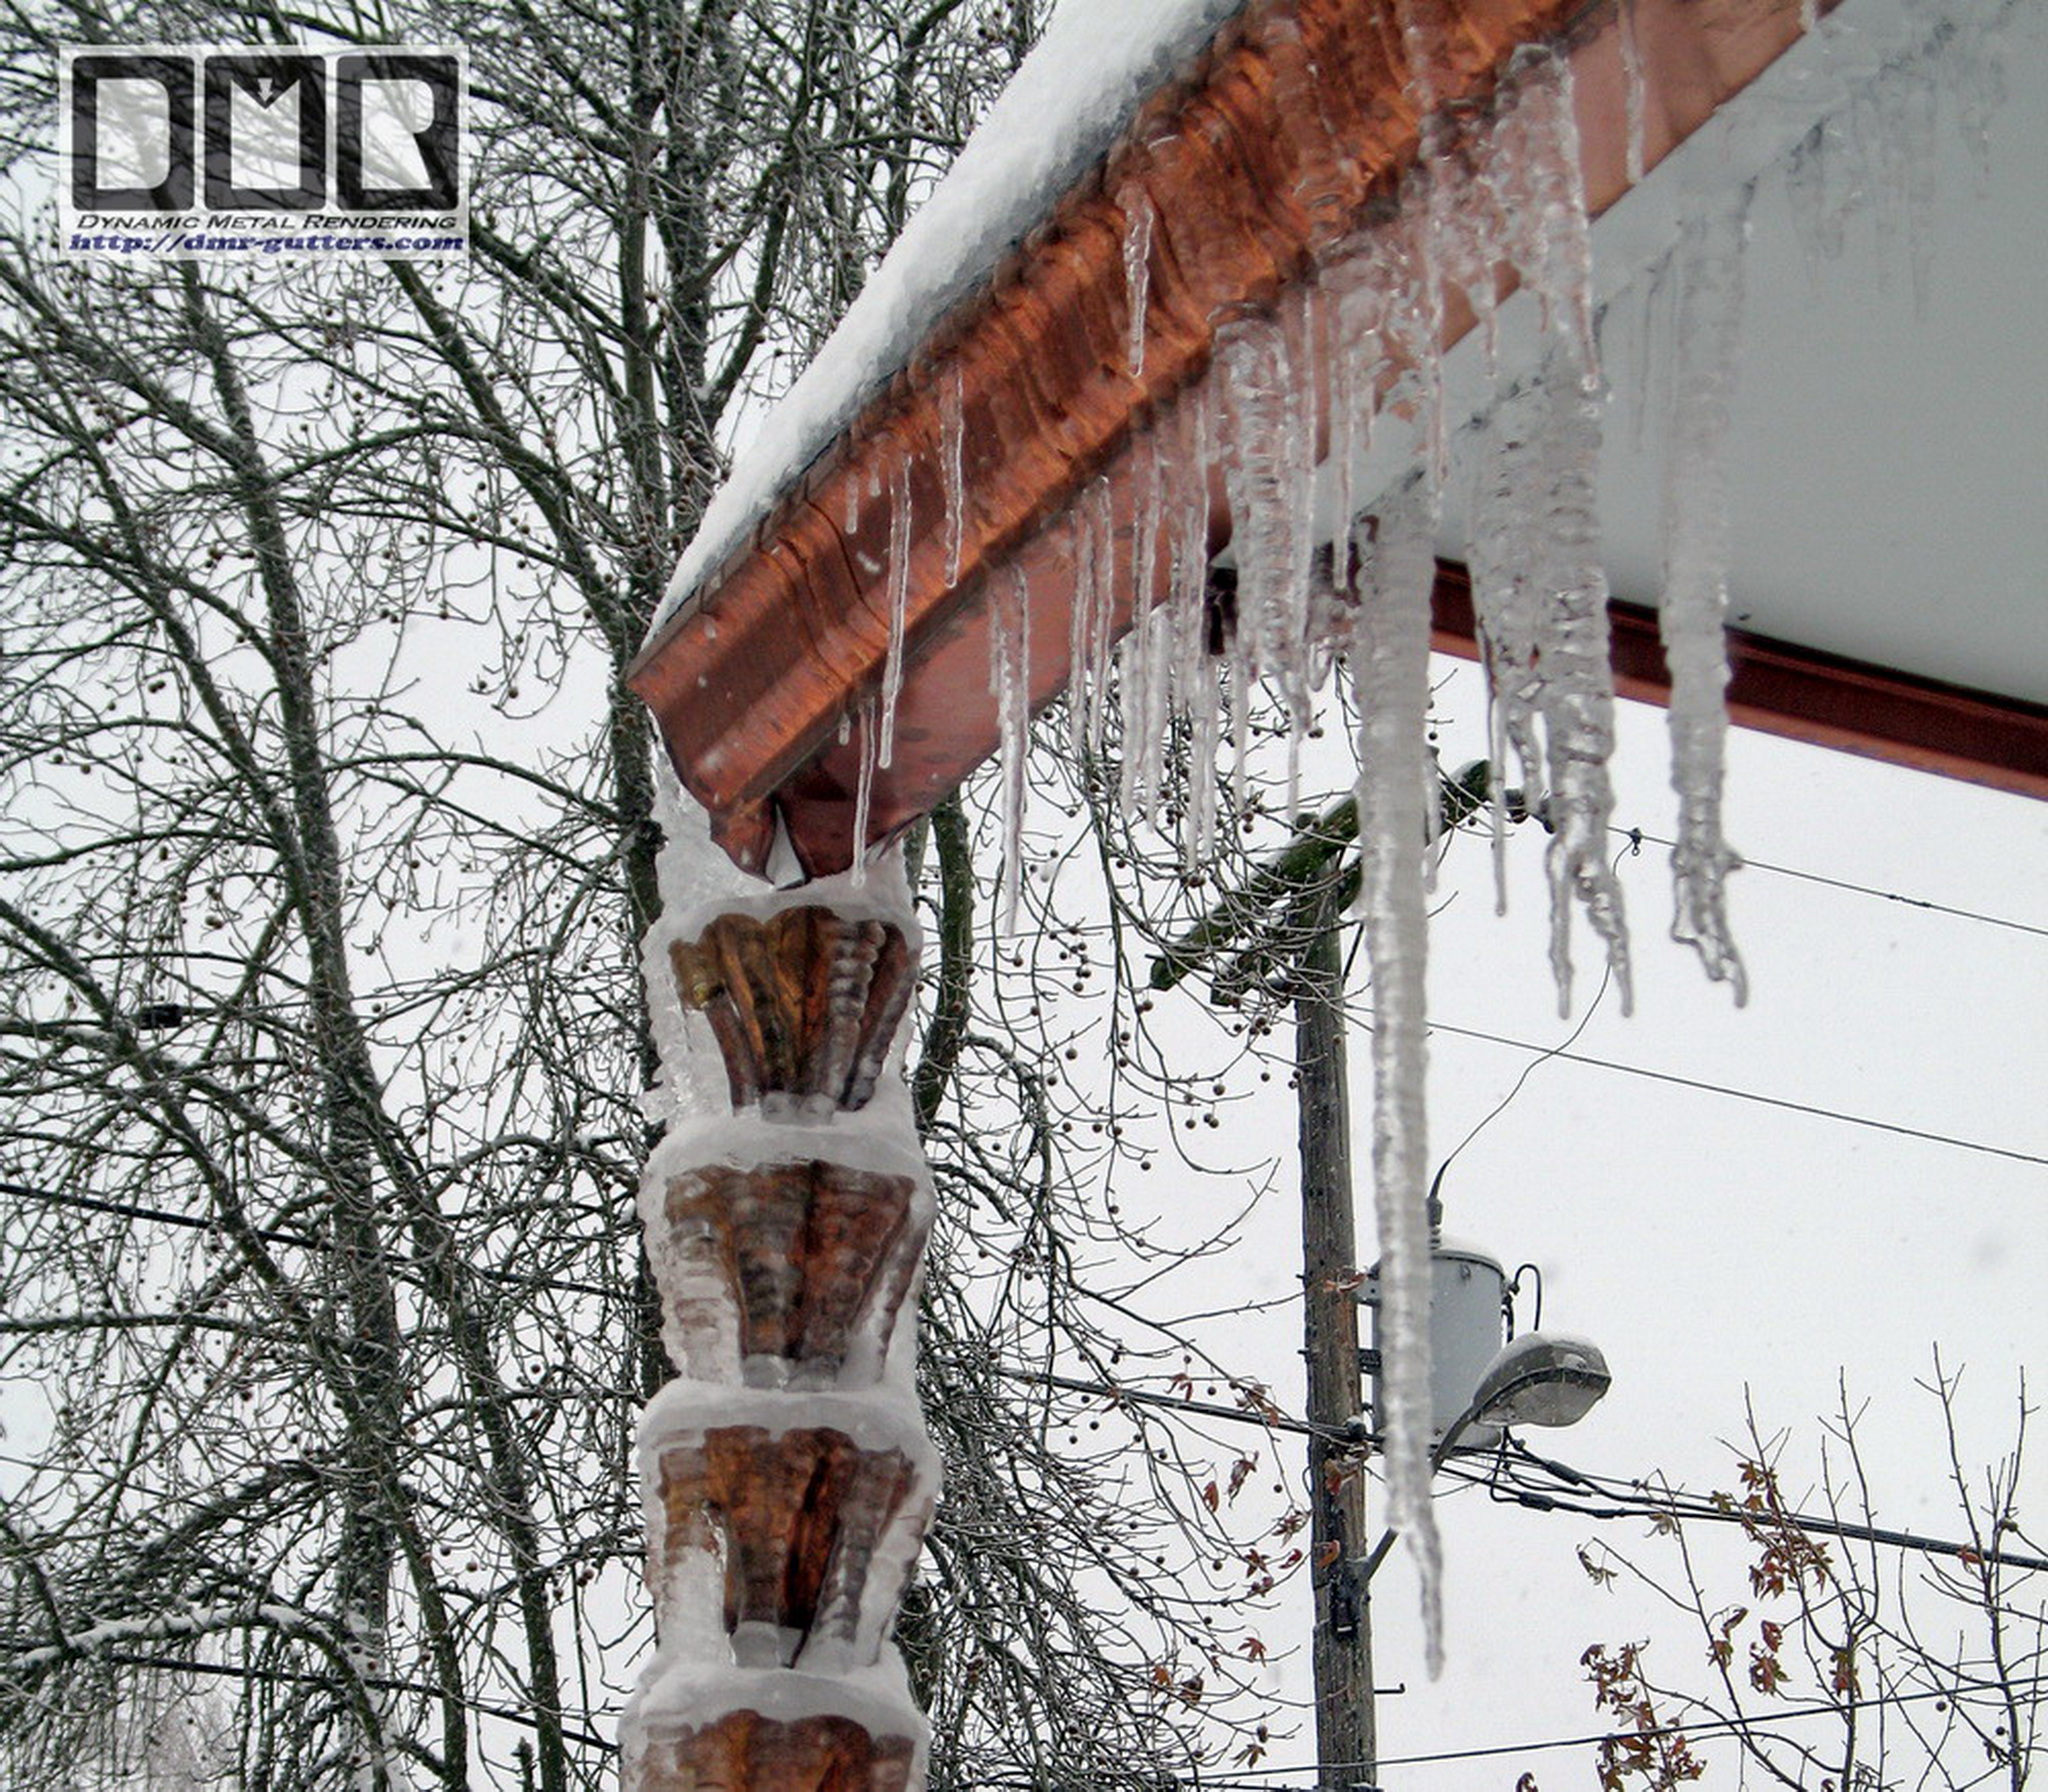
On a side note, the downspout reconnection was a success,
as we do not have water in our basement, even after the rainy
weekend.
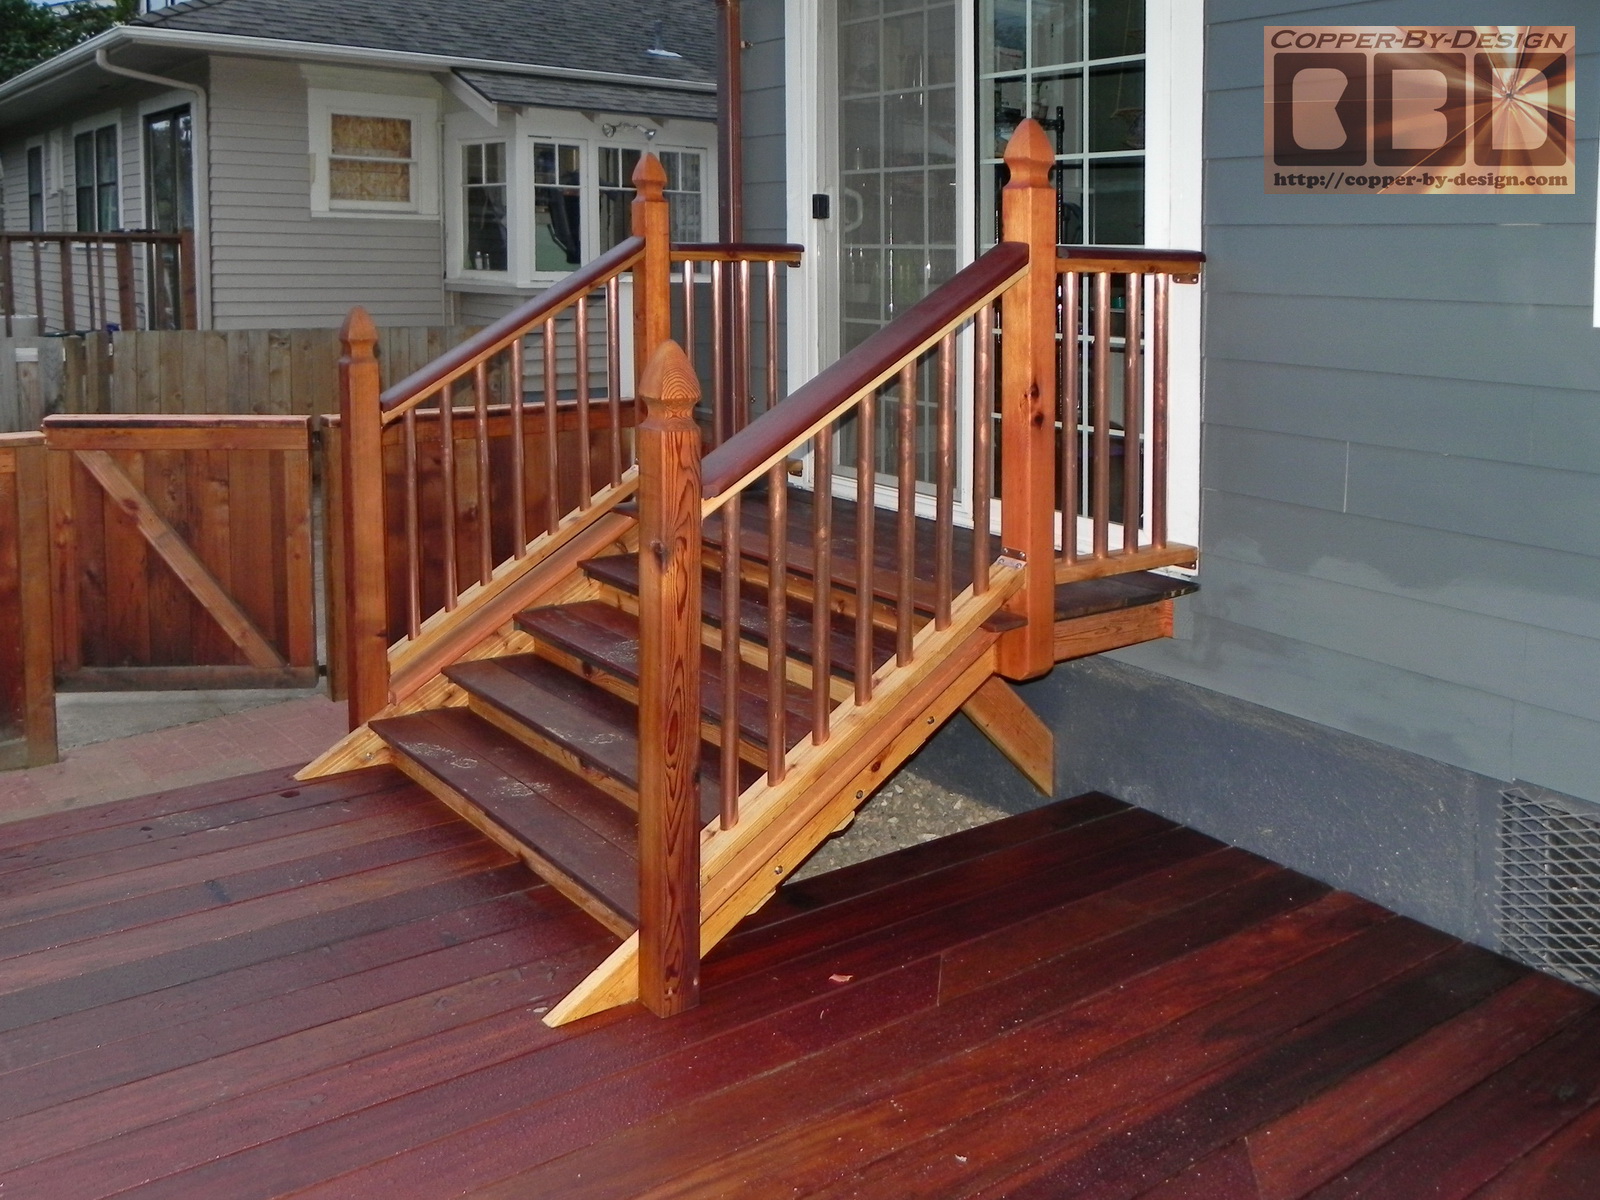
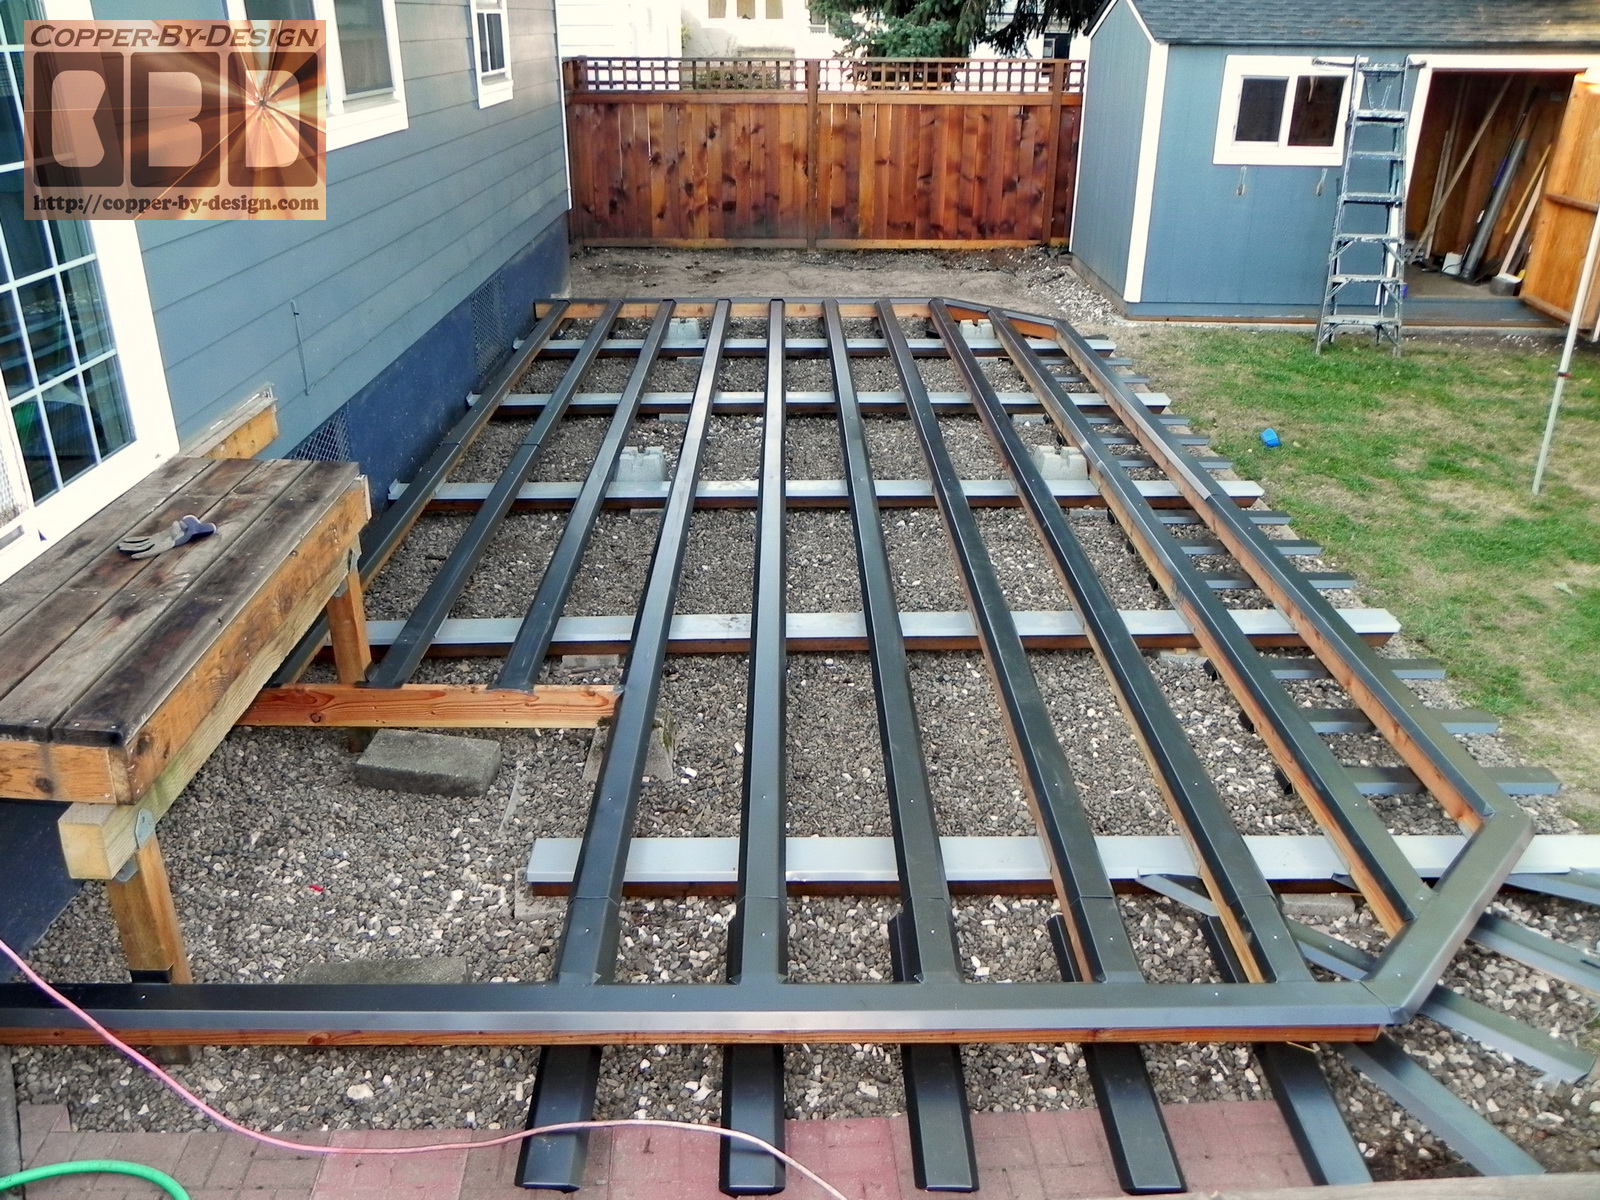
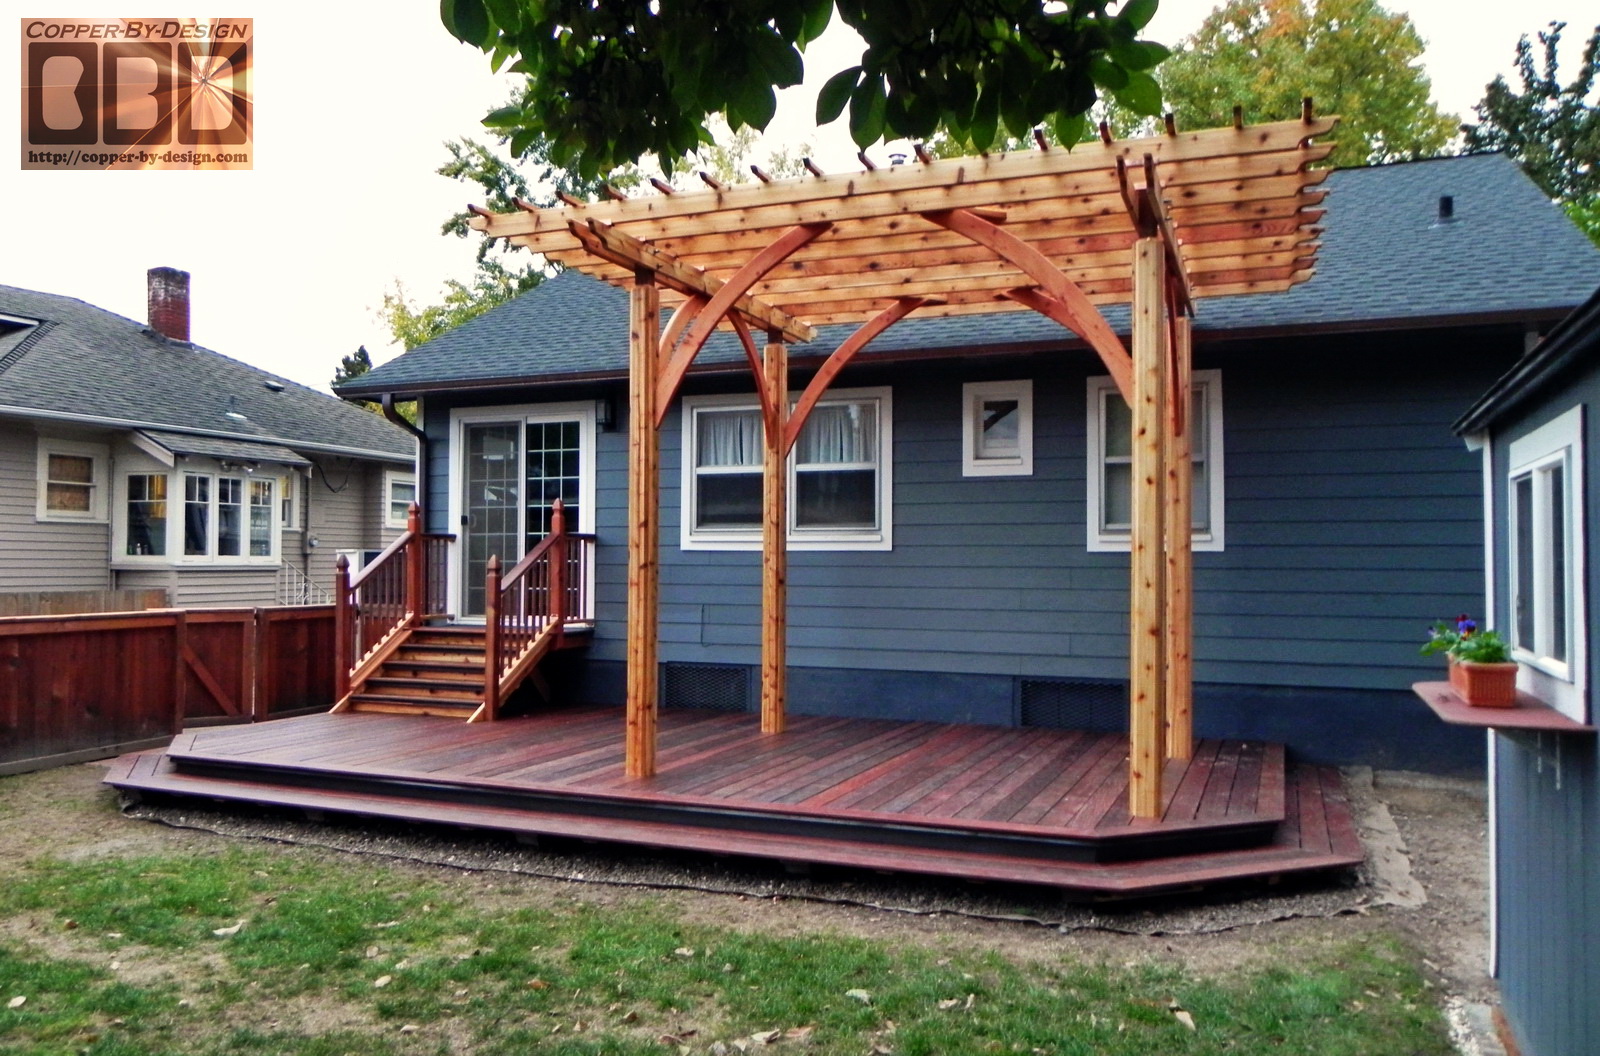
We'll touch base with you in the coming months to start
planning our deck. Good luck with all of your future projects.
Sincerely,Meri
and Mike Lenio
|