Here
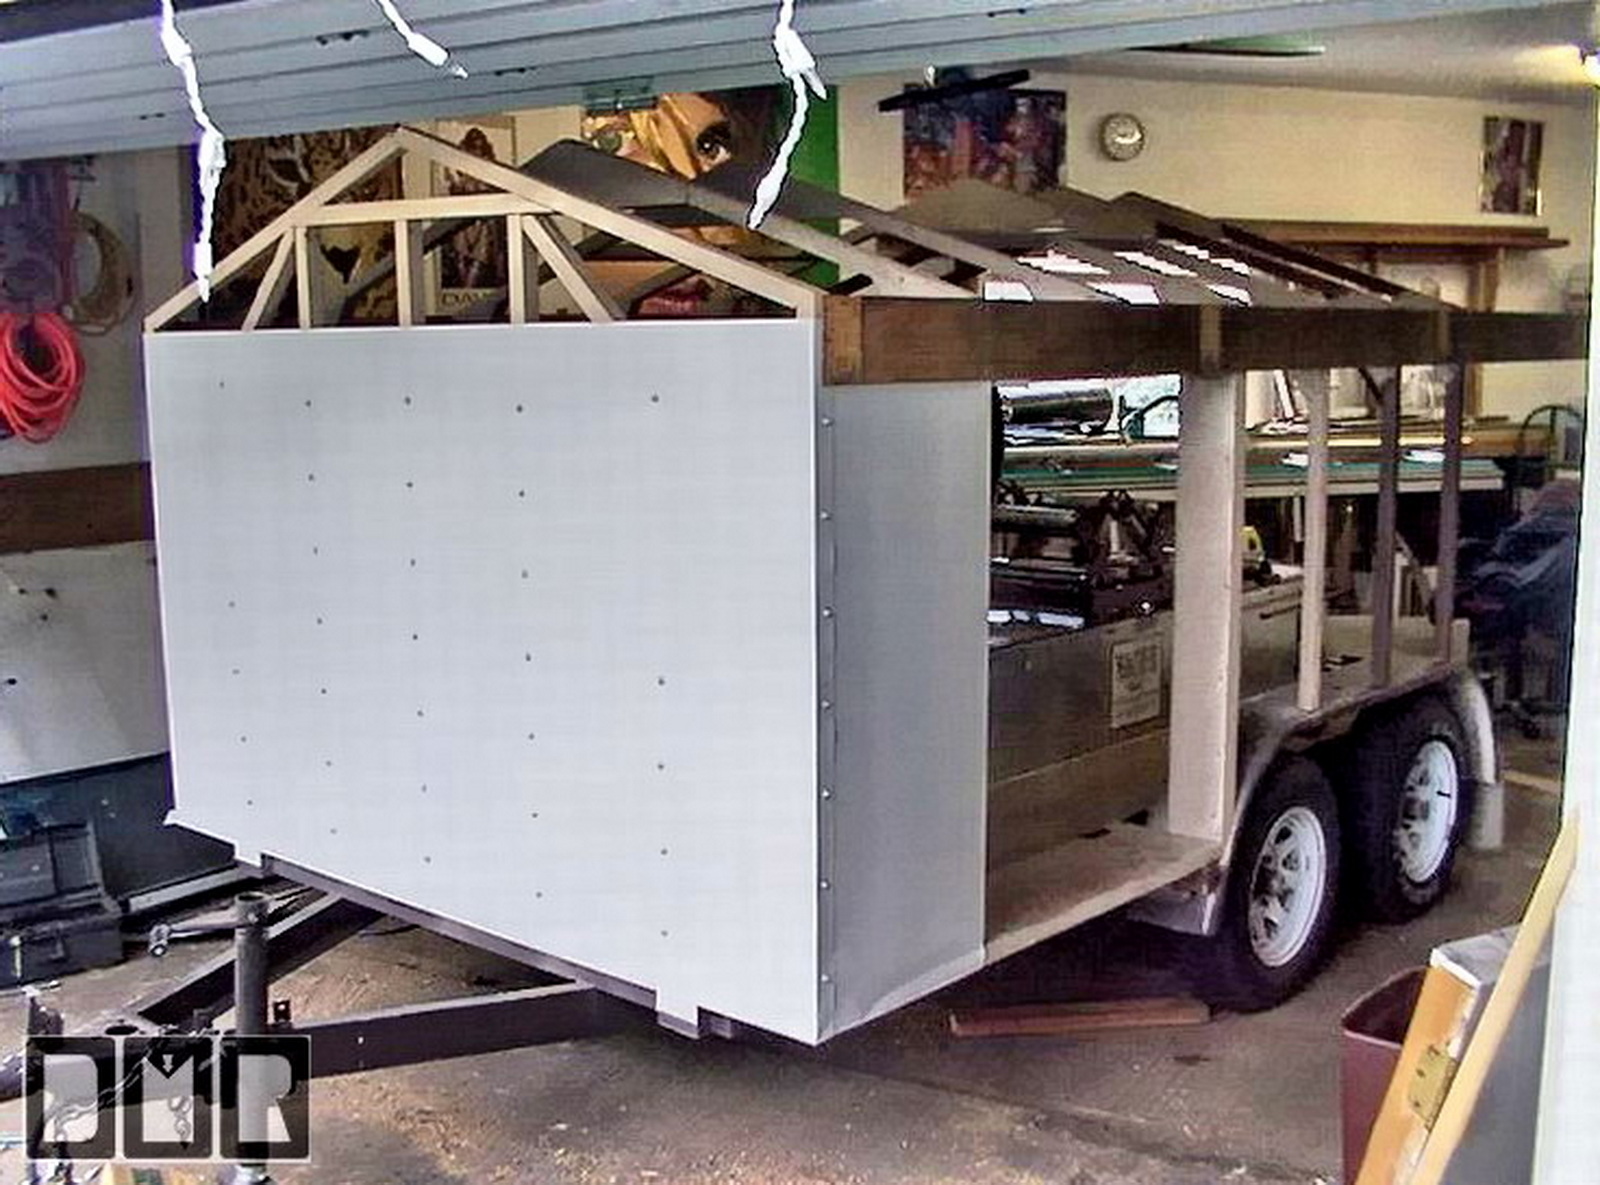
is the first white pre-painted aluminum skin going on. I was impatient, and did not have all the ribs
built yet, but this will help hold the frame steady. You can see
there were no ribs past the wheel well. I left the front side open
to install the side door in front of the wheel well. Here
is the first white pre-painted aluminum skin going on. I was impatient, and did not have all the ribs
built yet, but this will help hold the frame steady. You can see
there were no ribs past the wheel well. I left the front side open
to install the side door in front of the wheel well.
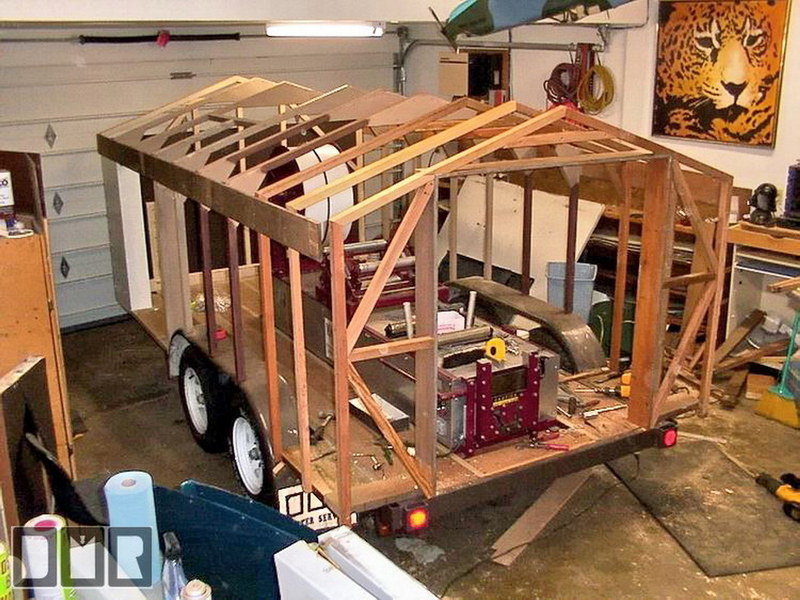
I had to figure out a good sturdy way to build some
floor outside of the steel trailer frame out to the outside of the wheel
wells, as I was making this upper shell wider than the old trailer. I was glad I did, as it made the interior
much more usable in moving around the machine. The other trailer was very cramped.
|
|
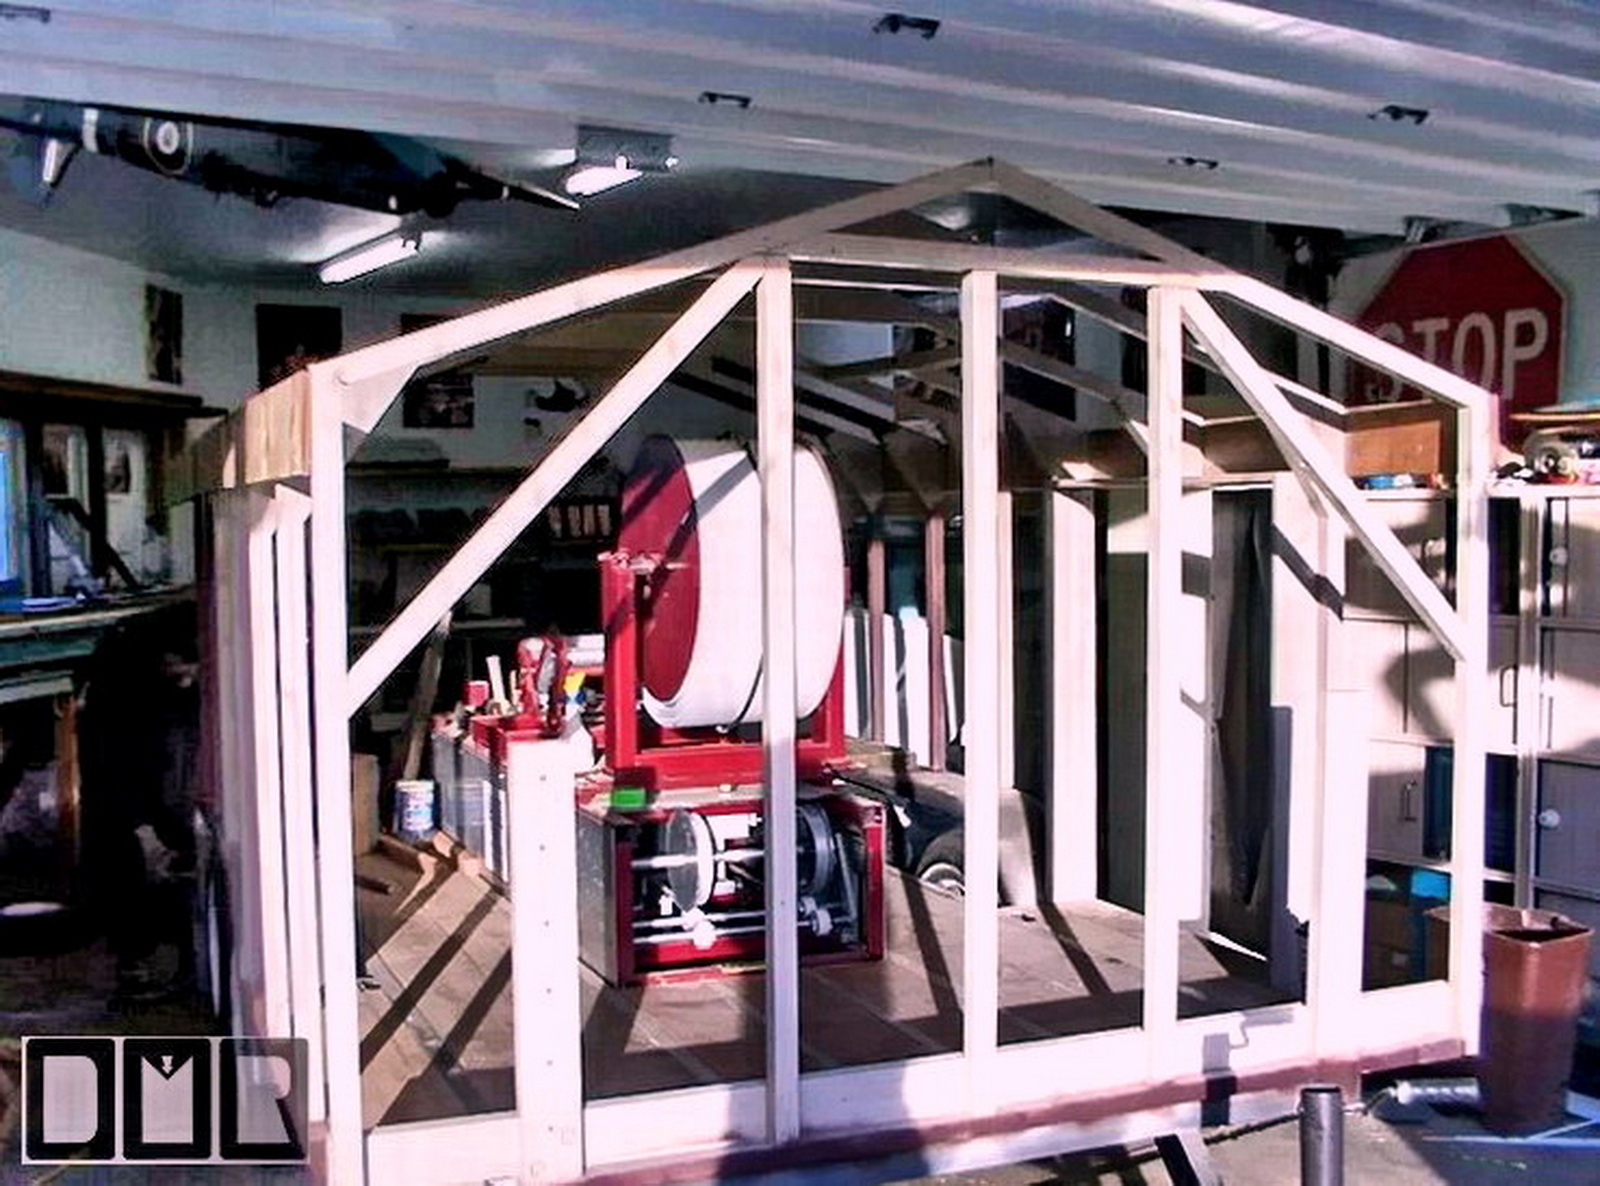
This clearly shows the 2x2 ribs, many of which I
scabbed off of the old trailer. This is looking from behind with all the ribs
now built. I still had some cross braces to install on the last two
ribs. I have built the rear door frame. To minimize time off work, I
set the dimensions to use the old doors again. |
|
|
|
DMR
|
 Here
is the next side wall aluminum skin to go on over the ribs and under the
fascia board that I planned to mount the gutter onto. I had not yet cut the aluminum sheet
metal skin out over the wheels to fit with the wheel well. Here
is the next side wall aluminum skin to go on over the ribs and under the
fascia board that I planned to mount the gutter onto. I had not yet cut the aluminum sheet
metal skin out over the wheels to fit with the wheel well. |
|
DMR |
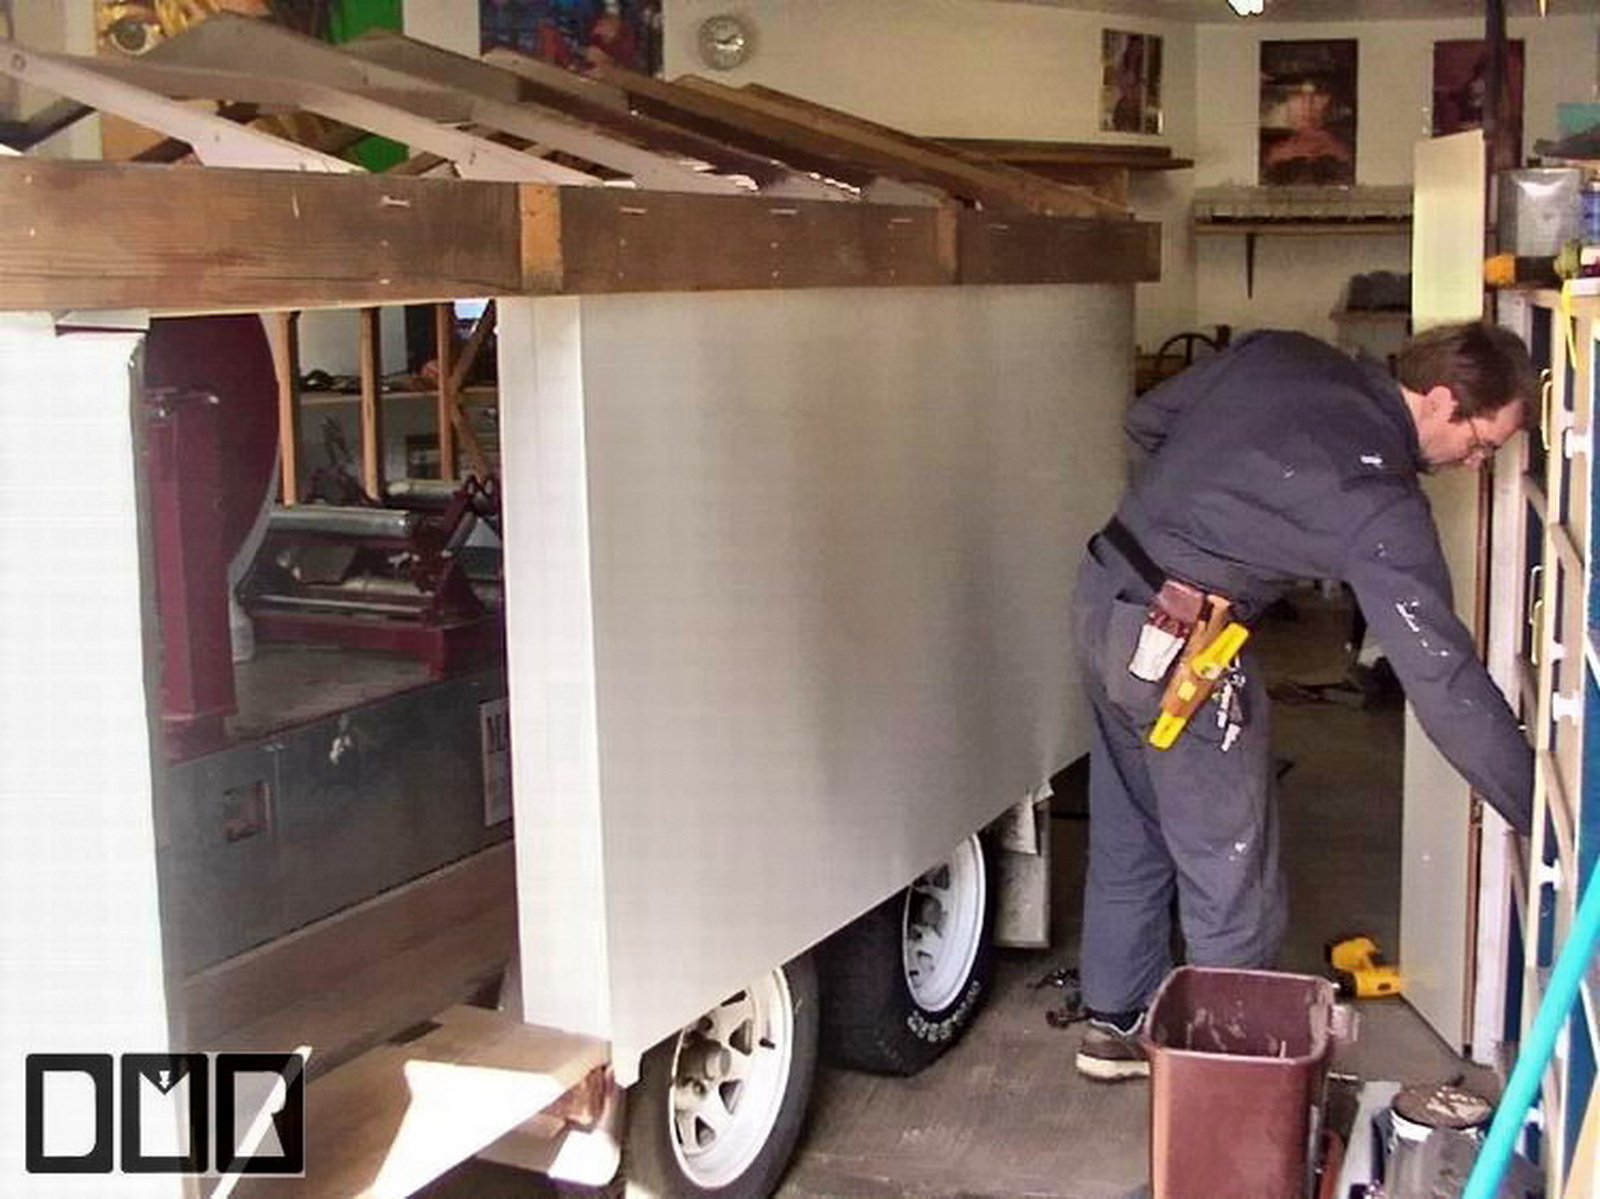
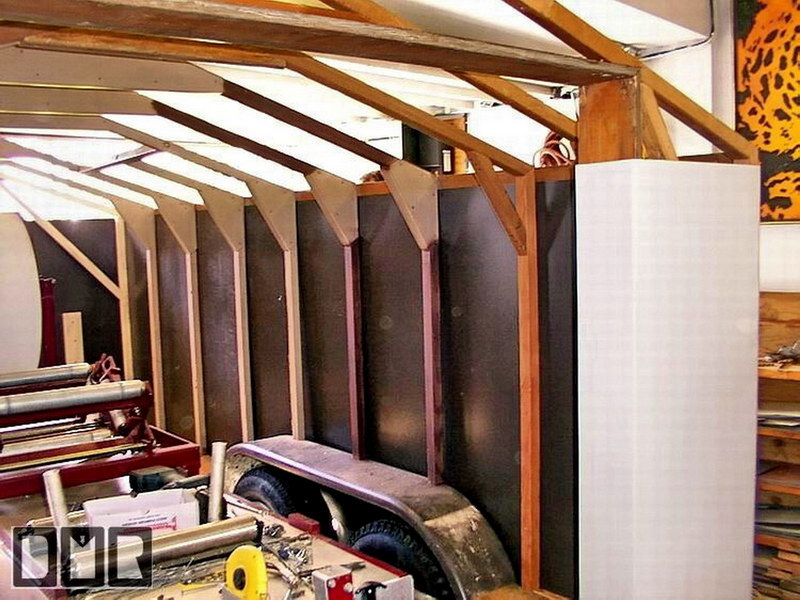
| Here
is the next side wall aluminum skin on from the inside rear. This
shows a cross brace before I cover it with the aluminum sheet metal
covers. I still have to
enclose the wheel well on the inside of the trailer, or it would make a mess inside
the trailer on
wet days. |
|
 |
|
DMR |
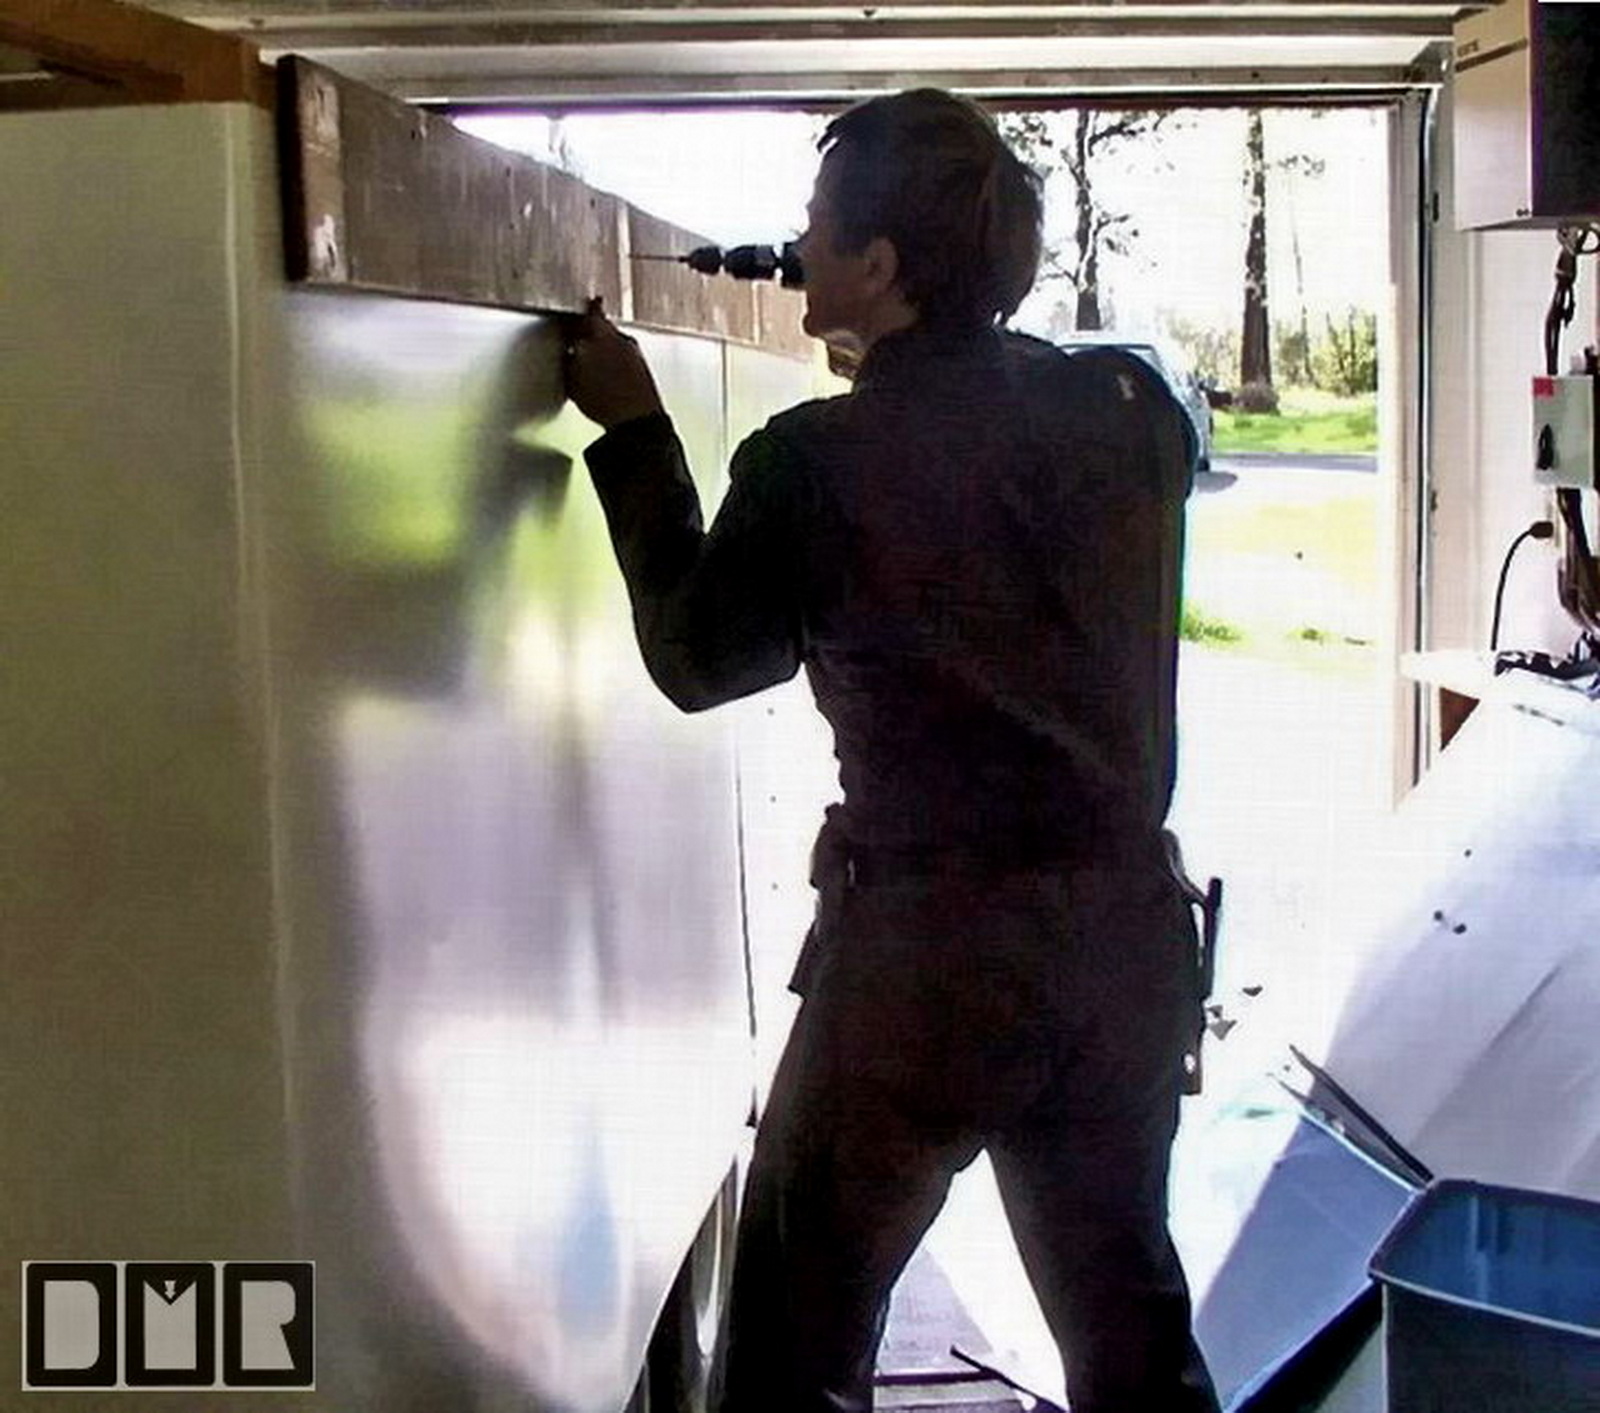
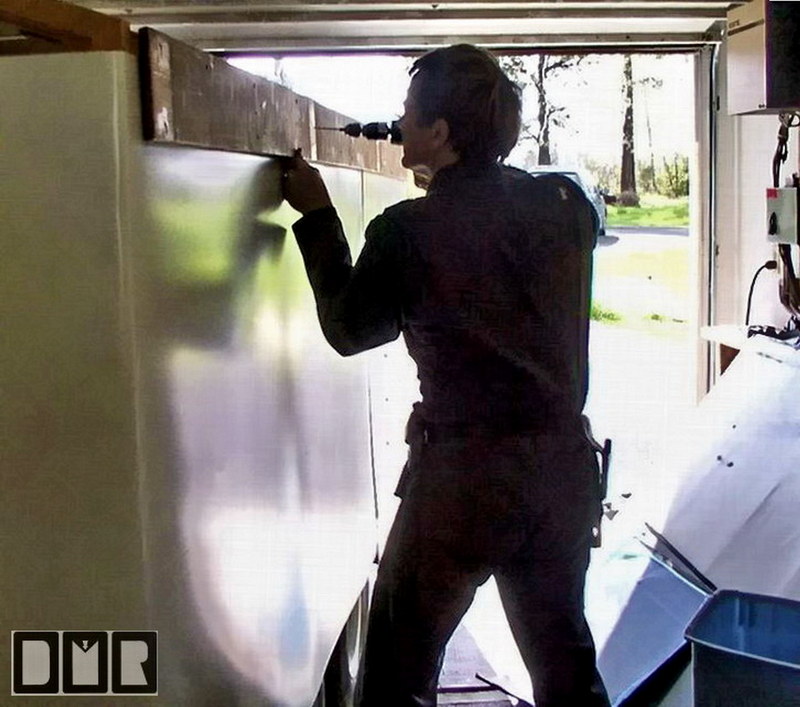 I
assembled this trailer frame with all screws and bolts. Absolutely no
nails. This is the fascia board I am installing to mount the gutter sample
onto. I would have loved to have more of an eave over hang, but the
trailer is already over 6.5 feet wide. Once I have the gutters on, it will
be over 7 feet wide. The limit for a vehicle on the roads is 8 feet
wide. The work car is only 5.5
feet wide, so I am already sticking out a good foot on each side. The rear visibility
is rather compromised as it is, and my turning clearance is an issue.
I have to be very careful to give a wide birth, so as not to hit things
that my work car was well clear of. I
assembled this trailer frame with all screws and bolts. Absolutely no
nails. This is the fascia board I am installing to mount the gutter sample
onto. I would have loved to have more of an eave over hang, but the
trailer is already over 6.5 feet wide. Once I have the gutters on, it will
be over 7 feet wide. The limit for a vehicle on the roads is 8 feet
wide. The work car is only 5.5
feet wide, so I am already sticking out a good foot on each side. The rear visibility
is rather compromised as it is, and my turning clearance is an issue.
I have to be very careful to give a wide birth, so as not to hit things
that my work car was well clear of. |
|
DMR |
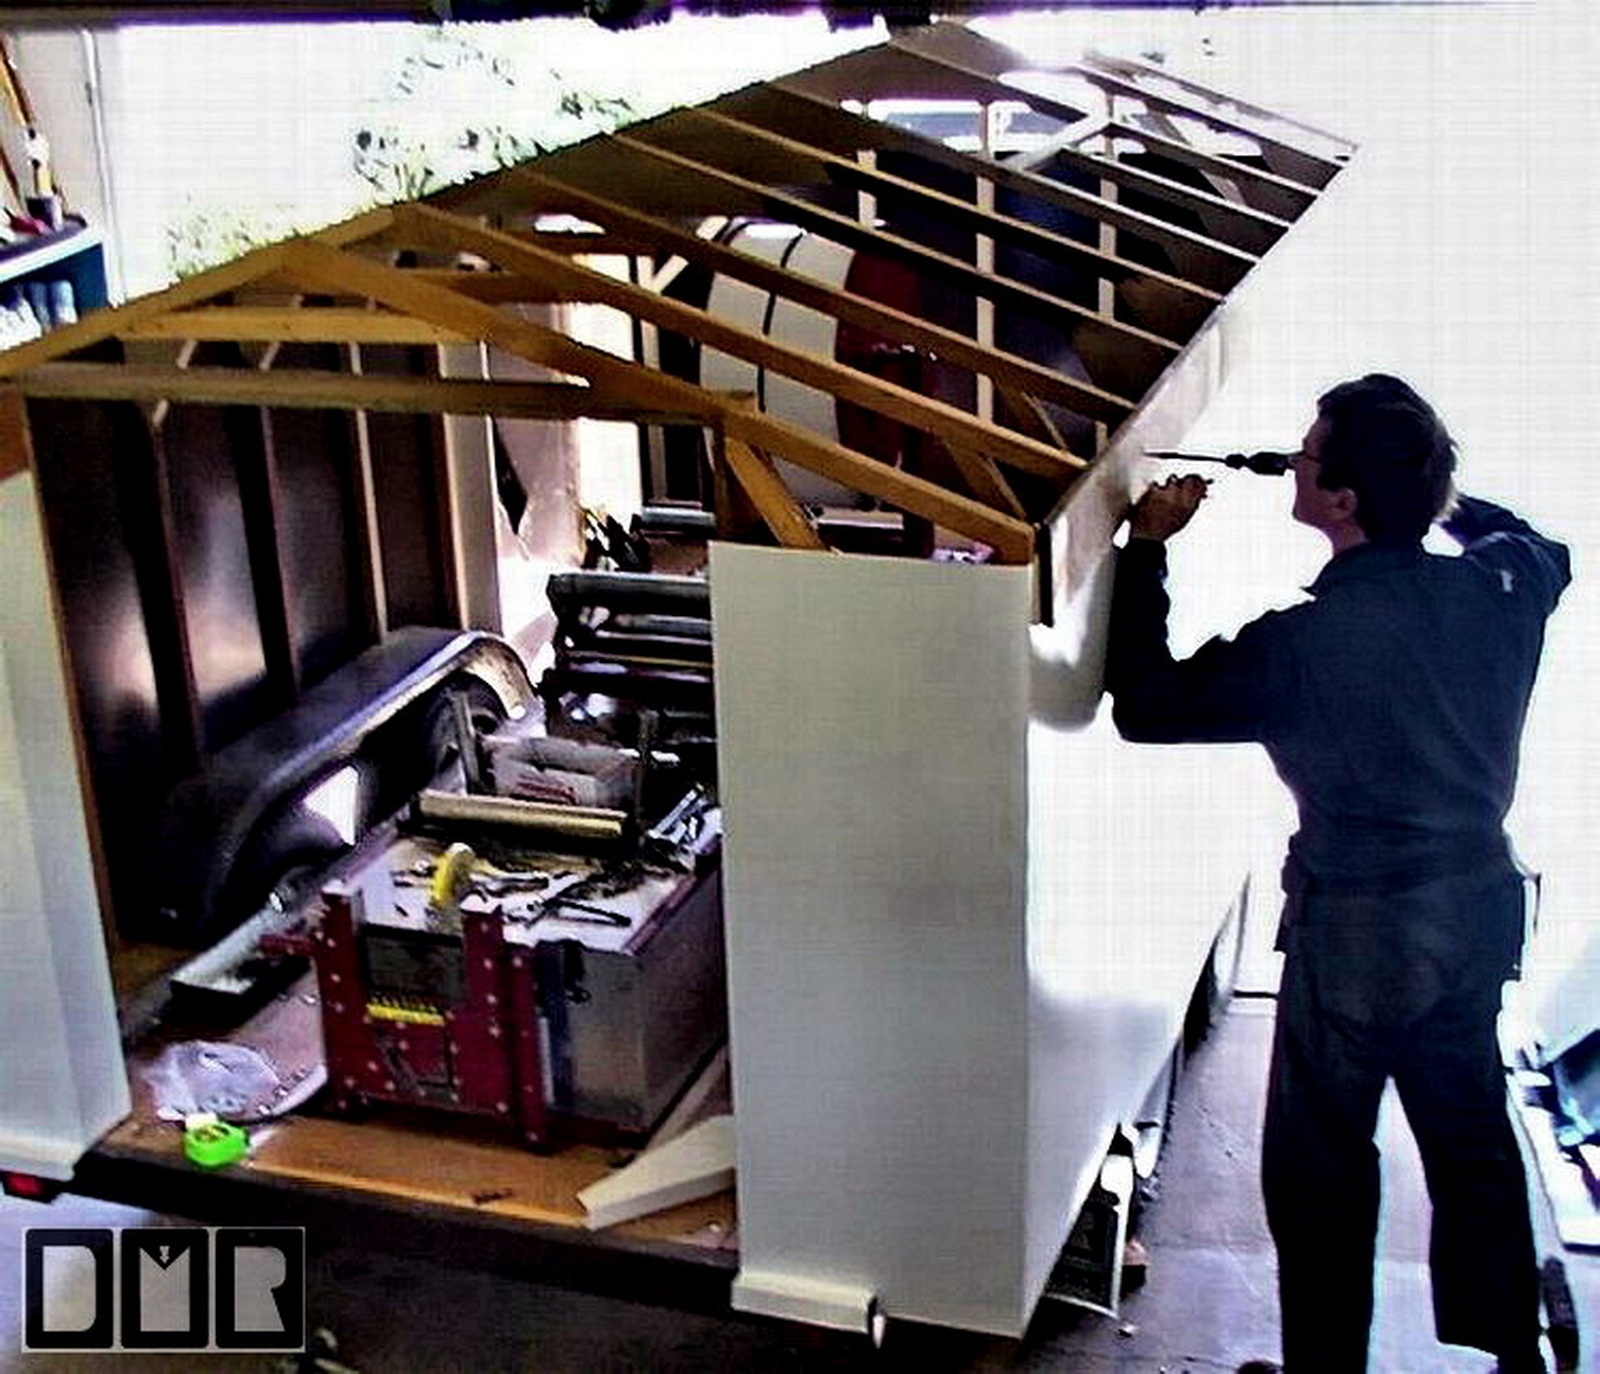
| Here
is another picture Tia took from an over head view. This was before I installed the many wood screws
with steel and rubber washers in the new white aluminum skin. Again,
I needed to pre-drilled the holes for the screws
to avoid any splitting or cracking of the 2x2 boards. It was tricky
to line up the holes to be drilled to be centered in the board
hidden behind the aluminum sheet metal. |
|
 |
|
DMR |
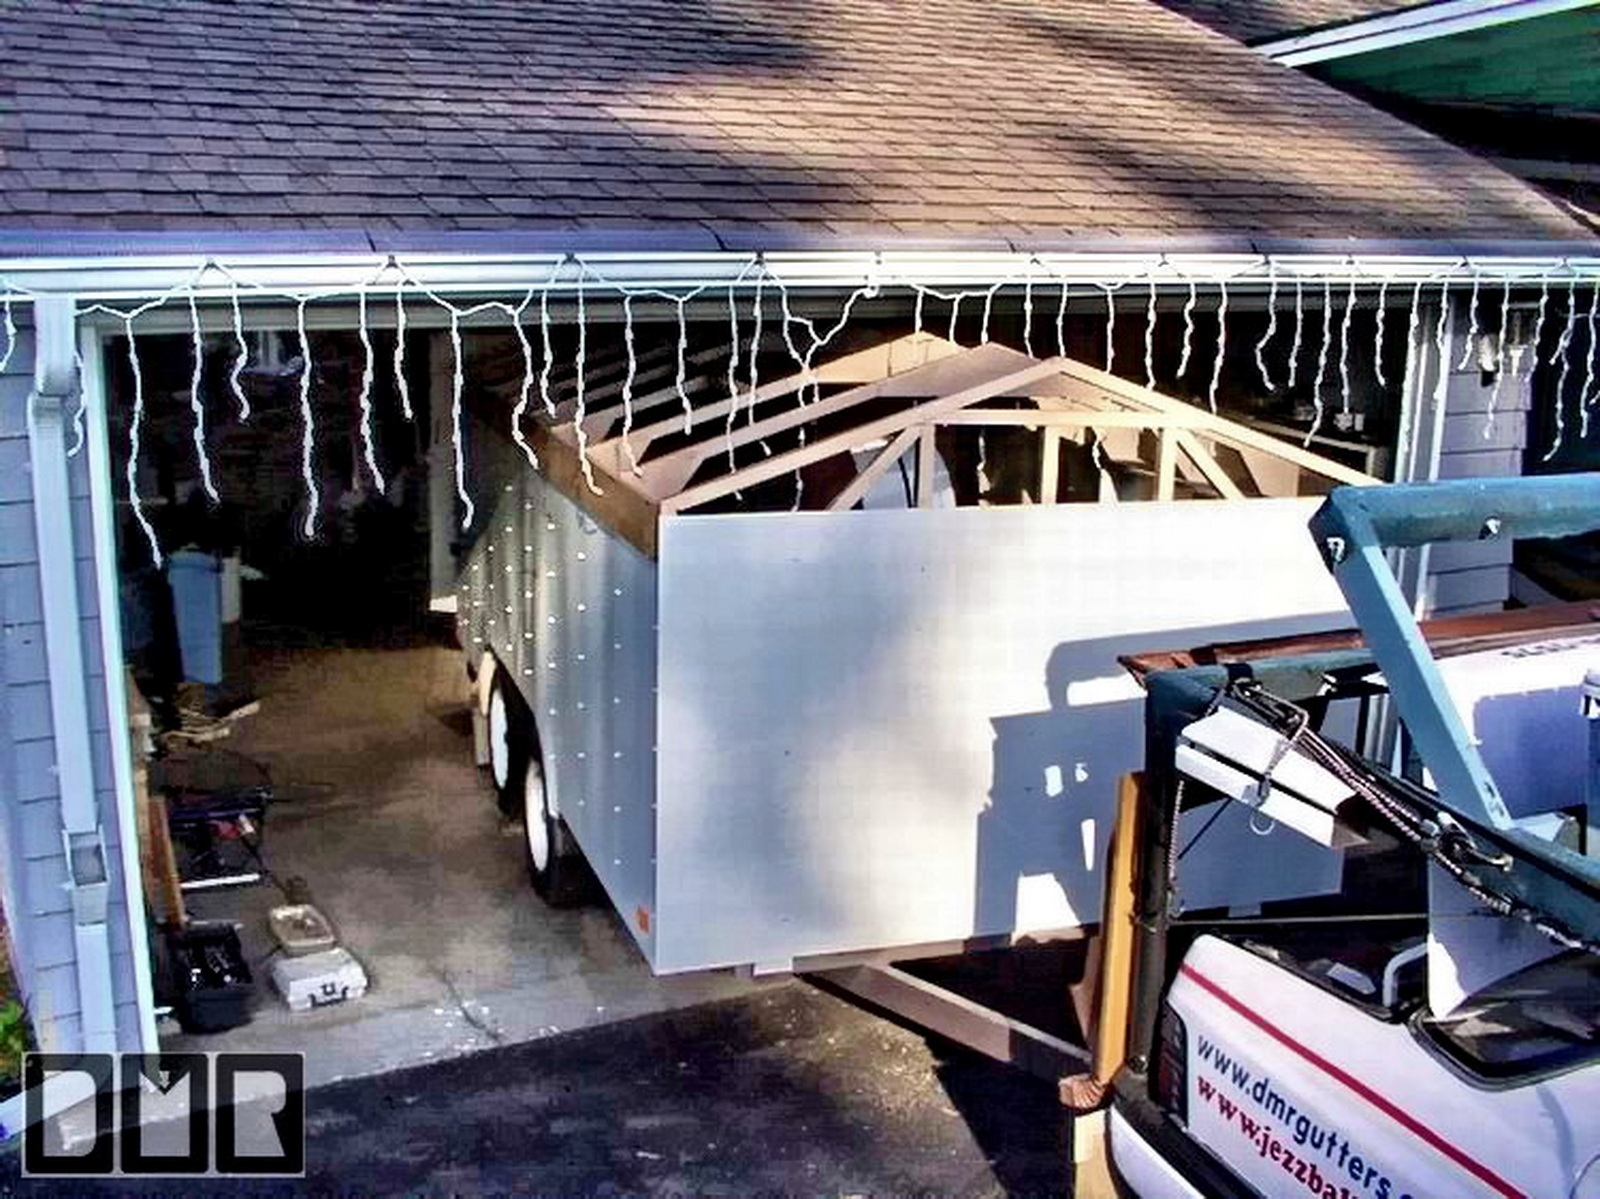
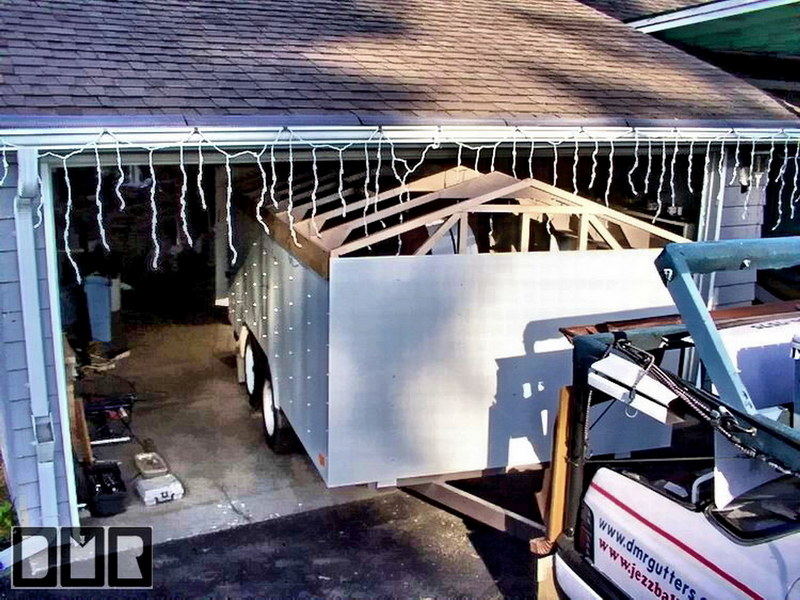 The over head
clearance of the garage door frame was very close to the roof of the
trailer by not more than an inch with out the roof panels on the trailer
shell. I moved it
out of the work shop to install the roof panels. It would have been
easier to make a simple flat roof, but beside the dramatic look of a small
house, I hate the idea of rain water puddleing on the roof panels, and it
also makes the removable roof panel much more stable to have the 'A' frame
roof. The removable panel is to be able to have a 400lb coil of new
sheet metal lowered onto the machine spindle with a fork lift. The over head
clearance of the garage door frame was very close to the roof of the
trailer by not more than an inch with out the roof panels on the trailer
shell. I moved it
out of the work shop to install the roof panels. It would have been
easier to make a simple flat roof, but beside the dramatic look of a small
house, I hate the idea of rain water puddleing on the roof panels, and it
also makes the removable roof panel much more stable to have the 'A' frame
roof. The removable panel is to be able to have a 400lb coil of new
sheet metal lowered onto the machine spindle with a fork lift. |