 This
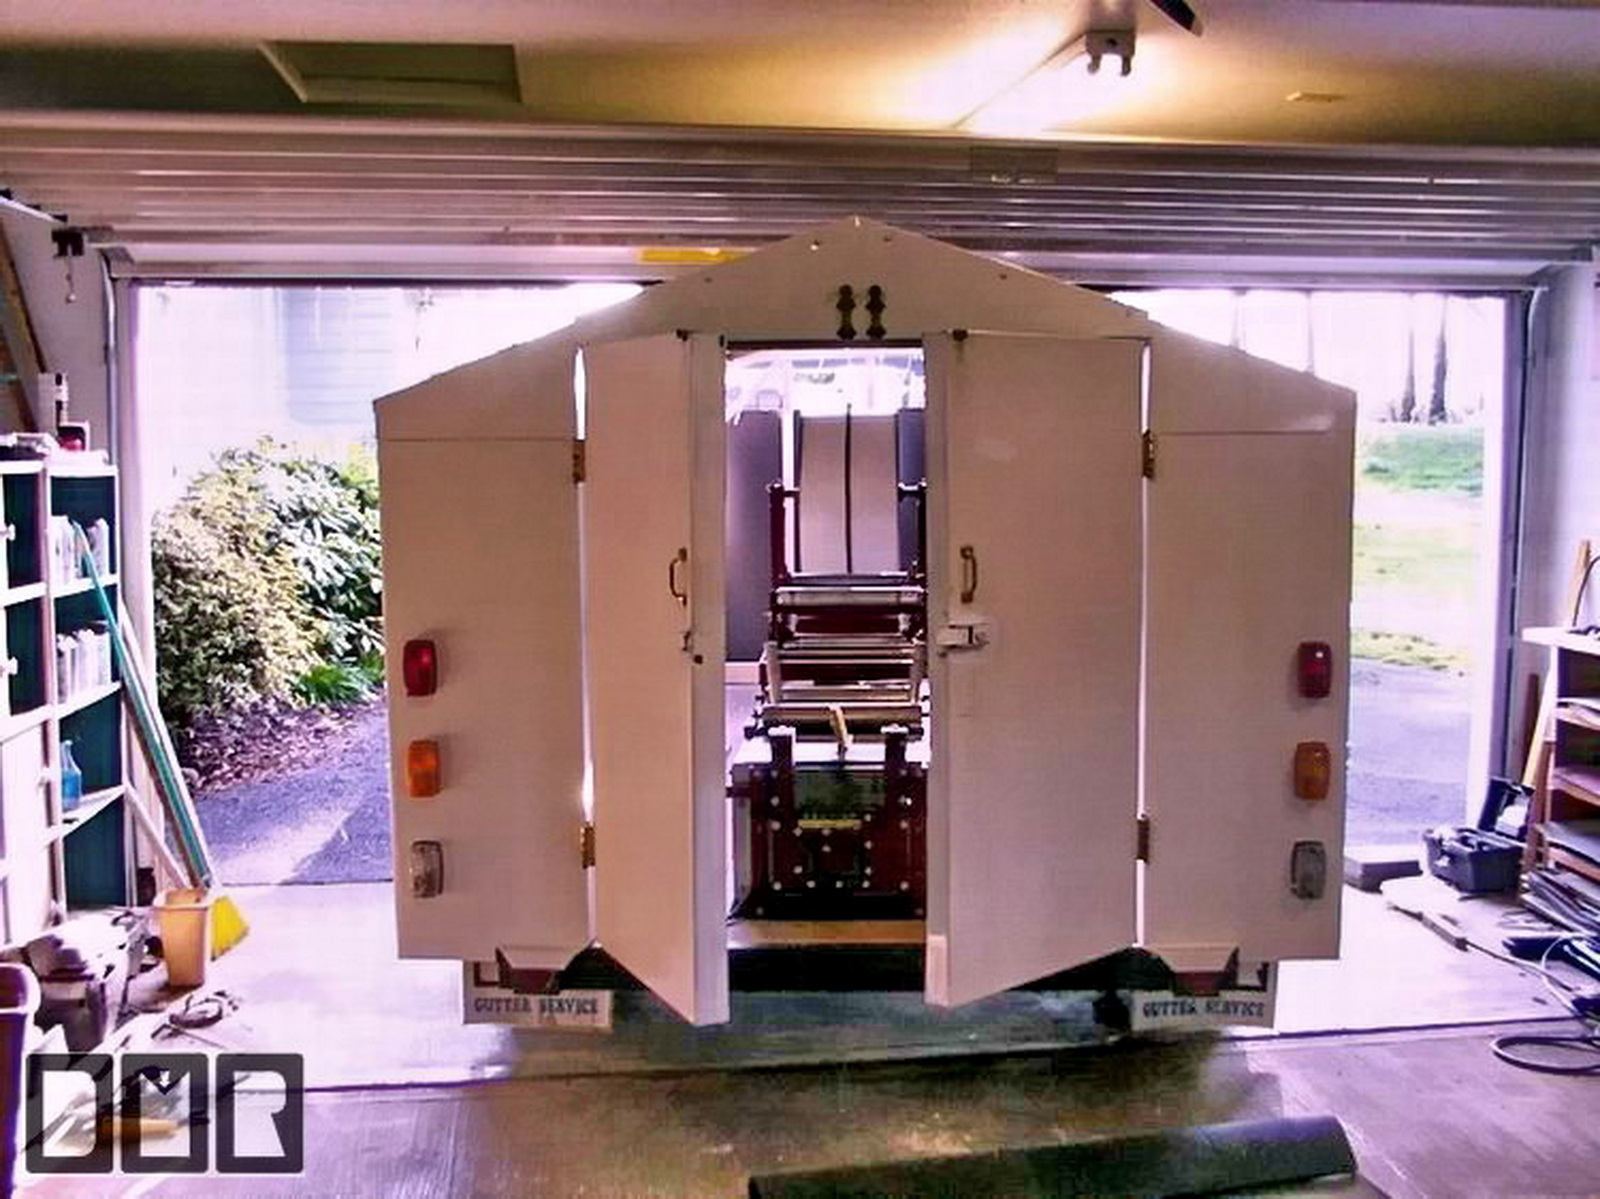
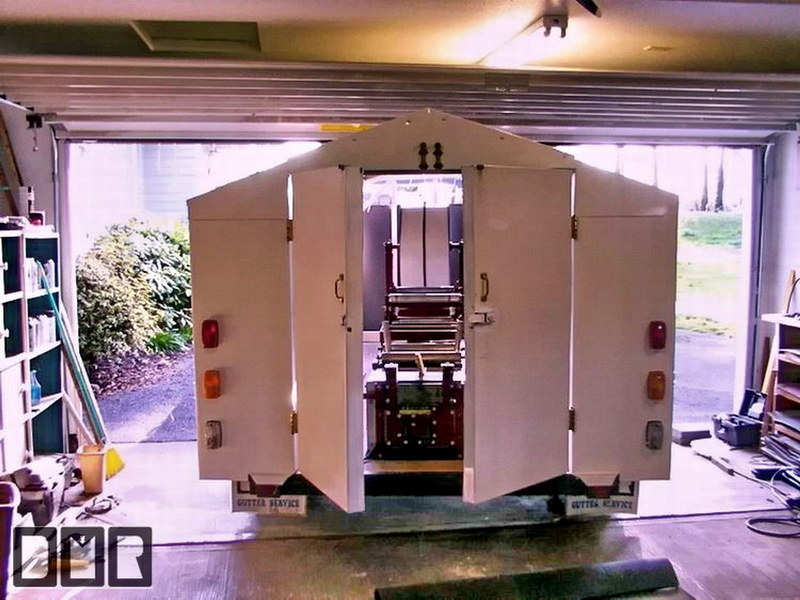
shows the back doors that were off of the old trailer.
I was running out of
time and needed to put off building the new door that now swings up on a
pair of hydraulic supports. The size of the frame needed was just fine for the new
door, so luckily it was not a conflict. This
shows the back doors that were off of the old trailer.
I was running out of
time and needed to put off building the new door that now swings up on a
pair of hydraulic supports. The size of the frame needed was just fine for the new
door, so luckily it was not a conflict.
|
|
DMR |
 |
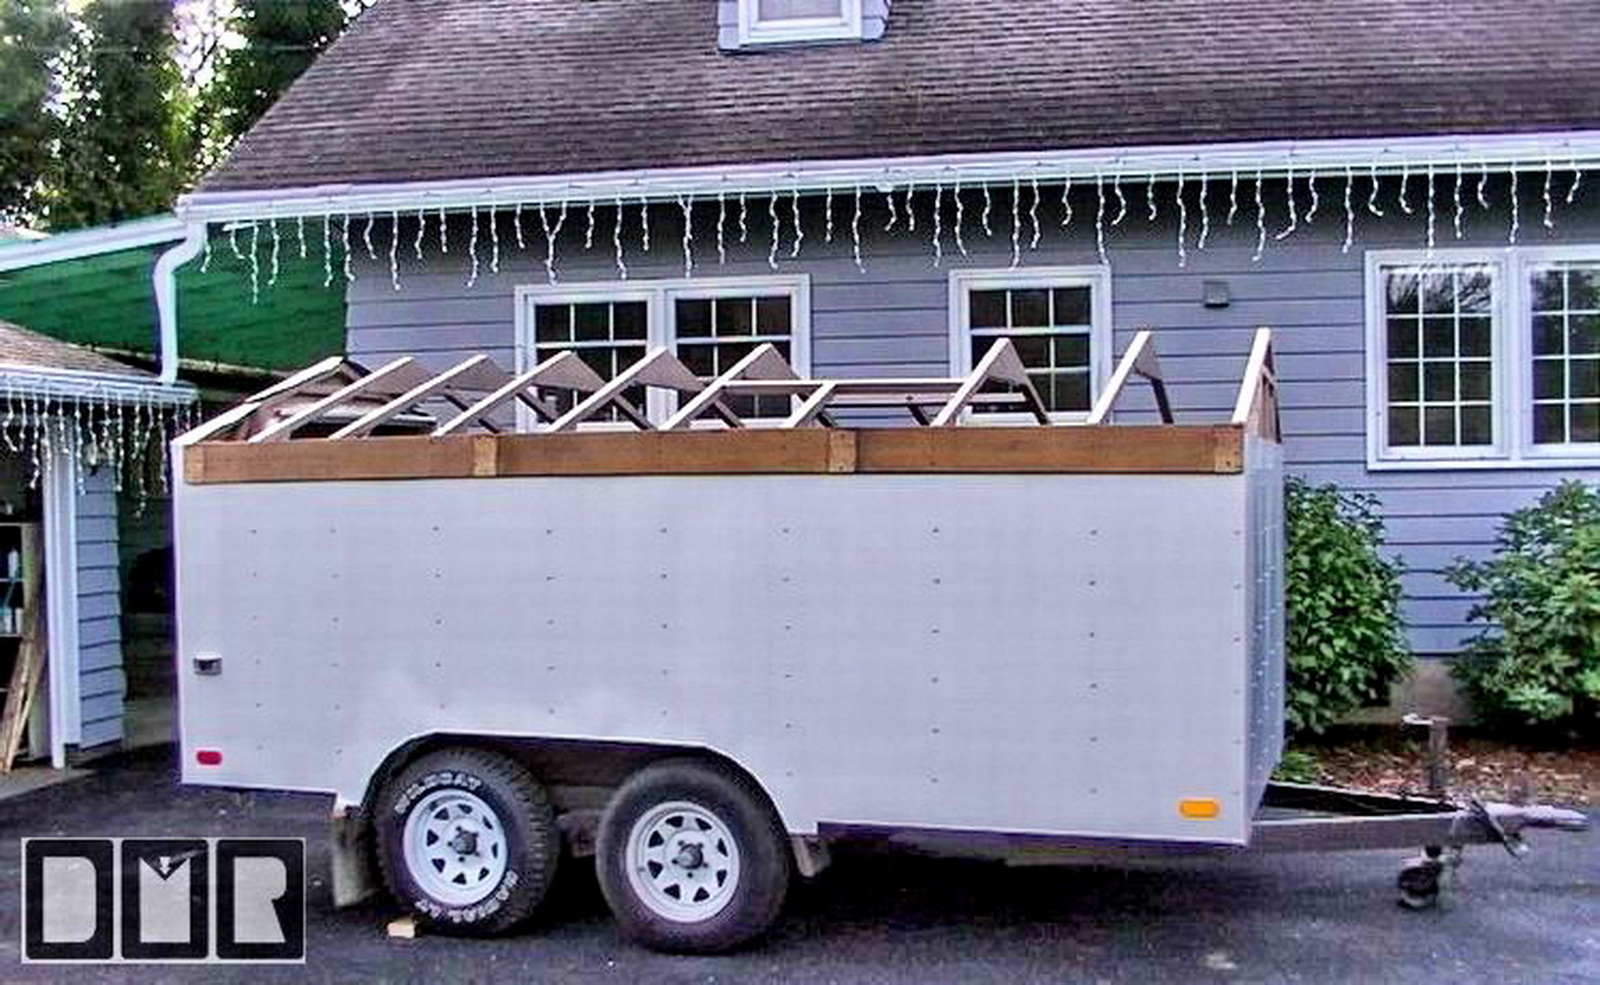
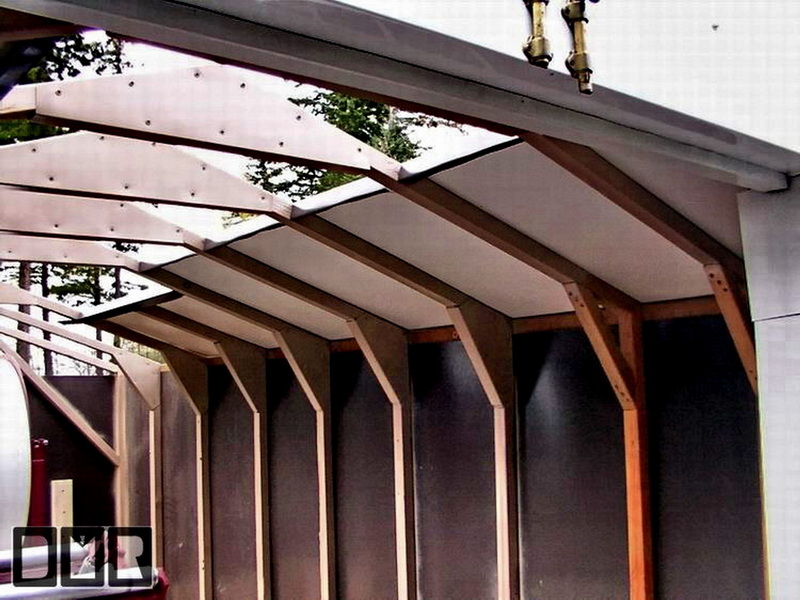
| This
is the side view, outside of the work shop. The roof panels are now ready to
go on.
It makes me nervous to be off work for so
long and bills pilling up. I am
in a little of a panic to get this ready to get back to gutter work jobs I
have scheduled.
|
|
|
DMR |
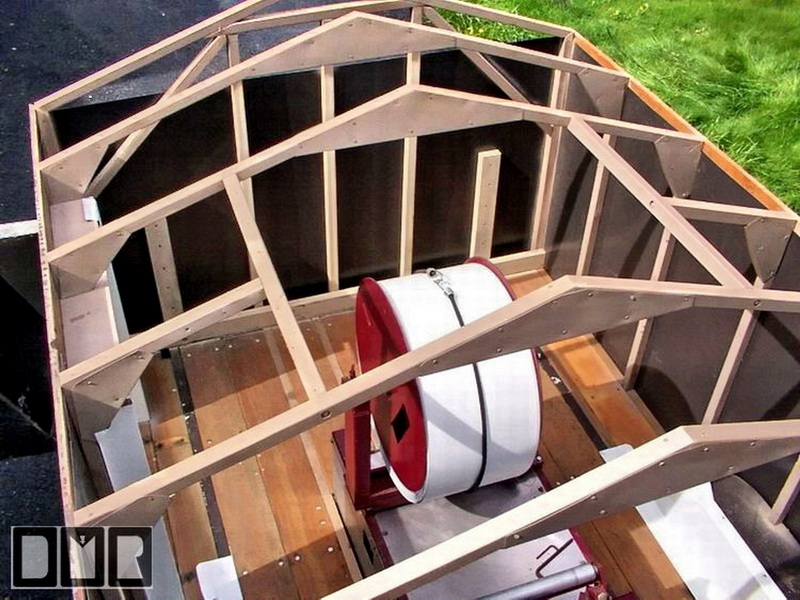
 Here
it is looking down into the trailer from the front. You can see that
all the ribs are built and braced. I also decided to spray paint the
wood to make it look more even. Here
it is looking down into the trailer from the front. You can see that
all the ribs are built and braced. I also decided to spray paint the
wood to make it look more even.
You can also see the white sheet metal I
used to closed off
the inside of the wheel wells, to keep the splash of the rain water from
being flung into the trailer while being pulled on rainy days. |
|
DMR |
|
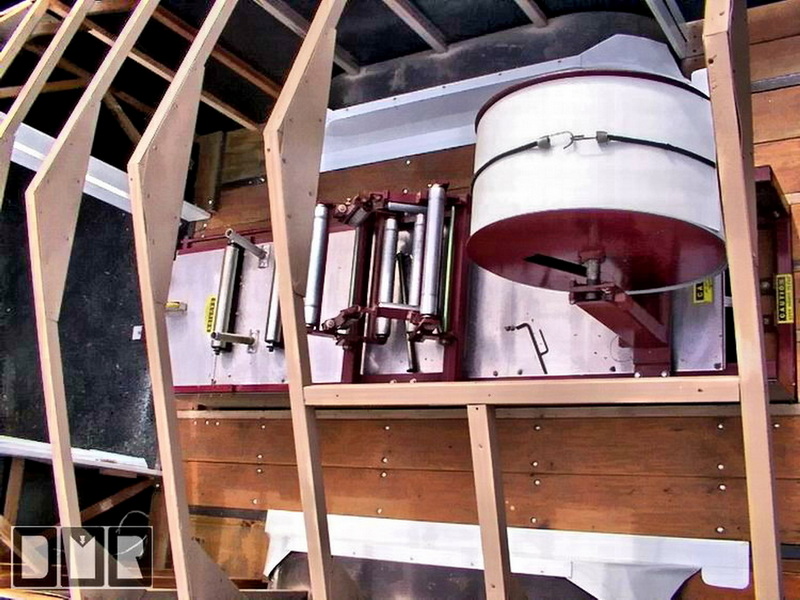
| This
is another view from on top, looking forward.
The opening just above the coil is where I will be making
the removable panel to lower the gutter coils down into the machine
spindle. The
coils need to loaded with a fork lift since a full coil is about 400
pounds. This gutter coil of pre-painted
aluminum sheet metal is 11 7/8" wide. This coil is about 2/3 to
3/4 full, or it
would be larger than the spool side walls.
|
|
|
DMR |
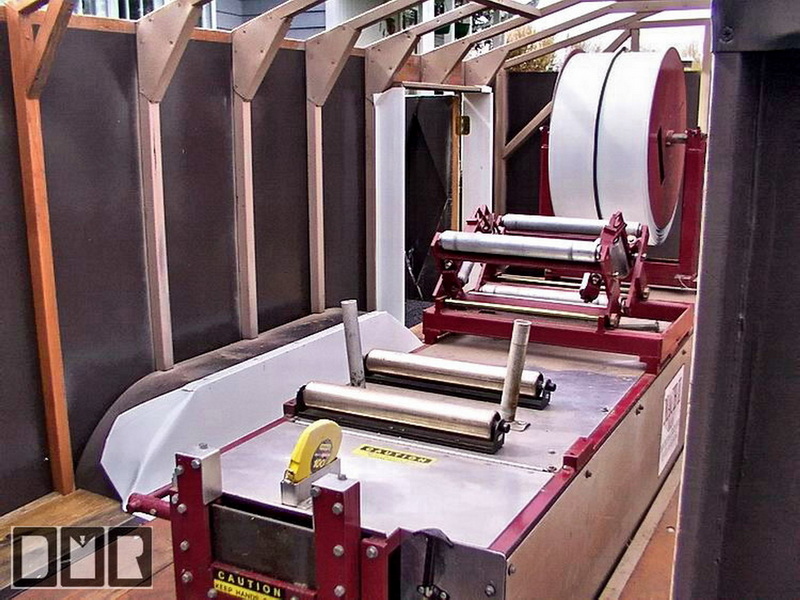
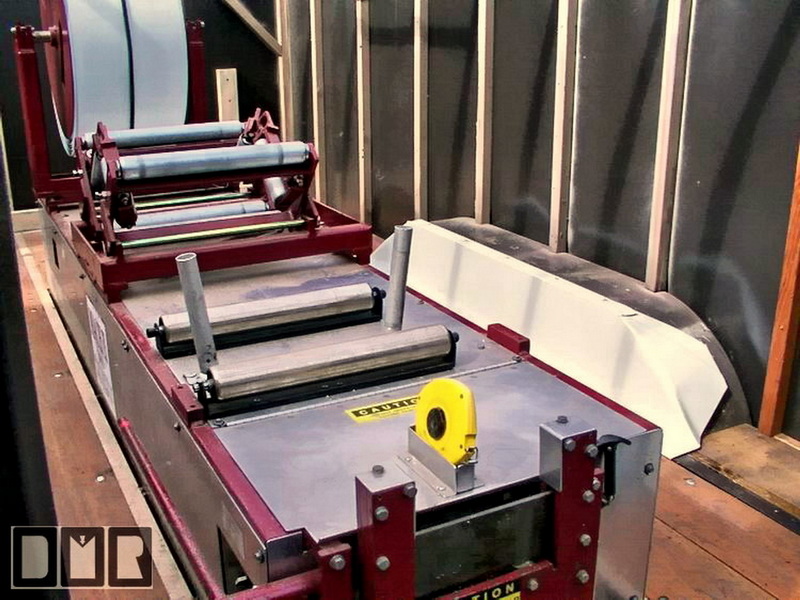 This
shows the spool in the back of this picture, and the good cradle in the
middle of the machine, and the cheap cradle I installed in the fore
front. Then I have the place for my 100' tape measure in yellow. This
shows the spool in the back of this picture, and the good cradle in the
middle of the machine, and the cheap cradle I installed in the fore
front. Then I have the place for my 100' tape measure in yellow.
Again, the wheel wells are closed up.
|
|
DMR |
 |
| Another
view of the interior showing the side door on the left side, and the wheel
well aluminum inside cover, but still no roof panels yet. The
aluminum sheet metal I use come in sheets of 4'x 10'. They are
painted white on one side and musket brown on the other side.
I chose to make this trailer with the white sides, with a brown
roof. So that means the ceiling is white. |
|
|
DMR
|
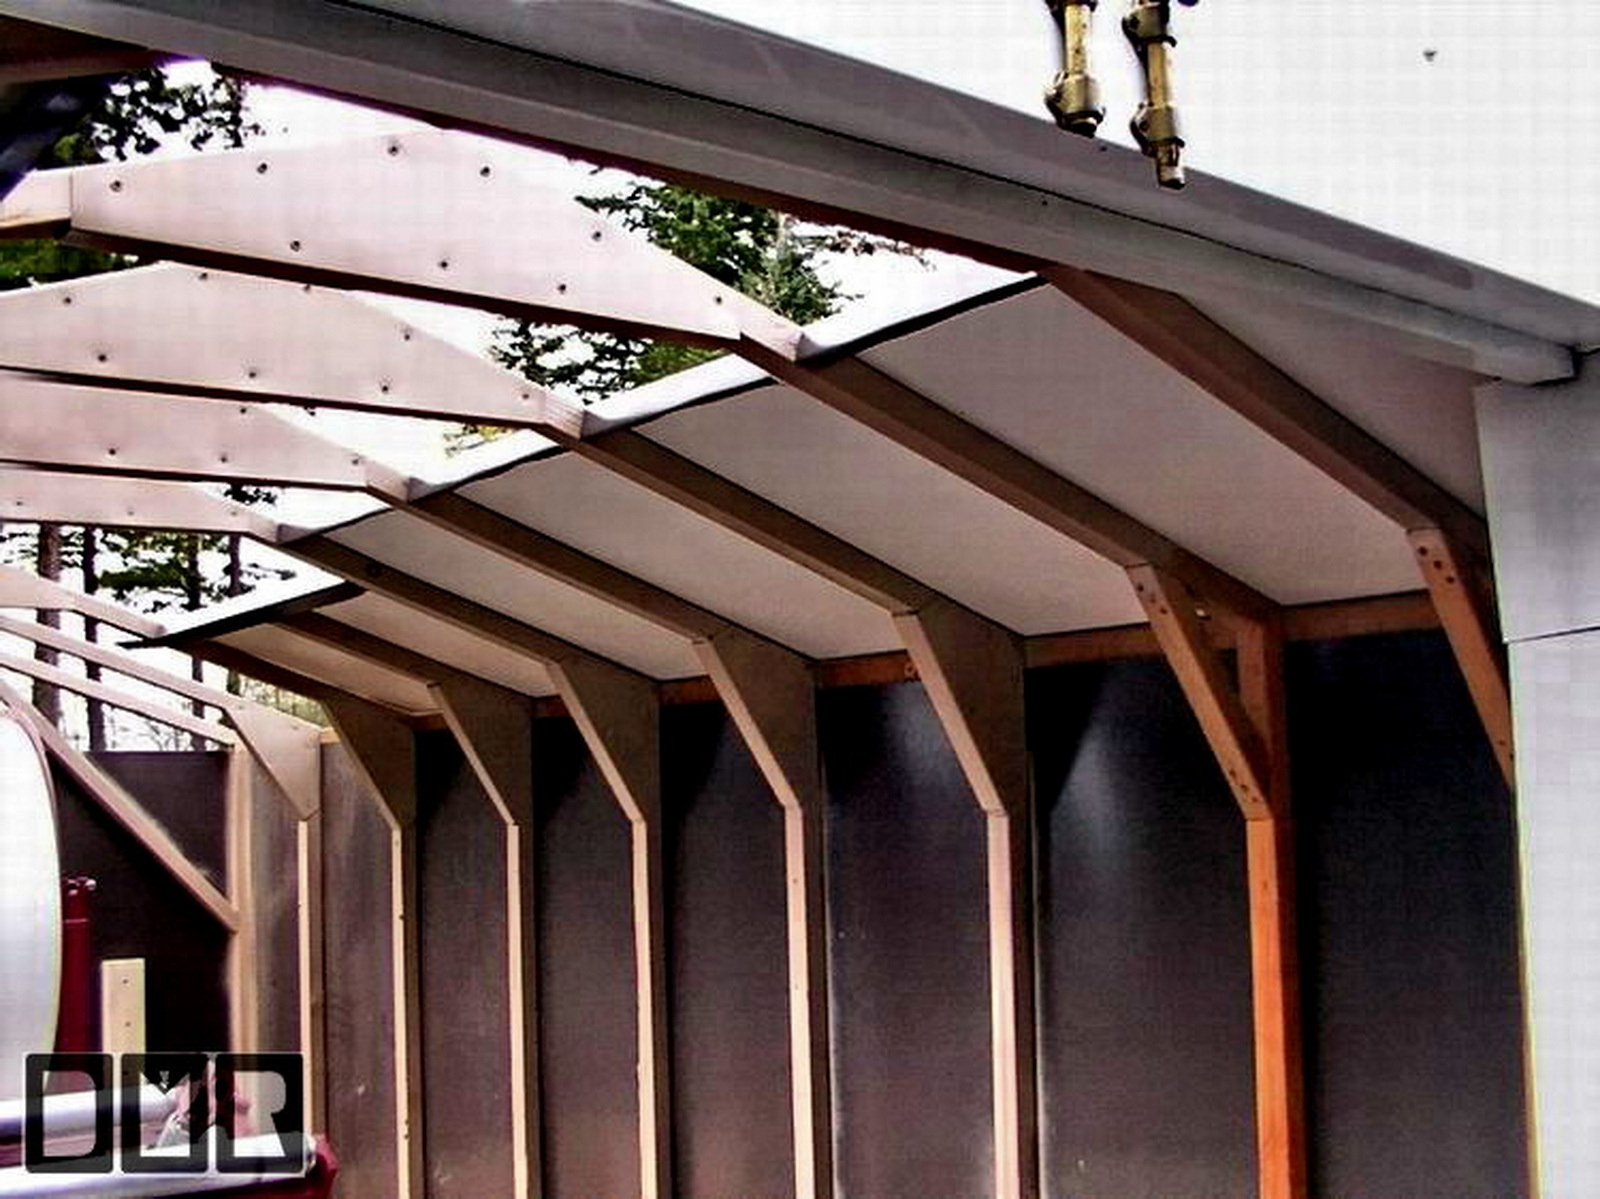
 Here
is the first roof panel to go on, leaving a space in the middle for the
skylight panel. The panels have a lot to do with the structural security
of the trailer. Here
is the first roof panel to go on, leaving a space in the middle for the
skylight panel. The panels have a lot to do with the structural security
of the trailer.
I found this system to work quite
well, using 2x 2 boards and the
aluminum sheet metal screwed on with 1.5" screws that have steel and
rubber washers . I made a
smaller trailer with an aluminum frame and covered with aluminum panels
and riveted them on with large 3/16" rivets, but the vibration of the
trailer in transpo would work the rivets loose.
|
|
DMR |
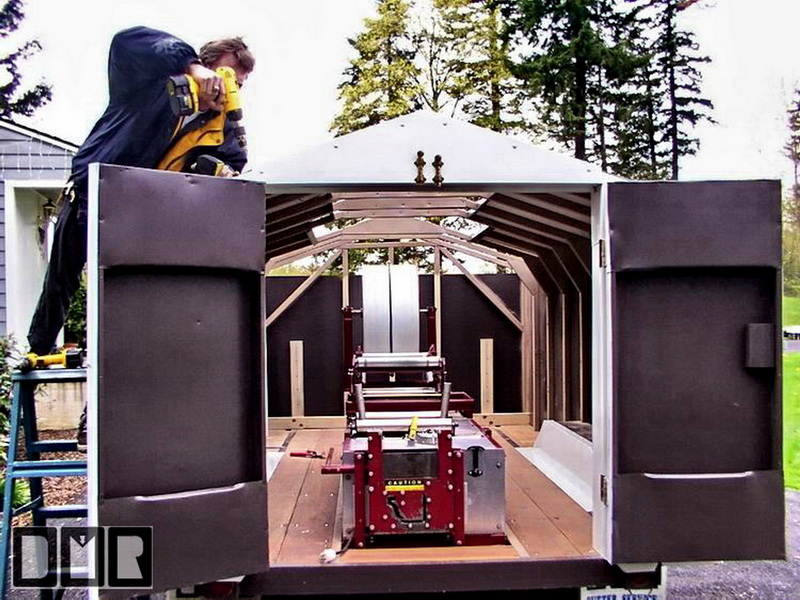 |
| Here
is a shot of me screwing down the left roof panel, with Tia taking the picture.
The back doors are open wide as you can see. If the sheet
metal was white on white instead, that would have been best
for function, as the light would reflect off the walls, making it
lighter inside. I could have made it all brown on the out
side, but I wanted a white look on the outside. I only made the roof
brown to look more like a house roof. |
|